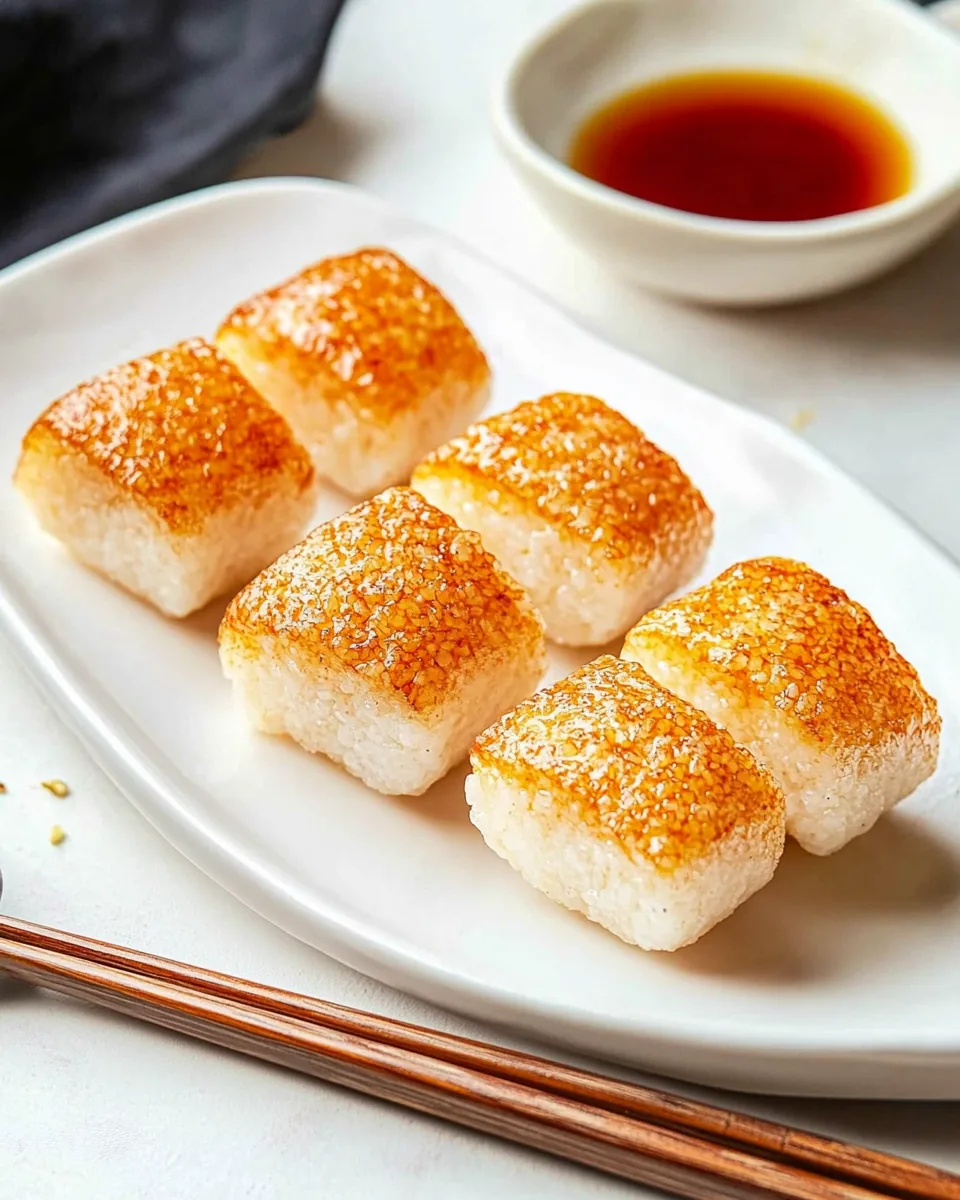
Yaki Onigiri
Yaki Onigiri is a delightful Japanese dish that has a special place in my heart. I remember the first time I tasted these grilled rice balls; the crispy exterior paired with the warm, fluffy interior was a revelation. I couldn’t believe how something so simple could be so comforting! Yaki Onigiri is not just a meal; it’s a memory, an experience that transports you to the streets of Japan. Imagine enjoying them during a picnic, or as a quick snack after a long day. They’re incredibly versatile, allowing you to enjoy them on their own or alongside a variety of dishes. Every bite reminds me of home and the joy of sharing food with friends and family.
Recipe Snapshot
20 mins
10 mins
10 mins
Medium
220 kcal
4 g
Vegan, Gluten-Free, Low FODMAP
6 g
Skillet, Frying Pan, Mixing Bowl
Why This Yaki Onigiri Hits Different
Perfectly Portable
One of the things I love about Yaki Onigiri is how portable they are. They make an excellent snack for on-the-go days or a lovely addition to a bento box. You can pack them up for lunch or share them during a picnic, and they hold up beautifully without any fuss.
Flavorful Simplicity
The simplicity of the ingredients is what makes this dish stand out. Using just a few pantry staples like soy sauce and sesame oil, you can create an incredibly flavorful experience. The warm sushi rice absorbs the seasonings perfectly, making every bite a burst of flavor.
Grilling Brings It to Life
Grilling these rice balls gives them that irresistible crispy outer texture, which plays wonderfully against the soft interior. The process of frying in vegetable oil creates a beautiful golden-brown crust that you won’t want to miss. It’s a fun cooking technique that turns ordinary rice into something extraordinary!
Customization Options
Another fantastic aspect is the ability to customize Yaki Onigiri to your liking. You can play around with different fillings or toppings, allowing you to cater to various tastes. Whether you prefer furikake for a bit of crunch or a drizzle of extra soy sauce, the options are endless.
A Shared Experience
Cooking and sharing Yaki Onigiri is a delightful bonding experience. You can gather friends or family for a culinary adventure, shaping these rice balls together and sharing ideas on how to grill them perfectly. It brings everyone together, creating warmth and laughter in the kitchen.
Great for Any Occasion
Whether it’s a simple weeknight dinner, a special occasion, or a casual gathering, Yaki Onigiri fits the bill. They’re versatile enough to serve as a side dish or a standalone snack, making them an ideal choice for any meal. Plus, there’s something special about serving a dish that has such a rich cultural heritage.
Yaki Onigiri Ingredients
When it comes to making Yaki Onigiri, the ingredients are simple yet essential. Each component contributes to the dish’s unique flavor and texture. The combination of high-quality sushi rice, aromatic soy sauce, and nutty toasted sesame oil creates a beautiful balance that is hard to resist. Let’s dive into the key players of this recipe!
- Soy Sauce: 1 tablespoon – Adds a savory umami flavor that enhances the rice’s taste.
- Toasted Sesame Oil: 3/4 teaspoon – Brings a rich, nutty aroma that complements the other ingredients perfectly.
- Cooked Sushi Rice: 2 cups, warm – The base of the dish, providing a soft and chewy texture that holds everything together.
- Vegetable Oil: 1 tablespoon, plus more as needed – Used for frying, giving the rice balls that golden, crispy exterior.
- Salt: to taste, optional – Enhances the overall flavor but can be omitted if desired.
- Furikake: for garnish, optional – A flavorful sprinkle that adds texture and an additional layer of taste.
Step by Step Instructions for Yaki Onigiri

Creating Yaki Onigiri is a rewarding process that brings out the chef in you. The steps are simple, yet each one adds a layer of flavor and texture to the final product. Let’s get started!
- In a large bowl, drizzle the soy sauce and toasted sesame oil over the warm sushi rice. Gently mix until the seasoning is evenly distributed. You want to make sure every grain is coated.
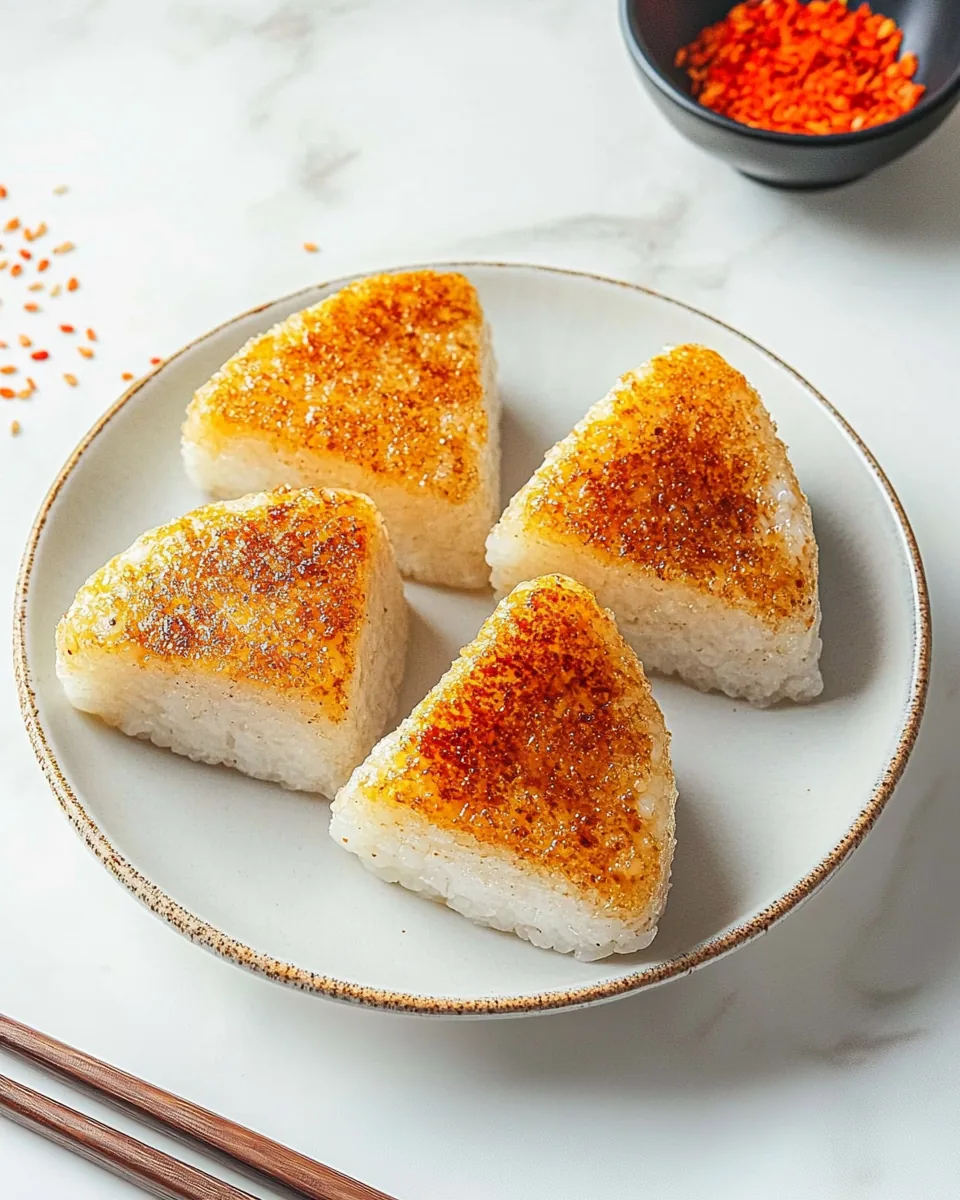
- Wet your hands with water to prevent sticking. Scoop about 1/2 cup of the seasoned rice and press it firmly into a compact triangle shape. It’s essential to pack it well so that it holds together during cooking.
- Heat the vegetable oil in a nonstick skillet over medium heat. You’ll know it’s ready when you see small ripples on the surface of the oil.
- Place the shaped rice balls in the pan, being careful not to overcrowd them. Fry for about 3 to 4 minutes on each side until a golden, crispy crust forms. Keep an eye on them, as they can brown quickly!
- If desired, brush a little extra soy sauce on each side during the last minute of cooking. This adds extra flavor and helps with caramelization.
- Season with salt if desired, and garnish with furikake if desired. This gives a nice finishing touch and enhances the presentation.
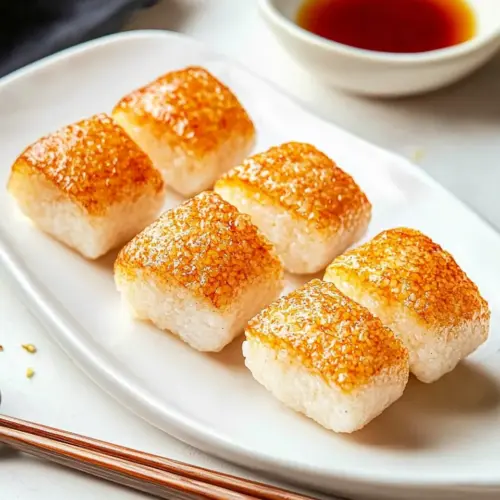
- Once cooked, carefully remove the Yaki Onigiri from the skillet and let them cool slightly before serving.
- Enjoy them warm, paired with your favorite dipping sauce or alongside a salad for a complete meal.
- Store any leftovers in an airtight container in the refrigerator, and reheat in a skillet for best results.
Things Worth Knowing
- Rice texture matters: Make sure your sushi rice is warm but not too hot when mixing. This helps it stick together without becoming mushy.
- Grilling technique: If you want a smoky flavor, consider grilling the rice balls instead of frying them.
- Experiment with fillings: Feel free to add fillings like grilled vegetables or pickled items inside the rice for more flavor.
- Pairing: These rice balls pair wonderfully with miso soup or a simple salad to create a balanced meal.
Make It Your Own
While Yaki Onigiri is delicious as is, there are many ways to customize and enhance this recipe to suit your taste!
- Storage: If you have leftovers, store them in an airtight container in the fridge for up to three days. Reheat in a skillet for the best texture.
- Freezing: Can you freeze these? Absolutely! Just make sure they are fully cooled before placing them in a freezer-safe bag. They can last up to a month.
- Pairing: Serve with a side of miso soup or a light salad for a refreshing meal that balances flavors.
- Variations: Try adding cooked mushrooms or spinach into the rice mixture for some added nutrients and flavor.
- Garnish ideas: Experiment with different garnishes like scallions or sesame seeds to elevate the presentation.
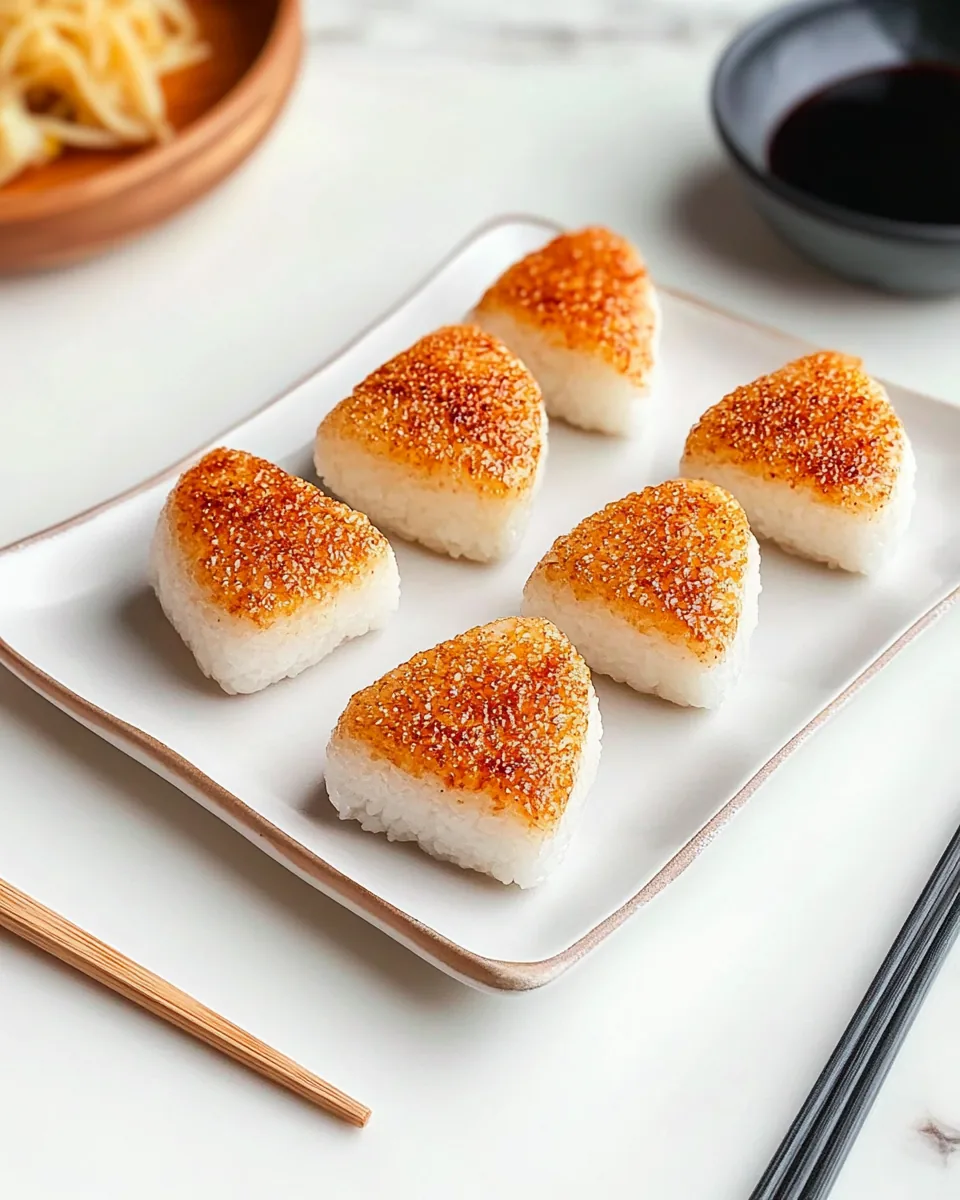
How to Serve Yaki Onigiri
Serving Yaki Onigiri can be as creative as you wish! Here are some thoughtful ways to present and enjoy them:
- Picnic Treat: These rice balls are perfect for picnics. Pack them with a side of dipping sauces and some fresh veggies.
- As an Appetizer: Serve them warm as a delightful appetizer at your next gathering. Guests will love the crunch!
- In a Bento Box: Include them in a bento box with seasonal fruits and other small bites for a complete meal on the go.
- Casual Dinner: Pair with a side of stir-fried vegetables for a comforting dinner that feels special yet casual.
- Garnish: Consider garnishing with seaweed or additional furikake on top for an extra pop of flavor and color.
- Seasonal Pairings: In the summer, enjoy them with fresh salads; in colder months, pair them with warm soups.
FAQ
Conclusion
In conclusion, Yaki Onigiri is a wonderful dish that combines simplicity with rich flavors, perfect for any occasion. I encourage you to try making these delightful rice balls and share them with your loved ones. Whether you enjoy them as a quick snack or a part of a larger meal, they are sure to become a favorite in your kitchen.
Yaki Onigiri
Equipment
- Skillet
- Frying Pan
- Mixing Bowl
Ingredients
- 1 tablespoon Soy Sauce
- 3/4 teaspoon Toasted Sesame Oil
- 2 cups Cooked Sushi Rice
- 1 tablespoon Vegetable Oil
- to taste optional Salt
- for garnish optional Furikake
Instructions
- In a large bowl, drizzle the soy sauce and toasted sesame oil over the warm sushi rice. Gently mix until the seasoning is evenly distributed.
- Wet your hands with water to prevent sticking. Scoop about 1/2 cup of the seasoned rice and press it firmly into a compact triangle shape.
- Heat the vegetable oil in a nonstick skillet over medium heat. You’ll know it’s ready when you see small ripples on the surface of the oil.
- Place the shaped rice balls in the pan, being careful not to overcrowd them. Fry for about 3 to 4 minutes on each side until a golden, crispy crust forms.
- If desired, brush a little extra soy sauce on each side during the last minute of cooking.
- Season with salt if desired, and garnish with furikake if desired.
- Once cooked, carefully remove the Yaki Onigiri from the skillet and let them cool slightly before serving.
- Enjoy them warm, paired with your favorite dipping sauce or alongside a salad for a complete meal.
- Store any leftovers in an airtight container in the refrigerator, and reheat in a skillet for best results.
Notes
- Storage: If you have leftovers, store them in an airtight container in the fridge for up to three days.
- Freezing: Can you freeze these? Absolutely! Just make sure they are fully cooled before placing them in a freezer-safe bag.
- Pairing: Serve with a side of miso soup or a light salad.
- Variations: Try adding cooked mushrooms or spinach into the rice mixture.
- Garnish ideas: Experiment with different garnishes like scallions or sesame seeds.