Udon Noodles
Creating Udon Noodles in my kitchen has become a cherished ritual. The first time I attempted this, I was inspired by the culinary artistry of Iron Chef Morimoto. As I watched him skillfully craft these delightful noodles, I knew I had to try it myself. The experience of mixing the dough by hand, feeling the textures shift beneath my fingers, and kneading the mixture until it came together was incredibly satisfying. There’s something special about making pasta from scratch, especially when it involves the comforting embrace of warm noodles that can be served in countless ways. Whether in a rich broth or tossed with fresh vegetables, Udon Noodles hold a special place in my heart and my palate. I invite you to join me in this journey of flavor and tradition, where every bite tells a story of craftsmanship and love.
Recipe Snapshot
2 hr 10 mins
120 mins
10 mins
Hard
320 kcal
10 g
Paleo, Whole30, Vegan
1 g
Frying Pan, Large Pot, Chef’s Knife, Mixing Bowl, Wooden Spoon
Why This Udon Noodles Shines
Authentic Flavor
Making Udon Noodles from scratch offers an authenticity that store-bought noodles simply can’t match. The flavor and texture developed during the kneading process create a depth that is hard to replicate. You will taste the difference immediately!
Customizable Textures
As you work the dough, you can control the thickness of your noodles. From thicker, chewier strands to thinner versions that cook quickly, the choice is yours. This versatility allows you to create personalized dishes that suit your preference.
Healthier Option
By making your own noodles, you know exactly what goes into them. You can use high-quality ingredients, control the salt, and even experiment with whole grain flours for a healthier alternative to traditional noodles.
Fun and Engaging Process
The process of making Udon Noodles is hands-on and engaging. It’s a fantastic way to involve family or friends in the kitchen. Kneading the dough and rolling it out can be a fun group activity, creating lasting memories.
Endless Pairing Possibilities
Once you master the art of noodle-making, the opportunities are endless! From classic soups to stir-fries, Udon Noodles can be dressed up or down based on the ingredients you have on hand, allowing for creativity in your meals.
Tradition and Heritage
Making Udon Noodles connects you to a rich culinary tradition. It’s a chance to honor the art of Japanese cooking and appreciate the dedication that goes into each strand of dough, bringing a piece of history to your table.
Udon Noodles Ingredients
Every ingredient in Udon Noodles plays a crucial role in creating the perfect texture and taste. The core ingredients are simple and highlight the beauty of traditional Japanese cooking. You’ll find that a few quality ingredients work harmoniously to create something truly special.
- All-Purpose Flour: 5 cups (600 grams), sifted – This is the backbone of your noodles, giving them structure and chewiness. Sifting helps aerate the flour, leading to a lighter texture.
- Kosher Salt: 1 tablespoon plus 1 teaspoon – This enhances flavor and strengthens the gluten in the dough, helping the noodles hold their shape during cooking.
- Water: 1 1/4 to 1 1/2 cups – A vital component for hydrating the flour, the amount can be adjusted depending on the humidity and the flour’s absorbency.
Making Udon Noodles
Let’s dive into the delightful process of making Udon Noodles. It’s all about patience and technique, and I promise you’ll enjoy every moment of it. Follow these detailed steps to create your very own noodles.
- In a large mixing bowl, combine flour and salt. The salt should be evenly distributed, which will enhance the flavor of your noodles. Mix them together until thoroughly combined.
- Add 1 1/4 cups of water to the mixture. Use your hands to mix until the dough starts to come together in a few large lumps. You may need to add more water if the dough feels too dry.
- Firmly press and knead the dough, incorporating any loose flour until there’s none left. The mixture should feel tacky but not overly wet, allowing for easy handling.
- If necessary, add a little more water, 1 tablespoon at a time, until you can incorporate all of the flour. This step is crucial for achieving the right consistency.
- Lightly dust your work surface with flour. Knead the dough by folding and pressing firmly with your palm. You should be able to feel the gluten developing as the dough looks and feels fairly smooth, which should take about 5 minutes.
- Form the dough into a ball, wrap it in plastic wrap, and let it rest at room temperature for 1 to 5 hours. This resting period allows the gluten to relax, making it easier to roll out later.
- On a lightly floured surface with ample room, knead the dough again for a few minutes after the resting time. This step redistributes the moisture and ensures a consistent texture throughout the noodles.
- Divide the dough into 4 equal-sized balls. Dust each ball with flour and cover them with plastic wrap until you’re ready to roll them out. This prevents them from drying out.
- Use a rolling pin to roll out the dough. Rotate it 90 degrees occasionally, dusting with flour as needed to prevent sticking. Aim for a thickness between 1/8 inch to under 1/4 inch.
- If the dough proves difficult to roll out, cover it with plastic wrap and let it rest for 10 minutes. This short break allows the gluten to relax, making the dough easier to handle.
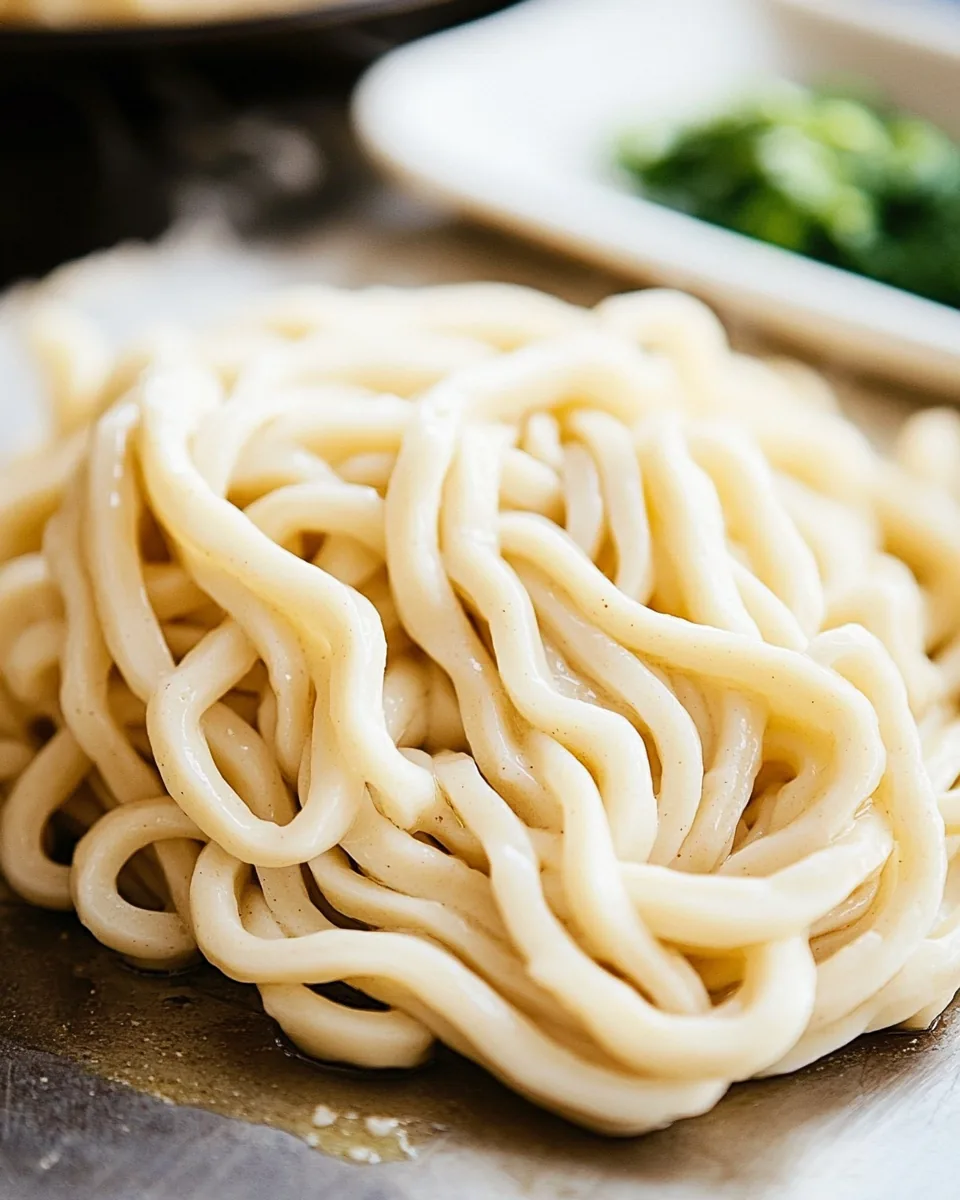
- Once rolled, fold the sheet of dough into thirds (like a letter fold) and then slice widthwise into approximately 1/8 inch thick noodles. Use a sharp knife for clean cuts.
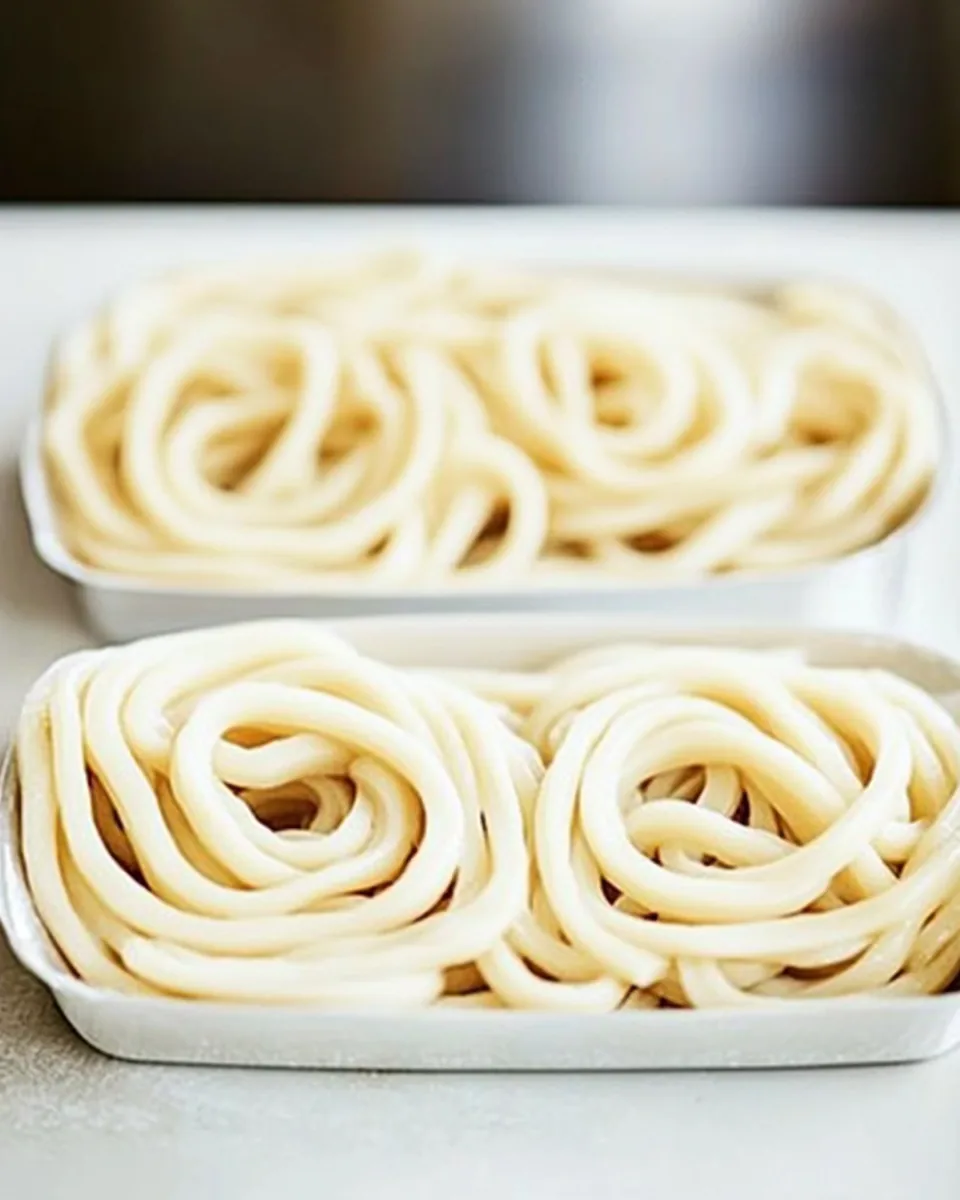
- Gently separate the noodles and toss them with a little bit of flour to prevent sticking. It’s best to cook them right away for optimal freshness.
- Bring a large pot of water to a rolling boil and prepare a large bowl of icy water nearby. This will help stop the cooking process quickly after boiling.
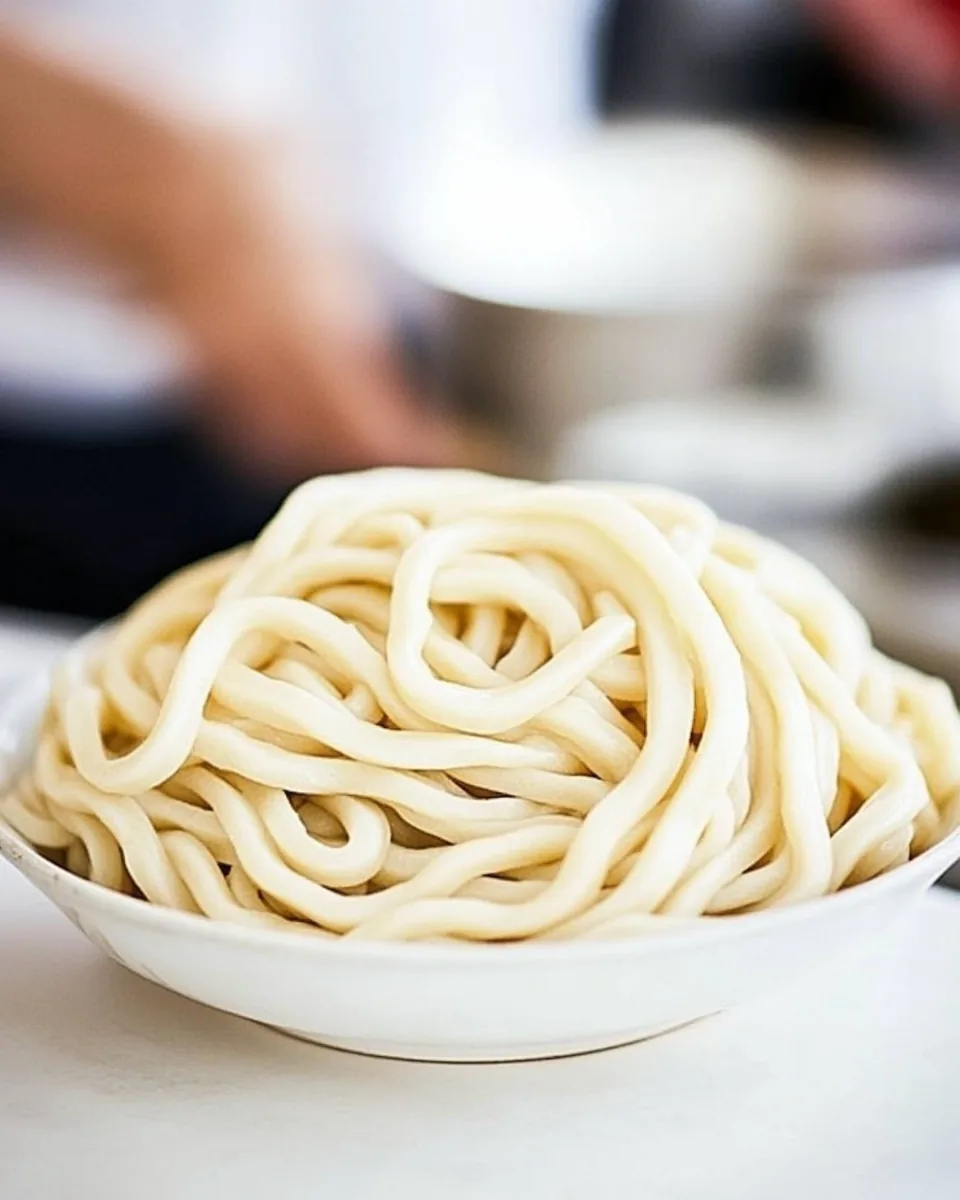
- Add the noodles to the boiling water, stir frequently, and add 1/4 cup of fresh water if necessary to prevent bubbling over. Cook until fully cooked but not mushy, which usually takes about 7 to 12 minutes, depending on the thickness.
- Drain the noodles and immediately transfer them to the icy water. This helps firm them up and stop the cooking. Briefly rub the noodles with your hands to wash away some of the starch, then drain from the cold water.
Things Worth Knowing
- Resting Time: Allowing the dough to rest is essential for gluten relaxation, which results in a smoother texture.
- Water Temperature: Using room temperature or slightly warm water can help activate the gluten better than cold water.
- Cooking Time: Always taste a noodle to check for doneness, as thickness can vary the cooking time significantly.
- Flour Dusting: Make sure to dust with flour during rolling to prevent the dough from sticking to the surface and rolling pin.
- Storage: Uncooked noodles can be stored in the refrigerator for a day or two, or frozen for longer storage.
Change It Up
Here’s an opportunity to personalize your Udon Noodles experience! Whether you want to switch up flavors or textures, there are countless ways to make this dish uniquely yours.
- Storage: After cooking, leftover noodles can be stored in an airtight container in the fridge for up to three days. Just reheat them in boiling water for a quick meal.
- Freezing: You can freeze uncooked noodles for up to three months. Lay them flat in a single layer on a baking sheet, then transfer to a freezer bag.
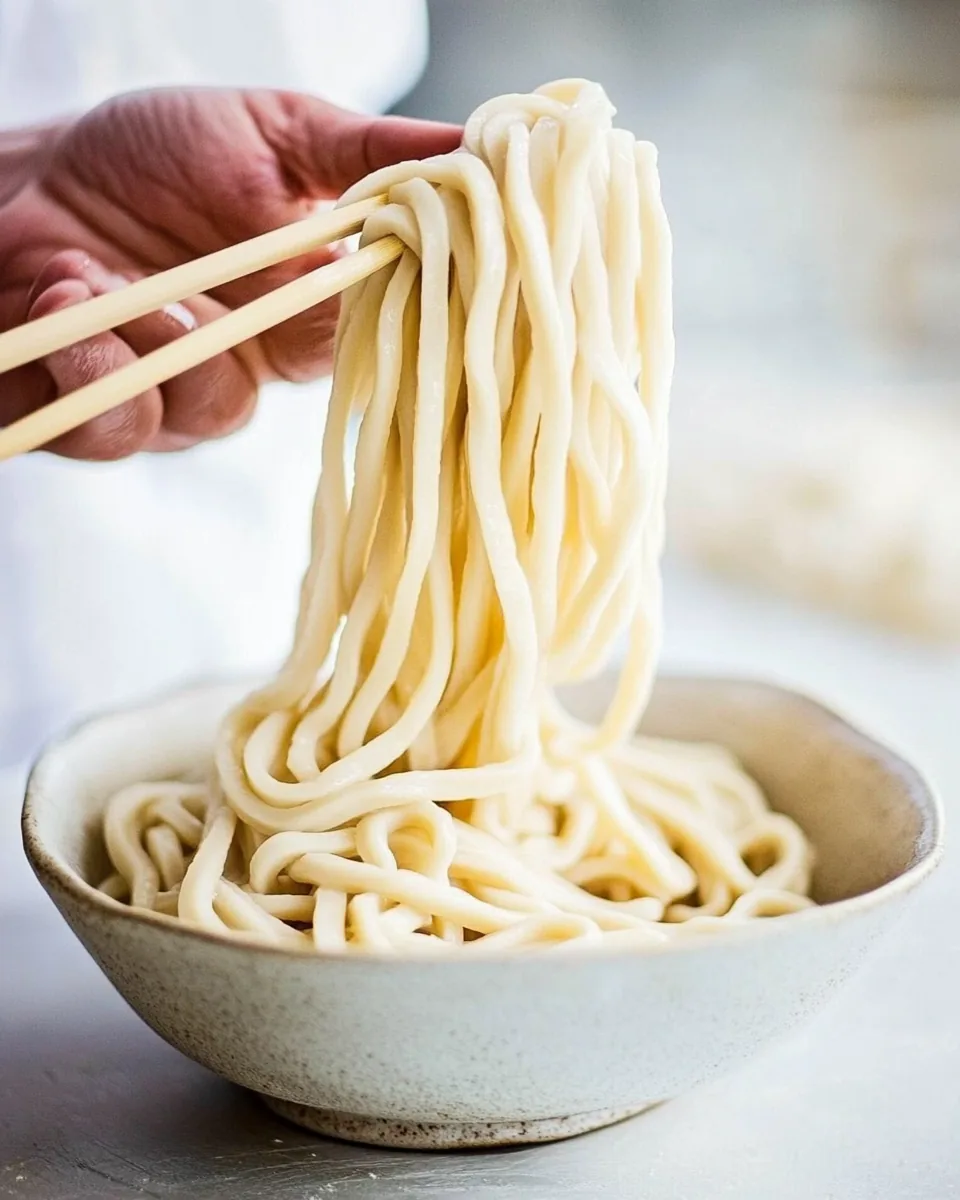
- Pairing: Serve Udon Noodles with various toppings like green onions, seaweed, or vegetables for added flavor and nutrition.
- Flavor Enhancements: Consider adding a splash of soy sauce or sesame oil to boiling water for extra flavor while cooking the noodles.
- Spice it Up: Add chili oil or fresh chili to your serving for an added kick. It pairs beautifully with the chewy texture of the noodles.
- Broth Options: Experiment with different broths such as miso or dashi for a delicious base that complements the Udon Noodles.
What Goes Well With This Udon Noodles
Pairing Udon Noodles with the right sides will elevate your dining experience. Here are some suggestions for perfect accompaniments:
- Vegetable Tempura: Crispy tempura vegetables offer a delightful contrast to the chewy texture of your noodles, making for a well-rounded meal.
- Stir-Fried Vegetables: A mix of seasonal vegetables stir-fried with soy sauce complements the flavors of Udon Noodles beautifully.
- Miso Soup: A warm bowl of miso soup can serve as a comforting starter, bringing warmth and harmony to your meal.
- Gyoza: These savory dumplings can be a delightful side, offering a different texture that pairs well with the noodles.
- Salad: A light salad, perhaps with sesame dressing, can provide a refreshing balance to your meal.
- Seasonal Ingredients: Incorporate seasonal ingredients like mushrooms or greens to enhance the flavor profile and nutrition of your dish.
FAQ
Conclusion
The process of making Udon Noodles is more than just cooking; it’s about connecting with a time-honored tradition that produces a truly delicious result. The unique texture and flavor of homemade udon make every bowl special. I encourage you to give it a try and enjoy the satisfaction that comes from creating something from scratch. Your taste buds will thank you!
Udon Noodles
Equipment
- Frying Pan
- Large Pot
- Chef's Knife
- Mixing Bowl
- Wooden Spoon
Ingredients
- 5 cups All-Purpose Flour sifted
- 1 tablespoon Kosher Salt
- 1.25 cups Water
Instructions
- 1. In a large mixing bowl, combine flour and salt. The salt should be evenly distributed, which will enhance the flavor of your noodles. Mix them together until thoroughly combined.
- 2. Add 1 1/4 cups of water to the mixture. Use your hands to mix until the dough starts to come together in a few large lumps. You may need to add more water if the dough feels too dry.
- 3. Firmly press and knead the dough, incorporating any loose flour until there’s none left. The mixture should feel tacky but not overly wet, allowing for easy handling.
- 4. If necessary, add a little more water, 1 tablespoon at a time, until you can incorporate all of the flour. This step is crucial for achieving the right consistency.
- 5. Lightly dust your work surface with flour. Knead the dough by folding and pressing firmly with your palm. You should be able to feel the gluten developing as the dough looks and feels fairly smooth, which should take about 5 minutes.
- 6. Form the dough into a ball, wrap it in plastic wrap, and let it rest at room temperature for 1 to 5 hours. This resting period allows the gluten to relax, making it easier to roll out later.
- 7. On a lightly floured surface with ample room, knead the dough again for a few minutes after the resting time. This step redistributes the moisture and ensures a consistent texture throughout the noodles.
- 8. Divide the dough into 4 equal-sized balls. Dust each ball with flour and cover them with plastic wrap until you’re ready to roll them out. This prevents them from drying out.
- 9. Use a rolling pin to roll out the dough. Rotate it 90 degrees occasionally, dusting with flour as needed to prevent sticking. Aim for a thickness between 1/8 inch to under 1/4 inch.
- 10. If the dough proves difficult to roll out, cover it with plastic wrap and let it rest for 10 minutes. This short break allows the gluten to relax, making the dough easier to handle.
- 11. Once rolled, fold the sheet of dough into thirds (like a letter fold) and then slice widthwise into approximately 1/8 inch thick noodles. Use a sharp knife for clean cuts.
- 12. Gently separate the noodles and toss them with a little bit of flour to prevent sticking. It’s best to cook them right away for optimal freshness.
- 13. Bring a large pot of water to a rolling boil and prepare a large bowl of icy water nearby. This will help stop the cooking process quickly after boiling.
- 14. Add the noodles to the boiling water, stir frequently, and add 1/4 cup of fresh water if necessary to prevent bubbling over. Cook until fully cooked but not mushy, which usually takes about 7 to 12 minutes, depending on the thickness.
- 15. Drain the noodles and immediately transfer them to the icy water. This helps firm them up and stop the cooking. Briefly rub the noodles with your hands to wash away some of the starch, then drain from the cold water.
Notes
- Tip 1: After cooking, leftover noodles can be stored in an airtight container in the fridge for up to three days. Just reheat them in boiling water for a quick meal.
- Tip 2: You can freeze uncooked noodles for up to three months. Lay them flat in a single layer on a baking sheet, then transfer to a freezer bag.
- Tip 3: Serve Udon Noodles with various toppings like green onions, seaweed, or vegetables for added flavor and nutrition.
- Tip 4: Consider adding a splash of soy sauce or sesame oil to boiling water for extra flavor while cooking the noodles.
- Tip 5: Add chili oil or fresh chili to your serving for an added kick. It pairs beautifully with the chewy texture of the noodles.
- Tip 6: Experiment with different broths such as miso or dashi for a delicious base that complements the Udon Noodles.