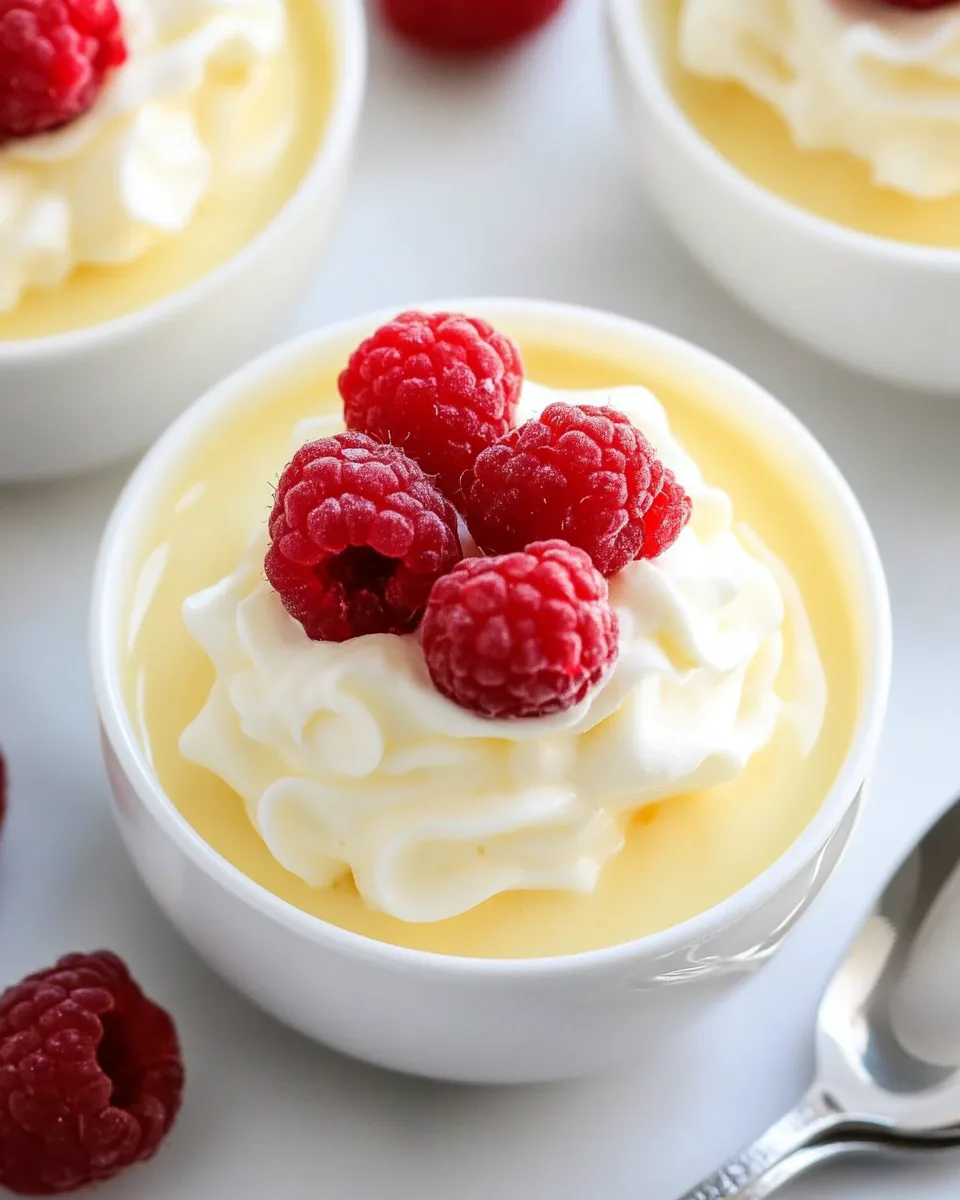
Sugar Free Pudding
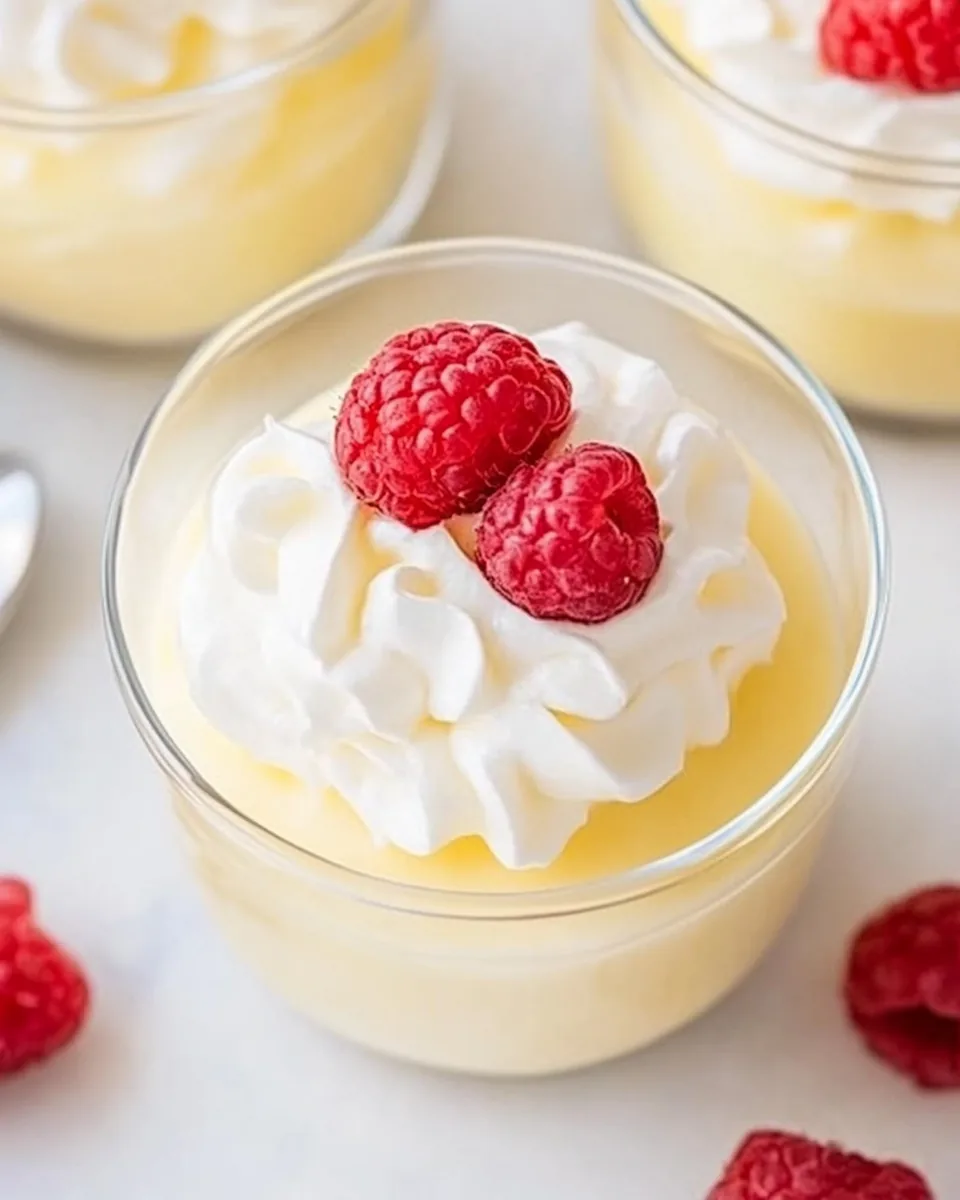
I’ve always had a soft spot for desserts that bring back memories of childhood comfort, and that’s exactly what this Sugar Free Pudding does for me. Picture a warm, cozy evening with the family gathered around the table, laughter echoing through the room as we indulge in a bowl of creamy goodness. This Sugar Free Pudding is not just your average dessert; it’s a delightful treat that allows us to reminisce without the guilt of added sugars. As I stirred the smooth mixture in a saucepan, I could already feel the excitement building. Would it be silky, rich, and perfectly sweetened? Spoiler alert: it definitely was!
Recipe Snapshot
15 mins
5 mins
10 mins
Medium
150 kcal
4g g
Keto, Paleo, Whole30
5g g
Frying Pan, Whisk, Large Pot, Saucepan, Mixing Bowl
What’s Great About This Sugar Free Pudding
Guilt-Free Indulgence
What I love most about this Sugar Free Pudding is that it lets me indulge my sweet tooth without the guilt. Using allulose provides a sweetness that closely resembles sugar, but with fewer calories. It’s a fantastic way to satisfy cravings while being mindful of my diet.
Texture That Wins Hearts
The texture of this pudding is simply divine. It transforms from a creamy mixture on the stove to a silky dessert once chilled. It’s not just about taste; the way it feels in your mouth is what truly makes this pudding memorable.
Endless Versatility
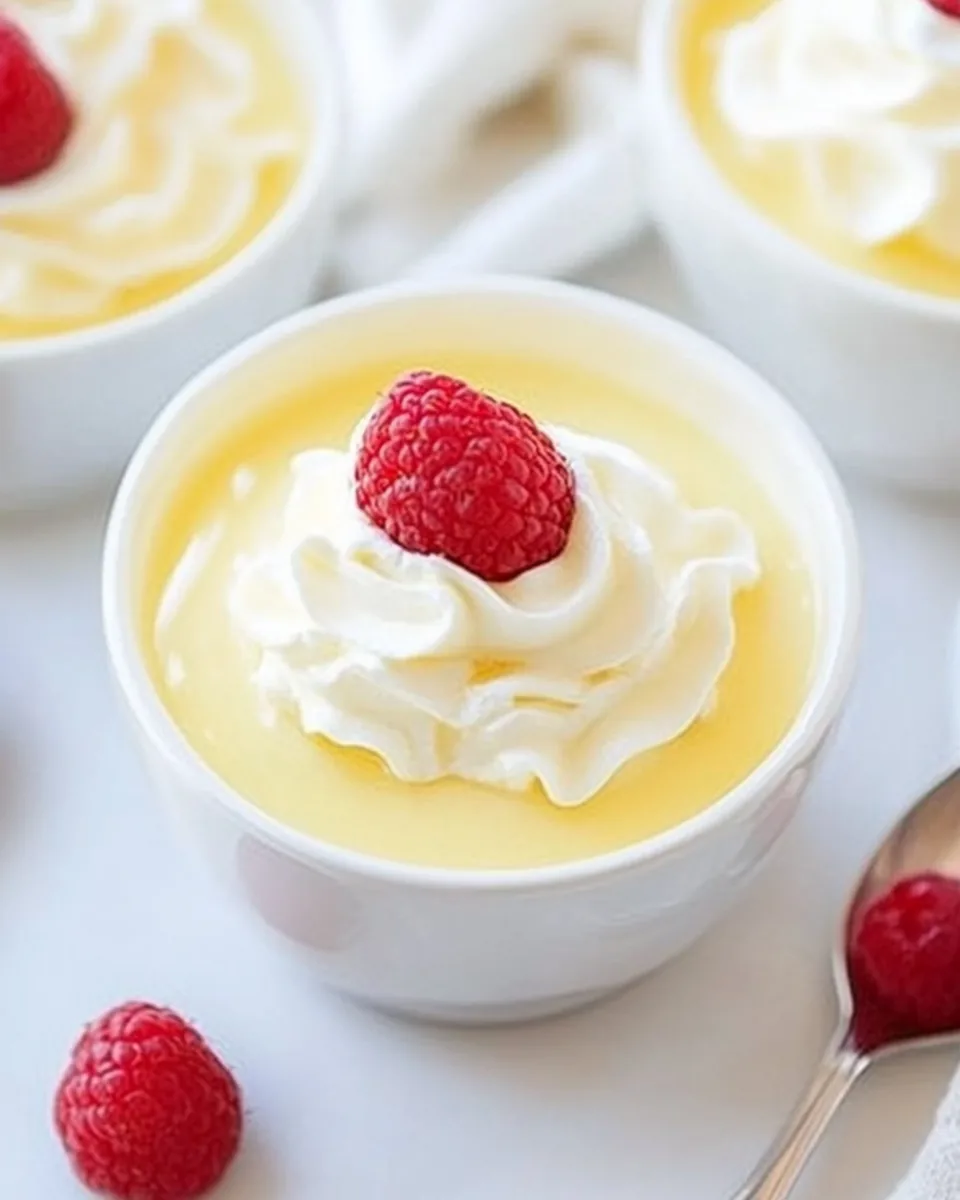
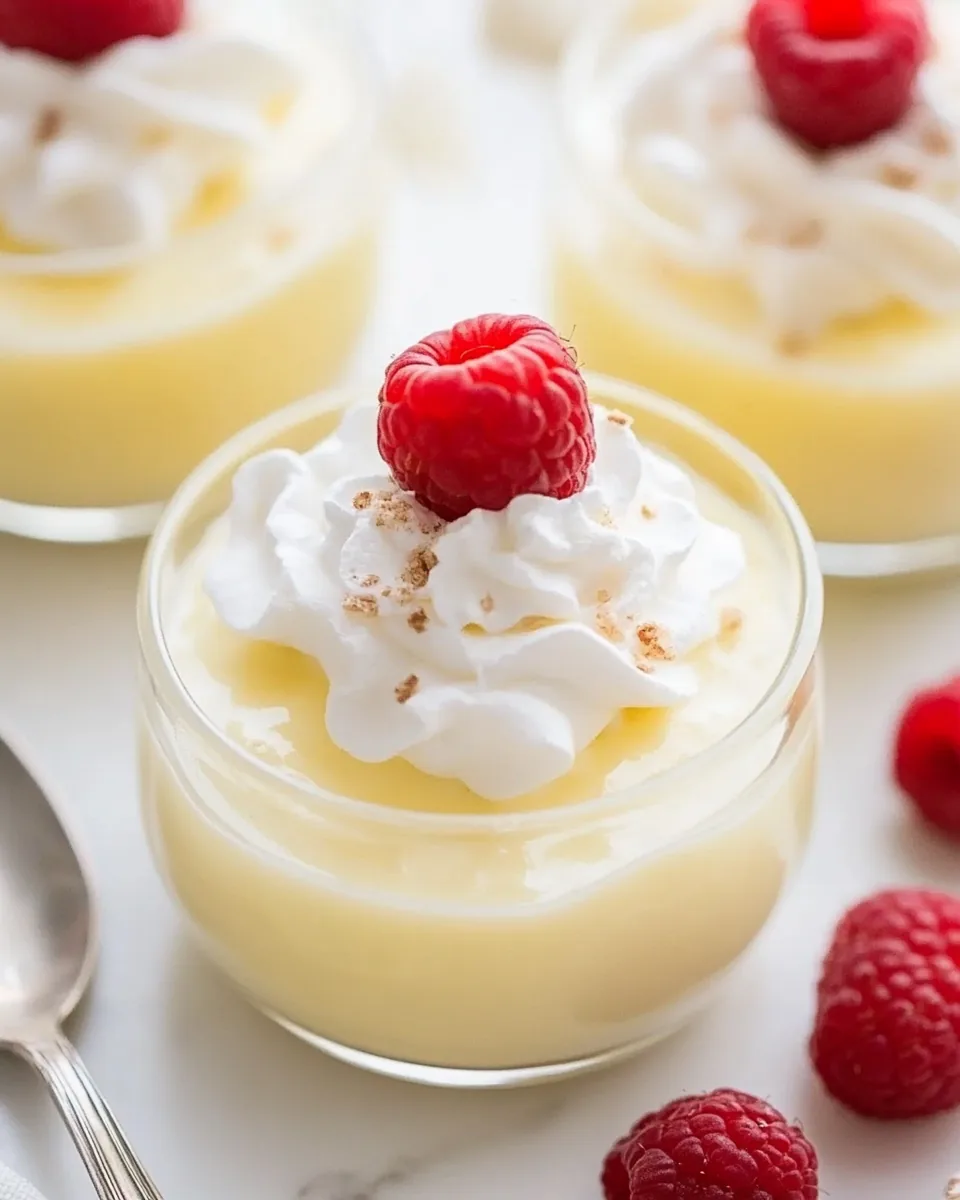
This recipe is so versatile! You can serve it on its own, dolloped with whipped cream, or even topped with fresh berries. Each time you make it, you can explore new flavors and combinations that suit your taste.
Quick and Easy to Make
With just a few simple ingredients, this Sugar Free Pudding comes together in no time. It’s perfect for a last-minute dessert or even a sweet breakfast treat. Plus, it requires minimal effort, allowing you to focus on what you enjoy most—sharing it with loved ones.
Family-Friendly Fun
Getting the kids involved in the kitchen is always a win. This pudding is a great opportunity to teach them about cooking and experimenting with flavors. They’ll love whisking together the ingredients and watching it transform into a delicious dessert.
Perfectly Sweet without the Sugar Crash
Unlike sugary desserts that can lead to a mid-afternoon crash, this Sugar Free Pudding keeps energy levels steady. It’s the ideal way to end a meal without feeling weighed down.
What You’ll Need for Sugar Free Pudding
When it comes to creating the perfect Sugar Free Pudding, the ingredients are essential. Each one plays a role in building flavor and texture, leading to that ultimate creamy finish. The key players here are allulose, cornstarch, and milk, which come together beautifully to craft a dessert that’s not only delicious but also guilt-free.
- Allulose: 1/4 cup + 2 tablespoons
Allulose is a fantastic sugar substitute that dissolves just like sugar. It provides sweetness without the calories, making it the star ingredient in this pudding. - Cornstarch: 2 tablespoons
Cornstarch acts as a thickening agent, giving the pudding its luscious and creamy texture. It’s essential for achieving that perfect consistency. - Salt: 1/4 teaspoon
A pinch of salt enhances the flavors, balancing the sweetness and bringing out the richness of the pudding. - Milk: 2 cups
Milk forms the base of the pudding, adding creaminess and a comforting flavor. You can use whole, low-fat, or even plant-based options! - Egg Yolks: 2 large
The egg yolks help to enrich the pudding and contribute to its smooth texture. They’re the secret to making it feel luxurious. - Butter: 2 tablespoons
Butter adds a rich, creamy flavor that makes this pudding even more indulgent. It also helps to enhance the overall mouthfeel. - Vanilla Extract: 1 teaspoon
A touch of vanilla elevates the flavor profile, making each bite more delightful and aromatic.
Recipe Directions for Sugar Free Pudding
Making Sugar Free Pudding is a delightful experience that fills your kitchen with warmth and sweet aromas. Follow these steps closely to ensure your pudding turns out perfectly every time!
- Start by gathering all your ingredients. In a small bowl, whisk together the allulose, cornstarch, and salt. This step is crucial as it ensures that the sweetener and thickener are evenly distributed.
- Next, transfer this mixture into a small saucepan and slowly whisk in the milk. Do this gradually to prevent lumps from forming, creating a smooth base for your pudding.
- Place the saucepan over medium heat. It’s important to keep stirring as you bring the mixture to a boil. The goal here is to help the cornstarch activate and thicken the pudding.
- Once it reaches a gentle boil, continue to whisk for 1 to 2 minutes. You’ll notice the pudding starting to thicken significantly. Keep an eye on it to avoid sticking or burning.
- Now, reduce the heat to low. Carefully scoop out half a cup of the hot mixture and add it to a bowl containing the whisked egg yolks. This technique tempers the yolks, preventing them from scrambling when added to the hot mixture.
- Whisk the yolk mixture thoroughly until combined. Then, pour this back into the saucepan with the rest of the pudding mixture. It’s essential to mix it well, as this is what gives the pudding its rich flavor and smooth texture.
- Allow the pudding to simmer on low heat for another 3 minutes. During this time, continue to stir gently to ensure it doesn’t stick to the bottom.
- Once thickened and creamy, remove the saucepan from the heat. Stir in the butter and vanilla extract until they are completely incorporated. This final touch elevates the flavor and creaminess of the pudding.
- Distribute the pudding mixture among 8 small ramekins or serving dishes. This portioning creates individual servings that are perfect for sharing.
- Finally, refrigerate the pudding for at least an hour. This chilling time allows it to firm up and develop its flavors, making the waiting worthwhile.
Things Worth Knowing
- Whisk thoroughly: Make sure to whisk the egg yolks well with the hot mixture to prevent cooking them too quickly, which can create a scrambled texture.
- Monitor the heat: Keep an eye on the heat while cooking; too high may lead to burning, while too low may prevent proper thickening.
- Chill well: Chilling is crucial. Letting the pudding sit in the fridge for at least an hour ensures it firms up nicely for serving.
- Adapt flavors: Feel free to experiment with flavors by adding cocoa for chocolate pudding or other extracts to change up the taste profile.
Variations to Try
There are many fun ways to tweak this Sugar Free Pudding. Here are some great variations to consider:
- Chocolate Delight: Add unsweetened cocoa powder to the pudding mixture for a rich chocolate flavor.
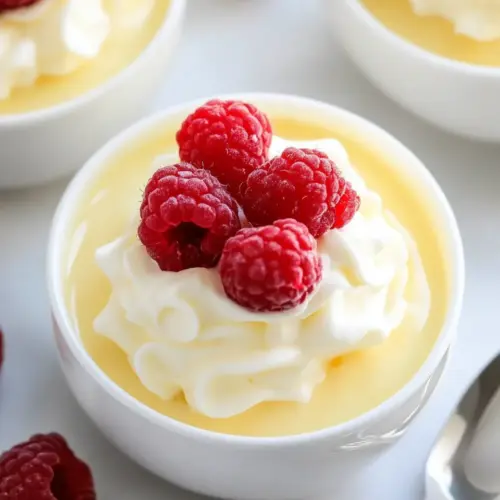
- Fruit Splash: Top with fresh berries or slices of banana for an added fruity twist.
- Coconut Cream: Substitute some of the milk with coconut milk for a tropical flair.
- Almond Bliss: Incorporate almond extract instead of vanilla for a nutty taste.
- Nutty Texture: Fold in crushed nuts or seeds after cooking for added crunch.
- Spiced Up: Add a dash of cinnamon or nutmeg for warmth and depth in flavor.
- Storage: Store leftovers in an airtight container in the fridge for up to two weeks.
- Freezing: You can freeze portions in single-serving containers for up to six months.
- Pairing: Serve alongside a light fruit salad for a refreshing dessert combo.
Side Dish Ideas for Sugar Free Pudding
When serving your Sugar Free Pudding, pairing it with the right side dishes can elevate the overall experience. Here are some wonderful ideas:
- Fresh Fruit Salad: A combination of seasonal fruits adds a refreshing touch that complements the creaminess of the pudding.
- Cookies: Serve with a selection of your favorite cookies for a delightful dessert platter.
- Whipped Cream: A dollop of homemade whipped cream can take this pudding to the next level.
- Warm Muffins: Accompany the pudding with warm muffins or pastries for an indulgent treat.
- Tea or Coffee: Offering a warm beverage alongside can enhance the overall dessert experience.
- Picnic Delight: This pudding is perfect for outdoor gatherings or picnics, making it a versatile choice for many occasions.
- Holiday Treat: Ideal for family gatherings, as it caters to various dietary preferences while pleasing everyone’s palate.
FAQ
Conclusion
This Sugar Free Pudding recipe is a delightful way to enjoy a classic dessert without the added sugars. It’s creamy, rich, and perfect for any occasion. I encourage you to give it a try; you won’t be disappointed!
Sugar Free Pudding
Equipment
- Frying Pan
- Whisk
- Large Pot
- Saucepan
- Mixing Bowl
Ingredients
- 1/4 cup + 2 tablespoons Allulose
- 2 tablespoons Cornstarch
- 1/4 teaspoon Salt
- 2 cups Milk
- 2 large Egg Yolks
- 2 tablespoons Butter
- 1 teaspoon Vanilla Extract
Instructions
- Start by gathering all your ingredients. In a small bowl, whisk together the allulose, cornstarch, and salt. This step is crucial as it ensures that the sweetener and thickener are evenly distributed.
- Next, transfer this mixture into a small saucepan and slowly whisk in the milk. Do this gradually to prevent lumps from forming, creating a smooth base for your pudding.
- Place the saucepan over medium heat. It’s important to keep stirring as you bring the mixture to a boil. The goal here is to help the cornstarch activate and thicken the pudding.
- Once it reaches a gentle boil, continue to whisk for 1 to 2 minutes. You’ll notice the pudding starting to thicken significantly. Keep an eye on it to avoid sticking or burning.
- Now, reduce the heat to low. Carefully scoop out half a cup of the hot mixture and add it to a bowl containing the whisked egg yolks. This technique tempers the yolks, preventing them from scrambling when added to the hot mixture.
- Whisk the yolk mixture thoroughly until combined. Then, pour this back into the saucepan with the rest of the pudding mixture. It’s essential to mix it well, as this is what gives the pudding its rich flavor and smooth texture.
- Allow the pudding to simmer on low heat for another 3 minutes. During this time, continue to stir gently to ensure it doesn’t stick to the bottom.
- Once thickened and creamy, remove the saucepan from the heat. Stir in the butter and vanilla extract until they are completely incorporated. This final touch elevates the flavor and creaminess of the pudding.
- Distribute the pudding mixture among 8 small ramekins or serving dishes. This portioning creates individual servings that are perfect for sharing.
- Finally, refrigerate the pudding for at least an hour. This chilling time allows it to firm up and develop its flavors, making the waiting worthwhile.
Notes
- Tip 1: I like using allulose because it dissolves exactly like sugar does. I don’t recommend monk fruit or stevia as they tend to crystalize once set.
- Tip 2: Store vanilla pudding in the refrigerator in an airtight container for up to two weeks.
- Tip 3: Place leftover pudding in single-serving containers and store in the freezer for up to six months.