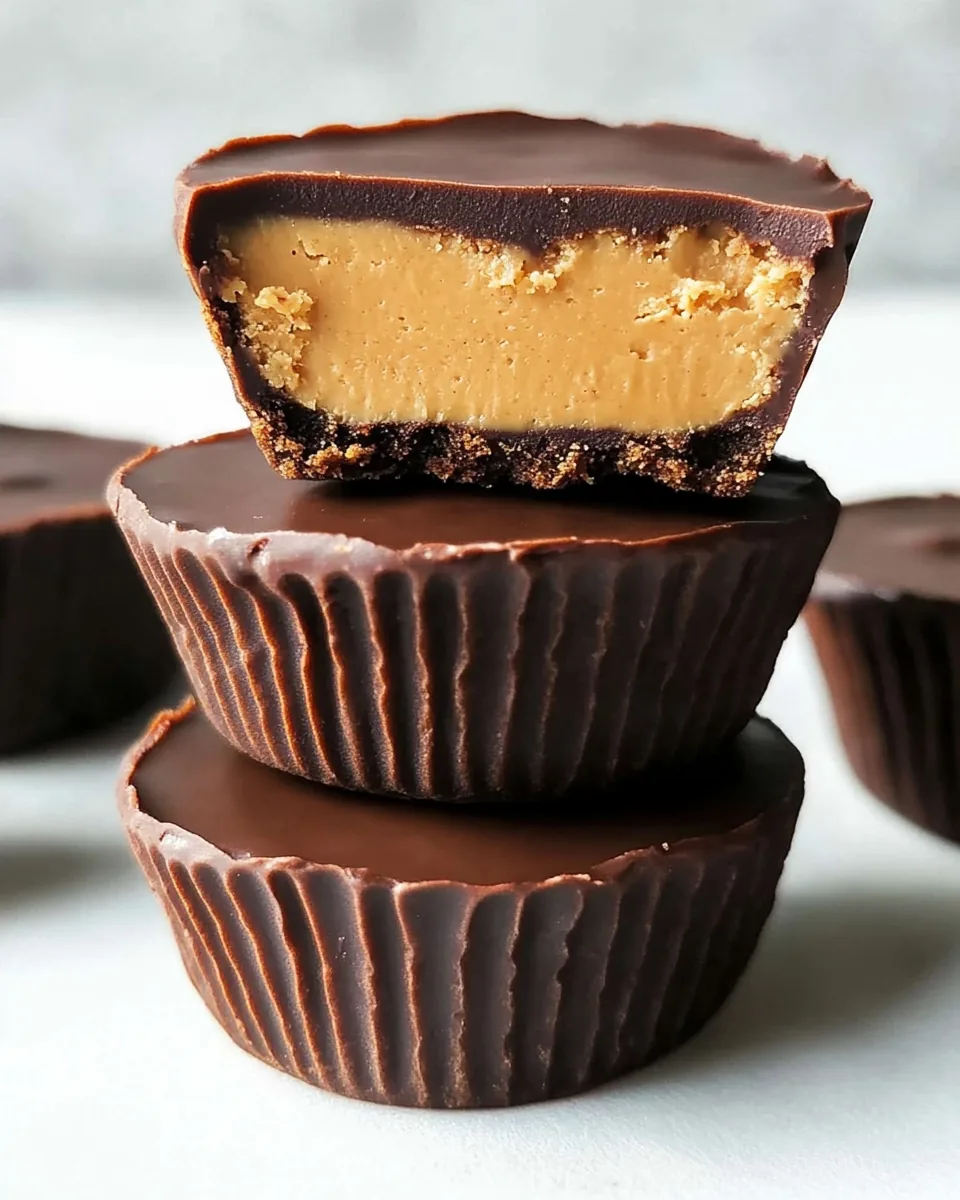
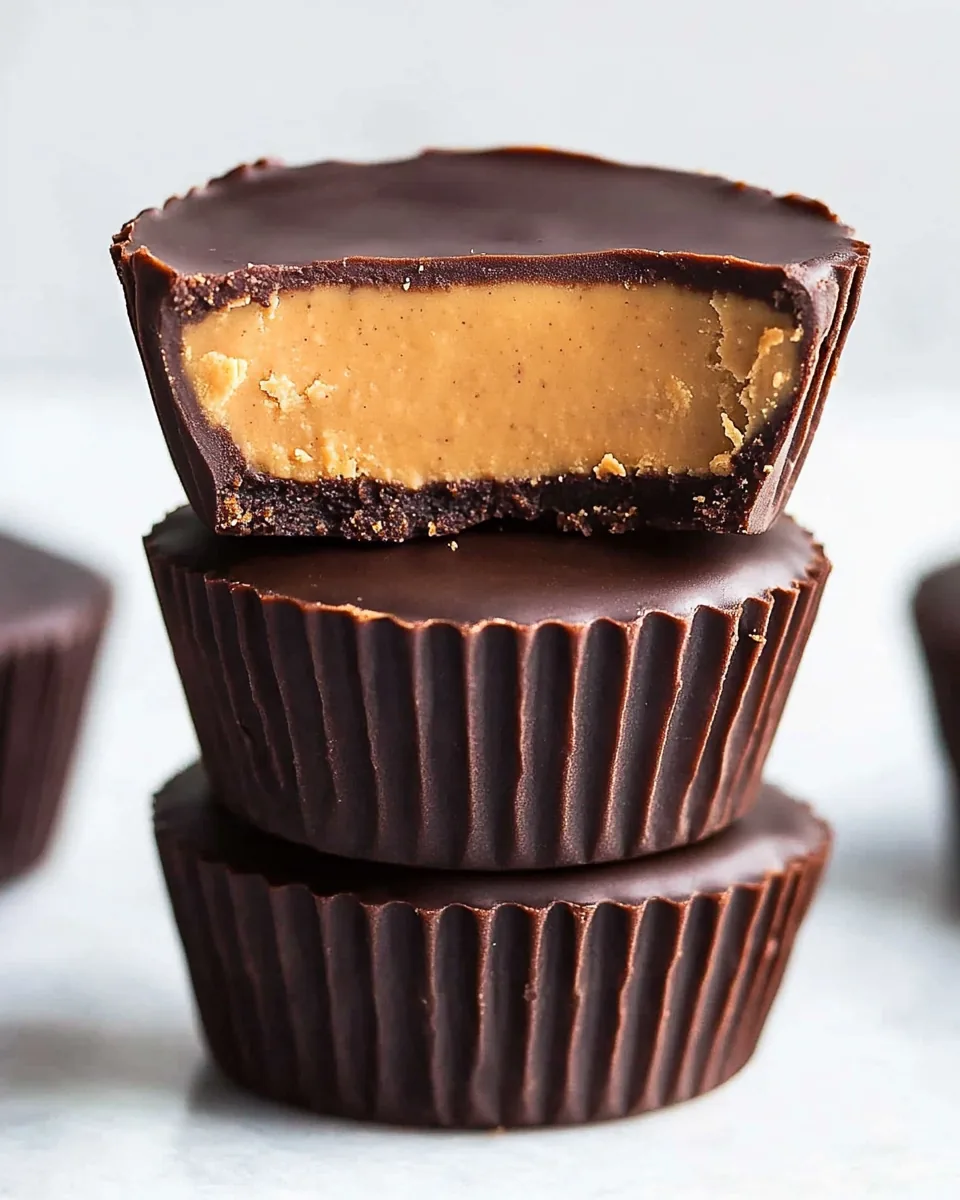
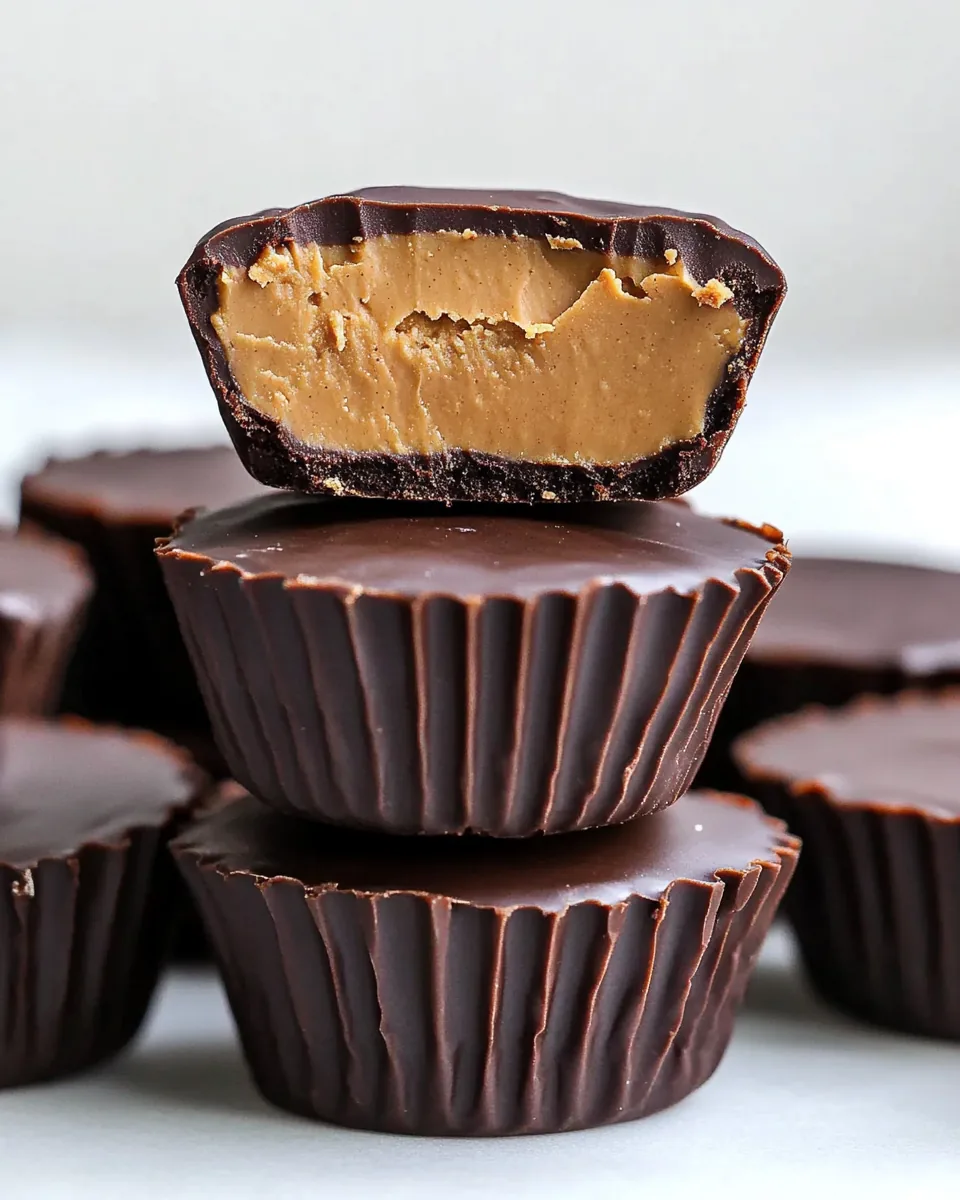
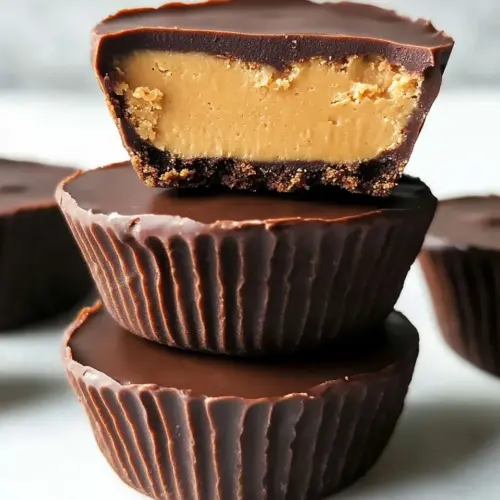
Protein Peanut Butter Cups
There’s a special joy that comes when you bite into a homemade treat, and for me, Protein Peanut Butter Cups are the epitome of that happiness. I remember the first time I decided to make them; it was a sunny afternoon, and the craving for something sweet yet nutritious struck me hard. As I rummaged through my pantry, I stumbled upon a jar of peanut butter, some dark chocolate chips, and a few other ingredients that promised to create pure magic. The excitement of blending those flavors together was irresistible. Little did I know, this simple recipe would become a staple in my household.
What I love most about these Protein Peanut Butter Cups is how customizable they are. You can enjoy them as a post-workout snack, a quick breakfast, or even a delightful dessert. I often find myself making a batch to share with friends and family, and the looks on their faces when they take that first bite is priceless. It’s the perfect balance of creamy peanut butter and rich chocolate, with just the right amount of sweetness thanks to a drizzle of maple syrup.
As I continue to experiment with different variations, I’ve discovered how versatile this recipe can be. You can easily switch up the chocolate type or even add a sprinkle of your favorite nuts for an extra crunch. I often find myself preparing these Protein Peanut Butter Cups for special occasions, and they never fail to impress. Whether it’s a casual gathering or a celebration, these cups always make an appearance.
Once you take the plunge and whip up a batch, you’ll see why they quickly become a favorite. They’re not just a treat; they’re a delicious way to nourish your body and satisfy your sweet tooth. So, grab your ingredients and let’s dive into making these irresistible Protein Peanut Butter Cups!
Recipe Snapshot
60 mins
0 mins
0 mins
Medium
150 kcal
5 g
Keto, Gluten-Free, Low FODMAP
12 g
Wooden Spoon, Mixing Bowl, Frying Pan, Large Pot
Why You Need This Protein Peanut Butter Cups
Indulgence Without Guilt
Each bite of these Protein Peanut Butter Cups feels indulgent, but they are packed with nutrition. The blend of peanut butter and collagen peptides provides not only a satisfying texture but also a boost of protein that keeps you feeling full longer.
Customizable Flavors
One of the best parts of this recipe is its versatility. Feel free to experiment by adding different flavors or toppings that suit your taste. Want a hint of spice? A dash of cinnamon can do wonders!
Perfect for Meal Prep
If you’re someone who enjoys meal prepping, these Protein Peanut Butter Cups fit perfectly into that routine. They store well in the fridge, making them an easy grab-and-go option during busy days.
Kid-Friendly Treat
These cups are not only a hit among adults but also with kids! You can involve them in the process of making these cups, making it a fun family activity.
Healthier Option for Sweet Cravings
Craving something sweet but want to avoid refined sugars? These cups use maple syrup as a natural sweetener, making them a healthier alternative that satisfies your sweet tooth.
Rich in Healthy Fats
The peanut butter in these cups is rich in healthy fats, which are essential for maintaining overall health. Combined with the dark chocolate that offers antioxidants, this treat is a win-win!
Protein Peanut Butter Cups Ingredients
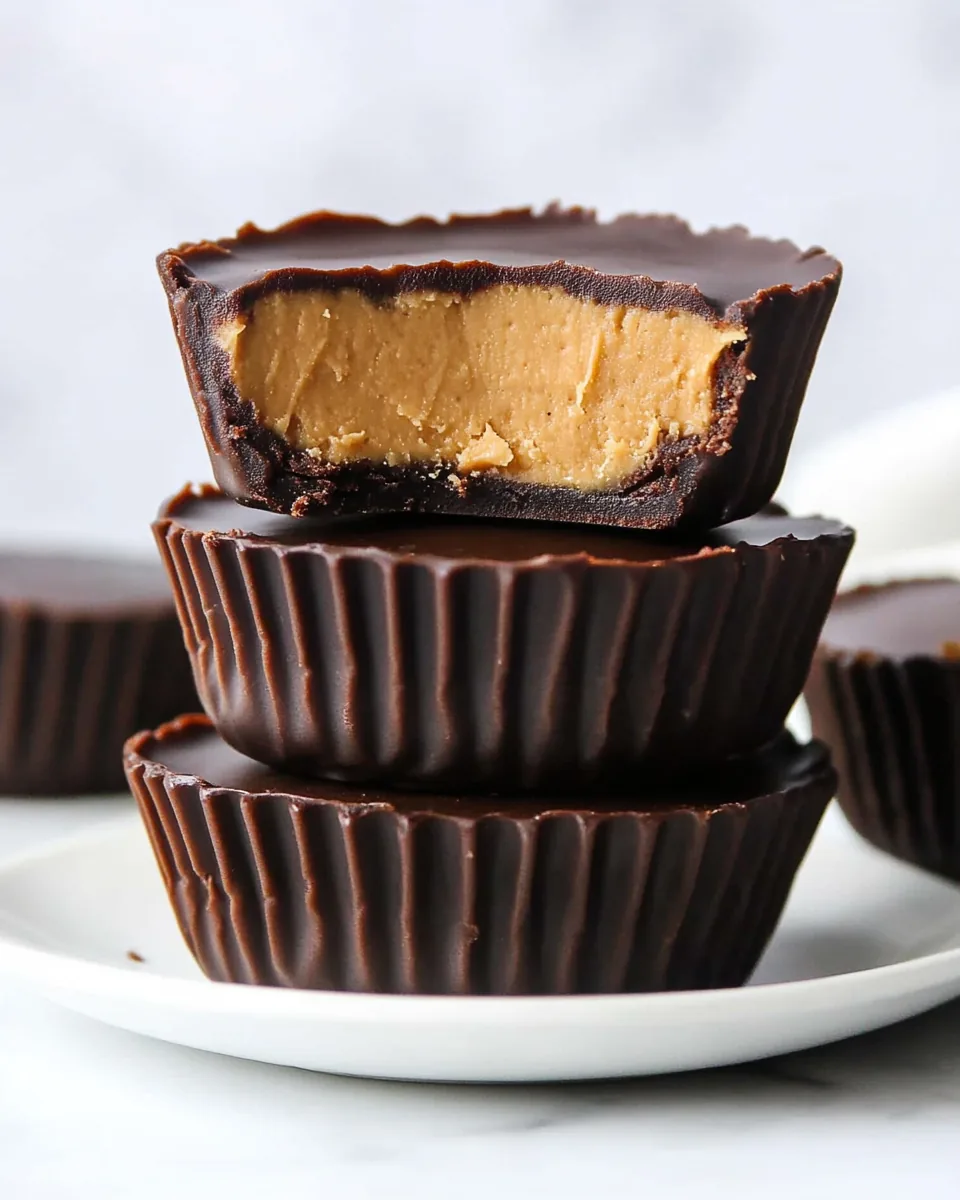
The beauty of these Protein Peanut Butter Cups lies in their simple yet powerful ingredients. Each component plays a vital role in achieving that perfect balance of taste and nutrition. The key players here are peanut butter, which provides a creamy base, and dark chocolate, which adds a rich flavor. Together, they create a delightful treat that’s both satisfying and nourishing.
- ½ cup peanut butter – The star of the show, delivering a creamy texture and rich flavor.
- ¼ cup collagen peptides – Boosts the protein content and supports skin and joint health.
- 2 tablespoons maple syrup – Adds natural sweetness while complementing the peanut butter.
- ½ teaspoon fine sea salt – Enhances the flavors and balances the sweetness.
- 1 cup dark chocolate chips – Melts beautifully to create a rich coating.
- 2 teaspoons coconut oil – Helps to thin the chocolate for easy pouring.
- Flaky sea salt (optional) – A finishing touch that adds texture and a burst of flavor.
Recipe Steps for Protein Peanut Butter Cups
Making Protein Peanut Butter Cups is a breeze, and I’m excited to walk you through the steps. Each one is straightforward and fun, making it easy to involve the whole family. Let’s get started!
- Line a standard muffin pan with 9 parchment paper liners. This helps to easily remove the cups once they are set. You want to ensure you have a good foundation for your Protein Peanut Butter Cups.
- To melt the chocolate, add an inch of water to a small saucepan and bring it to a boil on the stovetop. This method is gentle, preventing the chocolate from burning. While waiting, gather your chocolate chips and coconut oil.
- In a heat-safe bowl that fits snugly over the top of the saucepan, combine the chocolate chips and coconut oil. The steam will warm the bowl, gently melting the chocolate. Stir occasionally until the mixture is smooth and creamy.
- Add 2 teaspoons of the melted chocolate to each muffin liner. This first layer forms the base. Tilt the pan gently on all sides, ensuring the chocolate coats the lower edges of each cup. This step is optional but recommended for a nice chocolatey edge.
- Once done, place the pan on a flat shelf in your freezer. This allows the bottom layer to firm up while you prepare the filling.
- In a medium bowl, combine the peanut butter, collagen, maple syrup, and fine sea salt. Stir well until the mixture looks uniform and creamy. This is where all the delicious flavors meld together.
- Remove the pan from the freezer and scoop about a tablespoon of the peanut butter mixture into the center of each muffin cup. Gently flatten the tops with your fingers. Be careful not to spread it all the way to the edges; leave space for more chocolate on top.
- Pour 2 teaspoons of the remaining melted chocolate on top of each cup, spreading it around evenly with the back of a spoon. Top with flaky sea salt if desired. It adds a lovely crunch and an extra burst of flavor.
- Return the pan to the freezer and allow them to firm up for about 10 minutes. After that, they should be set and ready to enjoy!
- Transfer your Protein Peanut Butter Cups to an airtight container to preserve their flavor. They can be stored in the fridge for up to a month. Serve chilled for the best texture, as they can melt in your hands if they warm up too much.
Things Worth Knowing
- Temperature Control: Be sure to keep an eye on the melting chocolate. Too much heat can cause it to seize up, ruining your mix.
- Layering Technique: Gently coating the muffin liners with chocolate will give your cups a beautiful finish. It not only enhances aesthetics but also adds a flavor boost.
- Peanut Butter Quality: Use high-quality peanut butter for the best taste. Natural options without added sugar or oils work wonderfully.
- Setting Time: Allow enough time for chilling in the freezer to ensure they hold their shape perfectly.
Helpful Notes about Protein Peanut Butter Cups
These Protein Peanut Butter Cups are quite simple to make, but here are some tips to enhance your experience. Understanding a few tricks can make the process easier and the end result even more enjoyable.
- Storage: Store leftovers in an airtight container in the refrigerator to preserve freshness. They should last for about one month.
- Freezing: These cups freeze beautifully. Just ensure they’re stored in an airtight container. When you’re ready to enjoy, let them thaw slightly at room temperature.
- Pairing: These cups pair wonderfully with a cup of coffee or tea, serving as a delightful afternoon snack.
- Customization: Feel free to add mix-ins like chopped nuts or dried fruits to the peanut butter filling for added texture.
- Presentation: For a special touch, you can drizzle melted chocolate over the finished cups before chilling.
Pairing Suggestions for Protein Peanut Butter Cups
When it comes to serving Protein Peanut Butter Cups, the possibilities are endless. Here are some ideas to consider:
- Morning Boost: Enjoy these cups alongside your breakfast, paired with yogurt or fruit for a balanced meal.
- Post-Workout Snack: After a workout, these Protein Peanut Butter Cups are an excellent way to refuel, as they’re rich in protein and healthy fats.
- Sweet Treat: Serve them as a sweet dessert after lunch or dinner for a healthy alternative to traditional sweets.
- Seasonal Celebrations: These cups can easily be shaped into festive forms for holidays, making them a fun addition to any gathering.
- Outdoor Picnics: Pack them along for picnics; they travel well and are a hit with both kids and adults.
- Chill & Enjoy: Always serve them chilled for the best taste and texture. They’re perfect for warm days when you need a refreshing treat.
FAQ
Conclusion
The Protein Peanut Butter Cups recipe is truly special, combining protein-rich ingredients with the irresistible flavors of chocolate and peanut butter. They are not just a delightful treat; they offer a sense of satisfaction knowing you’re indulging in something nutritious. I encourage you to give this recipe a try, whether as a snack, dessert, or post-workout treat. You’ll love how easy they are to make and how quickly they disappear!
Protein Peanut Butter Cups
Equipment
- Wooden Spoon
- Mixing Bowl
- Frying Pan
- Large Pot
Ingredients
- ½ cup Peanut Butter
- ¼ cup Collagen Peptides
- 2 tablespoons Maple Syrup
- ½ teaspoon Fine Sea Salt
- 1 cup Dark Chocolate Chips see notes
- 2 teaspoons Coconut Oil
Instructions
- Line a standard muffin pan with 9 parchment paper liners. This helps to easily remove the cups once they are set. You want to ensure you have a good foundation for your Protein Peanut Butter Cups.
- To melt the chocolate, add an inch of water to a small saucepan and bring it to a boil on the stovetop. This method is gentle, preventing the chocolate from burning. While waiting, gather your chocolate chips and coconut oil.
- In a heat-safe bowl that fits snugly over the top of the saucepan, combine the chocolate chips and coconut oil. The steam will warm the bowl, gently melting the chocolate. Stir occasionally until the mixture is smooth and creamy.
- Add 2 teaspoons of the melted chocolate to each muffin liner. This first layer forms the base. Tilt the pan gently on all sides, ensuring the chocolate coats the lower edges of each cup. This step is optional but recommended for a nice chocolatey edge.
- Once done, place the pan on a flat shelf in your freezer. This allows the bottom layer to firm up while you prepare the filling.
- In a medium bowl, combine the peanut butter, collagen, maple syrup, and fine sea salt. Stir well until the mixture looks uniform and creamy. This is where all the delicious flavors meld together.
- Remove the pan from the freezer and scoop about a tablespoon of the peanut butter mixture into the center of each muffin cup. Gently flatten the tops with your fingers. Be careful not to spread it all the way to the edges; leave space for more chocolate on top.
- Pour 2 teaspoons of the remaining melted chocolate on top of each cup, spreading it around evenly with the back of a spoon. Top with flaky sea salt if desired. It adds a lovely crunch and an extra burst of flavor.
- Return the pan to the freezer and allow them to firm up for about 10 minutes. After that, they should be set and ready to enjoy!
- Transfer your Protein Peanut Butter Cups to an airtight container to preserve their flavor. They can be stored in the fridge for up to a month. Serve chilled for the best texture, as they can melt in your hands if they warm up too much.