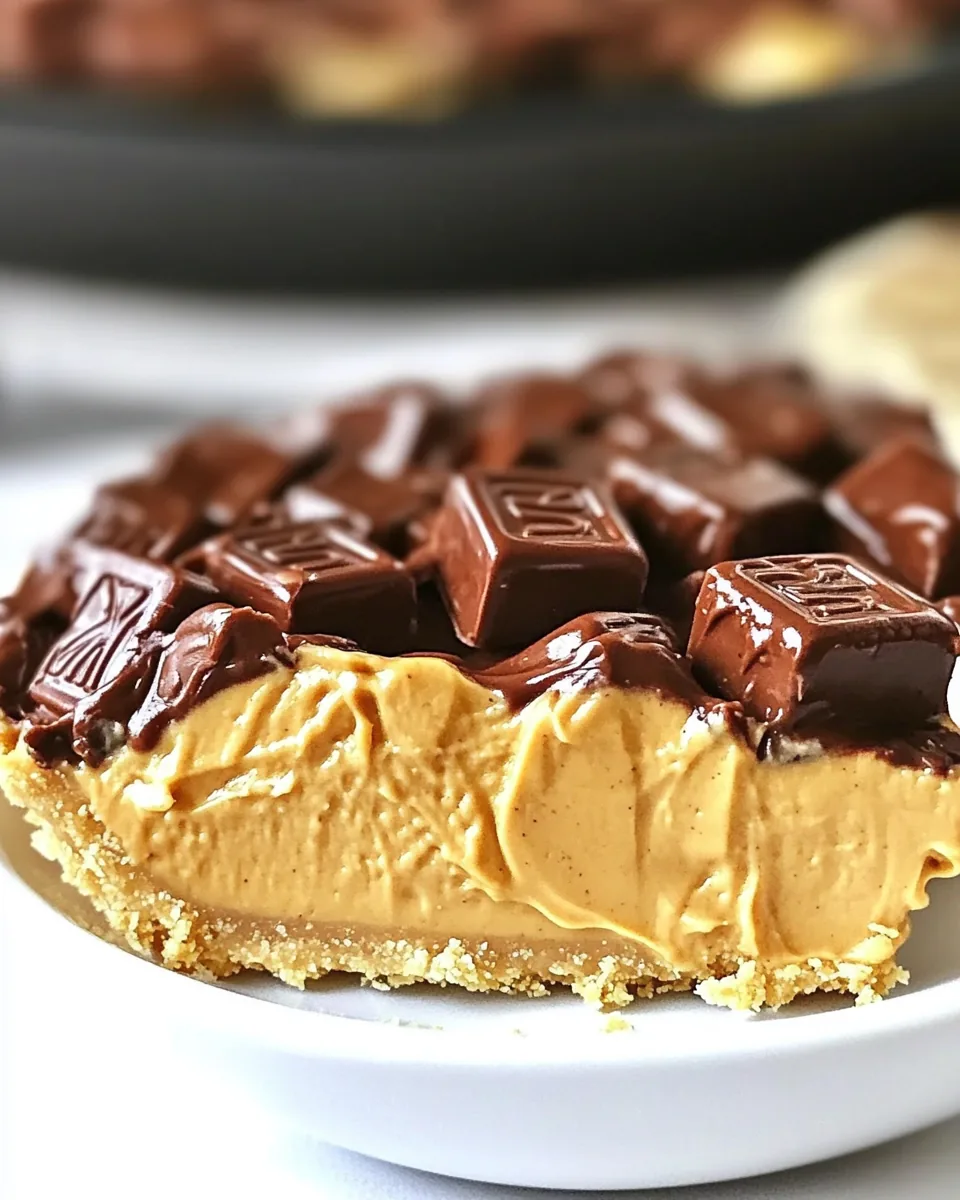
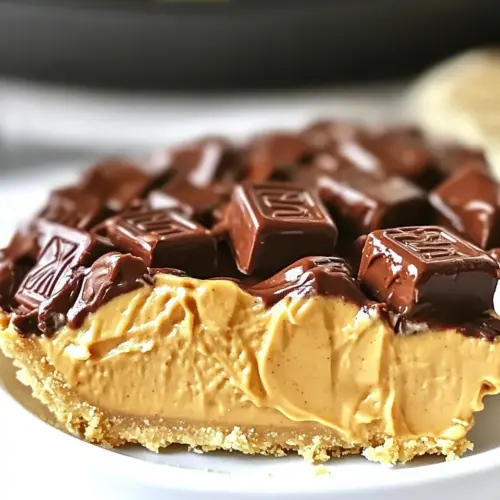
No Bake Peanut Butter Twix Pie
There’s something incredibly satisfying about the combination of a rich, creamy filling and a crunchy crust, and that’s exactly what you get with No Bake Peanut Butter Twix Pie. Imagine a warm evening, the sun setting, and you’re gathering with friends or family, excited to share a dessert that’s both fun and indulgent. This pie has been a staple in my home for years, a go-to treat that always brings smiles and happy taste buds. I remember the first time I made it; I was a little nervous about working with such rich flavors, but it turned out to be a delightful success! Every bite offers a perfect balance of sweet and salty, creamy and crunchy, making it hard to resist. Whether it’s a birthday celebration or just a simple weekend treat, the No Bake Peanut Butter Twix Pie is sure to impress and satisfy that sweet tooth.
Recipe Snapshot
30 mins
30 mins
0 mins
Easy
360 kcal
6 g
Gluten-Free, Low FODMAP
22 g
Wooden Spoon, Mixing Bowl
Why We Love This No Bake Peanut Butter Twix Pie
Quick and Easy
One of the best aspects of the No Bake Peanut Butter Twix Pie is its simplicity. You don’t need to be a master chef to whip this up. Just a few ingredients and a little bit of mixing are all it takes to create this mouthwatering dessert. No baking means you can spend more time enjoying the company of your loved ones and less time stuck in the kitchen.
Rich Flavor Combination
The combination of peanut butter, cream cheese, and Cool Whip is a match made in dessert heaven. The creamy texture of the filling perfectly complements the crunch of the shortbread cookie crust. Add in some semi-sweet chocolate on top, and you’ve got a dessert that satisfies all cravings.
A Crowd-Pleaser
This pie has never failed to impress guests at gatherings. It’s a conversation starter, and before you know it, everyone will be asking for the recipe! The surprise of a no-bake dessert often leaves everyone impressed, and I love sharing the joy of making it with others.
Perfect for Any Occasion
No matter the occasion, this pie fits right in. Whether you’re hosting a birthday party, a potluck, or just enjoying a quiet family dinner, the No Bake Peanut Butter Twix Pie is sure to be a hit. It’s versatile enough to be served year-round, making it a go-to dessert for any season.
Make-Ahead Delight
One of the best features of this pie is its make-ahead capability. You can prepare it a day or two in advance and simply let it chill in the fridge until you’re ready to serve. This feature is especially helpful when planning a big event, allowing you to enjoy the day without last-minute dessert stress.
Main Ingredients for No Bake Peanut Butter Twix Pie
When it comes to the ingredients in the No Bake Peanut Butter Twix Pie, each one plays a crucial role in creating that perfect harmony of flavors and textures. The shortbread cookie crumbs form the crunchy base that holds everything together, while the creamy cream cheese and peanut butter give the filling its rich and satisfying flavor. Finally, the semi-sweet chocolate adds a decadent finish that elevates this pie to a whole new level.
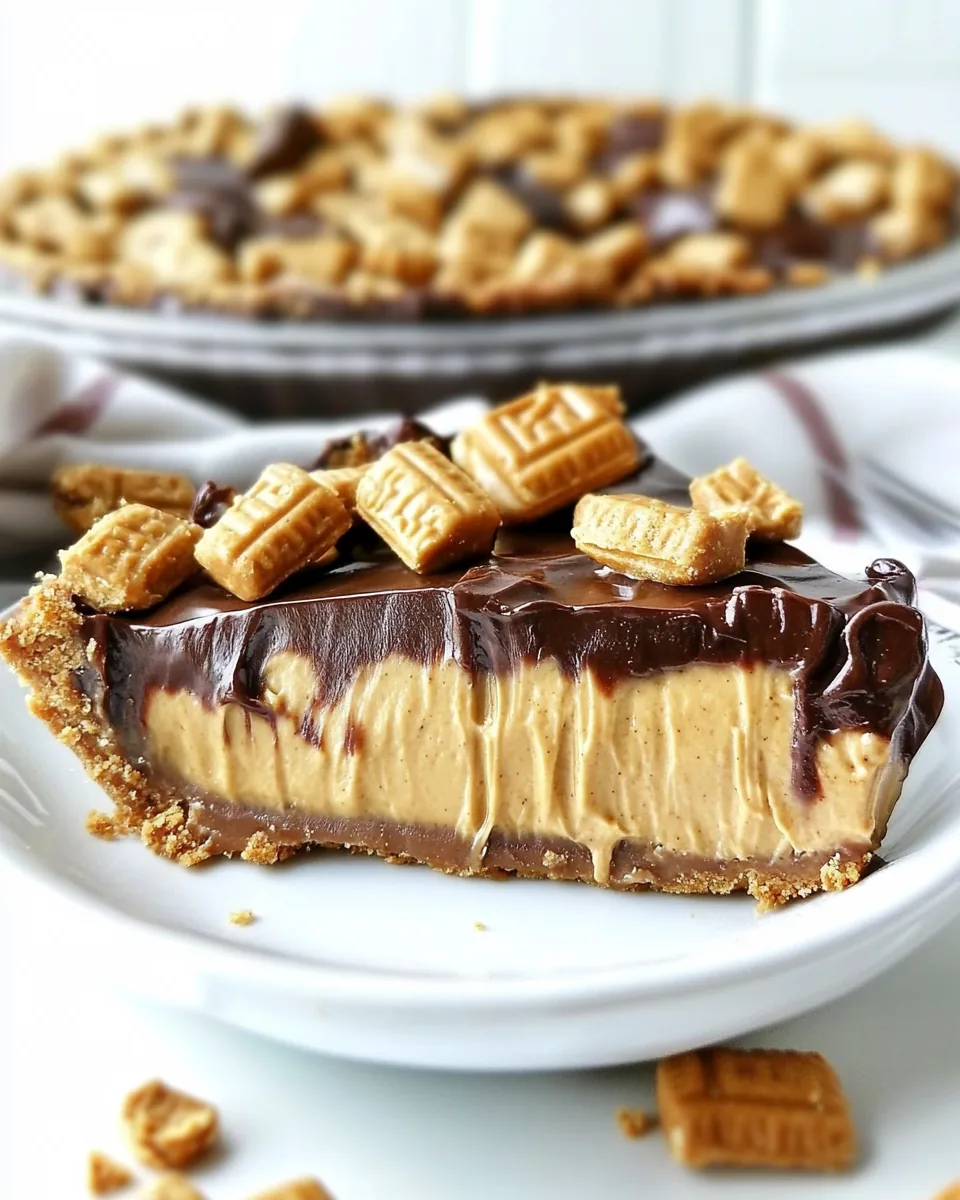
- 2 cups of shortbread cookie crumbs like Lorna Doone (about 30 cookies) – These crumbs create the perfect crunchy base for the pie, providing texture and flavor.
- 6 tablespoons of butter (melted) – The melted butter helps bind the cookie crumbs together, ensuring a sturdy crust.
- 8 ounces of cream cheese (room temperature) – This ingredient adds a rich creaminess to the filling, making each bite smooth and delightful.
- 1 cup of peanut butter – I recommend using Skippy Naturals for the best flavor, as it creates a deliciously nutty filling.
- ½ cup of granulated sugar – This sweetens the filling and balances the flavors beautifully.
- 1 teaspoon of vanilla extract – Vanilla enhances all the other flavors, adding a warm undertone to the pie.
- 2 ounces of semi-sweet chocolate – The chocolate topping is the crowning glory of the pie, providing a rich finish.
- 1 ½ containers (12 ounces) of Cool Whip (fat-free, regular, or sugar-free) – This lightens the filling and adds a lovely texture, making the pie even more indulgent.
How to Make No Bake Peanut Butter Twix Pie
Making the No Bake Peanut Butter Twix Pie is an enjoyable and straightforward process that anyone can master. Follow these steps to create a delicious dessert everyone will love.
- Start by preparing your crust. In a mixing bowl, combine the shortbread cookie crumbs and melted butter. Use a fork to mix the two together until the crumbs are well-coated and resemble wet sand. The mixture should hold together when pressed. Once ready, press the crumb mixture firmly into a 9-inch pie plate, ensuring an even layer across the bottom and up the sides. Chill the crust in the refrigerator for at least 30 minutes to set.
- While the crust is chilling, prepare the filling. In a large mixing bowl, beat the cream cheese with a hand mixer until it’s smooth and creamy. Make sure to scrape down the sides of the bowl as you go to ensure even mixing. Once the cream cheese is smooth, add in the peanut butter, granulated sugar, and vanilla extract. Mix until everything is fully combined and there are no lumps remaining. The mixture should be creamy and thick, with a delicious peanut butter aroma.
- Next, gently fold in one container of Cool Whip into the peanut butter mixture. Use a spatula to carefully incorporate the Cool Whip without deflating it too much. The filling will be light and fluffy, but still thick enough to hold its shape. Once combined, spread the filling evenly into the chilled pie crust. Use a spatula to smooth the top for a great presentation.
- Now it’s time to prepare the chocolate topping. In a microwave-safe bowl, melt the semi-sweet chocolate in 30-second increments. Stir the chocolate between each increment to ensure it melts evenly without burning. After about one minute, the chocolate should be completely melted and smooth. Be careful not to overheat it; you want it just melted.
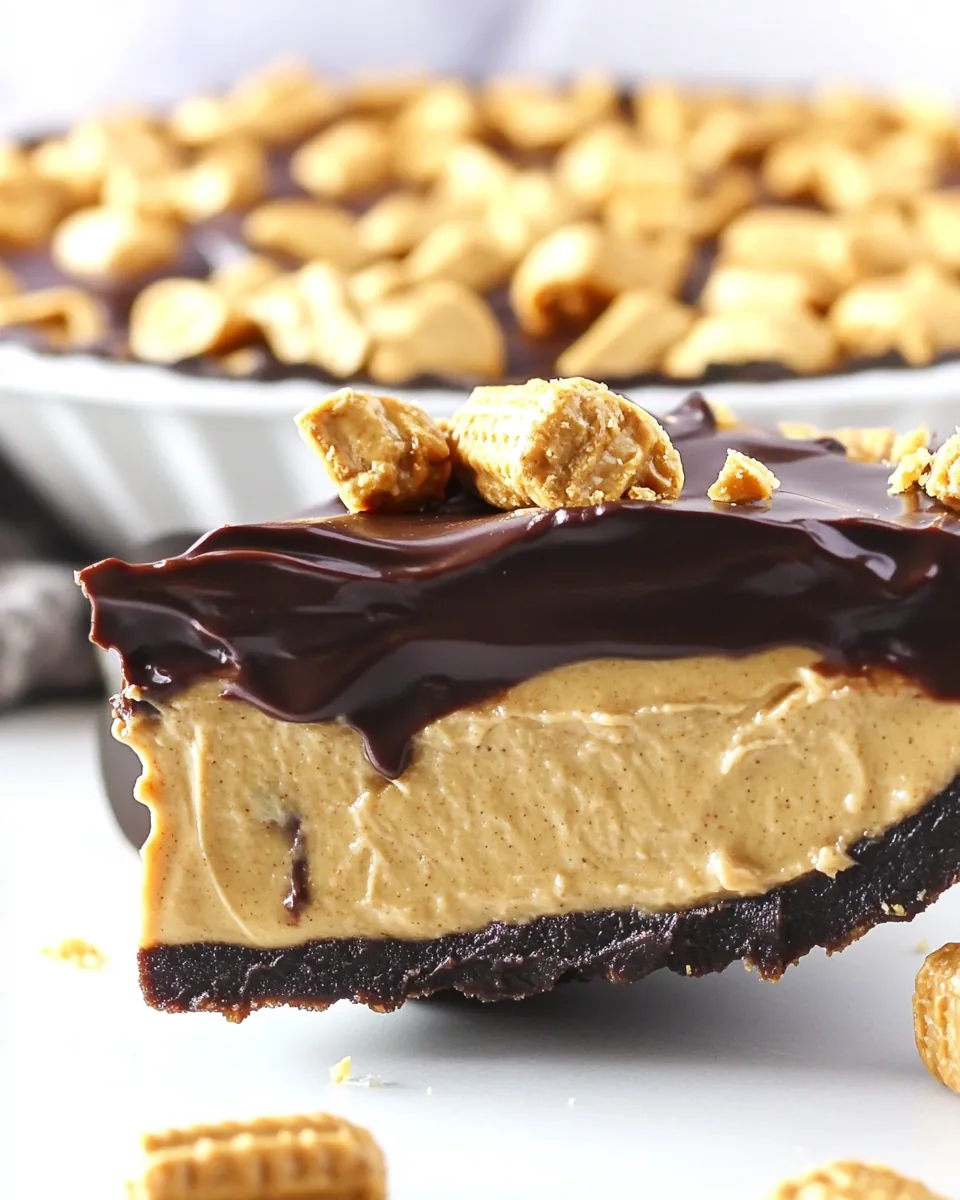
- Once the chocolate is melted, stir in one cup of Cool Whip until well combined. This will create a creamy, luscious chocolate topping. Spread this chocolate mixture over the top of the pie, covering the filling entirely. The contrast of the chocolate against the creamy filling is visually appealing and adds to the flavor.
- Finally, place the pie back in the refrigerator to chill for at least 4 hours, or preferably overnight. This allows all the flavors to meld together and ensures a firm structure when slicing. When ready to serve, remove the pie from the fridge and slice it into wedges. You can serve it plain or add extra dollops of Cool Whip on top for a little extra indulgence.
Things Worth Knowing
- Chill Time is Key: Ensure you chill the pie for at least 4 hours or overnight. This helps the pie set properly and allows the flavors to meld together.
- Room Temperature Ingredients: Make sure your cream cheese is at room temperature before mixing. This prevents lumps in the filling and ensures a smooth texture.
- Chocolate Melting Tips: When melting chocolate, be patient and stir often. This prevents burning and ensures a smooth consistency.
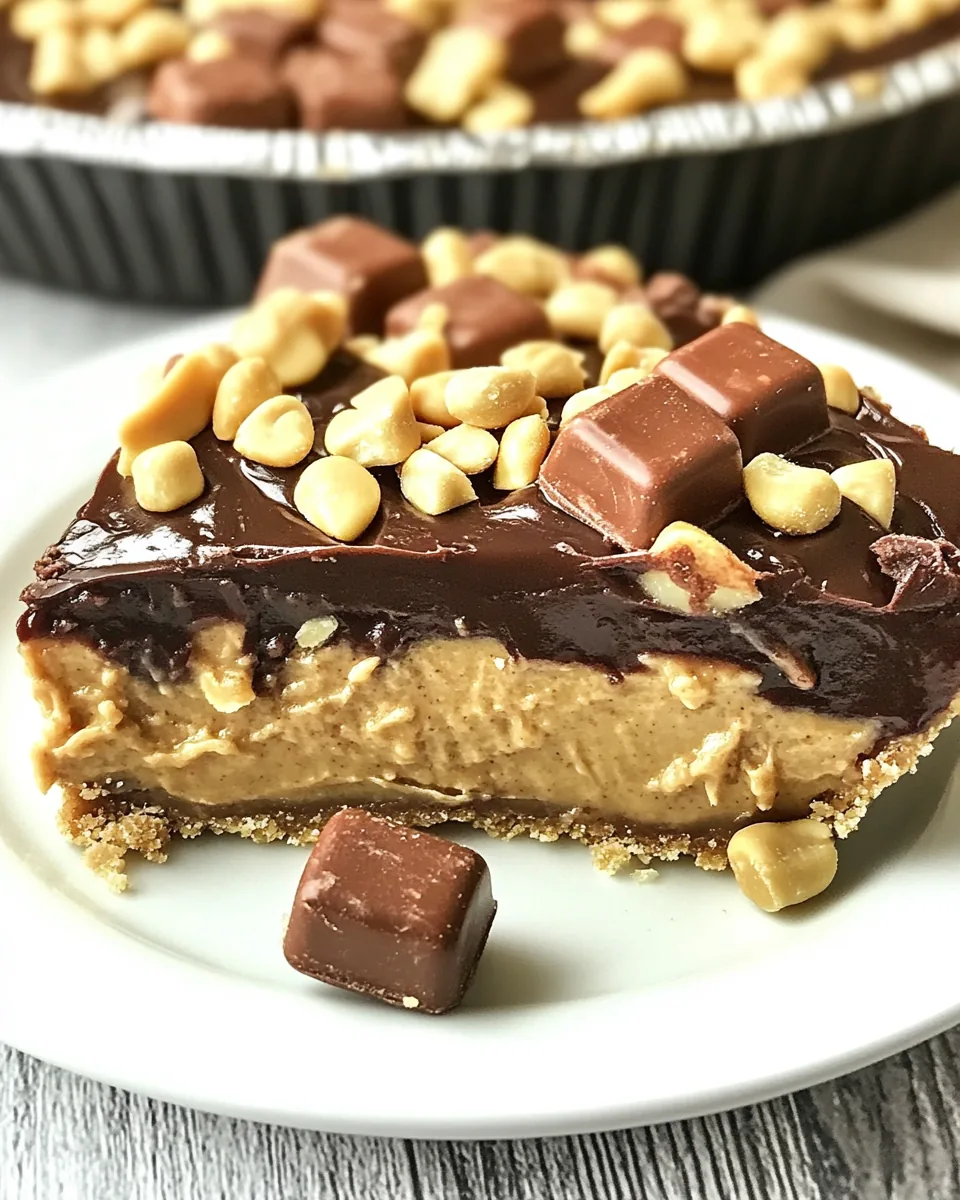
- Serving Suggestions: Consider adding a sprinkle of crushed peanuts or chocolate shavings on top for garnish before serving.
How to Switch It Up
Everyone loves a classic, but sometimes it’s fun to get creative with a recipe like the No Bake Peanut Butter Twix Pie. Here are some ideas to switch it up a bit!
- Flavor Variations: You can try using different nut butters like almond or cashew for a new flavor twist. Each nut butter brings its unique taste to the pie.
- Cookie Crust Options: Experiment with different cookie bases like chocolate cookies or graham crackers. Each will lend a distinct flavor and texture!
- Additional Toppings: Top your pie with crushed candy bars, such as Reese’s or Snickers, for an extra sweet crunch. This can elevate the presentation and taste.
- Fruit Additions: Consider adding slices of banana or strawberries in the filling for a refreshing twist. The fruit adds a nice contrast to the rich filling.
- Make it a Brownie Pie: Instead of a cookie crust, use a brownie base for a chocolate lover’s dream. This adds depth and indulgence to the dessert.
Perfect Matches for No Bake Peanut Butter Twix Pie
Serving the No Bake Peanut Butter Twix Pie can be just as fun as making it! Here are some ideas to consider when planning your dessert spread.
- Fresh Fruit: Serve with a side of fresh berries or sliced bananas. Their natural sweetness and acidity can balance the richness of the pie.
- Coffee Pairing: This pie pairs wonderfully with a cup of coffee. The bitterness of the coffee complements the sweetness and creaminess of the pie.
- Seasonal Events: This dessert is a hit during family gatherings, birthdays, or summer barbecues. The no-bake aspect makes it ideal for warm weather.
- Storage Tips: Store any leftovers in the refrigerator for up to 3 days. Just make sure to cover it to keep it fresh.
- Serving Style: Serve individual slices on dessert plates for a more elegant presentation, and don’t forget those extra dollops of Cool Whip!
FAQ
Conclusion
The No Bake Peanut Butter Twix Pie is a delightful dessert that brings together everyone’s favorite flavors in a fun and easy-to-make way. Its rich peanut butter filling and crunchy crust make it irresistible! I encourage you to try making this delicious pie for your next gathering, as it’s sure to be a hit. Don’t hesitate to share the joy of this dessert with family and friends, because nothing brings people together quite like a sweet treat!
No Bake Peanut Butter Twix Pie
Equipment
- Wooden Spoon
- Mixing Bowl
Ingredients
- 2 cups shortbread cookie crumbs like Lorna Doone, about 30 cookies
- 6 tablespoons butter melted
- 8 ounces cream cheese room temperature
- 1 cup peanut butter I use Skippy Naturals, you can also use regular.
- ½ cup granulated sugar
- 1 teaspoon vanilla extract
- 2 ounces semi-sweet chocolate
- 1 ½ containers Cool Whip (fat-free, regular, or sugar-free)
Instructions
- Start by preparing your crust. In a mixing bowl, combine the shortbread cookie crumbs and melted butter. Use a fork to mix the two together until the crumbs are well-coated and resemble wet sand. The mixture should hold together when pressed. Once ready, press the crumb mixture firmly into a 9-inch pie plate, ensuring an even layer across the bottom and up the sides. Chill the crust in the refrigerator for at least 30 minutes to set.
- While the crust is chilling, prepare the filling. In a large mixing bowl, beat the cream cheese with a hand mixer until it's smooth and creamy. Make sure to scrape down the sides of the bowl as you go to ensure even mixing. Once the cream cheese is smooth, add in the peanut butter, granulated sugar, and vanilla extract. Mix until everything is fully combined and there are no lumps remaining. The mixture should be creamy and thick, with a delicious peanut butter aroma.
- Next, gently fold in one container of Cool Whip into the peanut butter mixture. Use a spatula to carefully incorporate the Cool Whip without deflating it too much. The filling will be light and fluffy, but still thick enough to hold its shape. Once combined, spread the filling evenly into the chilled pie crust. Use a spatula to smooth the top for a great presentation.
- Now it’s time to prepare the chocolate topping. In a microwave-safe bowl, melt the semi-sweet chocolate in 30-second increments. Stir the chocolate between each increment to ensure it melts evenly without burning. After about one minute, the chocolate should be completely melted and smooth. Be careful not to overheat it; you want it just melted.
- Once the chocolate is melted, stir in one cup of Cool Whip until well combined. This will create a creamy, luscious chocolate topping. Spread this chocolate mixture over the top of the pie, covering the filling entirely. The contrast of the chocolate against the creamy filling is visually appealing and adds to the flavor.
- Finally, place the pie back in the refrigerator to chill for at least 4 hours, or preferably overnight. This allows all the flavors to meld together and ensures a firm structure when slicing. When ready to serve, remove the pie from the fridge and slice it into wedges. You can serve it plain or add extra dollops of Cool Whip on top for a little extra indulgence.
Notes
- Tip 1: Store any leftovers in the refrigerator for up to 3 days. Just make sure to cover it to keep it fresh.
- Tip 2: Chill the pie for at least 4 hours or overnight to ensure it sets properly.
- Tip 3: Consider adding a sprinkle of crushed peanuts or chocolate shavings on top for garnish before serving.
- Tip 4: Try using different nut butters for a twist on the flavor!
- Tip 5: This pie pairs wonderfully with a cup of coffee or a scoop of vanilla ice cream.