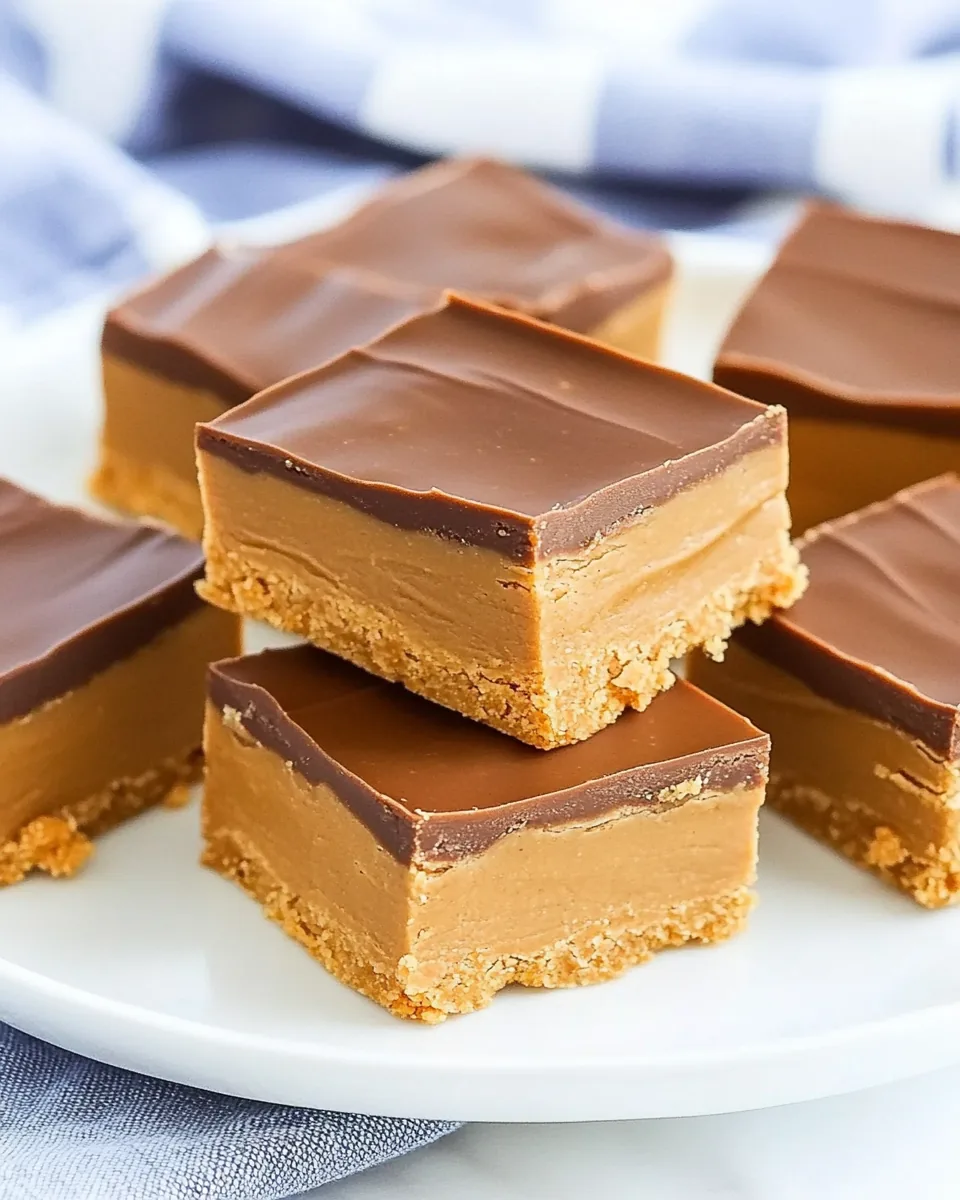
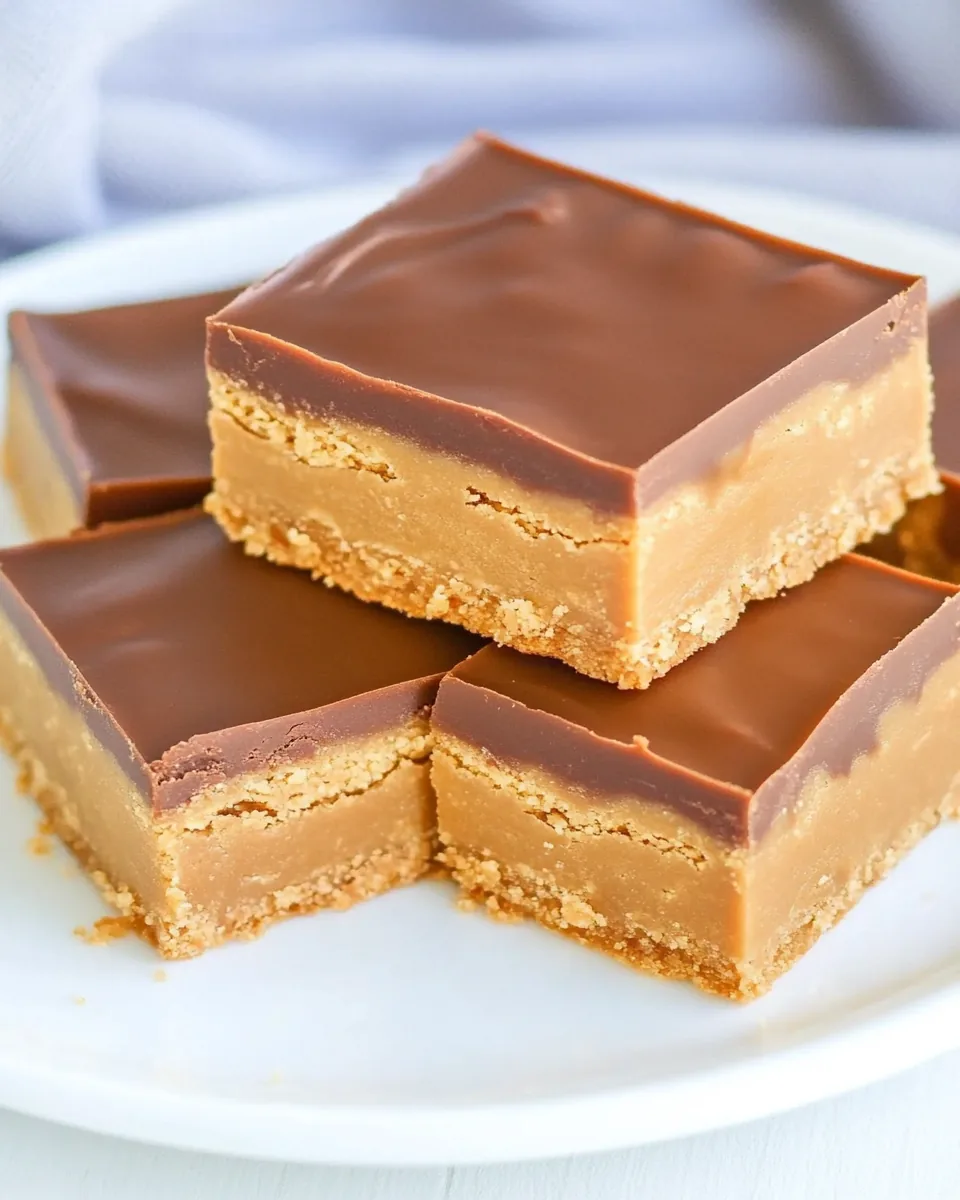
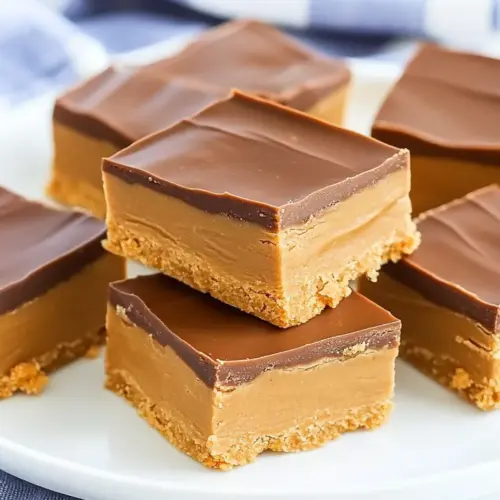
No Bake Peanut Butter Bars
There’s something truly special about No Bake Peanut Butter Bars that brings back memories of childhood. I remember my mother whipping up a batch on a lazy Saturday afternoon, the kitchen filled with the irresistible scent of creamy peanut butter and sweet chocolate. It was a treat we all looked forward to, perfect for sharing with friends or indulging in after school. These bars are not just a recipe; they’re a nostalgic journey to simpler times where treats were homemade and love was the secret ingredient. The best part? You don’t even have to turn on the oven! That’s right; these delicious bars require no baking at all, making them an ideal snack or dessert for warm days when you don’t want to heat up the kitchen. Whether you’re preparing for a family gathering or just wanting a sweet treat to enjoy at home, these No Bake Peanut Butter Bars are sure to please everyone.
Recipe Snapshot
30 mins
10 mins
20 mins
Medium
300 kcal
5 g
Gluten-Free, Low FODMAP
20 g
Wooden Spoon, Frying Pan, Mixing Bowl
Why This No Bake Peanut Butter Bars Shines
Quick and Easy to Make
One of the standout features of No Bake Peanut Butter Bars is their simplicity. You can whip them up in just a few minutes, making them perfect for last-minute guests or sudden cravings. Unlike traditional baked goods, there’s no waiting for the oven to preheat or worrying about overbaking. Just mix, press, and chill!
Rich, Creamy Flavor
The combination of creamy peanut butter and chocolate creates a rich flavor that is simply irresistible. Each bite offers a delightful mix of textures and tastes that keeps you coming back for more. Plus, the addition of powdered sugar gives it that perfect sweetness without overwhelming your palate.
Perfect for Any Occasion
Whether you’re hosting a party, celebrating a birthday, or just looking for a sweet snack, No Bake Peanut Butter Bars fit the bill. They’re versatile enough to be enjoyed at any time of the year, making them a fantastic option for picnics, potlucks, and family gatherings.
Customizable to Your Taste
These bars can be easily customized to suit your preferences. Feel free to experiment with different toppings like chopped nuts, coconut flakes, or even a drizzle of caramel. The possibilities are endless, and they can adapt to whatever flavors you love most!
Kid-Friendly and Fun
Making No Bake Peanut Butter Bars can also be a fun activity to do with kids. They can help mix ingredients, pour chocolate, and even cut the bars when they’re set. It’s a great way to create lasting memories in the kitchen.
Healthy Alternatives
For those looking for a healthier version, you can substitute traditional ingredients with natural alternatives. Using almond butter instead of peanut butter or opting for dark chocolate can elevate the bars while keeping them delicious!
Essential Ingredients for No Bake Peanut Butter Bars
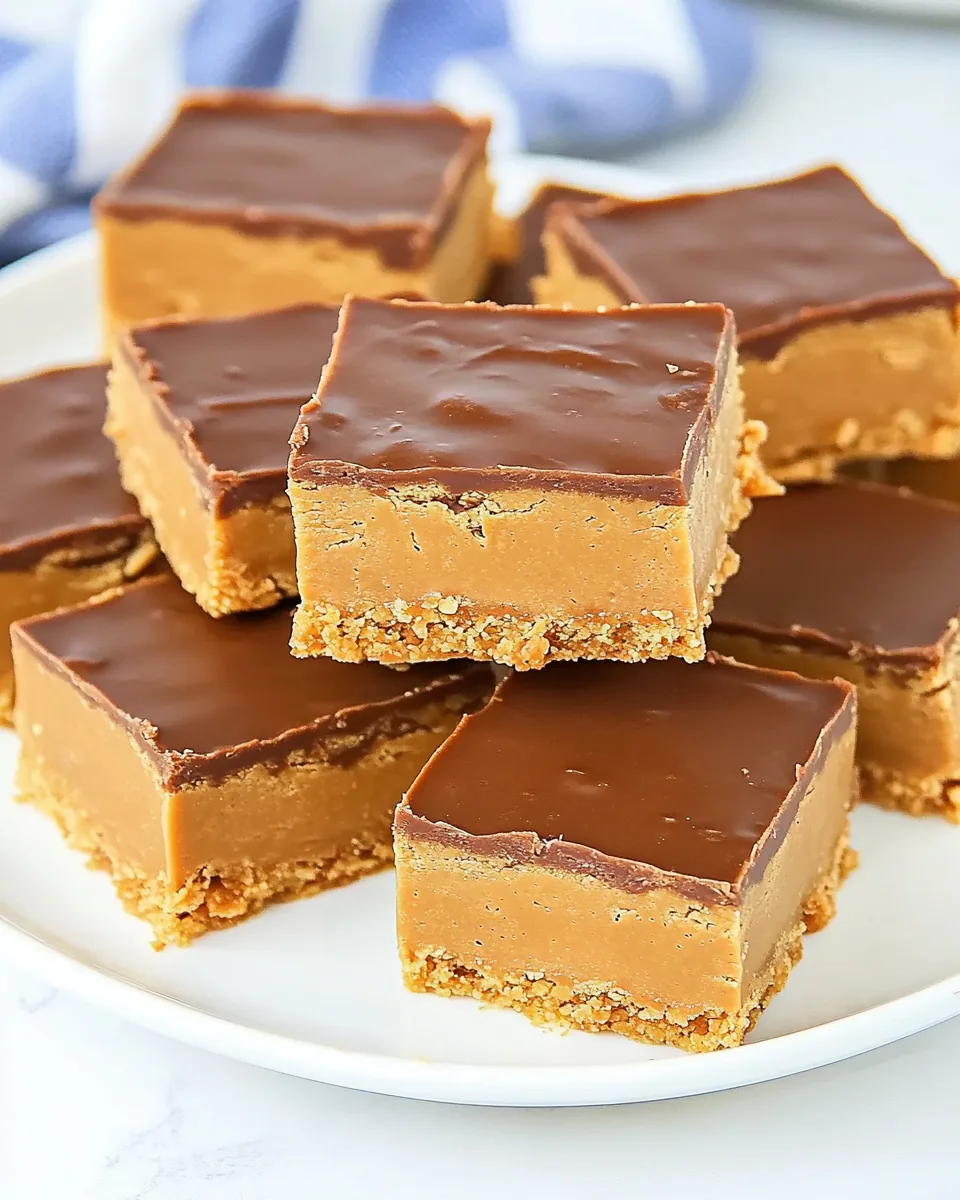
The ingredients for No Bake Peanut Butter Bars are simple yet essential, each playing a vital role in achieving that delightful flavor and texture. The combination of butter, graham cracker crumbs, and peanut butter provides a sturdy base, while chocolate chips create a smooth, decadent topping. Each ingredient works harmoniously, creating a sweet treat that’s rich and satisfying.
- 1 cup salted butter, melted: This is the key to binding the ingredients together while adding a rich, buttery flavor.
- 2 cups Keebler graham cracker crumbs: These crumbs form the base of the bars, providing a crunchy texture that complements the creaminess of the peanut butter.
- ¼ cup light brown sugar: This adds sweetness and a hint of molasses flavor, enhancing the overall taste of the bars.
- 1 ¾ cups powdered sugar: Essential for achieving that perfect sweetness and smooth texture. It helps the bars set well.
- 1 cup creamy peanut butter, plus 1 tablespoon: The star ingredient that gives the bars their signature flavor. Creamy peanut butter creates a luscious texture.
- ½ teaspoon vanilla extract: Adds a warm, aromatic note that enhances the flavor profile of the bars.
- 11 ounces milk chocolate chips: The ideal topping that melts beautifully and adds a sweet, creamy finish to the bars.
Cooking Instructions for No Bake Peanut Butter Bars
Making No Bake Peanut Butter Bars is a breeze and incredibly satisfying. Follow these simple steps, and you’ll soon be enjoying these delicious treats. Let’s dive into the process!
Start by gathering all your ingredients. In a medium-sized bowl, combine melted butter, graham cracker crumbs, light brown sugar, powdered sugar, and creamy peanut butter. Use a spatula to mix everything together until smooth and creamy. You want a consistency that holds together well without being too sticky. If it feels too soft, don’t hesitate to add a little more powdered sugar.
Once fully combined, take a 9×13 inch pan and press the mixture into the bottom evenly. Use your hands or the back of a spatula to ensure it’s packed tightly. This step is crucial for achieving a good structure once the bars are set. The mixture should be level with the edges of the pan.
Now, let’s prepare the chocolate topping. In a separate microwave-safe bowl, add the remaining chocolate chips along with the extra 1 tablespoon of peanut butter. Melt them in the microwave by heating on high power for 30 seconds at a time, stirring in between. This helps prevent the chocolate from burning. You’re looking for a smooth, pourable consistency.
Once melted, pour the chocolate mixture over the pressed peanut butter base. Use a spatula to spread it evenly across the top. Don’t worry if it looks a bit messy; it will set beautifully. For an even finish, you can gently tap the pan against the counter to settle the chocolate into place.
Refrigerate the bars for about 30 minutes or until the chocolate has hardened. This step is vital as it allows everything to firm up and makes cutting the bars much easier later. If you can resist the temptation, let them chill longer for best results.
Once set, take the pan out of the refrigerator. Before cutting, allow it to sit at room temperature for a few minutes. This will soften the chocolate slightly, preventing it from cracking when you cut into the bars. Use a sharp knife or a plastic knife for cleaner cuts.
Finally, slice the bars into squares or rectangles, depending on your preference. Enjoy them immediately or store them in the fridge or freezer for later. These bars are perfect for sharing or indulging in all by yourself!
Things Worth Knowing
- Chilling is Key: Make sure to let the bars chill adequately in the refrigerator. This helps them set properly and makes cutting them easier.
- Clean Cuts: Use a plastic knife for slicing to avoid cracking the chocolate topping.
- Texture Check: If the mixture feels too thick or crumbly, a little more melted butter can help achieve the right texture.
- Experiment with Flavors: Don’t hesitate to add extras like chopped nuts, coconut, or even a drizzle of caramel on top for a unique twist.
Recipe Variations about No Bake Peanut Butter Bars

These No Bake Peanut Butter Bars are incredibly versatile, allowing for numerous variations. Here are some fun ideas to change things up:
- Nutty Addition: Consider mixing in chopped nuts like walnuts or almonds for added texture and flavor.
- Dark Chocolate Drizzle: Switch the milk chocolate for dark chocolate for a richer taste and a touch of sophistication.
- Flavor Infusion: Add a pinch of sea salt on top of the chocolate for a delightful sweet and salty combination.
- Fruit Flavor: You can also incorporate dried fruit such as cranberries or raisins into the peanut butter mixture for a fruity twist.
- Almond Butter Substitute: For those with peanut allergies, using almond butter is a delicious alternative that still provides a similar consistency.
- Coconut Treat: Mix in toasted coconut flakes into the mixture for a tropical flavor that complements the peanut butter.
- Layered Bars: Try creating layers by adding a chocolate layer followed by another peanut butter layer, repeating until you reach the top.
What Goes Well With This No Bake Peanut Butter Bars
- Perfect for Parties: These bars are a hit at parties and gatherings, serving as a fun dessert option that everyone loves.
- Great for Lunch Boxes: Pack them in lunch boxes as a sweet treat that kids will enjoy, providing a nice energy boost for the afternoon.
- Café Style: Serve alongside a cup of coffee or tea for a delightful afternoon snack that pairs beautifully.
- Seasonal Treat: These bars are perfect for all occasions, be it a summer picnic or a winter holiday gathering.
- Storage Tips: Keep them in an airtight container in the refrigerator or freezer for long-lasting freshness. They can last for up to two weeks in the fridge.
- Seasonal Pairings: Serve them with fresh fruits like strawberries or bananas to balance the sweetness and add a refreshing touch.
FAQ
Conclusion
The No Bake Peanut Butter Bars are a delightful treat that captures the essence of comfort food and nostalgia. With their rich flavors and creamy texture, these bars are sure to satisfy any sweet tooth. I encourage you to try this simple and rewarding recipe, and I promise it will become a favorite in your household!
No Bake Peanut Butter Bars
Equipment
- Wooden Spoon
- Frying Pan
- Mixing Bowl
Ingredients
- 1 cup salted butter
- 2 cups keebler graham cracker crumbs
- ¼ cup light brown sugar
- 1 ¾ cups powdered sugar
- 1 cup creamy peanut butter
- ½ teaspoon vanilla extract
- 11 ounces milk chocolate chips
Instructions
- Start by gathering all your ingredients. In a medium-sized bowl, combine melted butter, graham cracker crumbs, light brown sugar, powdered sugar, and creamy peanut butter. Use a spatula to mix everything together until smooth and creamy. You want a consistency that holds together well without being too sticky. If it feels too soft, don’t hesitate to add a little more powdered sugar.
- Once fully combined, take a 9×13 inch pan and press the mixture into the bottom evenly. Use your hands or the back of a spatula to ensure it’s packed tightly. This step is crucial for achieving a good structure once the bars are set. The mixture should be level with the edges of the pan.
- Now, let’s prepare the chocolate topping. In a separate microwave-safe bowl, add the remaining chocolate chips along with the extra 1 tablespoon of peanut butter. Melt them in the microwave by heating on high power for 30 seconds at a time, stirring in between. This helps prevent the chocolate from burning. You’re looking for a smooth, pourable consistency.
- Once melted, pour the chocolate mixture over the pressed peanut butter base. Use a spatula to spread it evenly across the top. Don’t worry if it looks a bit messy; it will set beautifully. For an even finish, you can gently tap the pan against the counter to settle the chocolate into place.
- Refrigerate the bars for about 30 minutes or until the chocolate has hardened. This step is vital as it allows everything to firm up and makes cutting the bars much easier later. If you can resist the temptation, let them chill longer for best results.
- Once set, take the pan out of the refrigerator. Before cutting, allow it to sit at room temperature for a few minutes. This will soften the chocolate slightly, preventing it from cracking when you cut into the bars. Use a sharp knife or a plastic knife for cleaner cuts.
- Finally, slice the bars into squares or rectangles, depending on your preference. Enjoy them immediately or store them in the fridge or freezer for later. These bars are perfect for sharing or indulging in all by yourself!