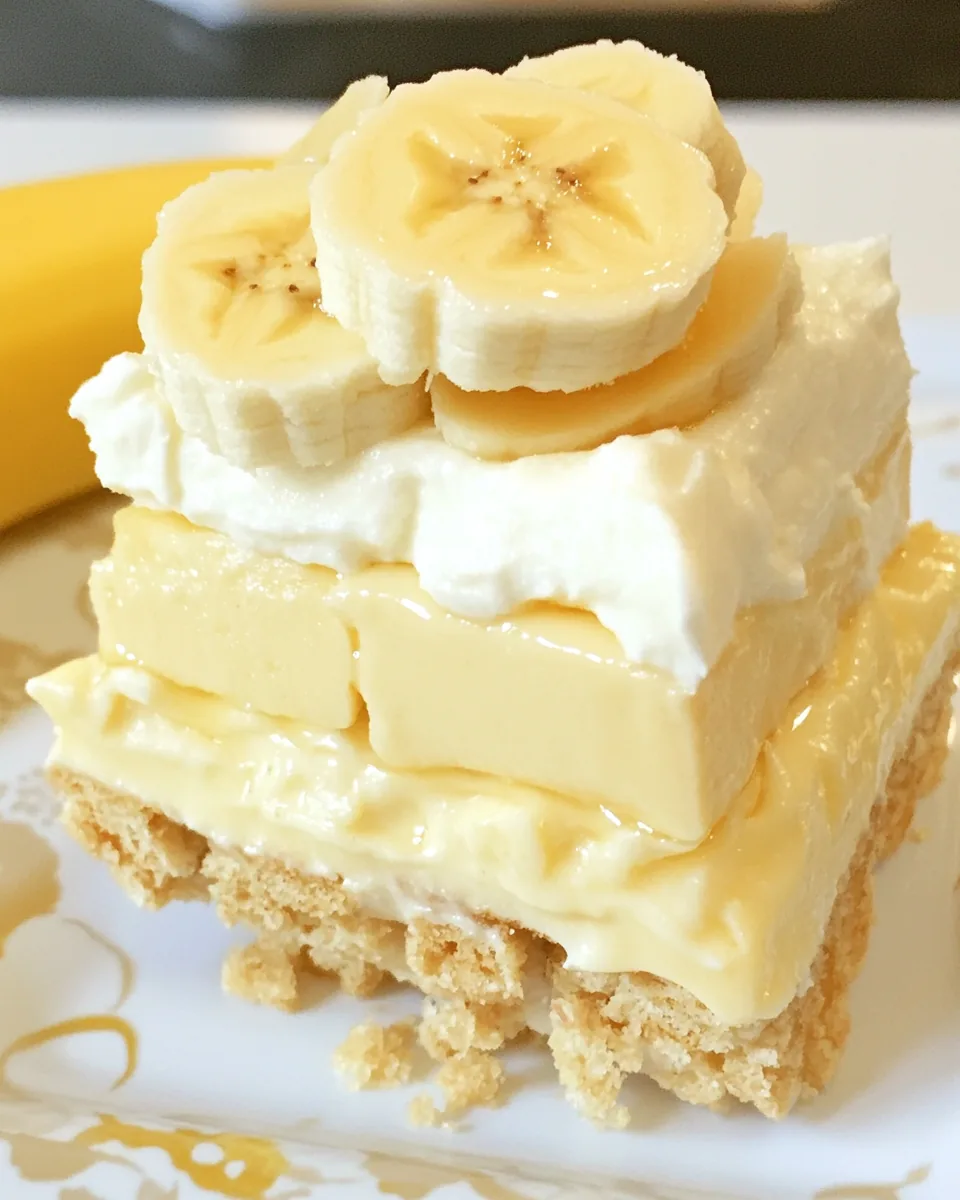
Nilla Wafers Banana Cream Dessert
There’s something incredibly nostalgic about the Nilla Wafers Banana Cream Dessert. Growing up, it was a staple at family gatherings, each layer filled with creamy goodness and the delightful crunch of crushed Nilla Wafers. I remember the first time I tried making it myself. I was a bit apprehensive, but the outcomes were so satisfying that I kept making it for every get-together. This dessert captures the essence of comfort food while also being impressively easy to prepare. Whether it’s a birthday party or a simple weeknight treat, this dessert always steals the show. With minimal ingredients and straightforward steps, you can whip up this classic anytime you have a craving.
Recipe Snapshot
25 mins
25 mins
0 mins
Easy
310 kcal
3 g
Keto, Gluten-Free, Low FODMAP
15 g
Chef’s Knife, Frying Pan, Mixing Bowl
What You’ll Enjoy About This Nilla Wafers Banana Cream Dessert
Comforting Layers
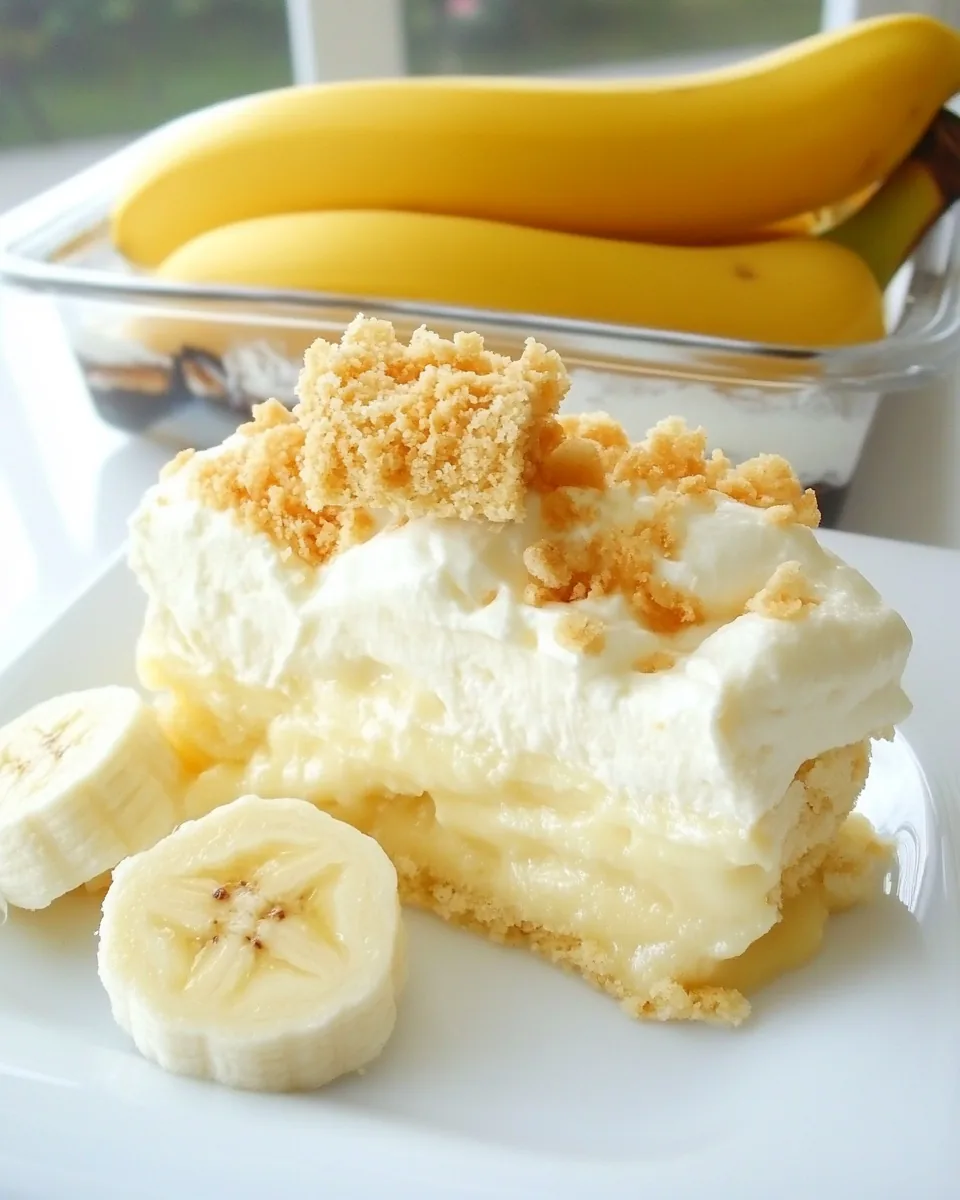
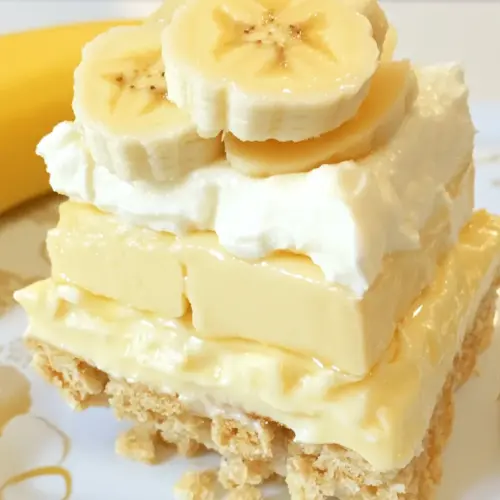
One of the most appealing aspects of the Nilla Wafers Banana Cream Dessert is the perfect combination of flavors and textures. The creamy banana cream pudding melds beautifully with the crunchy layers of crushed Nilla Wafers. Each bite transports you to a world of creamy, sweet bliss that feels like a warm hug.
Easy to Make
What I love most about this recipe is how simple it is. You’ll find that most of the ingredients are likely already in your pantry. This means you can whip it up without a last-minute grocery trip. In just a few steps, you have a show-stopping dessert that looks as good as it tastes!
Perfect for Any Occasion
This dessert is versatile enough to serve at any occasion. Whether it’s a summer BBQ, a cozy family dinner, or even a potluck, the Nilla Wafers Banana Cream Dessert is always a hit. Its refreshing flavors make it the perfect end to a meal, leaving everyone satisfied and wanting more.
Kid-Friendly Fun
If you have little ones, they will love helping you make this dessert. Cracking open the banana cream pudding mix and layering the Nilla Wafers can be a fun family activity. It’s a great way to get them involved in the kitchen!
Impressive, Yet No Stress
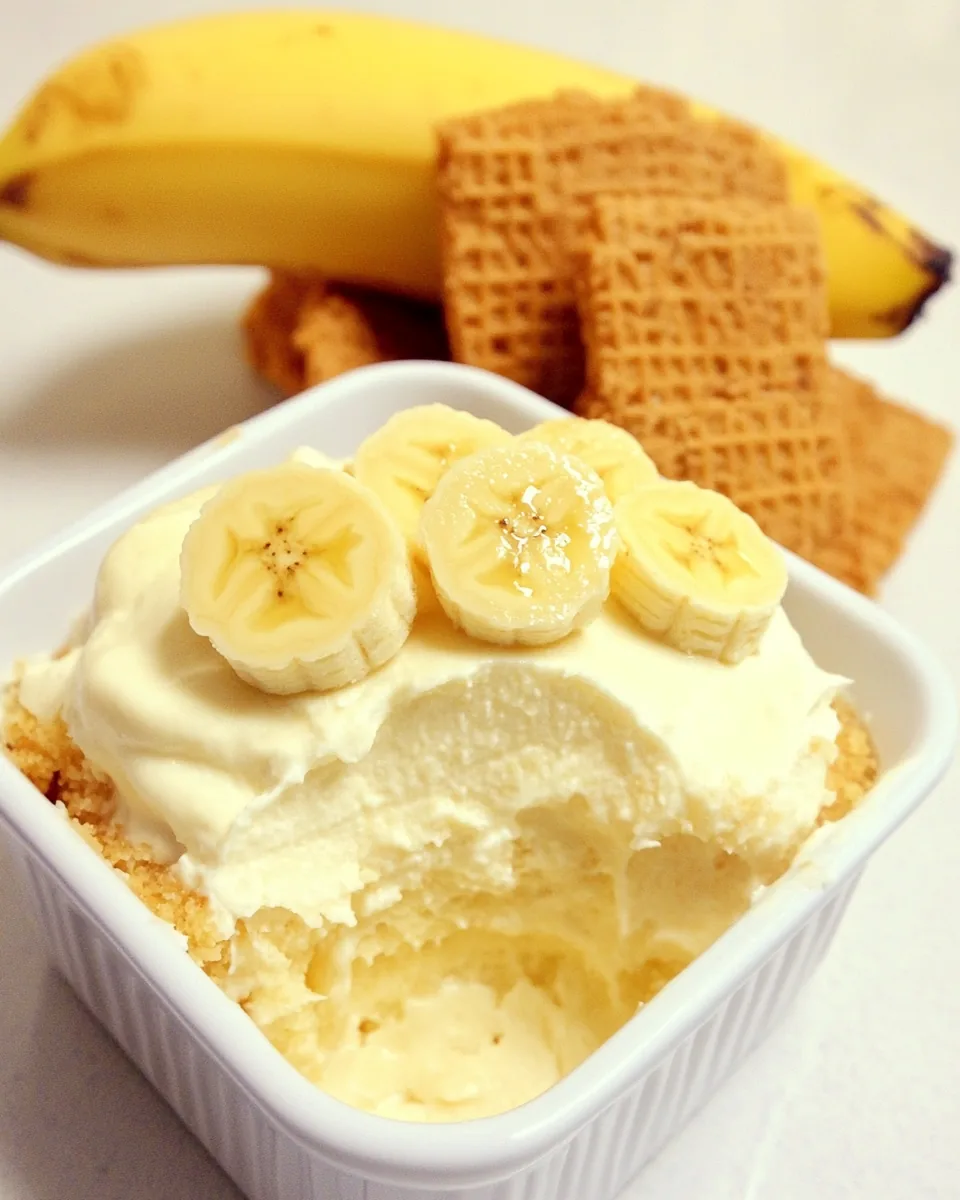
Lastly, the Nilla Wafers Banana Cream Dessert gives off a vibe of being an intricate creation, but the reality is far from it! You can present it in a fancy glass dish or a simple bowl. No matter how you serve it, it looks stunning.
What to Gather for Nilla Wafers Banana Cream Dessert
Gathering the ingredients for this delicious dessert is an exciting part of the process. Each ingredient plays a crucial role in creating the perfect balance of flavors and textures. The star, of course, is the Nilla Wafers, which provide that delightful crunch. The banana cream pudding adds a luscious creaminess that pairs beautifully with the other components. Together, these ingredients create a dessert that is not only tasty but also incredibly satisfying.
- Nilla Wafers: About 2 cups crushed (45 wafers) – These iconic cookies form the base of the dessert, offering a sweet crunch that contrasts perfectly with the creamy layers.
- Butter: 6 tablespoons melted – This adds richness and helps bind the crushed wafers into a cohesive crust.
- Banana Cream Pudding: 1 large box – This is the heart of the dessert, providing a smooth, decadent layer that enhances the banana flavor.
- Cool Whip: 8 ounces thawed – This whipped topping lightens up the dessert, creating a fluffy, airy finish on top.
- Bananas: 2 sliced – Fresh bananas add a burst of flavor and texture, completing the dish beautifully.
Preparation Steps for Nilla Wafers Banana Cream Dessert
Now that you have everything ready, let’s dive into the fun part—making the Nilla Wafers Banana Cream Dessert. It’s satisfying to see how easily everything comes together, and trust me, the end result is worth every minute spent. Follow these steps closely to achieve a perfect dessert every time.
- Start by crushing the Nilla Wafers. I find that using a food processor works wonderfully to get them finely crushed, but you can also place them in a zip-top bag and crush them with a rolling pin. Aim for a texture that resembles coarse sand.
- Once your wafers are crushed, spray the bottom of your baking pan with cooking spray. This ensures that your crust won’t stick when it’s time to serve the dessert. You can use an 8×8-inch or a 9×13-inch pan depending on how thick you want the layers to be.
- Next, transfer the crushed Nilla Wafers into a bowl and pour in the melted butter. Mix thoroughly until the crumbs are evenly coated. The mixture will be a bit crumbly, and that’s perfectly fine; it will hold together once chilled.
- Press the crumb mixture firmly into the bottom of the pan. Use the back of a measuring cup or your hands to press it down evenly. You want it to be compact to provide a sturdy base for your dessert.
- Now slice the bananas into thin rounds. You want them to be evenly distributed, so take your time with this step. Arrange the banana slices over the crust in a single layer.
- In a medium bowl, prepare the banana cream pudding according to the package instructions. This typically involves mixing the pudding mix with milk and stirring until it thickens. Make sure to scrape the sides to ensure everything is incorporated.
- Once the pudding has set, pour it over the layer of bananas. Spread it evenly using a spatula to ensure every slice gets some pudding goodness.
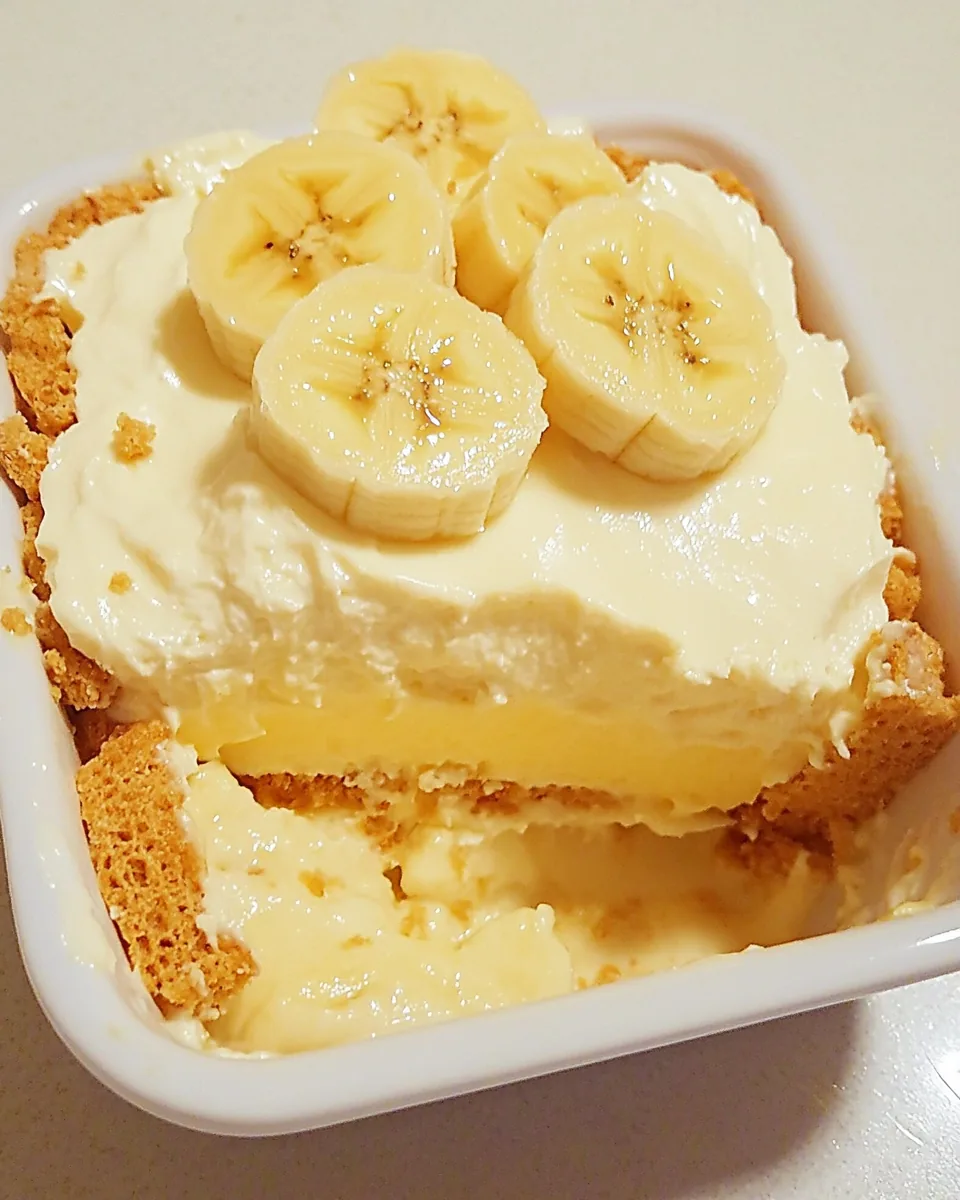
- Next, take the thawed Cool Whip and spread it over the top of the pudding layer. This adds a delightful creaminess and a light finish to the dessert.
- Cover the pan with plastic wrap or a lid, and let it chill in the fridge for about an hour. This step allows the flavors to meld beautifully and the crust to firm up.
- Finally, when you’re ready to serve, slice into squares and enjoy! The combination of the crunchy base, creamy filling, and fresh bananas will have everyone asking for seconds.
Things Worth Knowing
- Chill Time is Key: Allowing the dessert to chill for at least an hour helps the layers set and meld together. This enhances the flavors and makes serving easier.
- Crust Consistency: If the crust feels too crumbly, add a touch more melted butter to help bind it together. It should hold its shape when pressed firmly.
- Fresh Bananas: To prevent the bananas from browning, consider adding them just before serving. This keeps the dessert looking fresh and appealing.
- Thicker Layers: For a more decadent dessert, consider doubling the layers of pudding and bananas. It not only looks impressive but also offers a richer experience.
Customization Ideas
If you’re looking to put your own spin on the Nilla Wafers Banana Cream Dessert, you’re in luck! There are countless ways to customize this delightful recipe. Feel free to experiment with different ingredients and flavors. Here are some ideas:
- Flavor Variations: Consider using different flavors of pudding, like chocolate or vanilla. You can mix and match to create your own unique dessert.
- Nutty Crunch: For additional texture, add chopped nuts like pecans or walnuts to the crust or sprinkle them on top of the whipped cream.
- Fruit Alternatives: While bananas are traditional, you could also use strawberries or blueberries for a fruity twist. They can add a vibrant color and fresh taste.
- Layered Delight: Create a layered effect by alternating layers of crushed Nilla Wafers with different flavored puddings for a rainbow of flavors.
- Chocolate Drizzle: Drizzle some chocolate syrup over the top before serving for an added touch of sweetness and decoration.
- Vegan Option: Substitute dairy products with non-dairy versions like coconut cream and almond milk for a delightful vegan-friendly dessert.
Great Combinations for Nilla Wafers Banana Cream Dessert
When it comes to serving the Nilla Wafers Banana Cream Dessert, the possibilities are endless. Here are some ideas to make your dining experience even more enjoyable:
- Perfect Pairings: Serve with a scoop of vanilla ice cream for an extra creamy experience or a dollop of whipped cream on the side for those who can’t get enough fluffiness.
- Seasonal Occasions: This dessert is perfect for summer picnics or family gatherings. Its light and refreshing taste make it a great choice for outdoor events.
- Lunch or Dinner: It makes a delightful dessert for both lunch and dinner, especially after a hearty meal. It balances sweetness and lightness beautifully.
- Storage Tips: Store any leftovers in an airtight container in the fridge for up to three days. It’s best enjoyed fresh, but it holds up fairly well.
- Festive Serving: Use a clear glass dish to showcase the layering, making it visually appealing for special occasions like birthdays or holidays.
FAQ
Conclusion
The Nilla Wafers Banana Cream Dessert is a nostalgic treat that brings together the perfect balance of creamy and crunchy textures. It’s easy to make and always impresses, making it a must-try for any dessert lover. So why not give it a try tonight? You’ll find that it’s not just a dessert; it’s a slice of happiness!
Nilla Wafers Banana Cream Dessert
Equipment
- Chef's Knife
- Frying Pan
- Mixing Bowl
Ingredients
- 45 wafers Nilla Wafers About 2 cups crushed
- 6 tablespoons Butter Melted
- 1 box Banana Cream Pudding Large box
- 8 ounces Cool Whip Thawed
- 2 Bananas Bananas Sliced
Instructions
- Crush the Nilla Wafers. I put mine into a food chopper and that did the job great. You want the consistency to be pretty fine.
- Spray bottom of pan with cooking spray for easy removal. Add the melted butter to the crushed Nilla Wafers and press down into pan. It may be a little crumbly but that's ok because when chilled the crust becomes firm.
- Chop up banana and make a layer on the bottom. Mix jello pudding according to directions and pour on the top. Let chill in fridge for about an hour.
- Put cool whip on top and ENJOY!
Notes
- Storage: Store any leftovers in an airtight container in the fridge for up to three days.
- Freezing: It’s not recommended to freeze this dessert as it may alter the texture.
- Pairing: Serve with a scoop of vanilla ice cream for an extra treat.
- Variations: Try using different flavored puddings like chocolate or vanilla.
- Presentation: A clear glass dish showcases the layers beautifully.