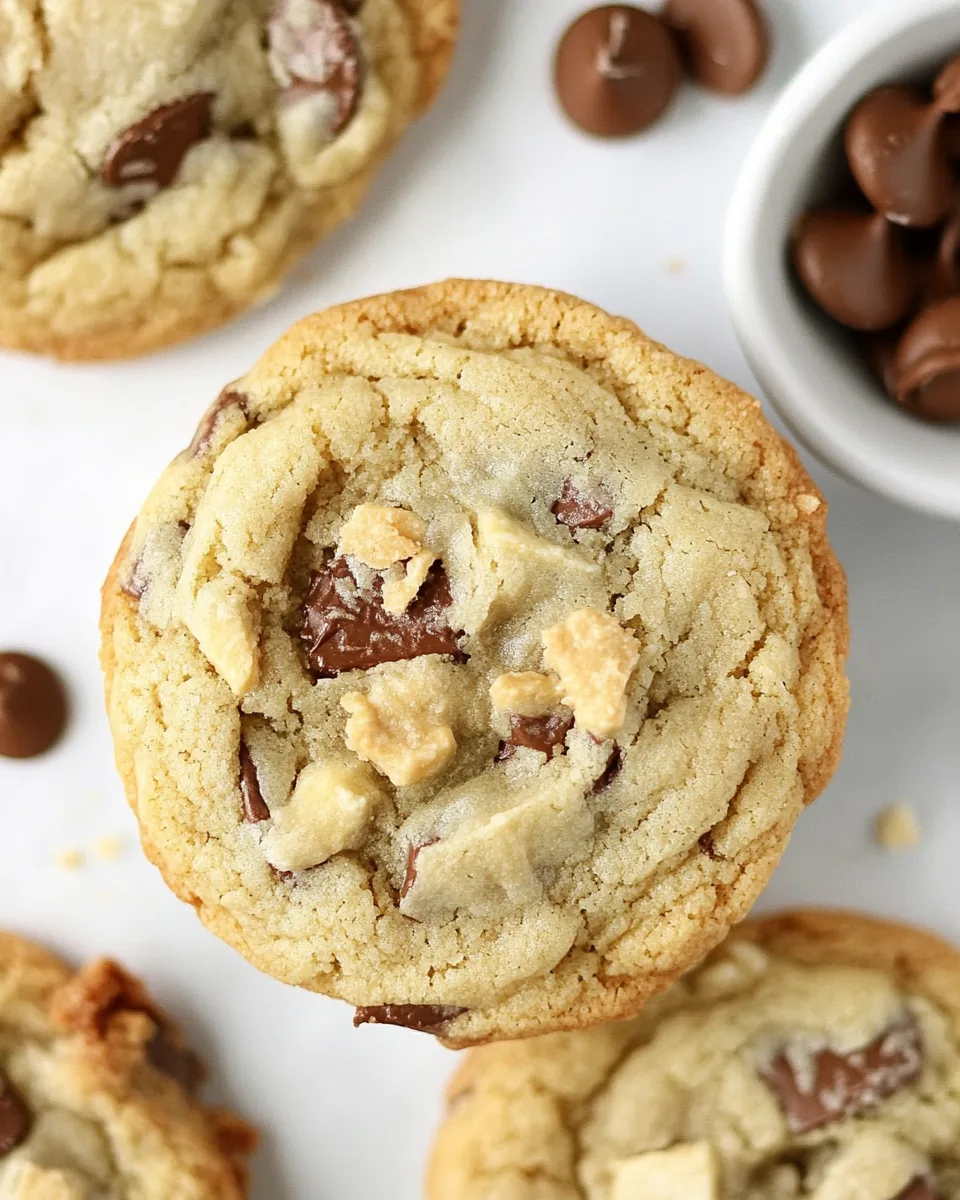
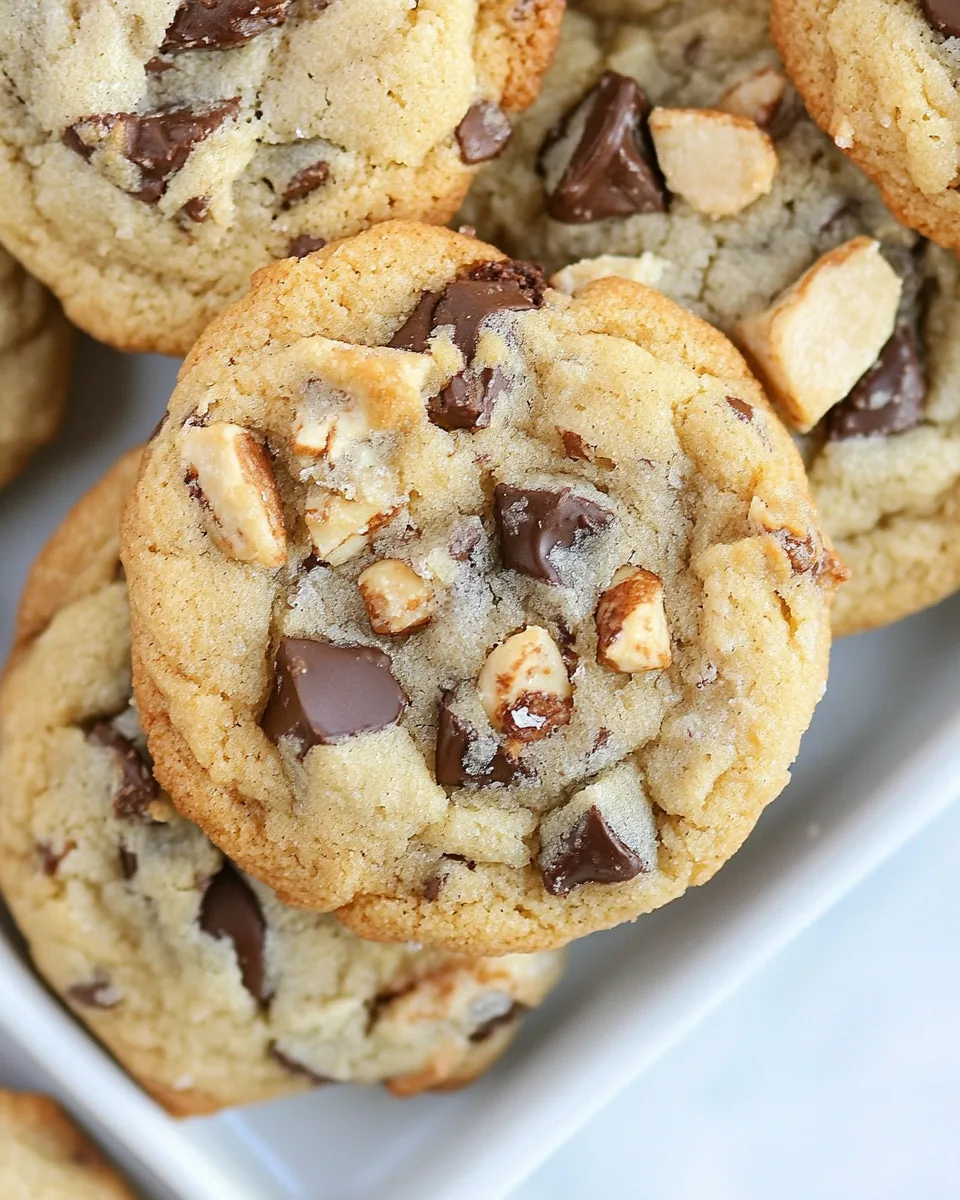
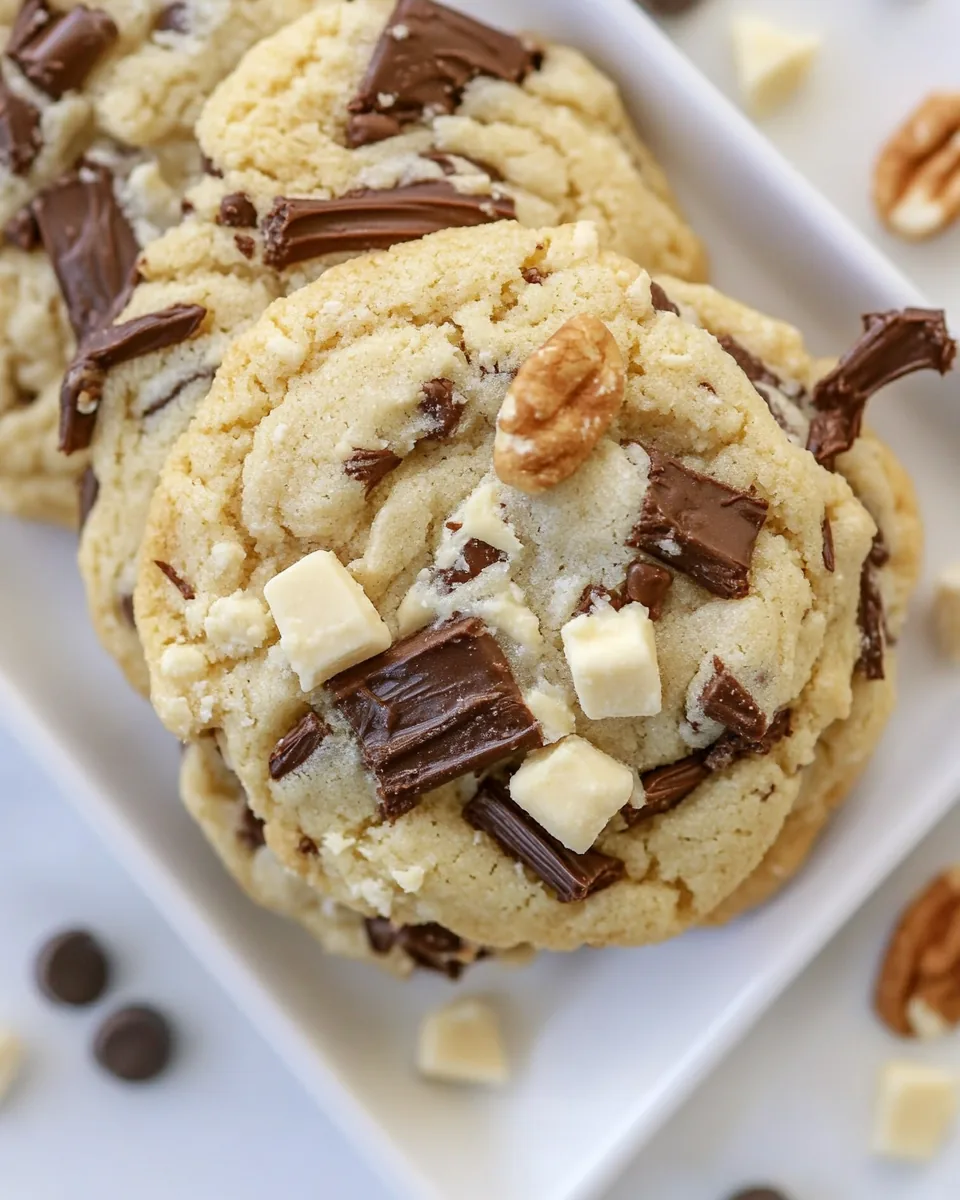
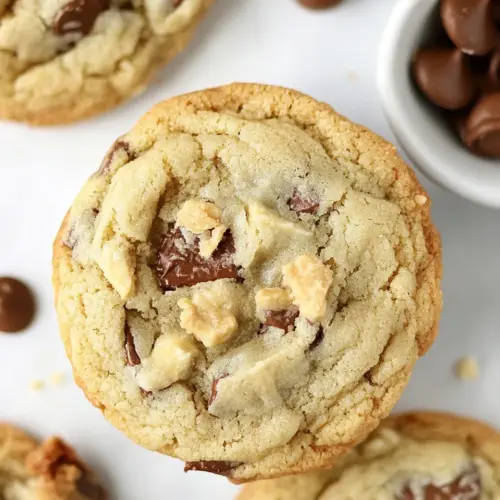
Kitchen Sink Cookies
Every time I think about baking, I remember the joy of making Kitchen Sink Cookies with my family. These cookies aren’t just any regular treats; they’re a delightful mix of everything you love! The idea behind them is to use up all those delicious extras you have lying around. Whether it’s the last bits of chocolate chips or some pretzels that need to be used, every batch tells a unique story. I still recall the first time I created this recipe on a rainy day when I wanted to bring some sunshine into the house. The aroma wafting through the kitchen as they baked was intoxicating, making it hard to wait for that first bite. It’s a fun family activity that brings everyone together, and the end result? Cookies that are crisp on the outside and chewy on the inside, packed with flavors.
Recipe Snapshot
18 mins
10 mins
8 mins
Medium
150 kcal
2 g
Vegan, Gluten-Free, Low FODMAP
7 g
Mixing Bowl, Oven, Baking Sheet
Why You’ll Love This Kitchen Sink Cookies
1. Perfect for Using Up Leftovers
One of the best things about Kitchen Sink Cookies is their versatility. You can throw in whatever you have in your pantry, making them an ideal recipe to avoid waste. Got some leftover chocolate? Toss it in! A handful of nuts? Perfect! This recipe encourages creativity, allowing you to experiment and discover new flavor combinations each time.
2. A Family Favorite
These cookies are a hit with everyone, from kids to adults. When I make Kitchen Sink Cookies, I always get requests from family members to recreate the magic. You can customize each batch to please different palates, ensuring each cookie is a surprise. Everyone loves a cookie that can cater to their taste!
3. Easy to Make
Even if you’re a novice baker, this recipe is easy to follow! With simple steps and minimal ingredients, you can whip up a batch in no time. I love how forgiving the recipe is; even if you miss a step, your cookies will still turn out delicious.
4. Excellent for Sharing
If you’re looking for something to share at gatherings, Kitchen Sink Cookies are the way to go. They’re perfect for parties, picnics, or even as simple gifts for neighbors. Everyone appreciates a homemade treat, and these cookies are sure to bring smiles all around.
5. Nostalgic Connection
For me, baking these cookies brings back fond memories of my childhood. I remember making them with my grandmother, and now I create the same memories with my kids. It’s a recipe that carries tradition and love, and every bite is a reminder of those sweet moments.
Ingredients for Kitchen Sink Cookies
Let’s dive into the ingredients that make up these wonderful Kitchen Sink Cookies. Each component plays a vital role in creating a delightful blend of flavors and textures. The combination of sweet, salty, and crunchy ingredients ensures that every bite is an adventure. You’ll find that the balance of the buttery base and the various mix-ins creates a cookie that’s simply irresistible.
- 1 cup unsalted butter, softened – The base of our cookies, delivering richness and flavor.
- ¾ cup brown sugar – Adds moisture and a deep, caramel flavor.
- 1 cup granulated sugar – Provides sweetness and contributes to the cookie’s texture.
- 2 large eggs, room temperature – Binds everything together and adds moisture.
- 2 teaspoons vanilla – Infuses the cookies with a warm, sweet aroma.
- 3 ½ cups all-purpose flour – The main structure of our cookies, giving them body.
- 1 teaspoon baking soda – Helps the cookies rise and become fluffy.
- ½ teaspoon baking powder – Works with baking soda to achieve the right texture.
- 1 teaspoon salt – Balances the sweetness and enhances all the flavors.
- ½ cup crushed pretzels – Adds a delightful crunch and salty element.
- ½ cup crushed potato chips – Provides texture and a unique salty flavor.
- ½ cup toffee bits – Adds sweetness and a chewy texture.
- ½ cup chocolate chips – The classic addition for those sweet chocolatey bites.
Recipe Steps for Kitchen Sink Cookies
Making Kitchen Sink Cookies is a fun and straightforward process! You’ll enjoy each step as the delightful aromas fill your kitchen. Gather your ingredients, turn on your oven, and let’s get started on this delicious journey!
- Preheat your oven to 350 degrees Fahrenheit. It’s essential to get the oven heated before you start mixing, as this will help your cookies bake evenly and get that perfect golden color.
- In a medium-sized mixing bowl, cream together unsalted butter with both brown sugar and granulated sugar until the mixture is light and fluffy, about 3 to 4 minutes. This step is crucial as it incorporates air into the mixture, which helps the cookies rise.
- Add in the eggs one at a time, mixing well after each addition. Don’t forget to pour in the vanilla extract too! Beat until the mixture is fully combined.
- In a separate bowl, whisk together the all-purpose flour, baking soda, baking powder, and salt. This ensures that your dry ingredients are evenly distributed.
- Gradually add the dry ingredients to the wet mixture and mix until just combined. Be careful not to overmix; you want to keep the texture light.
- Now comes the fun part! Gently fold in the crushed pretzels, crushed potato chips, toffee bits, and chocolate chips. You want them mixed just enough so that every cookie has a bit of each ingredient.
- Using a 1-inch cookie scoop, scoop out the dough and drop it onto a parchment or silpat-lined cookie sheet. Make sure to leave enough space between the cookies as they will spread while baking.
- Bake in the preheated oven for 7 to 8 minutes or until the edges are lightly golden. Keep an eye on them to avoid overbaking; you want the centers to remain soft.
- Once baked, remove the cookie sheet from the oven and let it sit for a couple of minutes before transferring the cookies to a cooling rack. This helps them set and makes them easier to handle.
- Enjoy your freshly baked Kitchen Sink Cookies warm with a glass of milk or store them in an airtight container for later. Trust me; they won’t last long!
Things Worth Knowing
- Use Room Temperature Ingredients: Ensure that your butter and eggs are at room temperature for better mixing. This allows for a smoother batter and helps the cookies bake evenly.
- Don’t Overmix: When combining dry and wet ingredients, mix just until incorporated. Overmixing can lead to tough cookies.
- Experiment with Mix-Ins: Be adventurous! You can use different kinds of nuts, dried fruits, or even cereals to create unique flavors.
- Cookie Scoop for Uniformity: Using a cookie scoop ensures your cookies are all the same size, promoting even baking.
Tips and Tricks about Kitchen Sink Cookies
To master your Kitchen Sink Cookies, here are some helpful tips to enhance your baking experience:
- Storage: Keep your cookies in an airtight container at room temperature for up to a week. If they start to dry out, you can add a slice of bread to the container to help maintain moisture.
- Freezing: You can freeze cookie dough for later use. Simply scoop the dough onto a baking sheet, freeze until solid, then transfer to a zip-top bag. Bake from frozen, adding a couple of extra minutes to the cooking time!
- Pairing: These cookies pair wonderfully with a glass of milk, coffee, or even a scoop of vanilla ice cream.
- Variations: Try adding different spices like cinnamon or nutmeg to give your cookies a unique flavor twist.
- Presentation: For a special touch, drizzle melted chocolate over the cooled cookies before serving.
Serving Options for Kitchen Sink Cookies
When it comes to enjoying your Kitchen Sink Cookies, the serving options are endless!
- As a Dessert: Serve these cookies warm right out of the oven for a delicious treat that everyone will love.
- For Gatherings: These cookies are perfect for parties or holiday events. Arrange them on a decorative platter to impress your guests.
- Lunch Boxes: Pack them in school or work lunch boxes for a sweet surprise that’s sure to brighten anyone’s day.
- Ice Cream Sandwiches: Use two of these cookies to create delightful ice cream sandwiches. Just add a scoop of your favorite ice cream in between!
- Gift Giving: Place a dozen in a mason jar and give them as gifts. They make for thoughtful, homemade presents!
- Seasonal Variations: Decorate for holidays with colored sprinkles or themed mix-ins, like pumpkin spice for fall.
FAQ
Conclusion
The Kitchen Sink Cookies recipe is special because it embodies creativity and resourcefulness in baking. Every batch tells a story of flavors and textures, making each cookie uniquely delightful. I encourage you to try this recipe and share the joy of baking with your loved ones. You’ll create wonderful memories together, one cookie at a time, and who knows? You might just inspire others to get creative in the kitchen too!
Kitchen Sink Cookies
Equipment
- Mixing Bowl
- Oven
- Baking Sheet
Ingredients
- 1 cup unsalted butter
- ¾ cup brown sugar
- 1 cup granulated sugar
- 2 large eggs room temperature
- 2 teaspoons vanilla
- 3 ½ cups all-purpose flour
- 1 teaspoon baking soda
- ½ teaspoon baking powder
- 1 teaspoon salt
- ½ cup crushed pretzels
- ½ cup crushed potato chips
- ½ cup toffee bits
- ½ cup chocolate chips
Instructions
- Preheat your oven to 350 degrees Fahrenheit.
- In a medium-sized mixing bowl, cream together unsalted butter with both brown sugar and granulated sugar until light and fluffy, about 3-4 minutes.
- Add in the eggs one at a time, mixing well after each addition. Don’t forget to pour in the vanilla extract too!
- In a separate bowl, whisk together the all-purpose flour, baking soda, baking powder, and salt.
- Gradually add the dry ingredients to the wet mixture and mix until just combined.
- Gently fold in the crushed pretzels, crushed potato chips, toffee bits, and chocolate chips.
- Using a 1-inch cookie scoop, scoop out the dough and drop it onto a parchment or silpat-lined cookie sheet.
- Bake in the preheated oven for 7 to 8 minutes or until the edges are lightly golden.
- Once baked, remove the cookie sheet from the oven and let it sit for a couple of minutes before transferring the cookies to a cooling rack.
- Enjoy your freshly baked Kitchen Sink Cookies warm or store them in an airtight container for later.
Notes
- Storage: Keep your cookies in an airtight container at room temperature for up to a week.
- Freezing: You can freeze cookie dough for later use.
- Pairing: These cookies pair wonderfully with a glass of milk.
- Variations: Try adding different spices like cinnamon.
- Presentation: Drizzle melted chocolate over the cooled cookies.