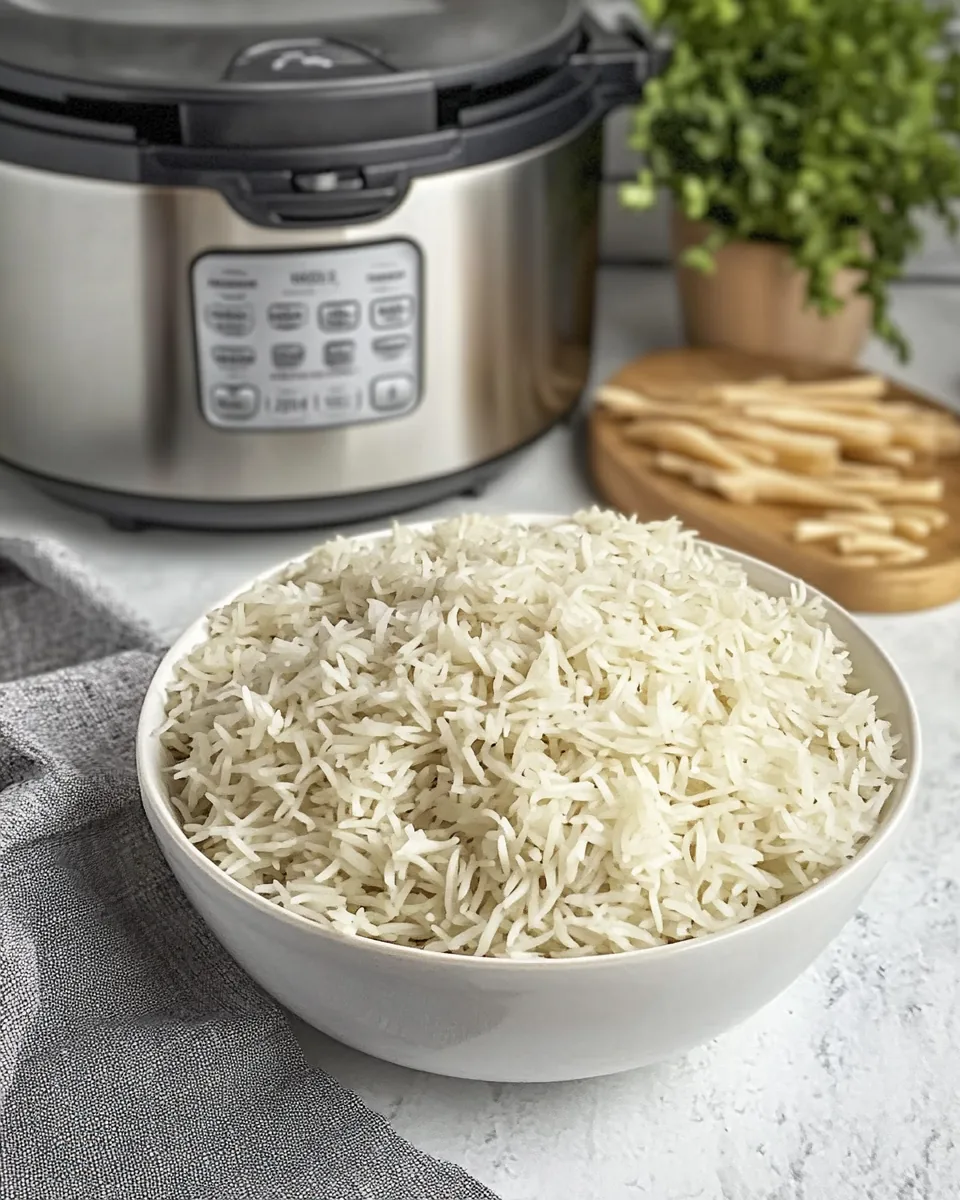
Instant Pot Basmati Rice
There’s something magical about a warm bowl of perfectly cooked rice, and the Instant Pot Basmati Rice is no exception. I still remember the first time I experienced the delight of fluffy basmati rice, served alongside a fragrant curry. It was a moment of culinary bliss that sparked my love for cooking with this aromatic grain.
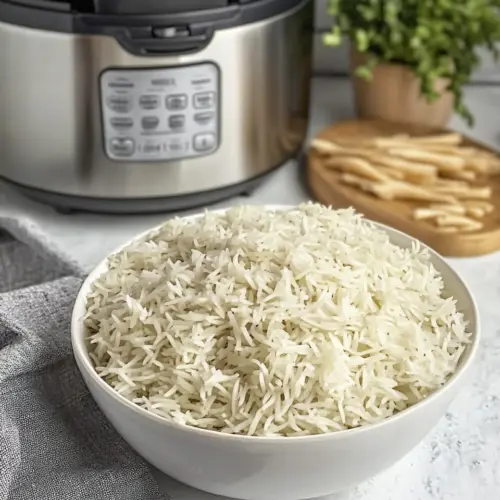
Using an Instant Pot not only cuts down the cooking time but ensures that each grain remains separate and fluffy—just how basmati rice should be. As I set the table, the inviting aroma wafted through the air, beckoning my family to gather around. Whether it’s a weeknight dinner or a special occasion, this dish never fails to impress.
Incorporating the right amount of water and a dash of butter brings out an irresistible flavor that complements any meal. The process is so simple that even novice cooks can master it. With just a few ingredients and minimal effort, you can elevate your cooking game and create a delightful side that pairs perfectly with a variety of dishes.
The beauty of the Instant Pot Basmati Rice lies in its adaptability. It’s a fantastic base for curries, stews, or even as a standalone dish dressed with spices and herbs. I often make a large batch to have on hand for quick lunches or dinners. The best part? It’s not just easy; it’s also satisfying and comfortingly delicious!
Recipe Snapshot
9 mins
5 mins
4 mins
Easy
210 kcal
3 g
Gluten-Free, Low FODMAP
2 g
Instant Pot
The Magic of This Instant Pot Basmati Rice
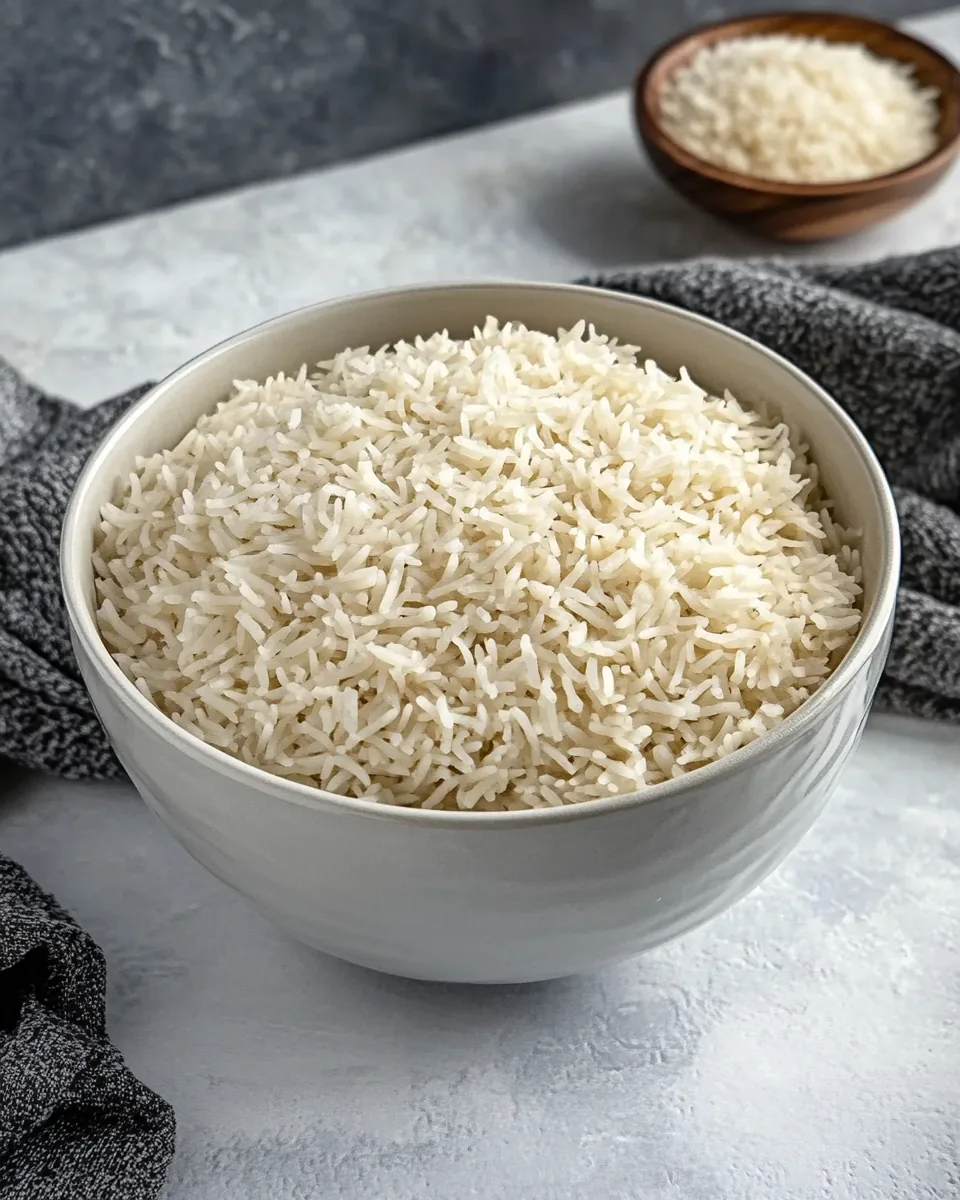
Perfectly Fluffy Every Time
One of the standout features of the Instant Pot Basmati Rice is its ability to produce perfectly fluffy rice without any fuss. The pressure cooking mechanism locks in steam, cooking the rice evenly and preventing it from sticking together. The result? Light and airy grains that make every bite a pleasure.
Quick and Efficient
Using an Instant Pot significantly reduces cooking time compared to traditional methods. The Instant Pot Basmati Rice can be ready in under fifteen minutes, freeing you up to focus on other aspects of your meal. This is a game-changer for busy weeknights or last-minute gatherings.
Minimal Ingredients, Maximum Flavor
You only need a handful of simple ingredients—basmati rice, water, butter, and salt—to create a dish that’s rich in flavor. This minimalist approach allows the natural aroma of basmati to shine through, making it a versatile companion for a wide range of meals.
Endless Pairing Options
The Instant Pot Basmati Rice is incredibly versatile and pairs well with just about anything. Whether you’re serving it with a spicy curry, a hearty stew, or grilled vegetables, it seamlessly complements a variety of flavors. It can also be dressed up with spices for a more adventurous dish.
Meal Prep Friendly
Making a big batch of Instant Pot Basmati Rice is perfect for meal prep. Cook a large quantity and store it in the fridge or freezer for quick access during the week. Just reheat and enjoy with your favorite proteins or salads.
A Family Favorite
This dish has become a staple in our household, loved by adults and kids alike. It’s a reliable option that pleases everyone at the table, and I often find myself making it multiple times a week. Once you experience this dish, you’ll understand why!
Ingredients Required for Instant Pot Basmati Rice
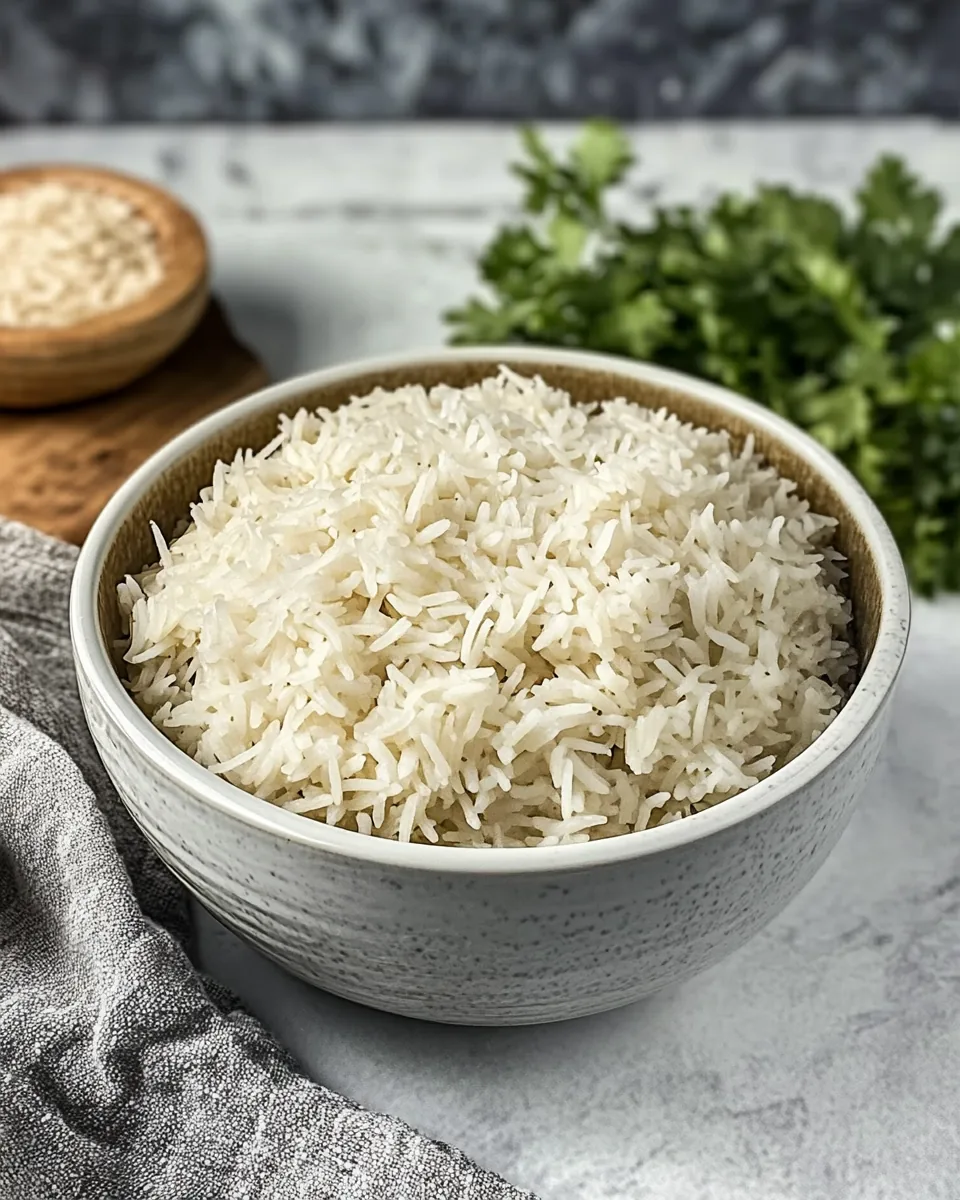
The ingredients for Instant Pot Basmati Rice are incredibly simple yet come together beautifully to create a delicious side dish. Each ingredient plays a crucial role in achieving that perfect texture and flavor. Let’s take a closer look at what you’ll need:
- Basmati Rice: This long-grain rice is known for its fragrant aroma and fluffy texture. Its unique quality makes it ideal for absorbing flavors from dishes it accompanies.
- Water: Essential for cooking the rice, the right amount of water ensures the rice is cooked through while remaining separate.
- Unsalted Butter: Adds a rich, creamy flavor which elevates the dish and keeps the rice moist.
- Salt: Enhances the overall flavor of the rice, making every bite more enjoyable.
How to Prepare Instant Pot Basmati Rice
Making Instant Pot Basmati Rice is a straightforward process that yields delicious results. Let’s dive into the step-by-step instructions that will have you enjoying this lovely dish in no time.
Start by rinsing the basmati rice under cold water. This step is crucial as it removes excess starch, preventing your rice from becoming gummy. Rinse until the water runs clear, which is a good indication that the starch has been washed away.
Next, add the rinsed rice into your Instant Pot. Pour in 1 and 1/4 cups of water, followed by 1 tablespoon of unsalted butter and 1/2 teaspoon of salt. This combination will infuse flavor and help with moisture.
Secure the lid on the Instant Pot and ensure the valve is set to ‘Sealing’. This is important to allow pressure to build up inside, which is essential for cooking the rice properly.
Select the ‘Manual’ or ‘Pressure Cook’ setting on your Instant Pot and set the timer for 4 minutes on high pressure. This timing will give you perfectly cooked rice every time.
Once the cooking time is up, allow the pressure to release naturally for about 10 minutes. This helps the rice finish cooking and enhances the fluffiness.
After 10 minutes, carefully release any remaining pressure. Always be cautious during this step—use a kitchen towel to protect your hand from steam.
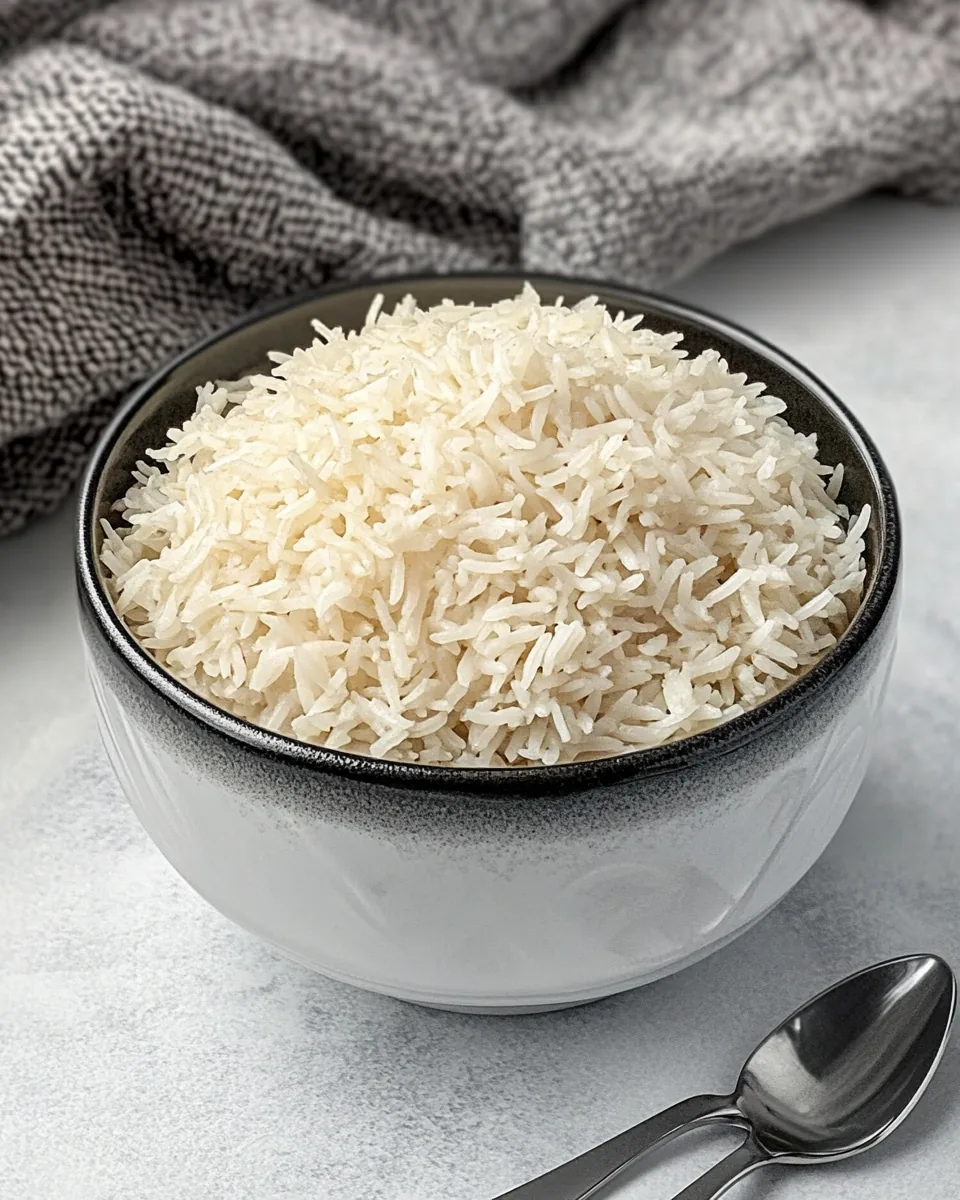
Open the lid and use a fork to fluff the rice. This step is vital as it separates the grains, making for a light and airy texture. Serve immediately and enjoy!
Things Worth Knowing
- It’s essential to rinse the basmati rice thoroughly to avoid a sticky result.
- Stirring the rice after cooking can help incorporate any butter or seasonings.
- Using cold water is important for rinsing to maintain the integrity of the grains.
- The Instant Pot makes it easy to cook rice without the need for constant monitoring.
Make It Your Own
Personalizing the Instant Pot Basmati Rice to your taste can make it even more special. Here are some tips to adapt this recipe:
- Storage: Store any leftover rice in an airtight container in the fridge for up to four days.
- Freezing: You can freeze cooked rice for up to three months. Just portion it out before freezing for easy reheating.
- Herbs and Spices: Enhance the flavor by adding spices like cumin or herbs like cilantro during the cooking process.
- Vegetable Variations: Mix in cooked vegetables for a colorful and nutritious side dish.
- Serving Suggestions: Consider serving with grilled chicken or sautéed vegetables for a complete meal.
What Goes Well With This Instant Pot Basmati Rice
Finding the right dishes to complement your Instant Pot Basmati Rice can enhance your dining experience. Here are some ideas:
- Curries: Pair with chicken curry, vegetable curry, or paneer curry for a hearty meal.
- Stews: Works beautifully alongside lentil stew or chickpea stew.
- Grilled Proteins: Serve with grilled chicken or fish for a balanced plate.
- Seasonal Vegetables: Roasted or steamed veggies make a great addition for lunch or dinner.
- Occasions: Perfect for weeknight dinners, potlucks, or even festive gatherings.
- Storage Tips: Leftover rice can be easily reheated in the microwave or stovetop.
FAQ
Conclusion
The Instant Pot Basmati Rice is a kitchen staple that brings warmth and comfort to any meal. With its fluffy texture and aromatic flavor, it’s an effortless side dish that complements countless recipes. I encourage you to give this recipe a try and watch how it transforms your dining experience. You’ll be amazed at how a simple bowl of rice can enhance your meals!
Instant Pot Basmati Rice
Equipment
- Instant Pot
Ingredients
- 1 cup Basmati Rice
- 1.25 cups Water
- 1 tablespoon Unsalted Butter
- 0.5 teaspoon Salt
Instructions
- Rinse the basmati rice under cold water until the water runs clear to remove excess starch.
- Add the rinsed rice, 1 and 1/4 cups of water, the butter, and salt to the Instant Pot.
- Secure the lid on the Instant Pot, set the valve to 'Sealing,' select the 'Manual' or 'Pressure Cook' setting, and set the time for 4 minutes at high pressure.
- After cooking, allow the pressure to release naturally for 10 minutes.
- Carefully release any remaining pressure. Open the lid, fluff the rice with a fork, and serve.
Notes
- Storage: Store any leftover rice in an airtight container in the fridge for up to four days.
- Freezing: You can freeze cooked rice for up to three months. Just portion it out before freezing for easy reheating.
- Herbs and Spices: Enhance the flavor by adding spices like cumin or herbs like cilantro during the cooking process.
- Vegetable Variations: Mix in cooked vegetables for a colorful and nutritious side dish.
- Serving Suggestions: Consider serving with grilled chicken or sautéed vegetables for a complete meal.