How to Freeze Rice
When I first learned how to freeze rice, it opened up a whole new world of meal prep for me. There’s something incredibly satisfying about preparing a big batch of rice, letting it cool, and then knowing I can store it away for later. Whether it’s for a fast weeknight dinner or a last-minute side dish, having pre-frozen rice on hand makes my life so much easier. Plus, it’s a fantastic way to reduce food waste, as I can easily save and utilize leftover rice from other meals. Freezing rice not only preserves its freshness but also saves time during busy weekdays. Let me walk you through my personal experience of freezing rice so you can enjoy the same convenience!
Recipe Snapshot
2 hr
60 mins
60 mins
Medium
215 kcal
5 g
Vegan, Gluten-Free, Low FODMAP
1 g
Wooden Spoon, Saucepan, Large Pot
Why This How to Freeze Rice Stands Out
Convenient & Time-Saving
One of the best things about learning how to freeze rice is the convenience it brings to my meal planning. I can batch cook rice on the weekends and freeze it in portions, ready to be reheated during my busy weekdays. No more waiting for rice to cook while I juggle other tasks in the kitchen!
Preserves Freshness
Freezing rice keeps its flavor and texture intact. When done correctly, the rice retains its moisture and taste, making it just as delightful as freshly cooked rice. You’ll find that reheating frozen rice is just as enjoyable as making it from scratch.
Food Waste Reduction
By freezing leftover rice, I’ve significantly reduced the amount of food waste in my kitchen. It’s heartbreaking to throw away food, and now I can utilize every grain. This practice not only saves money but also encourages sustainable cooking habits.
Versatile Ingredient
Rice is incredibly versatile and can complement countless dishes. Whether you’re making a stir-fry, burrito bowl, or curry, having frozen rice on hand means you can whip up a meal in minutes. It truly enhances the flexibility of my cooking.
Perfect for Meal Prep
For those of us who love meal prepping, frozen rice is a game changer. It allows me to prepare multiple meals at once without worrying about cooking rice each time. I can portion out my meals in advance, making it easy to grab and go!
Easy Reheating
Finally, reheating frozen rice is a breeze. I simply add a splash of water, pop it in the microwave, and within minutes, I have fluffy, warm rice ready to enjoy. This ease makes frozen rice a staple in my kitchen.
What Goes Into How to Freeze Rice
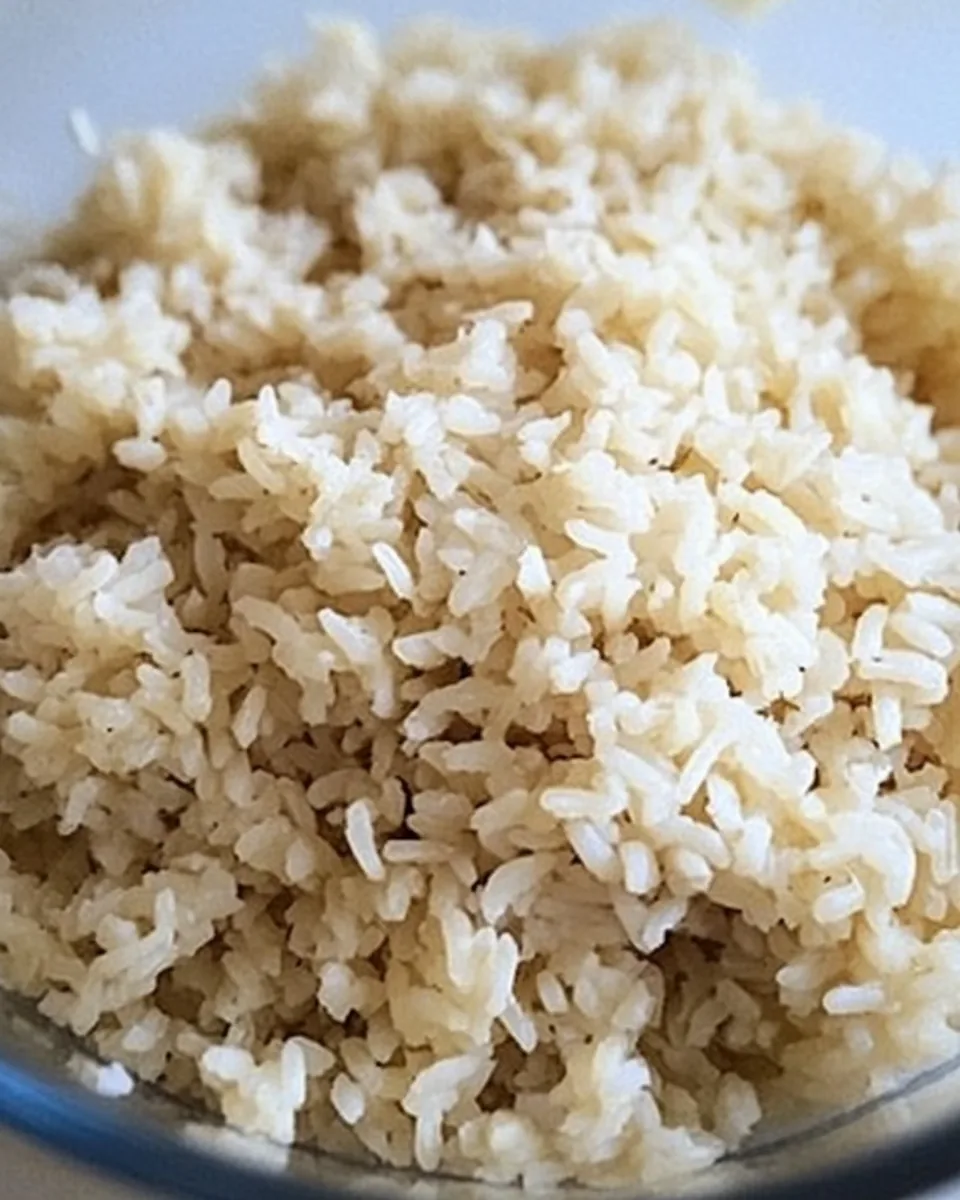
When it comes to freezing rice, simplicity is key. The fundamental ingredients — brown rice, water, and a pinch of salt — come together to create a wholesome base. Each ingredient plays a crucial role in ensuring the rice cooks evenly and freezes beautifully. The brown rice provides a hearty texture, while the water is essential for cooking it to perfection. Salt is optional, but it can enhance the flavor of the rice.
- Brown Rice: A whole grain that’s packed with nutrients and fiber. It has a wonderful nutty flavor and a chewy texture. When cooked properly, it serves as a perfect base for various dishes.
- Cold Water: Essential for cooking the rice, water helps hydrate the grains and allows them to expand. Using the right amount is crucial for achieving the desired texture.
- Salt: While optional, a pinch of salt enhances the flavor of the rice, making it more enjoyable. It’s important to balance the salt according to your personal taste.
How to Assemble How to Freeze Rice
Let’s dive into the process of freezing rice! It’s simpler than you might think. Follow my step-by-step guide, and soon you’ll have perfectly frozen rice ready for your meals.
Rinse the Brown Rice: Start by rinsing the brown rice thoroughly under cold water. This step is crucial as it removes excess starch, preventing the rice from being gummy. You want to rinse until the water runs clear, indicating most of the starch has been washed away.
Combine Ingredients: In a large pot, combine the rinsed brown rice, cold water, and a pinch of salt if desired. This mixture will cook evenly when heated, resulting in fluffy rice.
Bring to a Boil: Cover the pot and bring the mixture to a boil over medium-high heat. It’s important to keep an eye on it to prevent overboiling. Once you see bubbles forming, you know it’s almost time to reduce the heat.
Simmer the Rice: After reaching a boil, reduce the heat to low and let the rice simmer. Cover the pot and allow it to cook for about 40 to 45 minutes. You’ll know it’s done when the water is absorbed and the rice is tender. Stir it occasionally to ensure it cooks evenly.
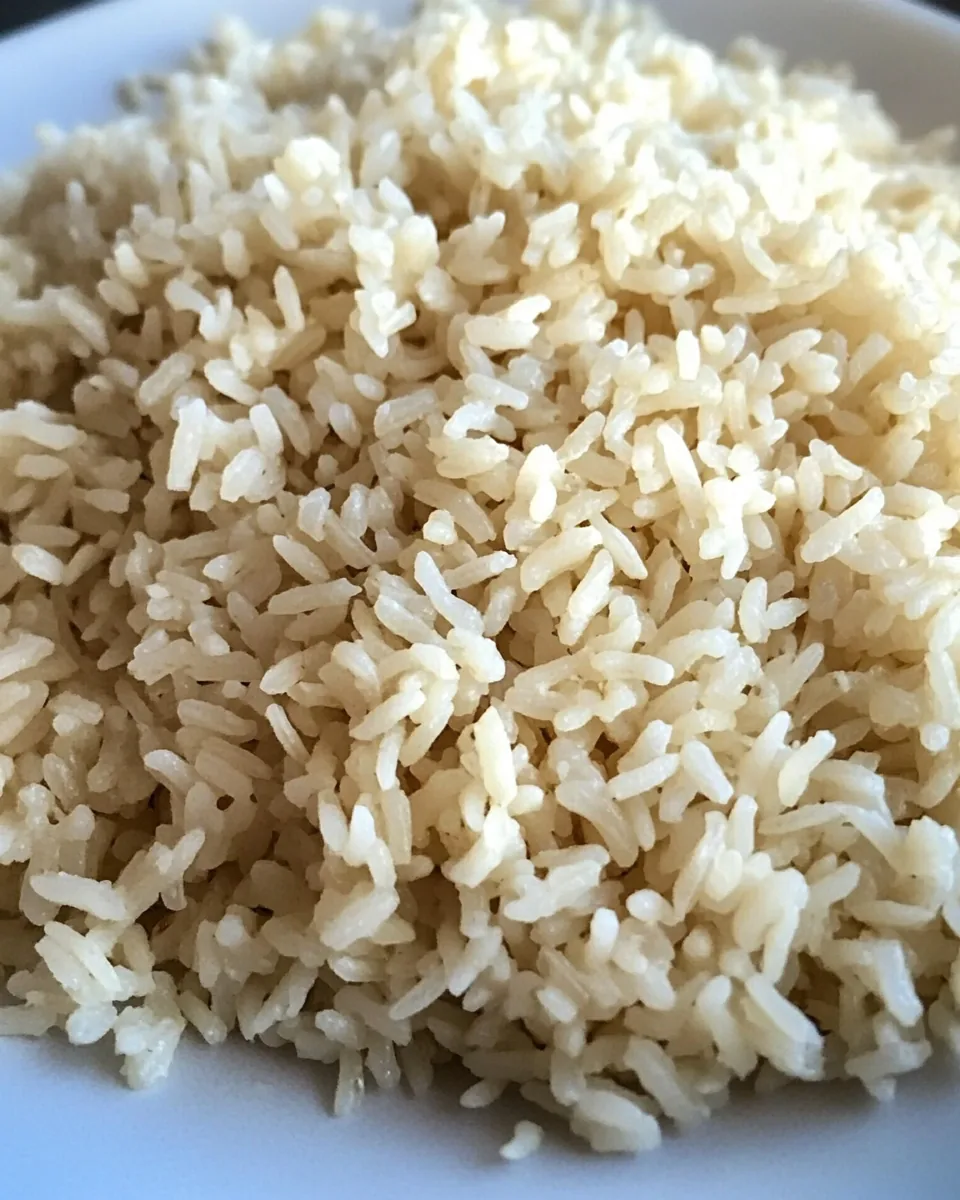
Fluff the Rice: Once cooked, remove the pot from heat and let it sit for 10 minutes with the lid on. This step allows the rice to steam and become fluffy. After this time, use a fork to gently fluff the rice, separating the grains.
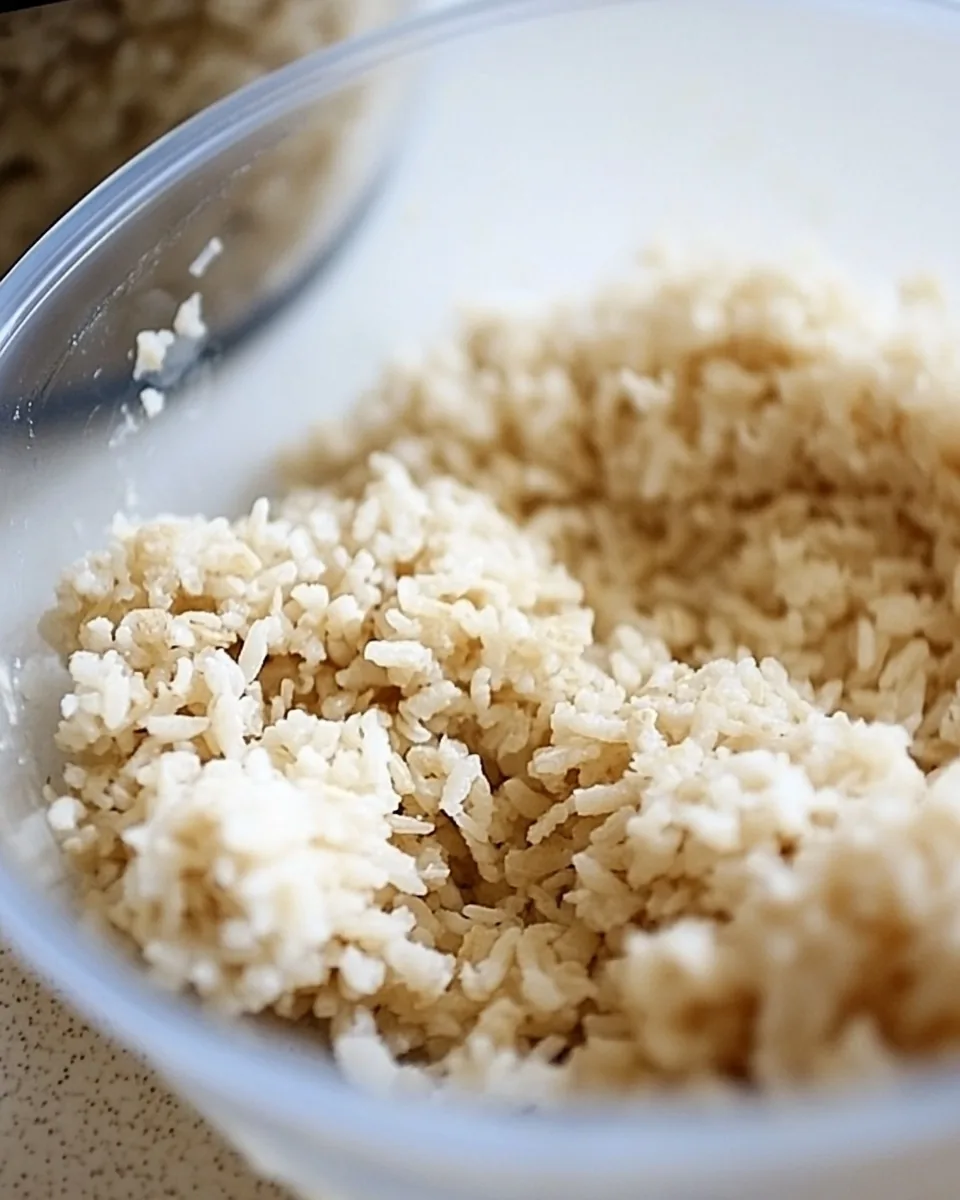
Cool the Rice: Spread the fluffy rice onto a clean baking sheet to cool. It’s crucial to let it cool for about 30 to 45 minutes at room temperature. Cooling it properly prevents ice crystals from forming during freezing.
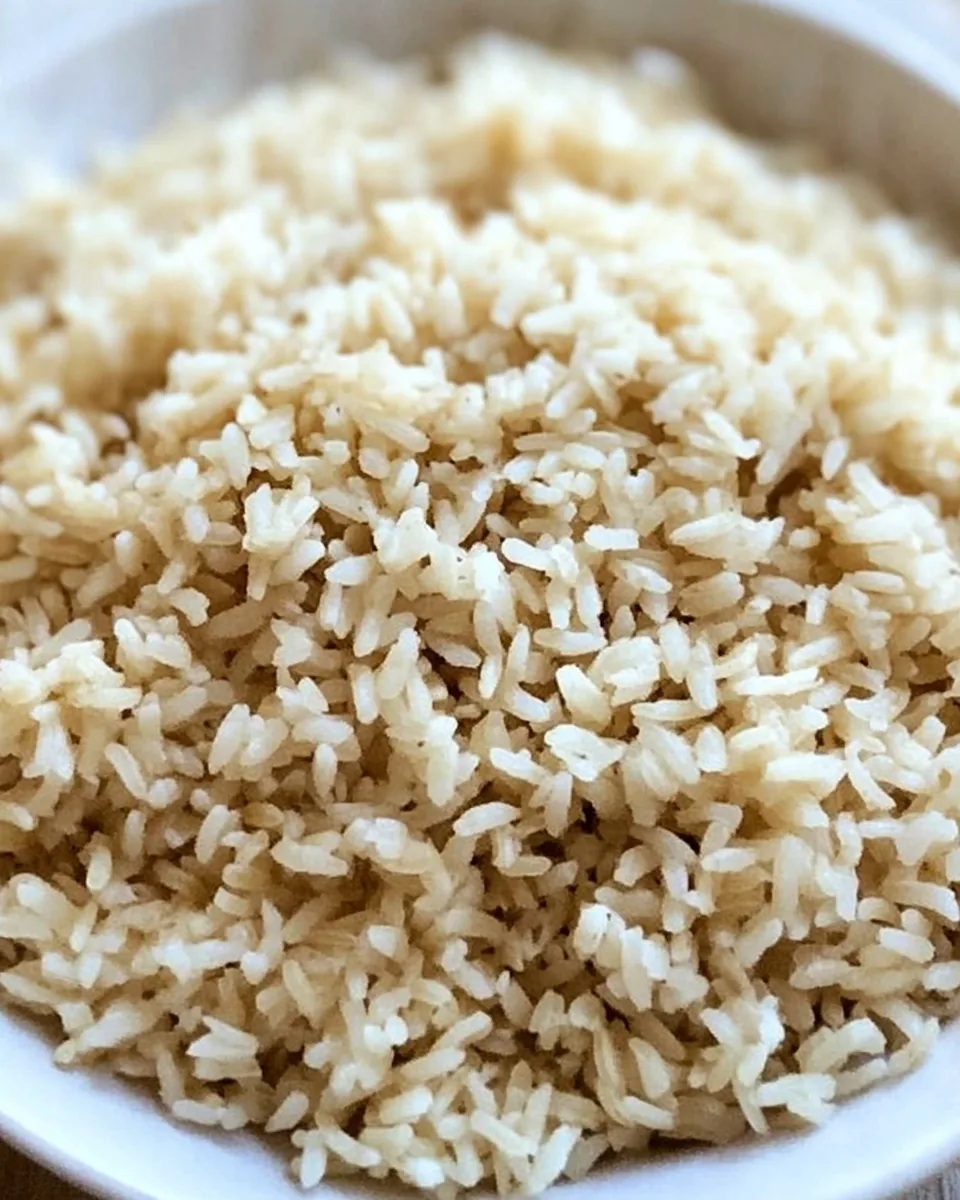
Portion the Rice: Once cooled, divide the rice evenly into freezer bags or containers. This makes it easy to thaw just the right amount when you need it.
Seal and Freeze: Remove as much air as possible from the bags to prevent freezer burn, seal them tightly, and place them in the freezer. They can stay fresh for up to six months!
Reheating: To reheat, simply take out a portion, open the bag, add a tablespoon of water, and microwave for 3 to 5 minutes, or until hot. Fluff with a fork before serving!
Things Worth Knowing
- Storage Tip: Store frozen rice in airtight freezer bags to avoid freezer burn and maintain quality.
- Cooking Method: Always rinse your rice before cooking to remove excess starch for better texture.
- Thawing Tip: Thaw rice overnight in the refrigerator for the best texture when reheating.
- Serving Suggestion: Use frozen rice as a base for stir-fries or grain bowls for quick meals.
Expert Tips about How to Freeze Rice
Here are some expert tips on freezing rice to ensure you get the best results. These guidelines will help you master this skill and make meal prepping easier.
- Storage: Always label your freezer bags with the date and contents. This way, you can keep track of how long it’s been frozen and ensure freshness.
- Freezing: Make sure the rice is completely cool before sealing it in bags. This prevents condensation and ice crystals from forming.
- Portioning: Portion the rice according to meal size. This makes it easier to defrost only what you need, minimizing waste.
- Microwave Tip: To reheat rice evenly, stir halfway through the microwaving process for consistent warmth.
- Rice Varieties: You can freeze different types of rice, such as jasmine or basmati, using the same method!
Best Served With
Knowing how to serve your frozen rice can enhance any meal. Here are some fantastic suggestions for serving it:
- Stir-Fried Veggies: Pair your rice with a mix of colorful, stir-fried vegetables for a nutritious and vibrant dish.
- Curries: Frozen rice is a perfect base for rich curries, whether they are meat or vegetarian.
- Wraps and Bowls: Use rice in wraps or grain bowls, topped with your favorite proteins and sauces for a quick meal.
- Soups: Add a scoop of reheated rice to soups for added texture and heartiness.
- Salads: Incorporate cold, cooked rice into salads for extra bulk and flavor.
- Meal Prep: Use frozen rice for weekly meal prep, making it a versatile ingredient for many dishes.
FAQ
Conclusion
Learning how to freeze rice is a fantastic skill that can simplify your meal prep and reduce food waste. The convenience of having perfectly cooked rice ready for quick meals is a game changer. I encourage you to give it a try and enjoy the benefits of having this staple at your fingertips.
How to Freeze Rice
Equipment
- Wooden Spoon
- Saucepan
- Large Pot
Ingredients
- 4 cups brown rice
- 8 cups cold water
- to taste salt optional
Instructions
- Rinse brown rice well.
- Place rice, water and salt into large pot.
- Cover, bring to boil, reduce to simmer and cook until rice is completely soft.
- Stir with a fork to fluff.
- Cool for 30-45 minutes on the counter.
- Divide rice between freezer bags into 4 equal portions.
- Remove all the air, seal and freeze.
- To reheat, open bags, add in 1-2 tablespoons of water and microwave 3-5 minutes or until hot. Serve as you like.
Notes
- Storage: Always label your freezer bags with the date and contents.
- Freezing: Make sure the rice is completely cool before sealing it.
- Portioning: Portion the rice according to meal size.
- Microwave Tip: To reheat rice evenly, stir halfway through the microwaving process.
- Rice Varieties: You can freeze different types of rice, such as jasmine or basmati!