
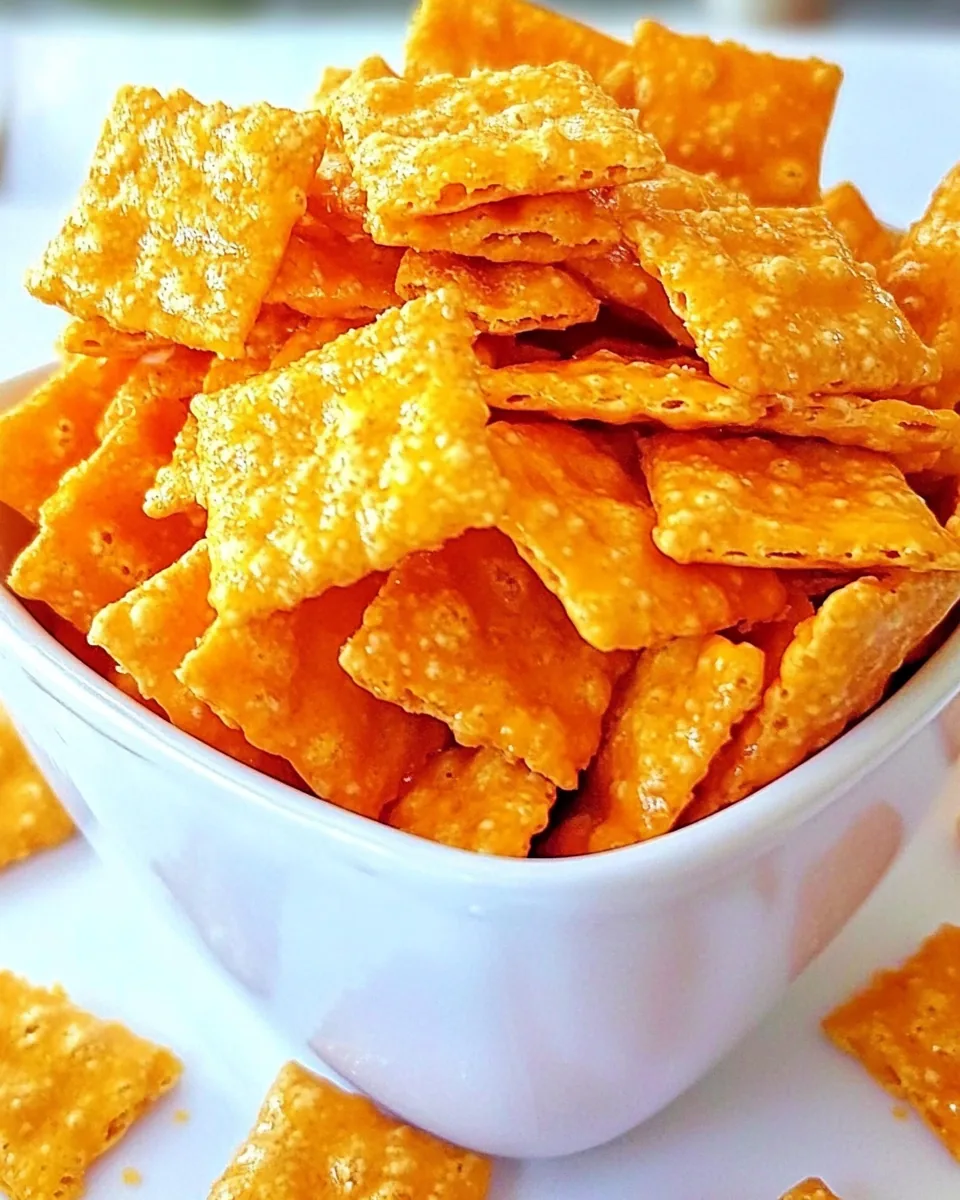
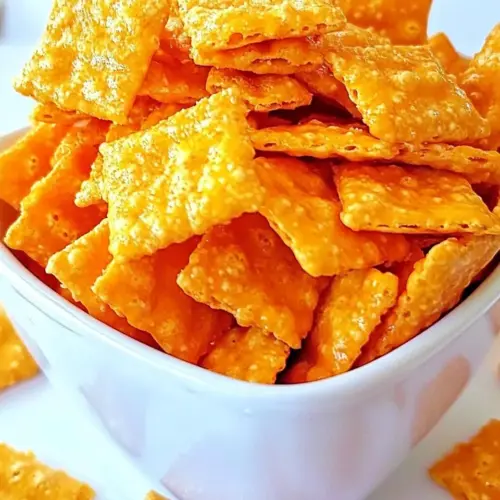
Homemade Cheez Its
There’s something incredibly satisfying about making your own snacks, and Homemade Cheez Its are at the top of that list for me. I remember the first time I decided to create these little cheesy bites in my kitchen. It was a rainy afternoon, and I found myself rummaging through the pantry, craving something crunchy and cheesy. Instead of reaching for a bag of store-bought crackers, I thought, why not make my own? With just a few simple ingredients, I was able to whip up a batch of fresh, crispy, gooey cheese crackers that filled my home with an irresistible aroma. The best part? They were ready in no time!
Recipe Snapshot
25 mins
5 mins
20 mins
Medium
150 kcal
10 g
Keto, Gluten-Free, Low FODMAP
12 g
Parchment Paper, Baking Sheet, Straw
Why This Homemade Cheez Its Is So Good
What I love most about Homemade Cheez Its is how easy they are to make. You only need a couple of ingredients, and the result is a homemade snack that’s so much tastier than any packaged version. Not only do they bring back childhood memories of snacking, but they also allow for a level of customization that store-bought snacks simply can’t offer. You can play around with different types of cheese or even add spices to give them a unique twist.
They’re Perfect for Any Occasion
Whether you’re hosting a game night, having friends over, or just want a tasty treat for yourself, these little crackers are ideal. They pair beautifully with dips, soups, or can be enjoyed all on their own. I often find myself making a larger batch just so I have some on hand for snacking throughout the week.
Great for Kids and Adults Alike
Homemade Cheez Its are a hit with both kids and adults. My children love helping in the kitchen, cutting the cheese and placing the pieces on the baking sheet. It’s a fun and interactive way to get them involved in cooking, and they take pride in enjoying a snack they helped create.
Healthier Than Store-Bought Options
When you make your own Homemade Cheez Its, you have complete control over the ingredients. You can choose quality cheese and avoid the preservatives and additives often found in commercial snacks. This not only makes them healthier but also more flavorful.
Customize to Your Heart’s Content
Another aspect I adore is the ability to experiment. Want a spicy kick? Add some cayenne pepper. Love garlic? Sprinkle some garlic powder in the mixture. The possibilities are endless, and it’s a great way to personalize your snacks and use up any leftover cheese you might have in the fridge.
They Make Great Gifts
Lastly, Homemade Cheez Its make a wonderful gift for friends and family. Package them in a cute jar or bag, and you have a thoughtful, homemade gift that everyone will appreciate. I often give these as treats during the holidays, and they’ve always been a big hit!
Ingredients Required for Homemade Cheez Its
When it comes to the ingredients for Homemade Cheez Its, simplicity reigns supreme. The key players here—ultra-thin sliced deli cheese and salt—combine to create a crispy, cheesy delight that’s utterly addictive. Using high-quality cheese elevates the flavor, ensuring each bite is packed with cheesy goodness. Let’s dive into what you’ll need!
- 6 slices Ultra Thin Sliced Deli Cheese: This is the star ingredient. The ultra-thin slices are crucial as they bake perfectly into crispy bites, capturing that classic Cheez It flavor.
- Salt: A sprinkle of salt enhances the flavor, making each cracker even more irresistible. Adjust according to your preference!
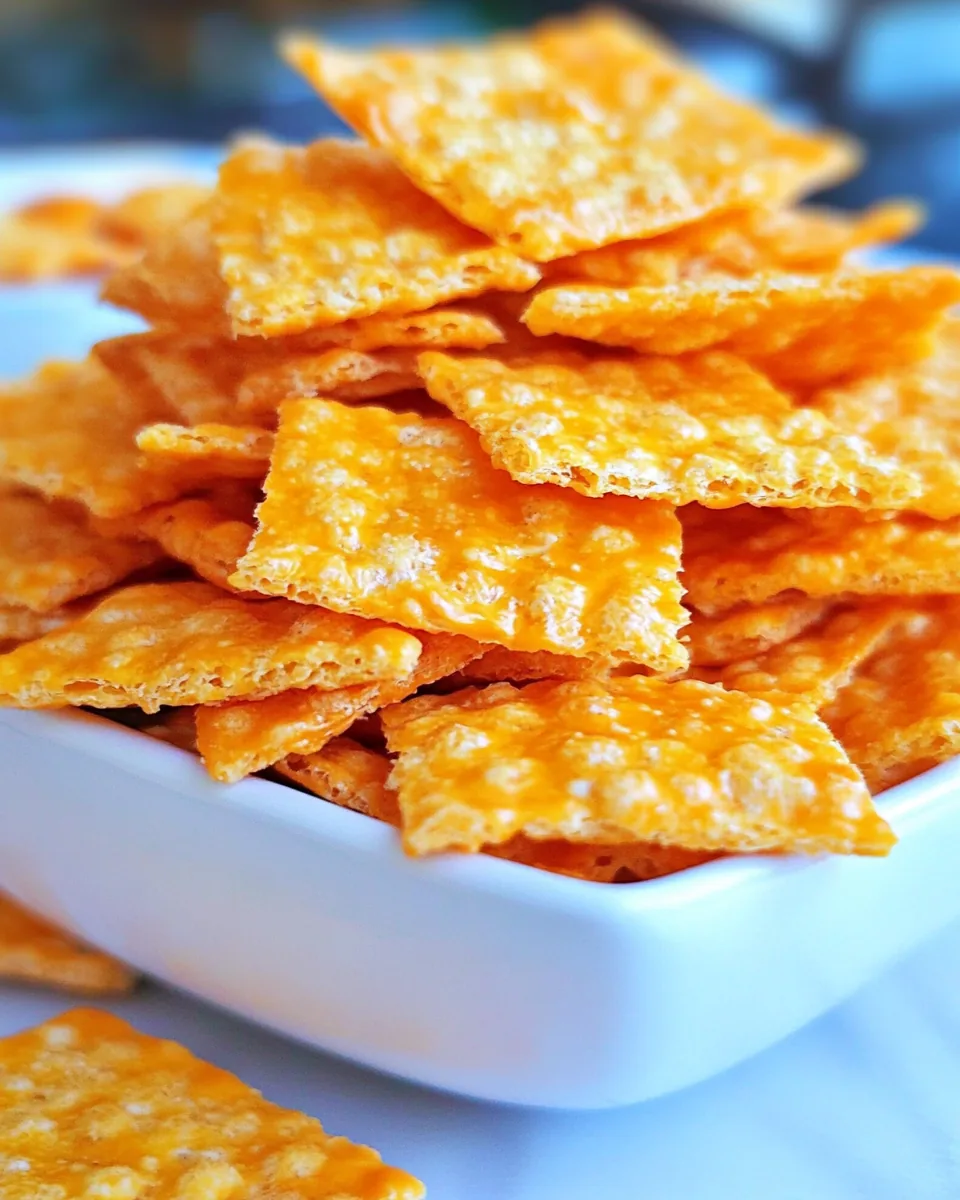
Putting Together Homemade Cheez Its
Making Homemade Cheez Its is a fun and straightforward process. As you gather your ingredients, prepare for the delightful aroma that will soon fill your kitchen. Follow these steps, and you’ll be on your way to snacking bliss.
- Preheat your oven to 275 degrees Fahrenheit. It’s essential to get the oven hot enough to ensure that your cheese crisps up nicely.
- Line a baking sheet with parchment paper. This prevents the cheese from sticking and makes for easy cleanup later.
- Cut each slice of cheese into four smaller squares. Aim for uniformity so they cook evenly. Place these squares on the baking sheet, ensuring they’re about 3/4 inch apart to allow for expansion during baking.
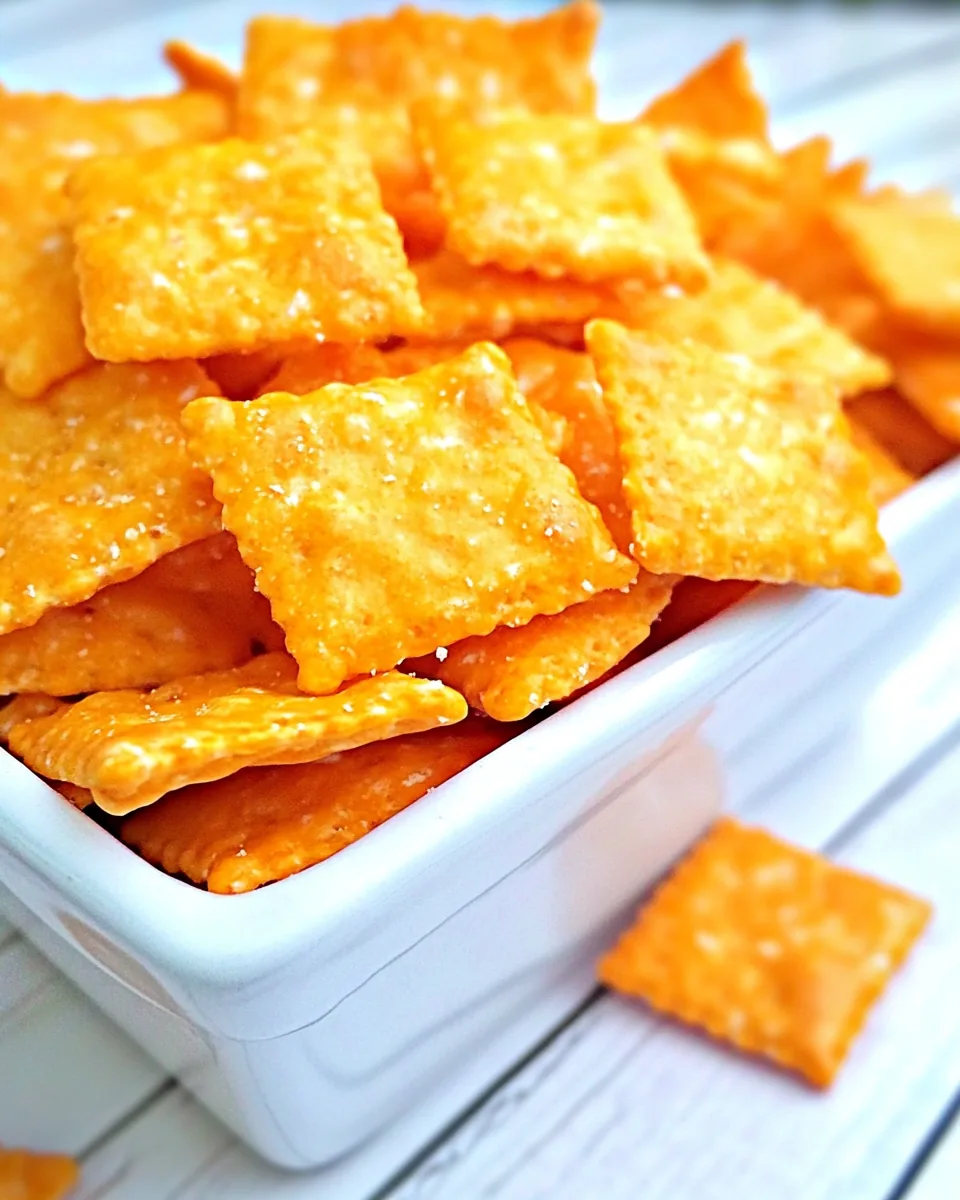
- Once your baking sheet is full, grab a straw and carefully cut a small hole in the center of each cheese square. This not only looks cute but also helps the cheese bake evenly.
- Now, it’s time to bake! Place the baking sheet in the preheated oven and bake for 20 to 22 minutes. Keep a close eye on them as they can go from perfect to burnt in a blink!
- When the time is up, remove the baking sheet from the oven. Immediately sprinkle the hot cheese crackers with salt, adjusting to taste. This is where you can add a little bit more for that extra flavor.
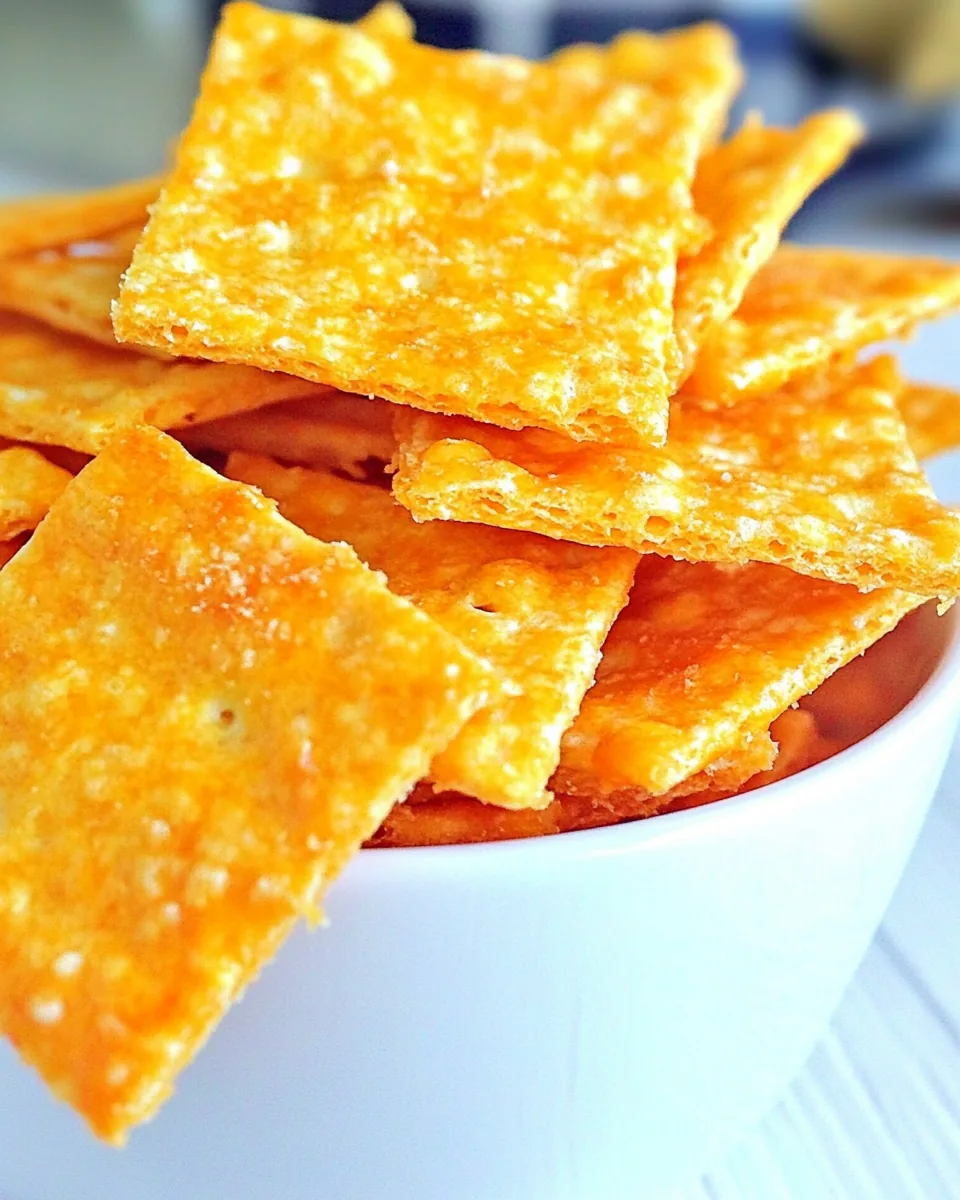
- Let the crackers cool on the baking sheet for a few minutes before transferring them to a cooling rack. This cooling time is crucial for achieving that perfect crunch!
- Once cooled, enjoy your Homemade Cheez Its as a snack or serve them at your next gathering!
Expert Tips about Homemade Cheez Its
Creating perfect Homemade Cheez Its can be made even easier with a few expert tips. These insights will ensure that your cheese crackers turn out crispy, delicious, and unforgettable.
- Storage: To keep your Homemade Cheez Its fresh, store them in an airtight container. They’ll stay crispy for about a week, but I doubt they’ll last that long!
- Freezing: You can freeze these crackers! Just make sure they’re completely cooled and placed in a freezer bag. They should last up to three months. When you’re ready to snack, just pop them in the oven for a few minutes to crisp them up again.
- Pairing: These crackers are perfect with hummus, guacamole, or your favorite dip. You can also enjoy them with soups or salads for added crunch.
- Variations: Feel free to experiment with different types of cheese. Cheddar, Gouda, or even a spicy pepper jack can give your crackers a unique twist.
- Thickness Matters: Ensure your cheese slices are thin enough. Thick slices won’t crisp up as well and may result in chewy crackers.
- Watch Closely: Every oven is different. Keep an eye on your crackers during baking to prevent burning.
Great Combinations for Homemade Cheez Its
When it comes to serving your Homemade Cheez Its, the options are endless. Here are some delightful ideas to complement your crispy cheese snacks:
- Serve with Dips: Pair your crackers with creamy dips like hummus or guacamole for a satisfying snack.
- Perfect for Parties: These make an excellent addition to any gathering. Serve them at game nights or family gatherings for an extra crunchy treat.
- Lunchbox Treats: Pack them in your children’s lunchboxes for a fun and healthier alternative to store-bought snacks.
- Seasonal Pairings: Enjoy these crackers as a savory snack during the holidays, or with soups in the colder months.
- Great for Movie Nights: Set them out during movie nights for everyone to munch on. They’re sure to disappear quickly!
- Snack Attack: Keep a jar filled with these on your kitchen counter for an easy grab-and-go snack during the day.
FAQ
Conclusion
Making Homemade Cheez Its is a fun and rewarding experience that brings nostalgia and comfort into your kitchen. These crispy, cheesy snacks are not just easy to whip up, but they also allow for endless customization to suit your taste. So, why not give them a try? You’ll be pleasantly surprised at how simple it is to create a delicious snack that’s perfect for any occasion!
Homemade Cheez Its
Equipment
- Parchment Paper
- Baking Sheet
- Straw
Ingredients
- 6 slices Ultra Thin Sliced Deli Cheese
- to taste Salt
Instructions
- Preheat your oven to 275 degrees Fahrenheit. It's essential to get the oven hot enough to ensure that your cheese crisps up nicely.
- Line a baking sheet with parchment paper. This prevents the cheese from sticking and makes for easy cleanup later.
- Cut each slice of cheese into four smaller squares. Aim for uniformity so they cook evenly. Place these squares on the baking sheet, ensuring they're about 3/4 inch apart to allow for expansion during baking.
- Once your baking sheet is full, grab a straw and carefully cut a small hole in the center of each cheese square. This not only looks cute but also helps the cheese bake evenly.
- Now, it’s time to bake! Place the baking sheet in the preheated oven and bake for 20 to 22 minutes. Keep a close eye on them as they can go from perfect to burnt in a blink!
- When the time is up, remove the baking sheet from the oven. Immediately sprinkle the hot cheese crackers with salt, adjusting to taste. This is where you can add a little bit more for that extra flavor.
- Let the crackers cool on the baking sheet for a few minutes before transferring them to a cooling rack. This cooling time is crucial for achieving that perfect crunch!
- Once cooled, enjoy your Homemade Cheez Its as a snack or serve them at your next gathering!
Notes
- Storage: To keep your Homemade Cheez Its fresh, store them in an airtight container. They’ll stay crispy for about a week, but I doubt they’ll last that long!
- Freezing: You can freeze these crackers! Just make sure they’re completely cooled and placed in a freezer bag. They should last up to three months. When you’re ready to snack, just pop them in the oven for a few minutes to crisp them up again.
- Pairing: These crackers are perfect with hummus, guacamole, or your favorite dip. You can also enjoy them with soups or salads for added crunch.
- Variations: Feel free to experiment with different types of cheese. Cheddar, Gouda, or even a spicy pepper jack can give your crackers a unique twist.
- Thickness Matters: Ensure your cheese slices are thin enough. Thick slices won’t crisp up as well and may result in chewy crackers.
- Watch Closely: Every oven is different. Keep an eye on your crackers during baking to prevent burning.

