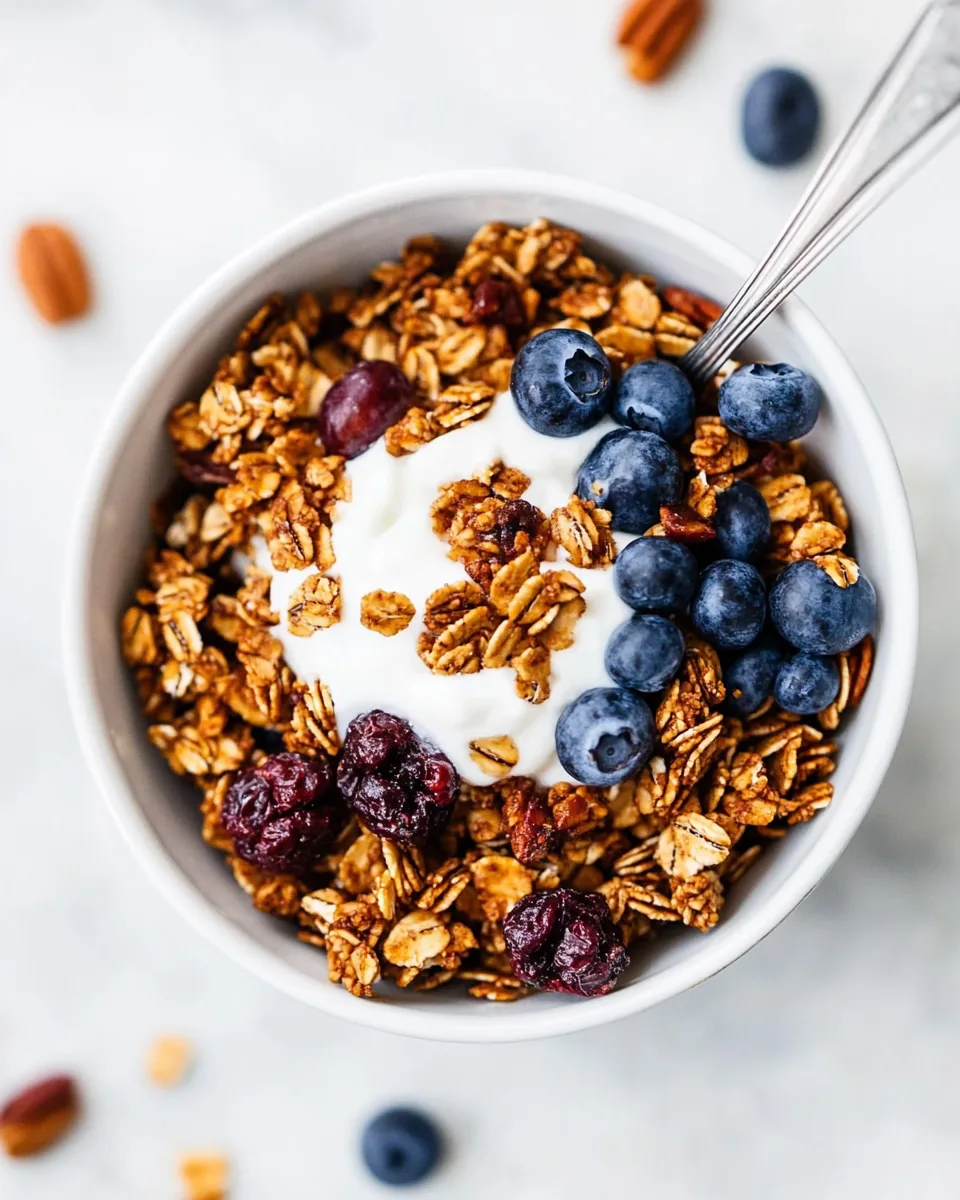
Gluten Free Granola
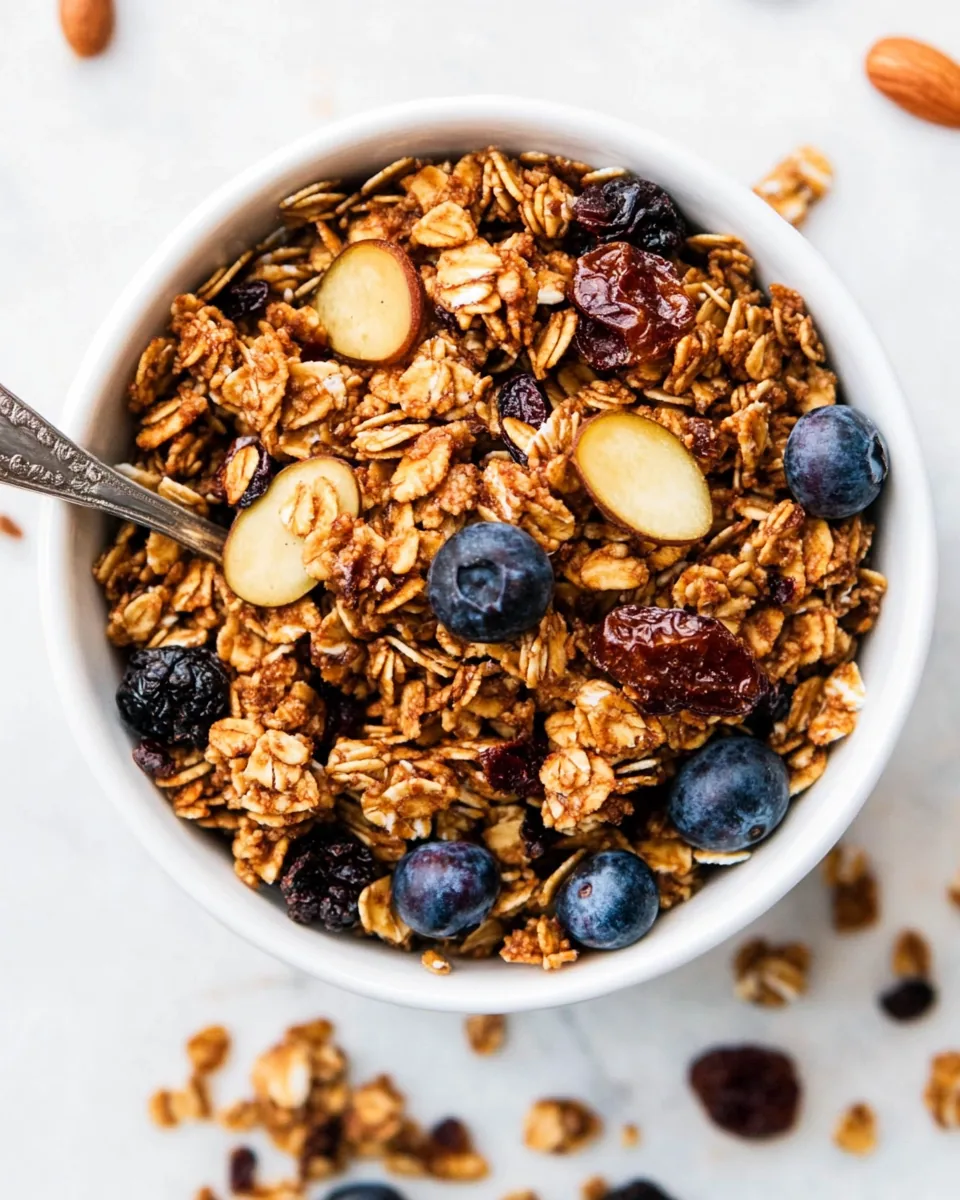
When I first tried making Gluten Free Granola, I wasn’t just after a quick breakfast option—I was searching for that perfect combination of crunchy, sweet, and satisfying. It was a rainy Sunday morning, and the cozy vibes of being indoors inspired my culinary creativity. With a few pantry staples and a sprinkle of excitement, I set out to craft my very own granola that would not only be gluten-free but also bursting with flavor. The aroma of oats toasting in the oven quickly filled my kitchen and brought back fond memories of lazy brunches and sunny mornings.
Unlike store-bought granola, this homemade version allows you to control every ingredient, making it healthier and customized to your taste. I love how the Gluten Free Granola is not just a breakfast staple; it can be a delightful snack anytime during the day. Whether you enjoy it with yogurt, topped on fresh fruits, or as a simple on-the-go treat, this granola is versatile and oh-so-delectable!
Recipe Snapshot
45 mins
15 mins
30 mins
Medium
230 kcal
3 g
Gluten-Free, AIP, Low FODMAP
10 g
Frying Pan, Oven, Wooden Spoon, Mixing Bowl, Baking Sheet
Why This Gluten Free Granola Is a Winner
It’s a Nutritional Powerhouse
The beauty of this Gluten Free Granola is its wholesome ingredients. Packed with gluten-free rolled oats and natural sweeteners, it provides you with energy without the refined sugars. Each bite is a delightful blend of nutrients that keeps you fueled throughout your day.
Customizable to Your Taste
One of my favorite aspects of making homemade granola is the ability to personalize it. Want to add some chopped nuts or seeds? Go for it! Prefer it less sweet? Adjust the honey or sugar to your liking. Experimenting with flavors is half the fun!
Perfect for Meal Prep
This granola is ideal for meal prepping. You can make a large batch ahead of time and store it in an airtight container. It lasts for weeks, making it a convenient option when you want a nutritious snack or breakfast without much effort.
Kids Love It!
If you’re looking to get your kids involved in the kitchen, this is a perfect recipe! They’ll love measuring out the ingredients and stirring the mixture. Plus, they’ll enjoy munching on their homemade granola, which is a much healthier option compared to commercial cereals.
A Creative Topping
The Gluten Free Granola can be a fun topping for desserts as well. Imagine topping it on ice cream or a smoothie bowl! It adds a delightful crunch and elevates your dishes to something special.
Great for Gifting
Homemade granola makes an excellent gift too! Pack it in a cute jar, tie a ribbon around it, and you have an affordable yet thoughtful present for friends and family. It’s a gift that shows you care and made with love.
What to Buy for Gluten Free Granola
Gathering the right ingredients is crucial for creating the perfect Gluten Free Granola. Each component plays a role in achieving that delightful crunch and flavor. The key players in this recipe are the gluten-free rolled oats, honey, and a mix of flavorful extracts. Together, they create a harmonious blend that’s not only delicious but also nutritious.
- 4 cups gluten-free rolled oats: The base of our granola. These oats give it a hearty texture and provide a wonderful source of fiber.
- ¼ cup granulated sugar: Adds a touch of sweetness, balancing the flavors perfectly.
- 6 tablespoons butter, coconut oil, or another type of vegetable oil: This fat is essential for achieving that crispy texture.
- 6 tablespoons honey: Natural sweetness that also helps bind the ingredients together.
- 2 tablespoons vanilla extract: Adds a warm, rich flavor to enhance the overall taste.
- 2 teaspoons almond extract: A hint of nuttiness that pairs beautifully with the oats.
- ½ teaspoon salt: A small but significant ingredient that rounds out the flavors.
- ¼ cup granola: For an extra crunch, this can be added to the mixture or used as a topping.
- ½ cup plain or vanilla Greek yogurt: A creamy companion to your granola, making it a great breakfast.
- ½ cup mixed berries, rinsed and patted dry: Fresh fruits add color and freshness to the final product.
Recipe Directions for Gluten Free Granola
Now that we have all our ingredients ready, let’s dive into the fun part—making the Gluten Free Granola. It’s a straightforward process that yields delicious results. Follow these steps closely for the best outcome!
- Preheat your oven to 325 °F (about 160 °C). This temperature is key to achieving that perfect golden color without burning the granola.
- Line a jelly roll pan with a piece of parchment paper. This prevents the granola from sticking and makes for easy cleanup.
- In a large mixing bowl, combine the granulated sugar, butter, honey, vanilla extract, almond extract, and salt. Stir until everything is well combined and the mixture is smooth.
- Add the gluten-free rolled oats to the bowl and stir gently until all the oats are evenly coated with the sweet mixture.
- Transfer the granola mixture to the prepared jelly roll sheet. Spread it out into an even layer, ensuring it’s not too thick, so it bakes evenly.
- Bake in the preheated oven for about 15 to 20 minutes, rotating the pan halfway through. You want to see the granola near the edges start to brown slightly, indicating it’s on its way to being perfectly toasted.
- Keep a close eye on your granola during the last 5 to 10 minutes of baking to prevent it from burning. Stir it thoroughly and let it bake until it’s uniformly lightly browned.
- Once done, take the granola out and let it cool completely on the pan. This step is important because the granola will continue to crisp up as it cools.
- Once cooled, store the granola in an airtight container. It can last for up to 3 to 4 weeks—if it lasts that long!
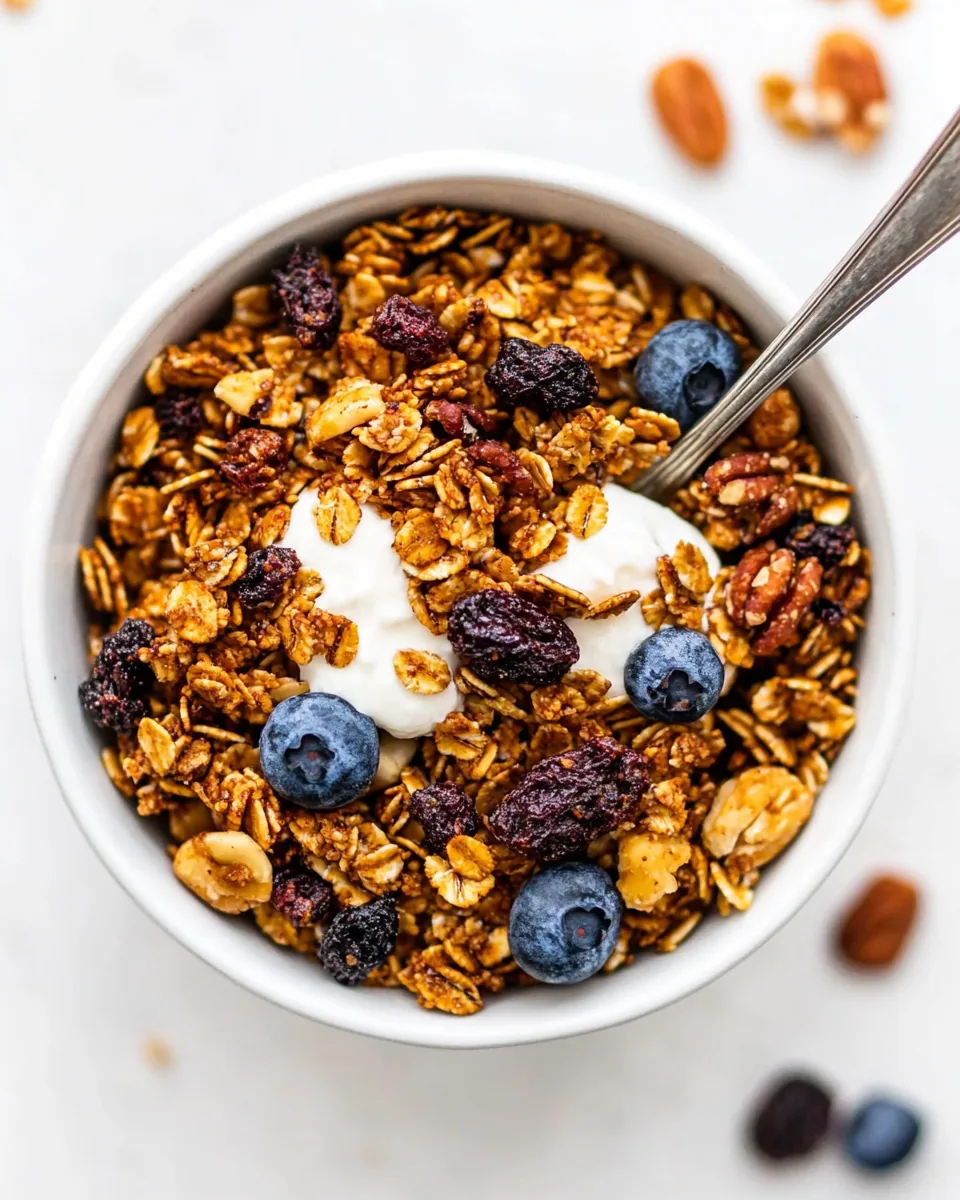
- For a delightful serving, layer ¼ cup of Greek yogurt into the bottom of a dessert glass, followed by 2 tablespoons of granola, and then ¼ cup of berries. Repeat the layers for an eye-catching and delicious treat.
- Serve immediately and enjoy your homemade Gluten Free Granola!
Things Worth Knowing
- Oven Temperature: Always preheat your oven for even cooking. A hot oven ensures that the granola gets that crispy texture.
- Watch Closely: Keep an eye on the granola as it bakes. Ovens vary in temperature, and you don’t want to end up with burnt granola.
- Cooling Time: Allowing the granola to cool completely before storing is crucial for achieving the right crunch.
- Flavor Variations: Don’t hesitate to try different combinations of nuts, seeds, or even dried fruits. Each variation can create a unique flavor profile!
- Storage Tips: Store granola in a cool, dry place to maintain its crispness. An airtight container is best to keep moisture out.
Helpful Hints
Here are some tips to ensure your Gluten Free Granola turns out perfectly each time you make it.
- Storage: Store leftovers in an airtight container at room temperature to keep the granola crunchy and fresh.
- Freezing: Can you freeze this? Yes! Store it in a freezer-safe bag for up to three months.
- Pairing: This granola goes wonderfully with milk, yogurt, or even sprinkled over fresh fruit for a delicious breakfast or snack.
- Ingredient Quality: Ensure all your products are certified gluten-free if you’re making this with gluten-sensitive individuals in mind.
- Recrisping: If your granola becomes soft after storage, you can recrisp it by baking at 325 degrees F for 5 to 10 minutes.
Best Served With
Now that you’ve made your Gluten Free Granola, let’s talk about how to best serve it. Here are some ideas:
- Breakfast: Enjoy it with a bowl of milk or plant-based milk for a hearty start to your day.
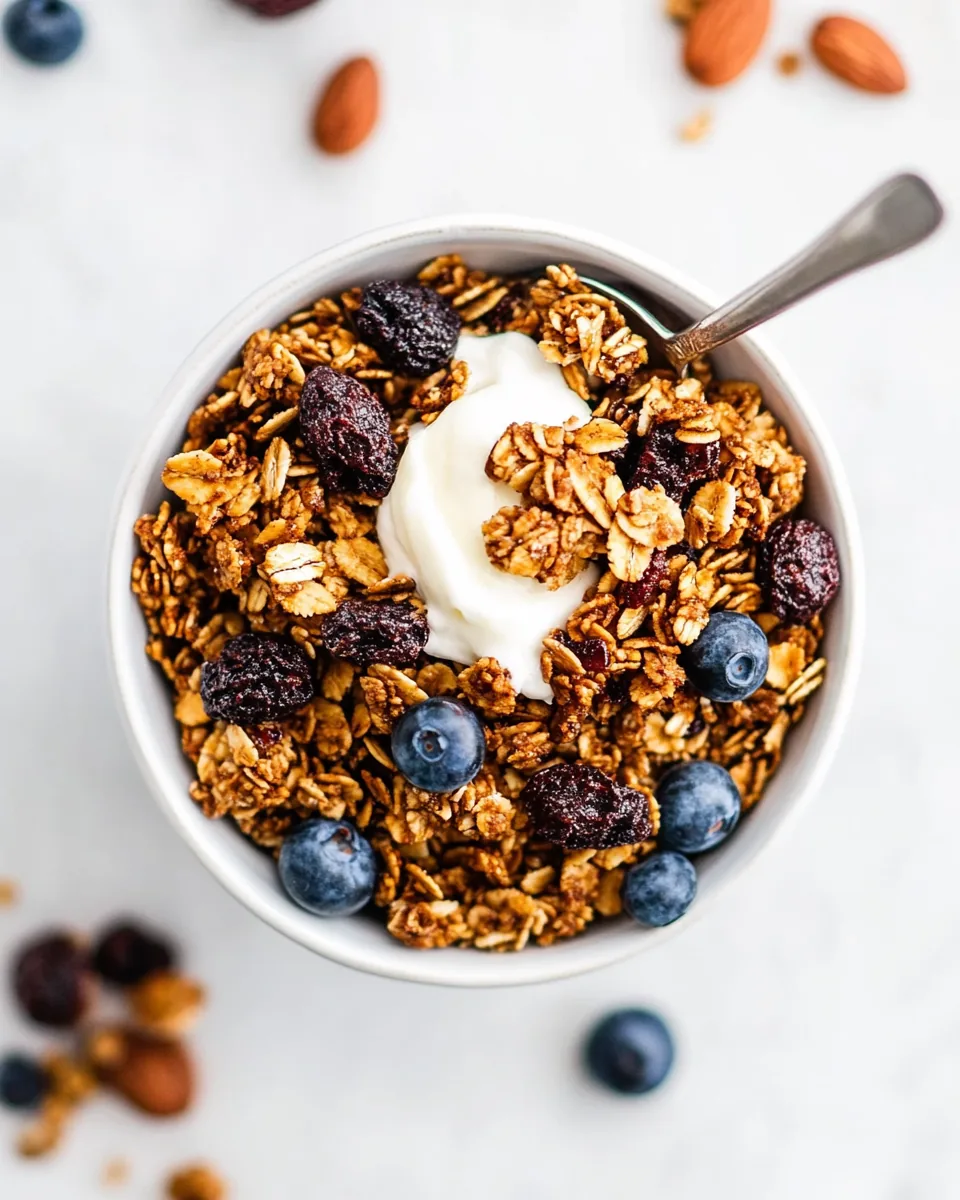
- Yogurt Parfaits: Layer it with Greek yogurt and mixed berries for a delicious and healthy snack.
- On Smoothies: Sprinkle it over your favorite smoothie bowl for added texture and taste.
- As a Snack: Grab a handful for a quick and nutritious snack when you’re on the go.
- Seasonal Fruit Pairings: Pair with seasonal fruits like apples in fall or fresh berries in summer for a refreshing combination.
FAQ
Conclusion
This Gluten Free Granola is not just a breakfast option; it’s a versatile treat that can be enjoyed any time of the day. Its combination of crunchy oats, sweet honey, and customizable ingredients makes it a delightful choice for everyone. I encourage you to give it a try and experience the joy of homemade goodness. Trust me, once you make this, you’ll want to keep it stocked in your pantry at all times!

Gluten Free Granola
Equipment
- Frying Pan
- Oven
- Wooden Spoon
- Mixing Bowl
- Baking Sheet
Ingredients
- 4 cups gluten-free rolled oats
- ¼ cup granulated sugar
- 6 tablespoons butter or coconut oil or another type of vegetable oil
- 6 tablespoons honey
- 2 tablespoons vanilla extract
- 2 teaspoons almond extract
- ½ teaspoon salt
- ¼ cup granola
- ½ cup plain or vanilla Greek yogurt
- ½ cup mixed berries
Instructions
- Preheat your oven to 325 °F (about 160 °C). This temperature is key to achieving that perfect golden color without burning the granola.
- Line a jelly roll pan with a piece of parchment paper. This prevents the granola from sticking and makes for easy cleanup.
- In a large mixing bowl, combine the granulated sugar, butter, honey, vanilla extract, almond extract, and salt. Stir until everything is well combined and the mixture is smooth.
- Add the gluten-free rolled oats to the bowl and stir gently until all the oats are evenly coated with the sweet mixture.
- Transfer the granola mixture to the prepared jelly roll sheet. Spread it out into an even layer, ensuring it's not too thick, so it bakes evenly.
- Bake in the preheated oven for about 15 to 20 minutes, rotating the pan halfway through. You want to see the granola near the edges start to brown slightly, indicating it's on its way to being perfectly toasted.
- Keep a close eye on your granola during the last 5 to 10 minutes of baking to prevent it from burning. Stir it thoroughly and let it bake until it’s uniformly lightly browned.
- Once done, take the granola out and let it cool completely on the pan. This step is important because the granola will continue to crisp up as it cools.
- Once cooled, store the granola in an airtight container. It can last for up to 3 to 4 weeks—if it lasts that long!
- For a delightful serving, layer ¼ cup of Greek yogurt into the bottom of a dessert glass, followed by 2 tablespoons of granola, and then ¼ cup of berries. Repeat the layers for an eye-catching and delicious treat.
- Serve immediately and enjoy your homemade Gluten Free Granola!
Notes
- Tip 1: Ensure all your products are certified gluten-free if you're making this with gluten-sensitive individuals in mind.
- Tip 2: If your granola becomes soft after storage, you can recrisp it by baking at 325 degrees F for 5 to 10 minutes.