
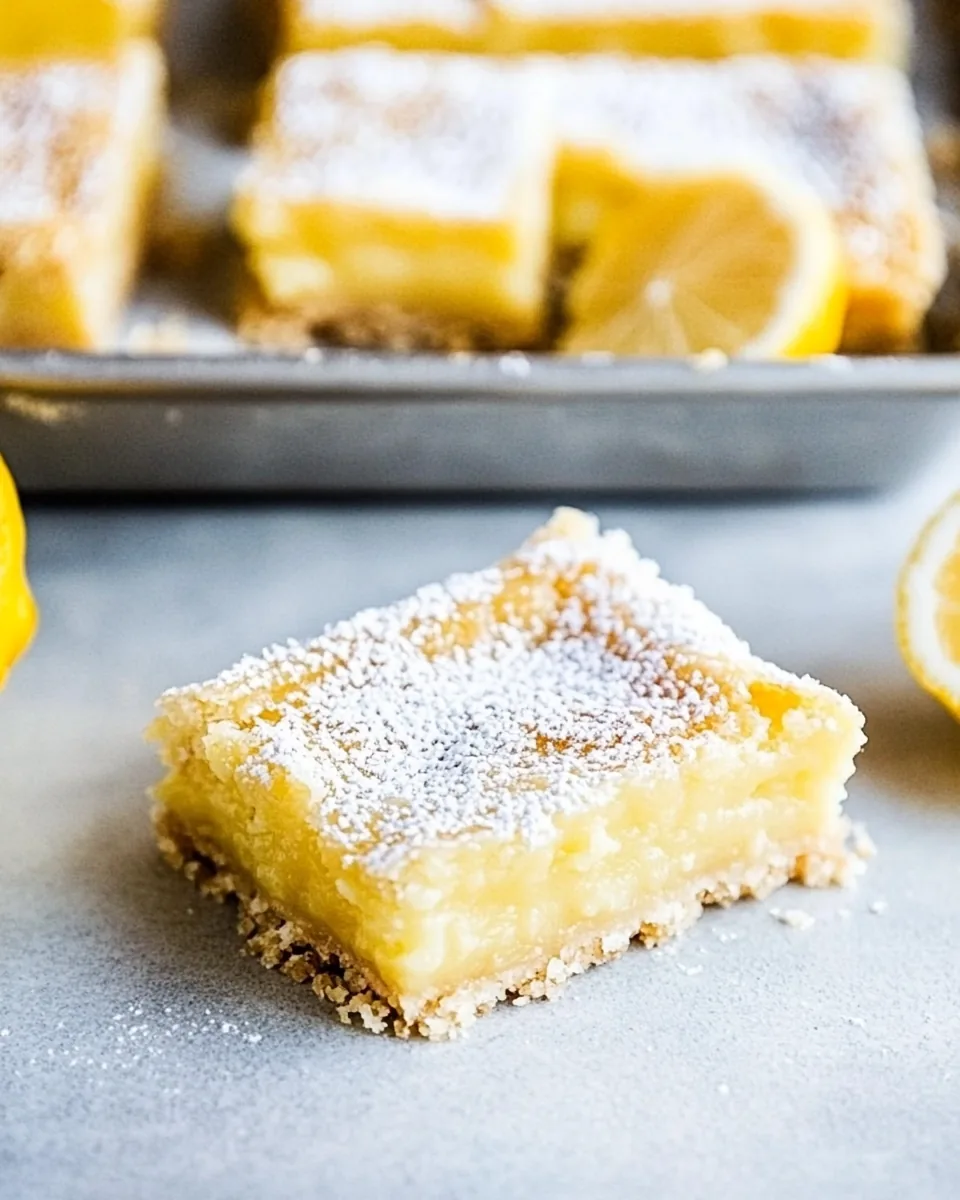
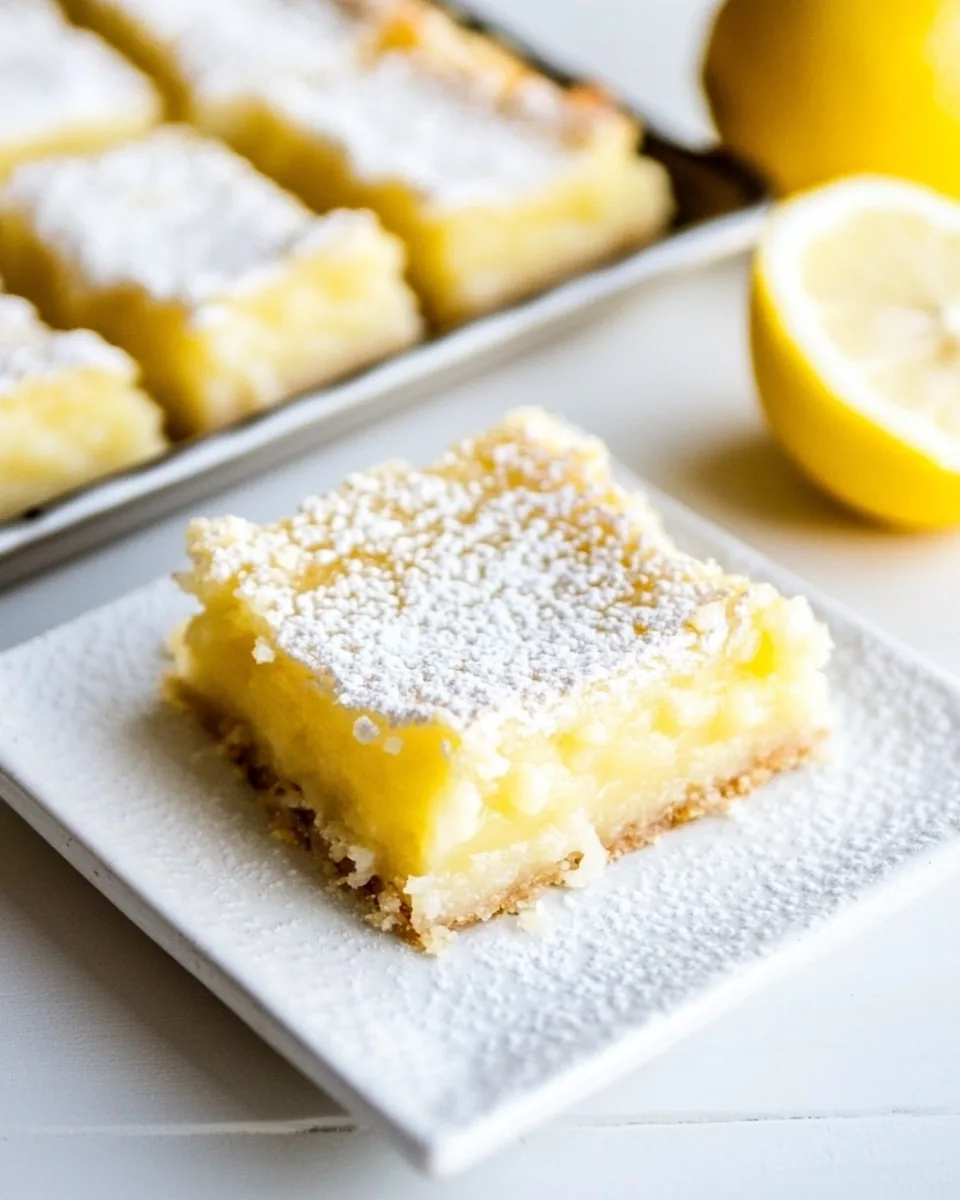
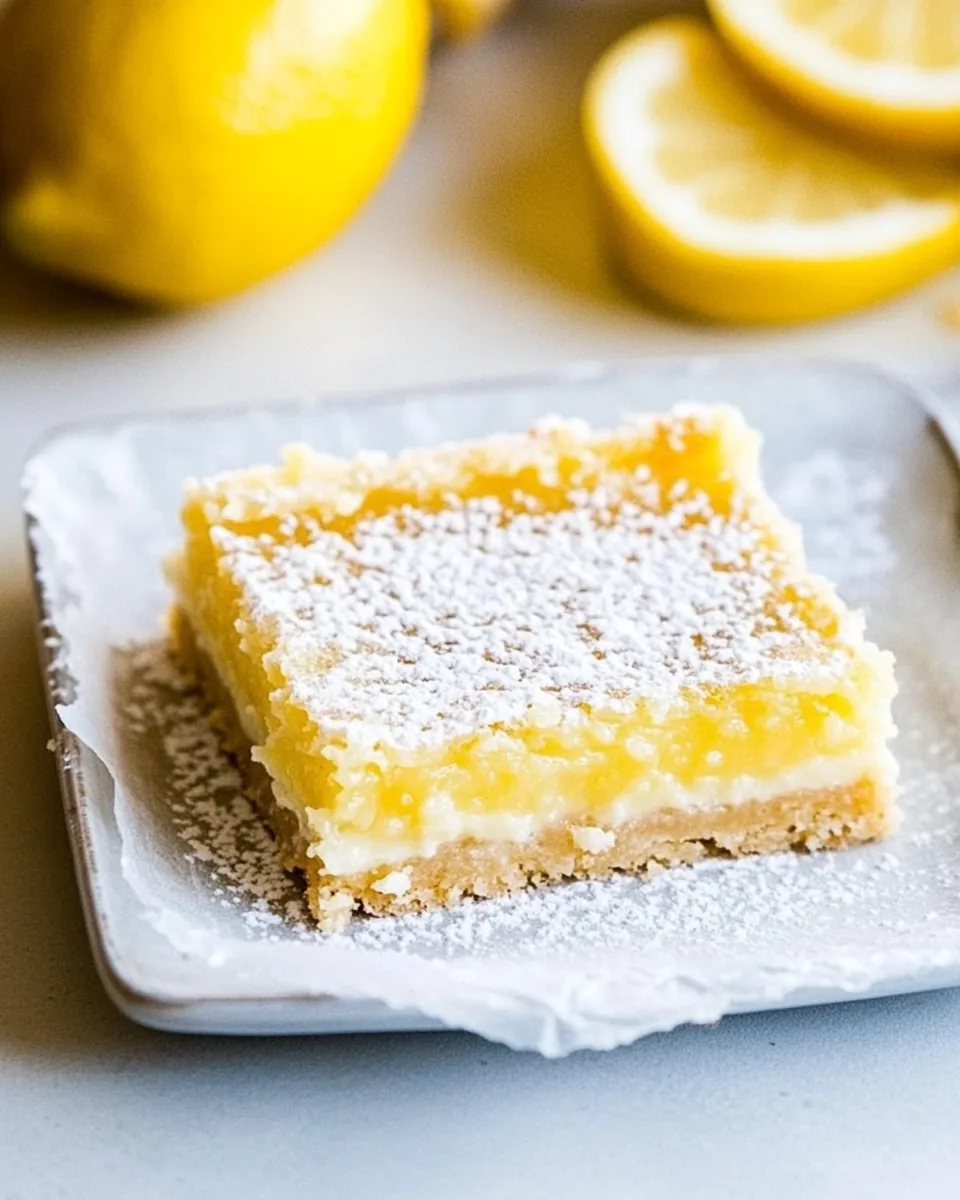
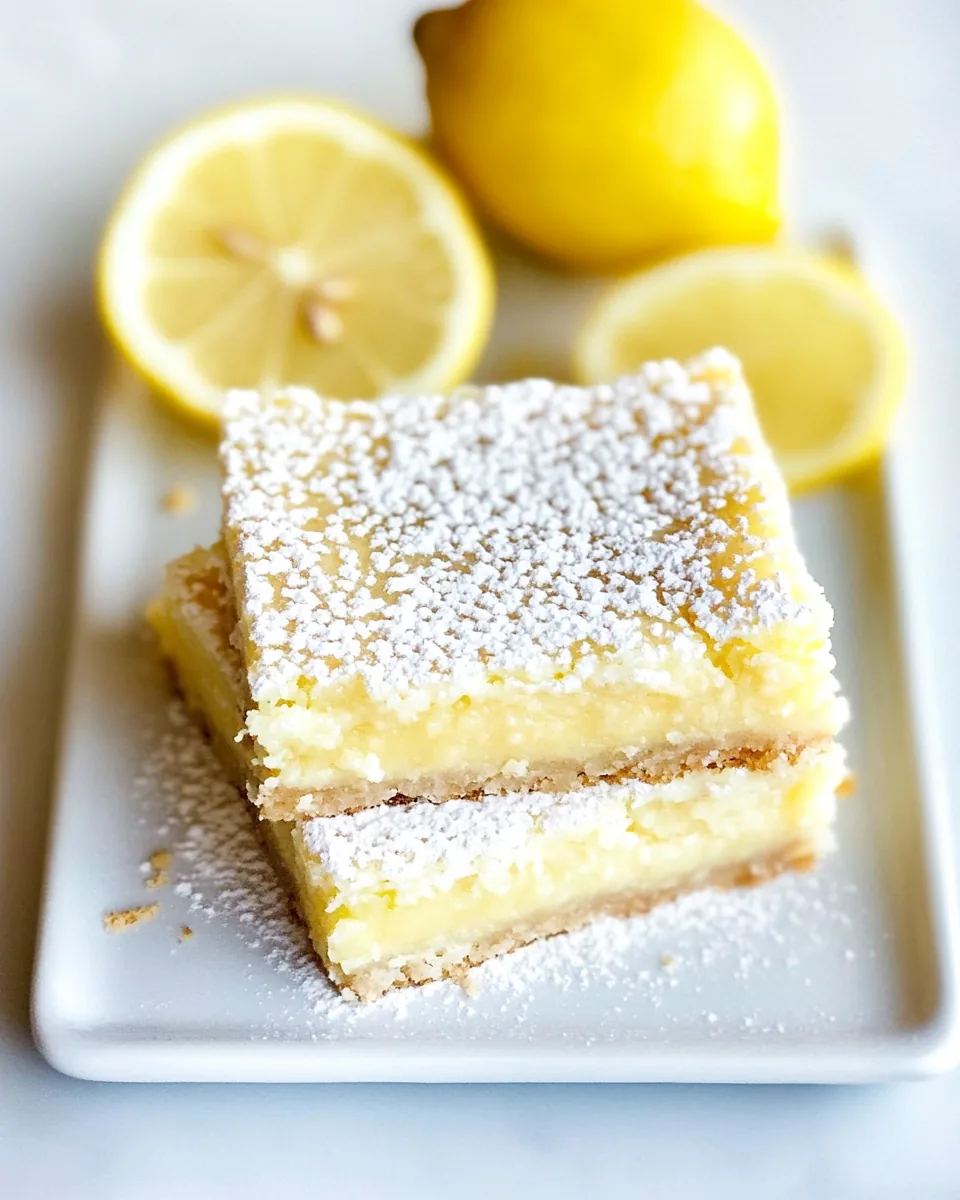
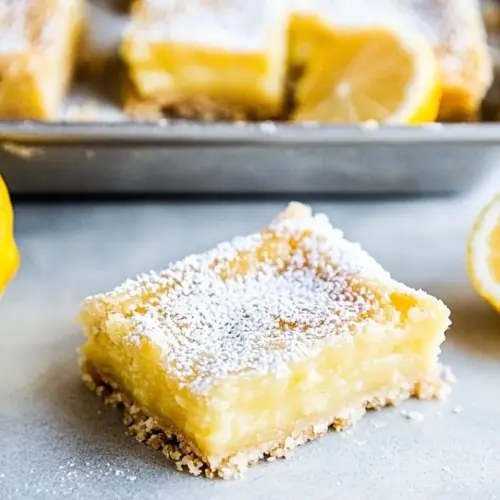
Easy Lemon Bars
Whenever I think of the perfect treat to brighten up a dull day, I immediately envision Easy Lemon Bars. These delightful squares of sunshine are a staple in my kitchen, bringing a burst of zesty flavor that’s impossible to resist. I remember the first time I made them for a gathering – the way everyone lit up at the first bite was unforgettable. Each bite is a perfect combination of sweet and tart, making it a go-to dessert for any occasion. Whether it’s a picnic, a family gathering, or just a cozy night in, Easy Lemon Bars never fail to impress. They’re quick to whip up, yet they always bring smiles and compliments to the table.
Recipe Snapshot
30 mins
15 mins
15 mins
Medium
150 kcal
2g g
Gluten-Free, Low FODMAP
7g g
Frying Pan, Whisk, Blender, Oven, Grater, Mixing Bowl, Baking Sheet
What’s Great About This Easy Lemon Bars
Perfect Balance
One of the things I absolutely love about Easy Lemon Bars is the perfect balance of flavors. The tartness of the lemons combined with the sweetness of the sugar creates a harmonious treat that leaves your taste buds dancing. It’s refreshing and satisfying at the same time, making it hard to stop at just one bar!
Simple Ingredients
This recipe shines because it uses simple, everyday ingredients. You probably have most of them in your pantry right now! It’s always a joy to create something so delicious without needing any fancy or hard-to-find items. It truly embodies the idea that you can make something extraordinary with basic ingredients.
Quick and Easy
If you’re like me and appreciate a dessert that doesn’t take forever to prepare, Easy Lemon Bars are for you. The entire process is straightforward, making it easy for even novice bakers to feel accomplished. In less than an hour, you can have a freshly baked batch ready to serve!
Versatile Delight
These lemon bars are versatile, too. They can be enjoyed as a sweet afternoon snack, a delightful dessert after dinner, or even served at a brunch gathering. You could also dress them up with whipped cream or fresh berries to elevate the experience. The possibilities are endless!
Perfect for Sharing
When I bake Easy Lemon Bars, I love sharing them with friends and family. It’s a treat that everyone enjoys, making it a perfect dish for potlucks or gatherings. I’ve seen how these bars can bring people together, sparking conversations and creating memories.
Recipe Ingredients for Easy Lemon Bars
In baking, the right ingredients can truly transform a dish, and Easy Lemon Bars are no exception. Each component plays a crucial role in achieving that perfect texture and flavor. The key players here include the zesty lemons, which provide that wonderful tang, and the buttery crust that cradles the filling.
- ½ cup (1 stick) butter, softened – This is the base for our crust, giving it that rich, buttery flavor.
- ¼ cup powdered sugar – Adds a touch of sweetness to the crust.
- 1 cup all-purpose flour – The foundation of our crust, providing structure.
- 2 large eggs – These add richness and help bind the filling together.
- 1 cup granulated white sugar – Sweetens the lemon filling, balancing the tartness.
- 2 tablespoons all-purpose flour – Helps thicken the filling so it sets perfectly.
- 1 tablespoon freshly squeezed lemon juice – This is where the zesty flavor comes from!
- Grated zest of ½ lemon – Adds an extra punch of lemon flavor to the bars.
- Powdered sugar, to taste – For dusting the top and adding a touch of sweetness.
Making This Easy Lemon Bars
Making Easy Lemon Bars is a delightful process that anyone can enjoy. With just a few simple steps, you’ll have a delicious treat ready for sharing. Let’s get started!
- Preheat your oven to 325°F. It’s essential to get the oven nice and hot so that your bars bake evenly. As it heats up, grab an 8×8 inch pan and spray it with nonstick spray to ensure your bars come out cleanly.
- In a large mixing bowl, combine the butter and powdered sugar using an electric mixer. Beat them together until the mixture becomes creamy and smooth. This should take about a minute or two. You’ll know it’s ready when it looks light and fluffy.
- Add in the flour and mix until everything is combined. The mixture will be quite thick, but that’s exactly what you want! Pat this flour mixture evenly over the bottom of your prepared pan. Use your fingers to press it down firmly, creating a solid base for your bars.
- Now it’s time to bake the crust! Place the pan in the preheated oven and bake for 15 to 20 minutes. You’re looking for a light brown color. This crust is going to set the stage for the lemon filling, so don’t rush this step!
- While the crust is baking, whisk the eggs in a separate bowl just until blended. This step is crucial; whisking too much can incorporate air, leading to a puffy filling. Once blended, add in the granulated white sugar, flour, lemon juice, and lemon zest. Whisk until everything is well mixed. The mixture should be smooth and slightly thick.
- After your crust has baked, remove it from the oven and immediately pour the lemon mixture over the hot crust. The warmth of the crust helps the filling to set better.
- Return the pan to the oven and bake for another 15 to 20 minutes. You’ll know it’s done when the edges are set, and the center is just slightly jiggly. It’ll continue to firm up as it cools.
- Once baked, remove from the oven and sprinkle with powdered sugar while it’s still warm. This adds a lovely sweetness to the top and looks beautiful too!
- Let the bars cool completely in the pan. This is the hardest part—waiting! Once cool, cut them into squares. Enjoy the delightful Easy Lemon Bars with friends and family!
Things Worth Knowing
- Don’t rush the crust: It’s crucial that the crust is baked until light brown. This ensures it’s firm enough to hold the filling.
- Room temperature ingredients: Make sure your butter and eggs are at room temperature. This helps them mix better.
- Let it cool: Allow the bars to cool completely before slicing. This helps them hold their shape.
- Fresh lemons are key: Using fresh lemon juice and zest makes a noticeable difference in flavor compared to bottled products.
Change It Up
There’s always room to get creative with Easy Lemon Bars. Here are some tips to customize this delightful treat:
- Storage: Keep your lemon bars in an airtight container in the fridge. They stay fresh for about a week, making them perfect for meal prep!
- Freezing: You can freeze these bars for up to three months. Just make sure to wrap them tightly in plastic wrap and then place them in a freezer bag.
- Pairing: These bars pair wonderfully with a cup of tea or coffee. The tartness complements the warmth perfectly.
- Variations: Try adding fresh berries on top or serve with whipped cream for an extra indulgent treat.
- Garnishes: For a fun twist, sprinkle some toasted coconut or chopped nuts over the top before serving.
Serving Suggestions
When it comes to serving Easy Lemon Bars, there are so many delightful ways to enjoy them. Check out these serving suggestions:
- Perfect for Picnics: Slice into squares and pack them in a container for a sweet treat during your outdoor adventures.
- Brunch Delight: Serve these bars at your next brunch gathering alongside fresh fruit and pastries.
- Family Gatherings: These bars are a hit with both kids and adults, making them an excellent addition to any family event.
- Seasonal Celebrations: Whether it’s summer BBQs or springtime parties, Easy Lemon Bars always bring a refreshing touch to the table.
- Storage Tip: If you have leftovers, store them in the fridge to keep them fresh. They’re just as delicious served cold!
FAQ
Conclusion
In summary, Easy Lemon Bars are a delightful dessert that seamlessly balances sweet and tart flavors. They’re quick to prepare, making them perfect for any occasion. I encourage you to try making these bars; I’m confident they’ll become a new favorite in your home. Whether for a gathering or a cozy evening treat, these lemon bars are sure to brighten up your day!
Easy Lemon Bars
Equipment
- Frying Pan
- Whisk
- Blender
- Oven
- Grater
- Mixing Bowl
- Baking Sheet
Ingredients
- ½ cup Butter softened
- ¼ cup Powdered Sugar
- 1 cup All-Purpose Flour
- 2 large Eggs
- 1 cup Granulated White Sugar
- 2 tablespoons All-Purpose Flour
- 1 tablespoon Freshly Squeezed Lemon Juice
- 1/2 lemon Grated Zest
- Powdered Sugar to taste
Instructions
- Preheat your oven to 325°F. It’s essential to get the oven nice and hot so that your bars bake evenly. As it heats up, grab an 8x8 inch pan and spray it with nonstick spray to ensure your bars come out cleanly.
- In a large mixing bowl, combine the butter and powdered sugar using an electric mixer. Beat them together until the mixture becomes creamy and smooth. This should take about a minute or two. You’ll know it’s ready when it looks light and fluffy.
- Add in the flour and mix until everything is combined. The mixture will be quite thick, but that’s exactly what you want! Pat this flour mixture evenly over the bottom of your prepared pan. Use your fingers to press it down firmly, creating a solid base for your bars.
- Now it’s time to bake the crust! Place the pan in the preheated oven and bake for 15 to 20 minutes. You’re looking for a light brown color. This crust is going to set the stage for the lemon filling, so don’t rush this step!
- While the crust is baking, whisk the eggs in a separate bowl just until blended. This step is crucial; whisking too much can incorporate air, leading to a puffy filling. Once blended, add in the granulated white sugar, flour, lemon juice, and lemon zest. Whisk until everything is well mixed. The mixture should be smooth and slightly thick.
- After your crust has baked, remove it from the oven and immediately pour the lemon mixture over the hot crust. The warmth of the crust helps the filling to set better.
- Return the pan to the oven and bake for another 15 to 20 minutes. You’ll know it’s done when the edges are set, and the center is just slightly jiggly. It’ll continue to firm up as it cools.
- Once baked, remove from the oven and sprinkle with powdered sugar while it’s still warm. This adds a lovely sweetness to the top and looks beautiful too!
- Let the bars cool completely in the pan. This is the hardest part—waiting! Once cool, cut them into squares. Enjoy the delightful Easy Lemon Bars with friends and family!

