Easy Graham Cracker Crust Recipe
When I think of desserts that evoke nostalgia, the Easy Graham Cracker Crust Recipe always comes to mind. Growing up, my family would whip this up for all our favorite pies, from classic pumpkin to a decadent chocolate cream. The simplicity of this crust is what makes it so special—it takes just a few moments to prepare and yet gives such a rich flavor. I remember the first time I made it on my own; I was so proud as I pressed the crumb mixture into the pie plate, imagining all the delicious fillings that would soon sit atop my creation.
There’s something incredibly satisfying about the crunch of the *graham cracker* paired with the buttery goodness that envelops each bite. It’s almost a rite of passage in the kitchen, learning how to make a crust from scratch. Over time, I’ve come to appreciate the versatility this recipe provides. Whether it’s a no-bake dessert or a baked pie, this crust serves as the perfect base, transforming simple fillings into something extraordinary.
With just a handful of ingredients, you’re well on your way to creating a dessert that will impress friends and family alike. So grab your mixing bowl, and let’s dive into the wonderful world of the Easy Graham Cracker Crust Recipe!
Recipe Snapshot
13 mins
5 mins
8 mins
Medium
180 kcal
2 g
Gluten-Free, Low FODMAP
9 g
Mixing Bowl
The Charm of This Easy Graham Cracker Crust Recipe
Quick and Easy
This recipe is a breeze to whip up, taking only a few minutes of your time. When I’m in a pinch, I can always count on this crust to save the day for last-minute dessert plans.
Perfect Texture
The crunchiness of the *graham crackers* provides an excellent contrast to the smoothness of many fillings. It’s always a delight to see that beautiful golden-brown crust once baked.
Versatility
The Easy Graham Cracker Crust Recipe is incredibly adaptable—use it for cheesecakes, tarts, or even as a base for layered desserts. The options are endless, which is why I love this recipe so much!
Store-Bought Alternatives Can’t Compete
While there are many pre-made crusts available, nothing beats the taste and satisfaction of making your own from scratch. Once you’ve tasted the freshly baked version, you’ll never want to go back!
Make-Ahead Delight
This crust can be prepared ahead of time, allowing you to focus on filling it with whatever delicious filling you have in mind. It’s a great way to streamline your dessert-making process.
Kid-Friendly Activity
Making this crust is perfect for a fun kitchen project with kids. They’ll love crushing the *graham crackers* and pressing the mixture into the pie plate!
Ingredients to Make Easy Graham Cracker Crust Recipe
When it comes to the ingredients for this crust, less is more. Each component plays a vital role in creating that perfect balance of sweetness and crunch. The star of the show, of course, is the *graham cracker crumbs*, which provide the base flavor and texture. The addition of *granulated sugar* enhances the overall sweetness, while the *butter* brings it all together, creating a rich and buttery finish.
- 2 cups (200g) *graham cracker crumbs*, about 14 full sheets of *graham cracker*: These crumbs are the foundation of your crust, providing a sweet and crunchy base.
- 2 tablespoons (24g) *granulated sugar*: This ingredient adds sweetness and helps to bind the crust together.
- 6 tablespoons (84g) *salted butter*, melted: The melted *butter* is crucial for giving the crust its rich flavor and helping it to hold its shape.
Cooking Method for Easy Graham Cracker Crust Recipe
Making this crust is as easy as pie—pun intended! Follow these simple steps to create your own delicious crust.
- Start by gathering all your ingredients. Combine the graham cracker crumbs and granulated sugar in a medium mixing bowl. Stir them together well until evenly combined.
- Next, pour in the melted butter. As you add the butter, take a moment to appreciate the aroma—it’s one of my favorite parts! Mix everything together until the mixture resembles damp sand and holds together when pressed.
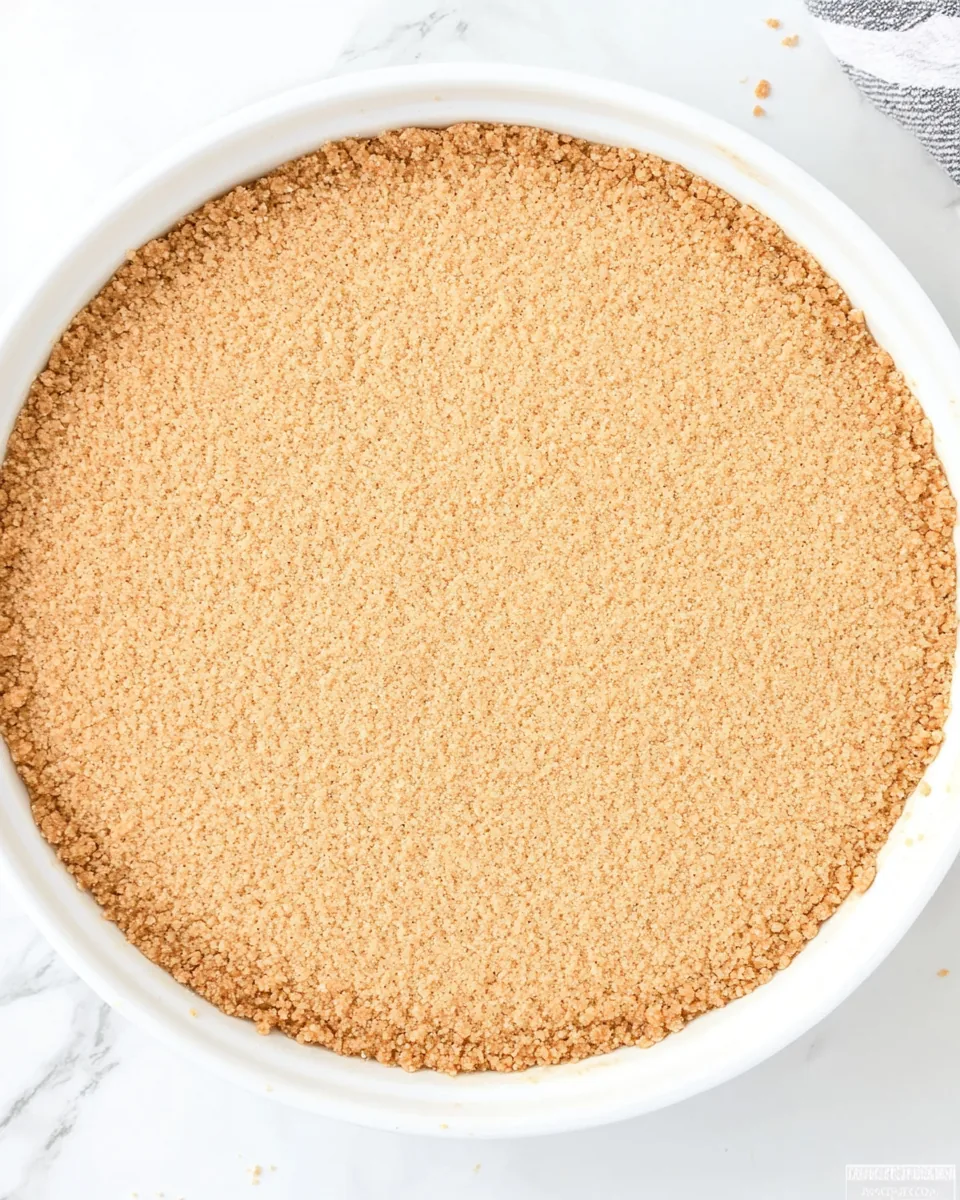
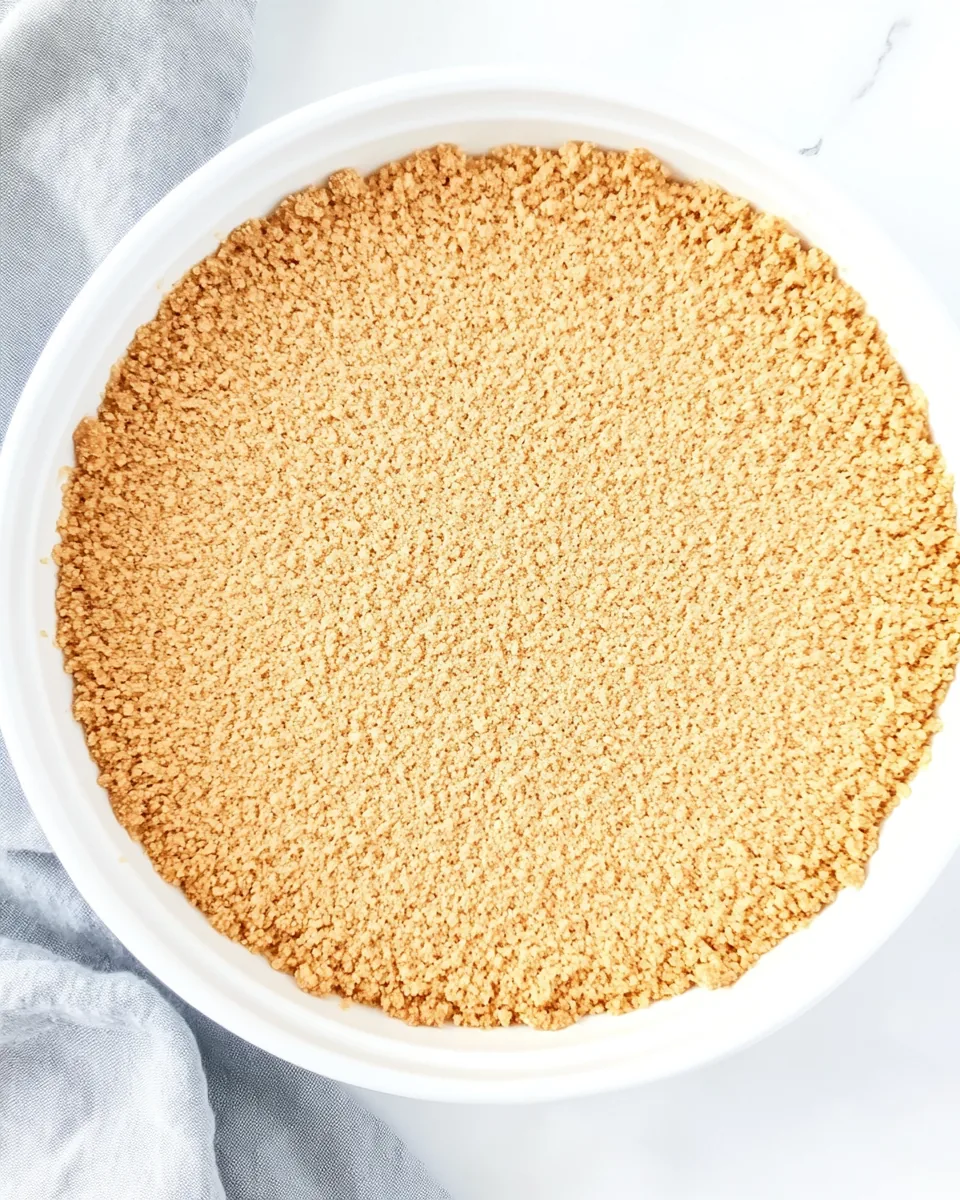
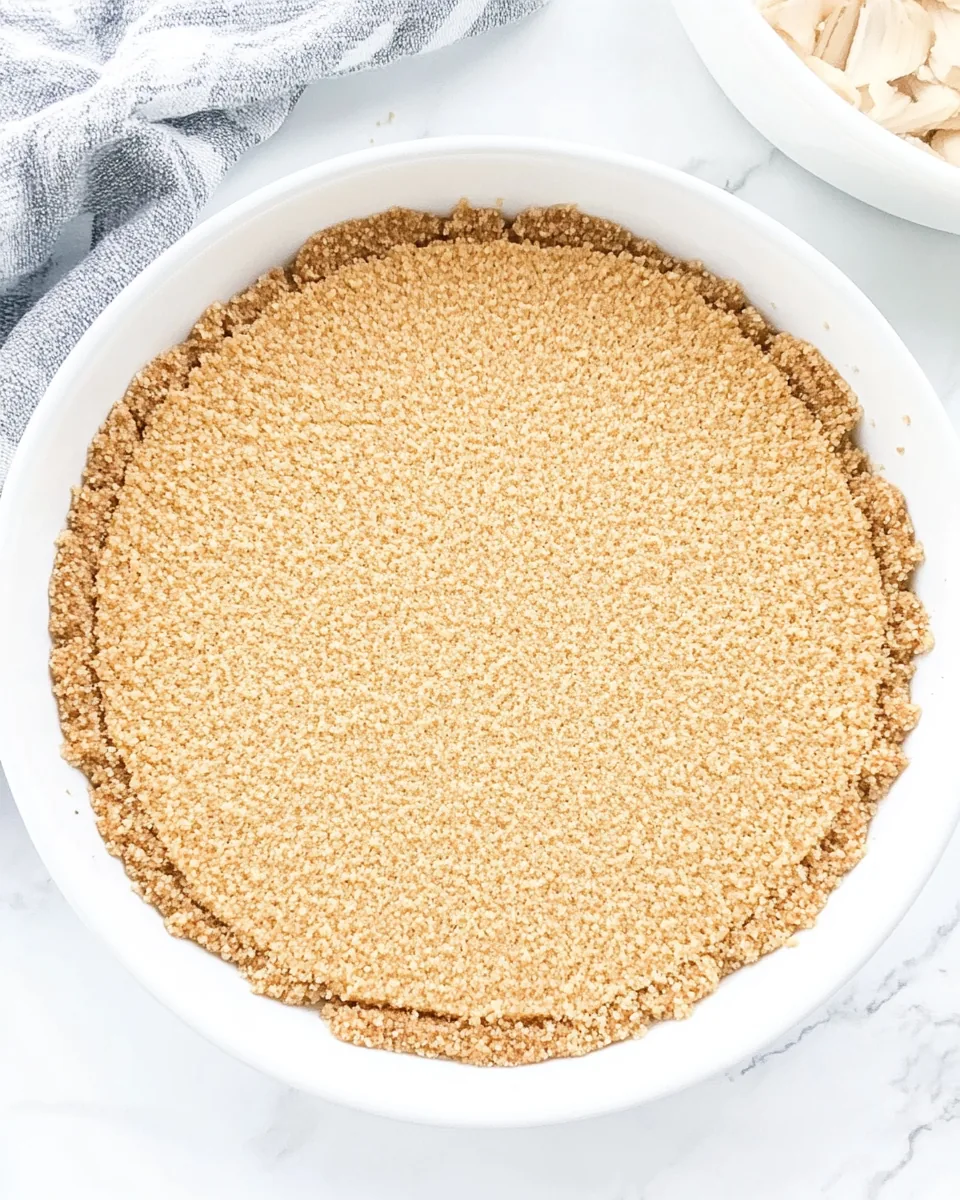
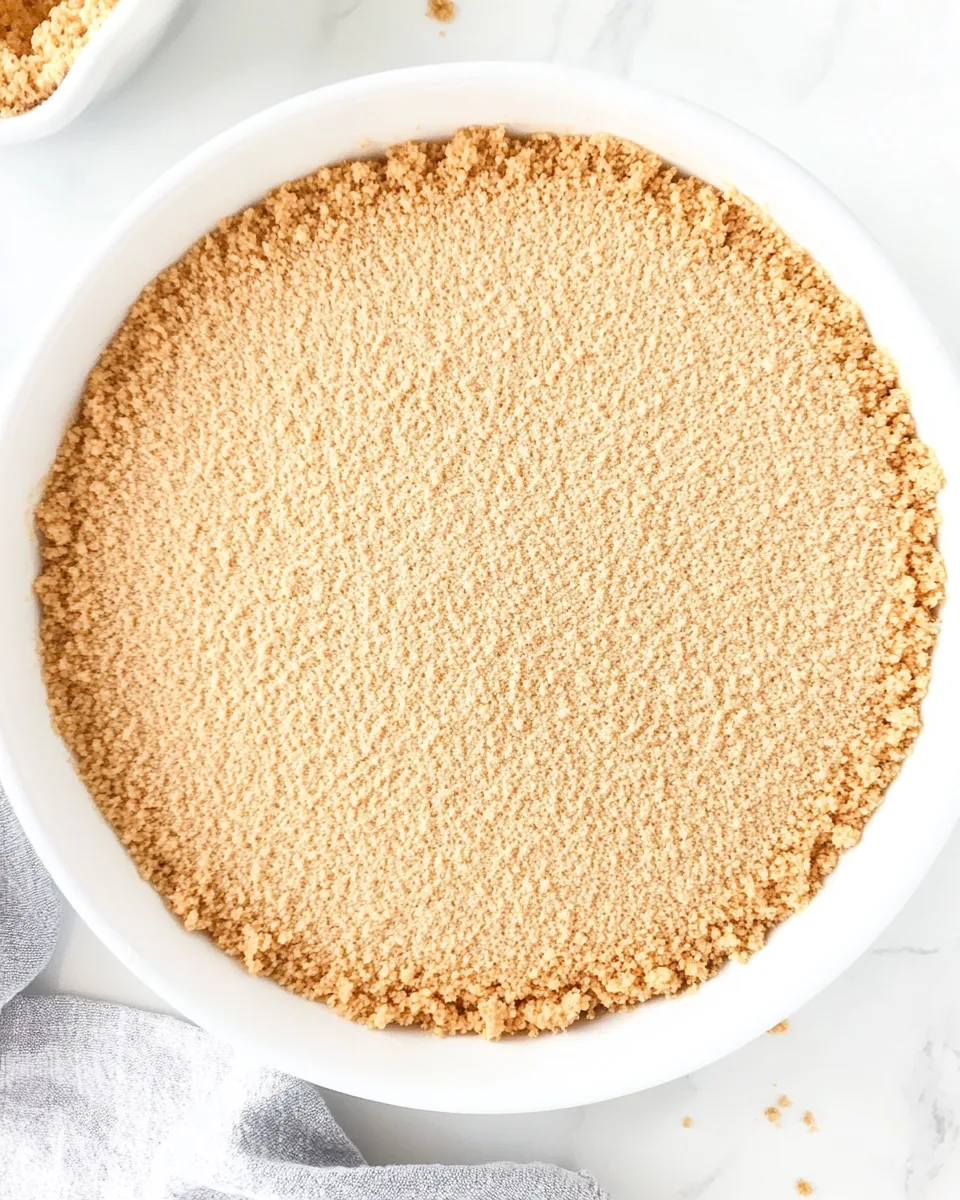
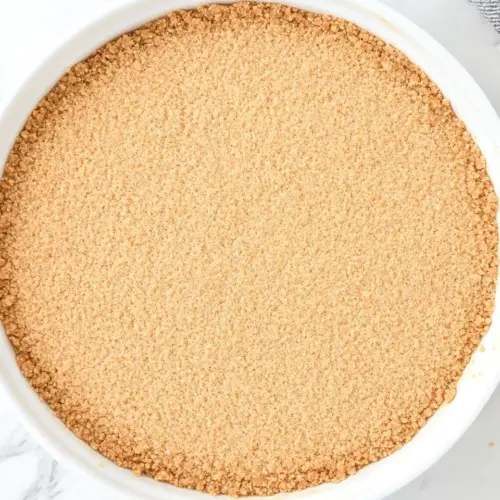
- Now it’s time to transfer the mixture into your pie plate. Take a moment to press the crumb mixture firmly into the bottom and up the sides of the plate. This ensures a sturdy and even crust.
- Once it’s evenly distributed and pressed, place the pie plate in the refrigerator to chill. This step is crucial for allowing the crust to firm up, so don’t skip it! Let it chill for about one hour.
- After chilling, preheat your oven to 375º F (190º C). This temperature is perfect for achieving that lovely golden color.
- Once the oven is ready, remove the crust from the refrigerator. Bake it for about 6 to 8 minutes, or until it’s lightly golden brown and fragrant. You’ll know it’s done when it smells amazing!
- After baking, carefully remove the crust from the oven. Allow it to cool completely before adding your desired filling. This cooling step is essential to maintain the structure of the crust.
- Fill the crust with your favorite filling—whether it’s a rich cheesecake, a sweet pudding, or even a luscious pie filling, the choice is yours!
- Finally, slice, serve, and enjoy your masterpiece. Everyone will be impressed by your homemade crust!
Things Worth Knowing
- Chilling is Key: Chilling the crust before baking helps it set properly and maintain its shape.
- Watch Your Bake Time: Each oven is different, so keep an eye on the crust to prevent it from burning.
- Press Firmly: Make sure to press the crumb mixture firmly into the pie plate to create a solid base that won’t crumble easily.
- Don’t Skip the Sugar: The sugar isn’t just for sweetness; it helps the crust hold together, so don’t omit it!
Helpful Hints
Here are some valuable tips for perfecting your *graham cracker crust*. Follow these to ensure success every time you whip it up!
- Storage: If you have any leftover crust, wrap it tightly with plastic wrap and store it in the refrigerator for up to one week.
- Freezing: You can freeze the baked crust by wrapping it in plastic wrap and foil or placing it in a freezer-safe bag. It will keep for up to three months. Just thaw in the refrigerator before using.
- Make-Ahead: Prepare the crust up to one week ahead for easy dessert assembly.
- Flavor Variations: Consider adding spices like cinnamon or nutmeg to the crumb mixture for an extra flavor boost.
- Pressing Technique: Use the bottom of a measuring cup to press the mixture firmly and evenly into the pie plate for a smoother finish.
Serving This Easy Graham Cracker Crust Recipe
When it’s time to serve your delicious pie or dessert, there are a few ways to elevate the experience.
- Filling Options: The crust pairs wonderfully with various fillings, such as cheesecake, lemon curd, or chocolate mousse.
- Garnishes: Top your pie with whipped cream, fresh fruit, or a drizzle of chocolate for added flair.
- Occasions: This crust is perfect for family gatherings, birthday celebrations, or even a quiet night at home with a slice of your favorite dessert.
- Serving Temperature: Serve the pie chilled for a refreshing treat, or allow it to come to room temperature for a softer texture.
- Storage Tips: Keep any leftovers covered in the refrigerator to maintain freshness and flavor.
FAQ
Conclusion
The Easy Graham Cracker Crust Recipe is truly a classic that stands the test of time. Its buttery, crunchy texture pairs beautifully with so many fillings, making it a must-have in any dessert repertoire. I encourage you to try making this crust for your next dessert—you won’t regret it! Not only is it simple to prepare, but it also adds a homemade touch that elevates any dish.
Easy Graham Cracker Crust Recipe
Equipment
- Mixing Bowl
Ingredients
- 2 cups graham cracker crumbs about 14 full sheets of graham cracker
- 2 tablespoons granulated sugar
- 6 tablespoons salted butter melted
Instructions
- Start by gathering all your ingredients. Combine the graham cracker crumbs and granulated sugar in a medium mixing bowl. Stir them together well until evenly combined.
- Next, pour in the melted butter. As you add the butter, take a moment to appreciate the aroma—it’s one of my favorite parts! Mix everything together until the mixture resembles damp sand and holds together when pressed.
- Now it’s time to transfer the mixture into your pie plate. Take a moment to press the crumb mixture firmly into the bottom and up the sides of the plate. This ensures a sturdy and even crust.
- Once it’s evenly distributed and pressed, place the pie plate in the refrigerator to chill. This step is crucial for allowing the crust to firm up, so don’t skip it! Let it chill for about one hour.
- After chilling, preheat your oven to 375º F (190º C). This temperature is perfect for achieving that lovely golden color.
- Once the oven is ready, remove the crust from the refrigerator. Bake it for about 6 to 8 minutes, or until it’s lightly golden brown and fragrant. You’ll know it’s done when it smells amazing!
- After baking, carefully remove the crust from the oven. Allow it to cool completely before adding your desired filling. This cooling step is essential to maintain the structure of the crust.
- Fill the crust with your favorite filling—whether it’s a rich cheesecake, a sweet pudding, or even a luscious pie filling, the choice is yours!
- Finally, slice, serve, and enjoy your masterpiece. Everyone will be impressed by your homemade crust!
Notes
- Storage: If you have any leftover crust, wrap it tightly with plastic wrap and store it in the refrigerator for up to one week.
- Freezing: You can freeze the baked crust by wrapping it in plastic wrap and foil or placing it in a freezer-safe bag. It will keep for up to three months. Just thaw in the refrigerator before using.
- Make-Ahead: Prepare the crust up to one week ahead for easy dessert assembly.
- Flavor Variations: Consider adding spices like cinnamon or nutmeg to the crumb mixture for an extra flavor boost.
- Pressing Technique: Use the bottom of a measuring cup to press the mixture firmly and evenly into the pie plate for a smoother finish.