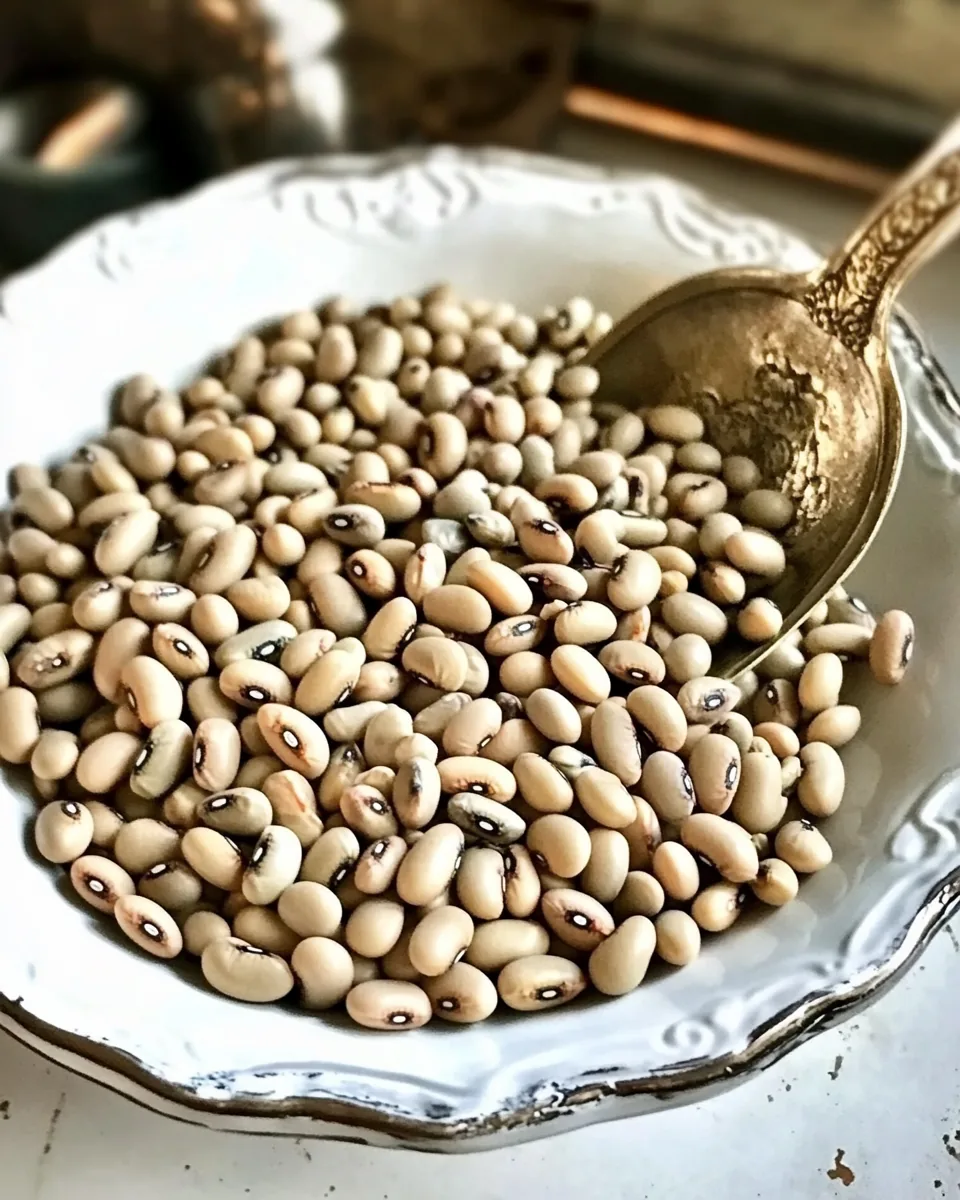
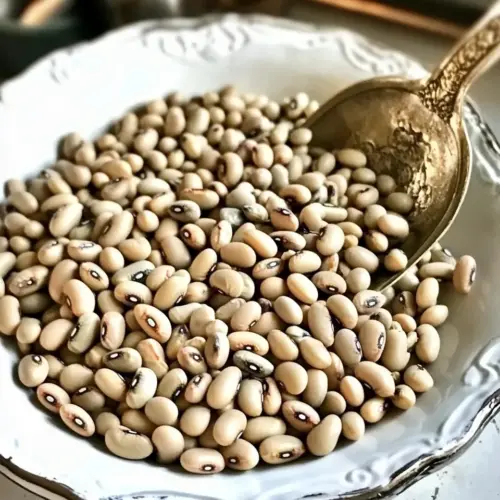
Dried Black Eyed Peas
When I first discovered the joy of cooking and freezing dried black eyed peas, it was like unlocking a hidden treasure in my pantry. The versatile nature of these tiny legumes amazed me. They may seem humble, but they pack a nutritional punch and bring a delightful texture to so many dishes. I remember the first time I prepared them; the aroma filled my kitchen, and I couldn’t help but feel proud as I placed them in the freezer for future meals. The beauty of making Dried Black Eyed Peas is not just in the cooking, but in the anticipation of using them later in my favorite recipes, whether it’s a hearty stew or a flavorful salad.
Recipe Snapshot
1 hr 30 mins
60 mins
30 mins
Medium
180 kcal
12 g
Keto, Paleo, Whole30
0.5 g
Wooden Spoon, Food Processor, Saucepan, Large Pot
What You’ll Enjoy About This Dried Black Eyed Peas
Why They’re a Favorite
There are countless reasons to love cooking with dried black eyed peas. Here are a few of the highlights:
Nutritional Powerhouse
These little beans are packed with protein and fiber, making them an excellent choice for a healthy meal. They provide sustained energy, keeping you full and satisfied. Adding dried black eyed peas to your diet can help enhance your overall health and wellbeing.
Versatile Ingredient
From soups to salads, dried black eyed peas can adapt to various cuisines and dishes. They can be seasoned and served in numerous ways, making them a staple in my kitchen. You can use them in everything from Southern-style dishes to more exotic recipes.
Easy to Prepare
Despite their nutritional benefits, cooking dried black eyed peas is incredibly straightforward. Whether you opt for a quick soak or a traditional soak, the preparation is simple and allows for flexibility in timing.
Freezing for Later
One of the best perks is that once you prepare and cook these beans, you can easily freeze them for later use. This means you can have a healthy and delicious ingredient ready to go for future meals with minimal effort. Just pull them out of the freezer and add them to your favorite recipes!
Budget-Friendly
Buying dried black eyed peas in bulk is not only economical but also helps reduce food waste. They have a long shelf life, so you can store them for months without any fuss.
Dried Black Eyed Peas Shopping List
When preparing to cook dried black eyed peas, it’s essential to consider the ingredients that will elevate your dish. Each ingredient plays a crucial role in the overall flavor and texture. Here’s what you’ll need to create this delicious recipe.
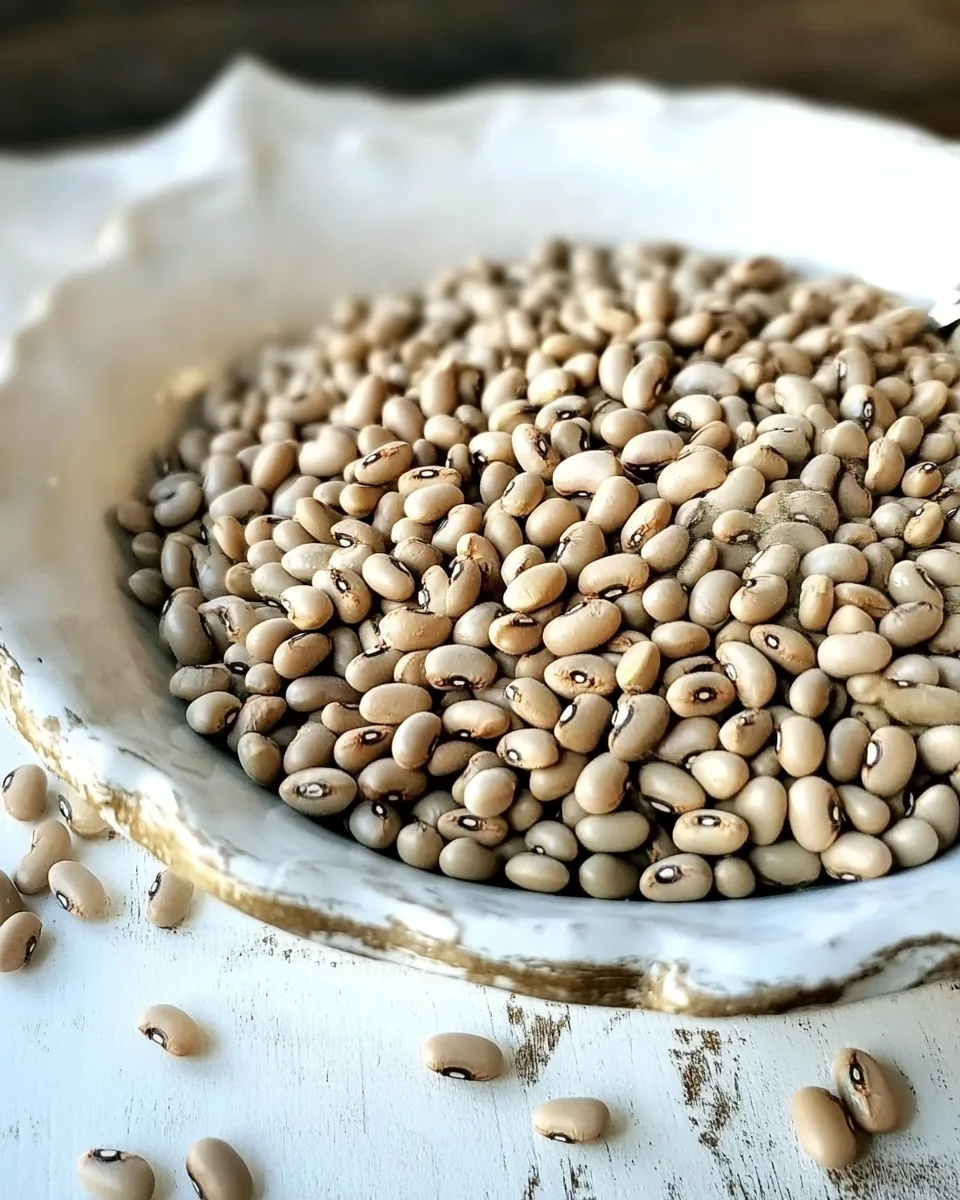
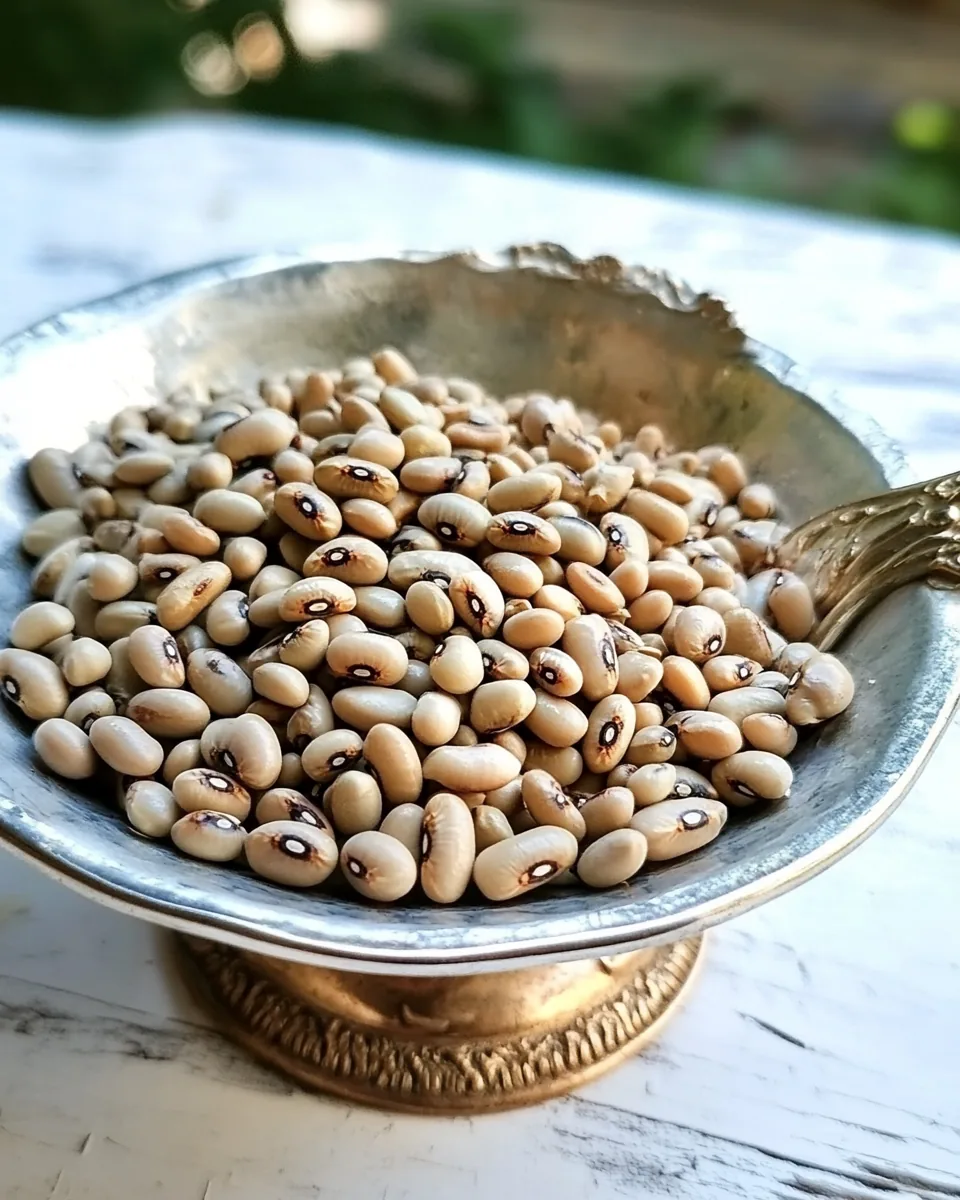
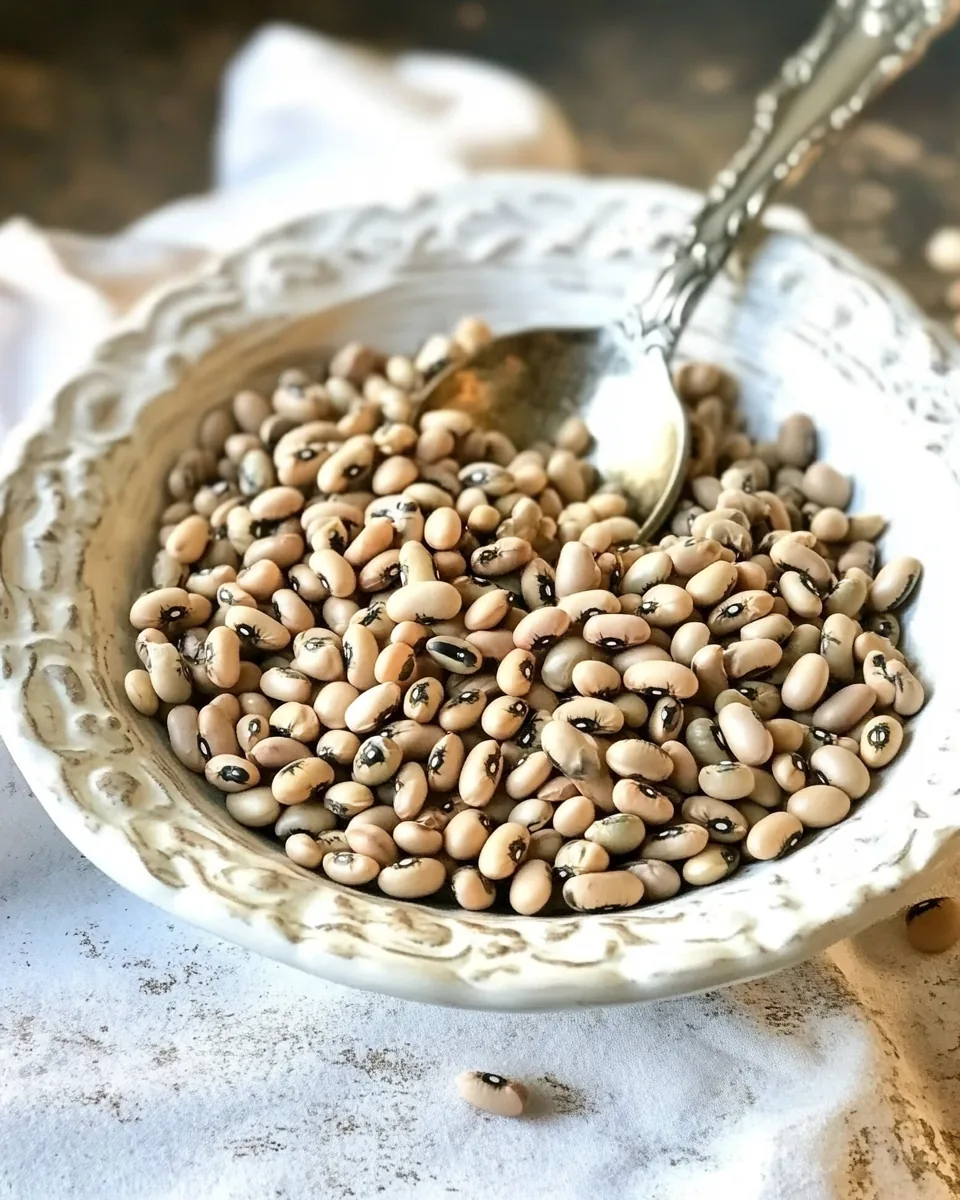
- 1 pound dried black eyed peas – The star of the show, providing a rich source of protein and fiber. Dried peas are more economical and can be stored for longer periods compared to canned.
- 10 cups water – This is essential for cooking the peas. Fresh water ensures a clean taste and better texture.
- Salt (optional) – Enhances the flavor of the peas. I recommend adding salt to taste while cooking for the best results.
Step by Step Guide for Dried Black Eyed Peas
Cooking dried black eyed peas is a simple yet rewarding process. Follow these detailed steps to ensure your peas come out just right.
- Start by measuring out 1 pound of dried black eyed peas. This amount is perfect for a big batch that can be used in various dishes.
- Rinse the dried black eyed peas under running water to remove any debris. This ensures a clean cooking process and better flavor.
- In a large pot, combine the rinsed peas with 10 cups of fresh water. This ratio is crucial for achieving the right texture.
- Bring the pot to a boil over high heat for about 2 minutes. This quick boil helps start the cooking process effectively.
- Remove the pot from heat and cover it. Let the peas soak for 1 hour. You’ll notice they plump up and absorb some of the water.
- After soaking, drain the peas in a colander and rinse them again. This step helps eliminate any oligosaccharides that may cause digestive discomfort.
- Return the peas to the pot and cover them again with fresh water using the same ratio. This is essential for boiling.
- Add salt if you desire, about 1 tablespoon for every 10 cups of water. This step adds flavor during cooking.
- Bring the pot back to a boil, then reduce the heat to simmer. Stir occasionally to ensure even cooking.
- Simmer for about 30 minutes, or until the peas reach your desired tenderness. Taste a few to check. They should be tender but not mushy.
- Once cooked, drain the peas in a colander. They are now ready to be used in your favorite recipes or stored.
- If you plan to freeze the peas, let them cool first. Rinse them under cold water to speed up the cooling process.
- Transfer the cooled peas into resealable freezer bags, measuring about 1 ¾ cups per bag. This is equivalent to a standard can size.
- Label the bags with the date and freeze. They can last up to 6 months in the freezer.
- When ready to use, remove the peas from the freezer and thaw. You can reheat them on the stovetop or incorporate them into soups and stews.
Things Worth Knowing
- Soaking Tips: Quick soaking isn’t mandatory, but it significantly reduces cooking time. If you have the time, a longer soak overnight will yield even better results.
- Water Quality: Always use fresh, clean water for cooking. Avoid reusing soaking water to keep the flavors clean.
- Texture Check: Stir the peas occasionally while cooking to ensure uniform tenderness.
- Flavor Boost: Consider adding herbs or spices to the water for additional flavor while cooking.
Tips for Success
Here are some essential tips to ensure your cooking experience with dried black eyed peas is smooth and successful.
- Storage: After cooking, store leftovers in an airtight container in the fridge. They should last up to 3 days.
- Freezing: You can freeze the cooked peas for later use. Just ensure they are completely cool before sealing in freezer bags.
- Pairing: Dried black eyed peas go wonderfully with cornbread, greens, or mixed into salads for a hearty addition.
- Meal Prep: Prepare a large batch on the weekend, and use them throughout the week in various dishes.
- Quick Cooking: If short on time, consider using a pressure cooker to speed up the cooking of dried black eyed peas.
Pairing Suggestions for Dried Black Eyed Peas
When it comes to enjoying your dried black eyed peas, the possibilities are endless. Here are some fantastic pairing suggestions to consider:
- Serve hot: Add them to a steaming bowl of soup for a comforting meal any time of year.
- In salads: Toss cooled dried black eyed peas with fresh vegetables and a tangy dressing for a refreshing salad.
- As a side dish: Pair them with grilled meats or roasted vegetables for a nutritious side.
- Meal prep: Use cooked dried black eyed peas in your meal prep, making it easy to assemble healthy lunches throughout the week.
- During festive occasions: Include them in your holiday meals, symbolizing prosperity and good luck.
FAQ
Conclusion
Cooking Dried Black Eyed Peas is more than just a recipe; it’s about creating a delicious, nutritious meal that can save time and money. I encourage you to give this recipe a try, as it allows for so much versatility in your cooking. Whether you’re adding them to stews, salads, or enjoying them on their own, these peas will delight your taste buds. Enjoy the journey of cooking and the wonderful flavors that come with it!
Dried Black Eyed Peas
Equipment
- Wooden Spoon
- Food Processor
- Saucepan
- Large Pot
Ingredients
- 1 pound dried black eyed peas
- 10 cups water
- to taste salt
Instructions
- Start by measuring out 1 pound of dried black eyed peas. This amount is perfect for a big batch that can be used in various dishes.
- Rinse the dried black eyed peas under running water to remove any debris. This ensures a clean cooking process and better flavor.
- In a large pot, combine the rinsed peas with 10 cups of fresh water. This ratio is crucial for achieving the right texture.
- Bring the pot to a boil over high heat for about 2 minutes. This quick boil helps start the cooking process effectively.
- Remove the pot from heat and cover it. Let the peas soak for 1 hour. You’ll notice they plump up and absorb some of the water.
- After soaking, drain the peas in a colander and rinse them again. This step helps eliminate any oligosaccharides that may cause digestive discomfort.
- Return the peas to the pot and cover them again with fresh water using the same ratio. This is essential for boiling.
- Add salt if you desire, about 1 tablespoon for every 10 cups of water. This step adds flavor during cooking.
- Bring the pot back to a boil, then reduce the heat to simmer. Stir occasionally to ensure even cooking.
- Simmer for about 30 minutes, or until the peas reach your desired tenderness. Taste a few to check. They should be tender but not mushy.
- Once cooked, drain the peas in a colander. They are now ready to be used in your favorite recipes or stored.
- If you plan to freeze the peas, let them cool first. Rinse them under cold water to speed up the cooling process.
- Transfer the cooled peas into resealable freezer bags, measuring about 1 ¾ cups per bag. This is equivalent to a standard can size.
- Label the bags with the date and freeze. They can last up to 6 months in the freezer.
- When ready to use, remove the peas from the freezer and thaw. You can reheat them on the stovetop or incorporate them into soups and stews.
Notes
- Tip 1: Store leftovers in an airtight container in the fridge for up to 3 days.
- Tip 2: You can freeze the cooked peas for later use. Just ensure they are completely cool before sealing in freezer bags.
- Tip 3: Dried black eyed peas go wonderfully with cornbread, greens, or mixed into salads for a hearty addition.
- Tip 4: Prepare a large batch on the weekend, and use them throughout the week in various dishes.
- Tip 5: If short on time, consider using a pressure cooker to speed up the cooking of dried black eyed peas.