Creamy Oil Free Hummus
Whenever I think of a quick snack or a delightful dip, Creamy Oil Free Hummus instantly comes to mind. Growing up, my family often enjoyed this creamy, rich treat paired with fresh vegetables or warm pita bread. I remember the warm, inviting kitchen bustling with laughter and the aroma of garlic wafting through the air as we gathered around the table. Making Creamy Oil Free Hummus is not just a recipe; it’s a cherished tradition that I love to share with family and friends. The best part? It’s incredibly simple to whip up and can be customized to cater to everyone’s taste! Whether you enjoy it smooth or a bit chunky, this hummus is always a crowd-pleaser. Plus, it’s an excellent way to incorporate protein into our diets without any added oils. Let me take you on this journey of recreating a dish that brings so much joy and flavor!
Recipe Snapshot
3 mins
3 mins
0 mins
Medium
130 kcal
6 g
Vegan, Gluten-Free, AIP
2 g
Vitamix A2300, Lemon juicer, Silicone spatula, Simple garlic press
Why You’ll Love This Creamy Oil Free Hummus
Perfect for Any Occasion
Whether it’s a casual get-together or a fancy dinner party, Creamy Oil Free Hummus fits right in. Its versatility is unmatched. Serve it as a dip with crispy veggies, a spread for sandwiches, or even as a side dish alongside your favorite meal. It’s a dish that enhances not just flavors but also the experience of dining with loved ones.
Healthier Alternative
This hummus is completely oil-free, making it a fantastic option for those looking to cut down on unhealthy fats without sacrificing flavor. It’s packed with nutrients, thanks to the chickpeas, which provide protein and fiber, giving you sustained energy throughout the day.
Quick and Easy
With just a few simple ingredients and minimal prep time, you can have a delightful snack ready in no time. It’s perfect for busy weeknights when you want something healthy but don’t have much time to spend in the kitchen. Just blend, serve, and enjoy!
Customizable to Your Taste
One of the best things about Creamy Oil Free Hummus is its adaptability. You can easily experiment with flavors by adding roasted red peppers, herbs, or spices. Want it spicier? Toss in some cayenne or chili powder. Prefer a hint of sweetness? A touch of roasted garlic can work wonders!
Budget-Friendly
Making hummus at home is much more economical than buying it pre-made. The ingredients are affordable and can be found in any grocery store. Plus, you can make a larger batch and store it for later, which adds to the savings!
Environmentally Friendly
By making your own Creamy Oil Free Hummus, you’re also contributing to a more sustainable lifestyle. You can use reusable containers for storage, and by avoiding packaging waste from store-bought products, you’re helping the planet.
Key Ingredients for Creamy Oil Free Hummus
The ingredients in Creamy Oil Free Hummus are not only simple but also work harmoniously together to create a deliciously creamy texture. The key players, such as chickpeas, tahini, and lemon juice, provide a balance of flavor and nutrition, making this dish both satisfying and healthy.
- 3 cups Chickpeas (canned) – The star of the dish, chickpeas are packed with protein and fiber. They create that creamy base we all love in hummus.
- 2 cups Aquafaba (water from the canned chickpea) or water – This magical liquid not only adds moisture but helps achieve that silky texture that makes hummus irresistible.
- ¼ cup Tahini – This sesame seed paste lends a rich, nutty flavor that complements the chickpeas beautifully.
- 4 Tbsp Lemon juice (freshly squeezed) – Freshly squeezed lemon juice brightens the hummus and adds a tangy zest that balances the creaminess.
- 2 cloves Garlic – Adding a punch of flavor, garlic gives hummus its distinctive taste.
- 1 tsp Salt – A touch of salt is crucial for enhancing the overall flavors in this delightful dish.
Recipe Steps for Creamy Oil Free Hummus
Creating Creamy Oil Free Hummus is an enjoyable experience that brings the whole kitchen to life. Follow these simple steps for a smooth, creamy, and utterly delicious result. Trust me, once you try it, you’ll want to make it all the time!
- Start by measuring the canned chickpeas. You’ll need about three cups, which provides a hearty base. Drain them well and set them aside. This step is essential for the creaminess of your hummus.
- Next, gather your tahini, which is a key ingredient in achieving that rich texture. It’s best to mix it well, as it can sometimes separate. This ensures even distribution in your hummus.
- Peel the garlic cloves. You can either mince them or add them whole into the blender. If you love a strong garlic flavor, go for more cloves!
- Squeeze one lemon to get about four tablespoons of fresh juice. This will add a refreshing brightness to your hummus. Remember, freshly squeezed is always best!
- In your blender, add the aquafaba first. This liquid will help in blending the ingredients smoothly. If you don’t have aquafaba, use water instead.
- Next, add the drained chickpeas, tahini, lemon juice, and the garlic to the blender. Sprinkle in the salt for seasoning.
- Now, turn on your blender. I recommend starting at a low speed and gradually increasing to the maximum. This method helps to incorporate air and achieve a fluffy texture.
- After about a minute, stop the blender and scrape down the sides with a silicone spatula to ensure everything is mixed well. Blend again until it reaches your desired consistency.
- Once perfectly creamy, taste your hummus. You can adjust the seasoning by adding more salt or lemon juice if needed. Blend again if necessary.
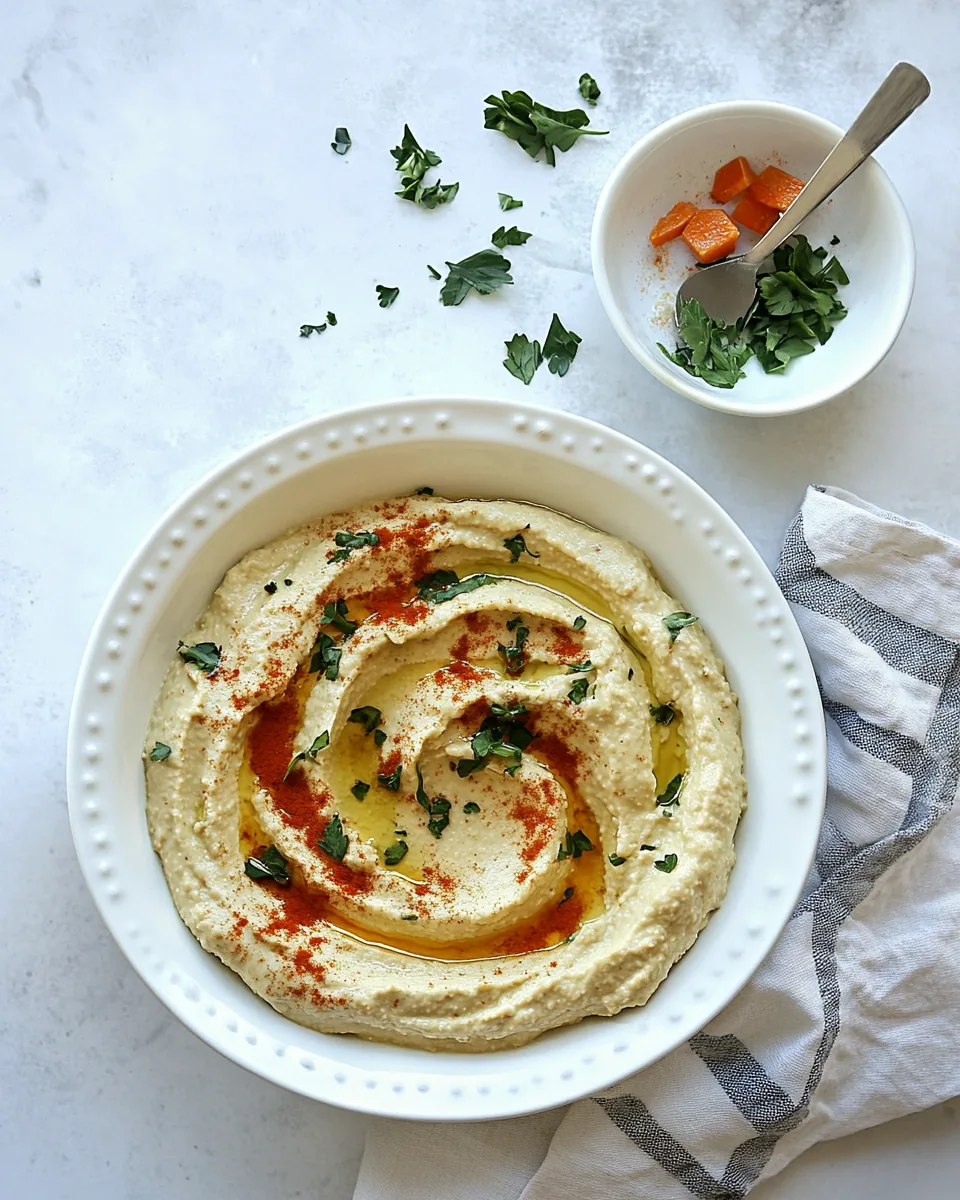
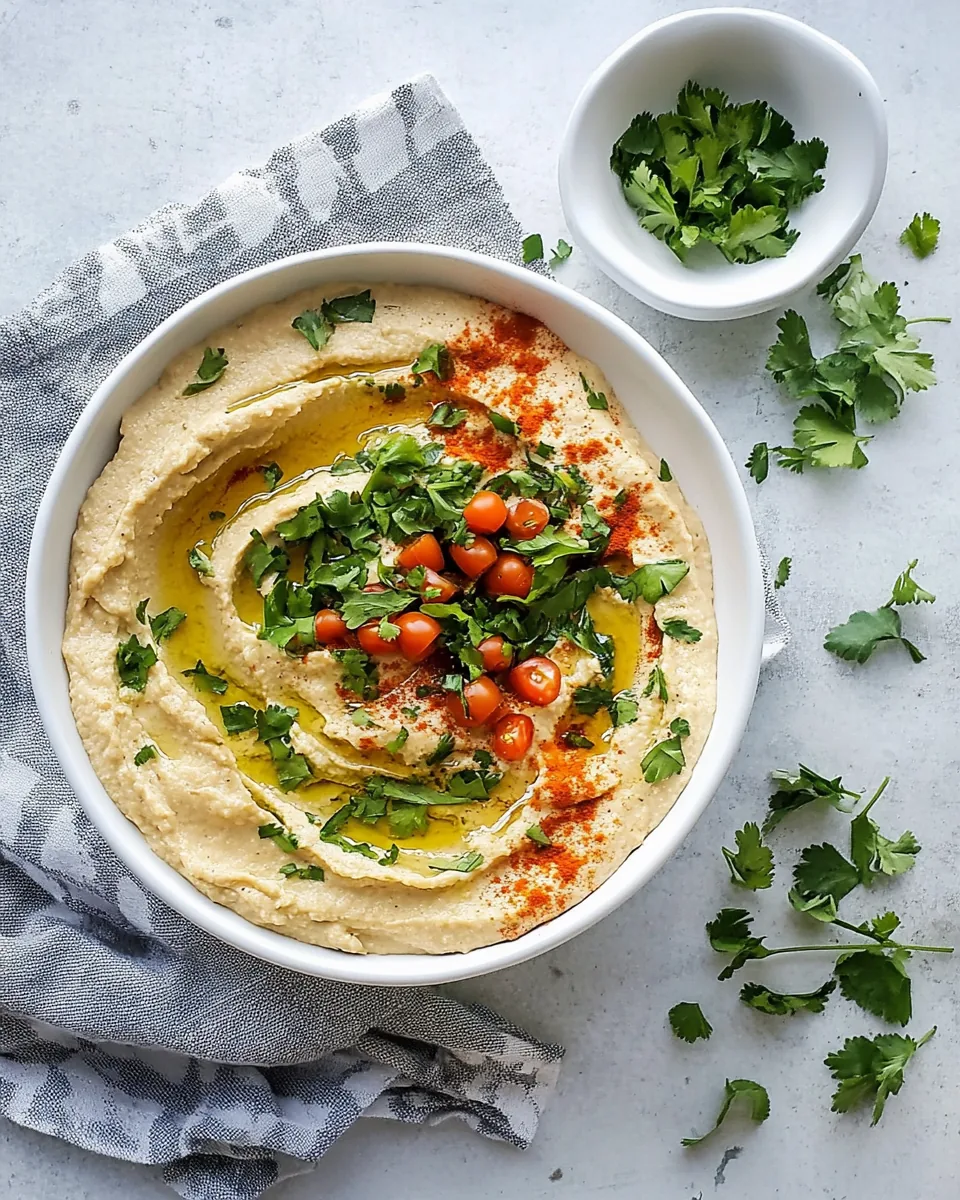
- Finally, transfer your Creamy Oil Free Hummus to a serving bowl. To garnish, you can sprinkle some chopped herbs like parsley or a touch of sweet paprika powder for a pop of color!
Things Worth Knowing
- Consistency is Key: For the best texture, ensure that you blend your hummus long enough. The longer you blend, the creamier it will become.
- Ingredient Quality: Using fresh, high-quality ingredients, especially lemon and garlic, can significantly enhance the flavor.
- Peeling Chickpeas: For an ultra-smooth hummus, consider peeling the chickpeas. Removing the skins can make a noticeable difference in texture.
- Storing Hummus: Store your hummus in an airtight container in the refrigerator for up to a week. You can also drizzle a little water on top before sealing to keep it moist.
- Experiment with Flavors: Don’t hesitate to mix in different spices or roasted vegetables to create unique flavor profiles!
Recipe Variations about Creamy Oil Free Hummus
There are countless ways to enhance and adapt your Creamy Oil Free Hummus. Here are some variations and tips to experiment with, ensuring you never get bored!
- Add Roasted Veggies: Roasted red peppers or beets can add a wonderful sweetness and beautiful color to your hummus.
- Spice it Up: For those who love heat, try adding cayenne pepper or harissa for a spicy kick.
- Herb Infusion: Fresh herbs like basil, cilantro, or dill can completely transform the flavor profile of your hummus.
- Nutty Twist: Incorporate toasted pine nuts or sunflower seeds for added crunch and nutritional benefits.
- Smoky Flavor: A touch of smoked paprika can elevate the taste, giving it a lovely depth.
- Different Beans: Try using other beans like black beans or white beans to create a distinct yet delicious variation.
Great Combinations for Creamy Oil Free Hummus
Serving Creamy Oil Free Hummus opens up endless opportunities to complement your meals and snacks. Here are some great ideas on how to enjoy it:
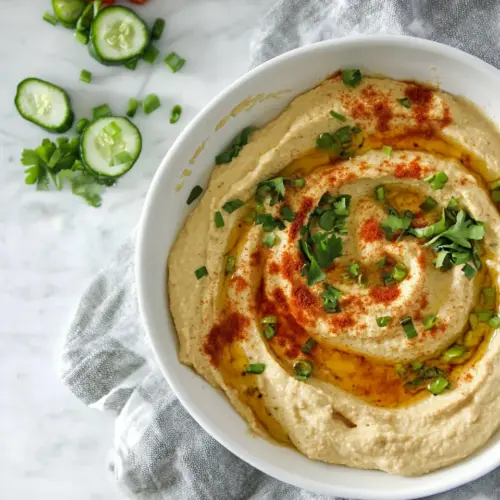
- Crispy Veggies: Pair hummus with an assortment of fresh, crunchy vegetables like carrots, cucumbers, and bell peppers for a healthy appetizer.
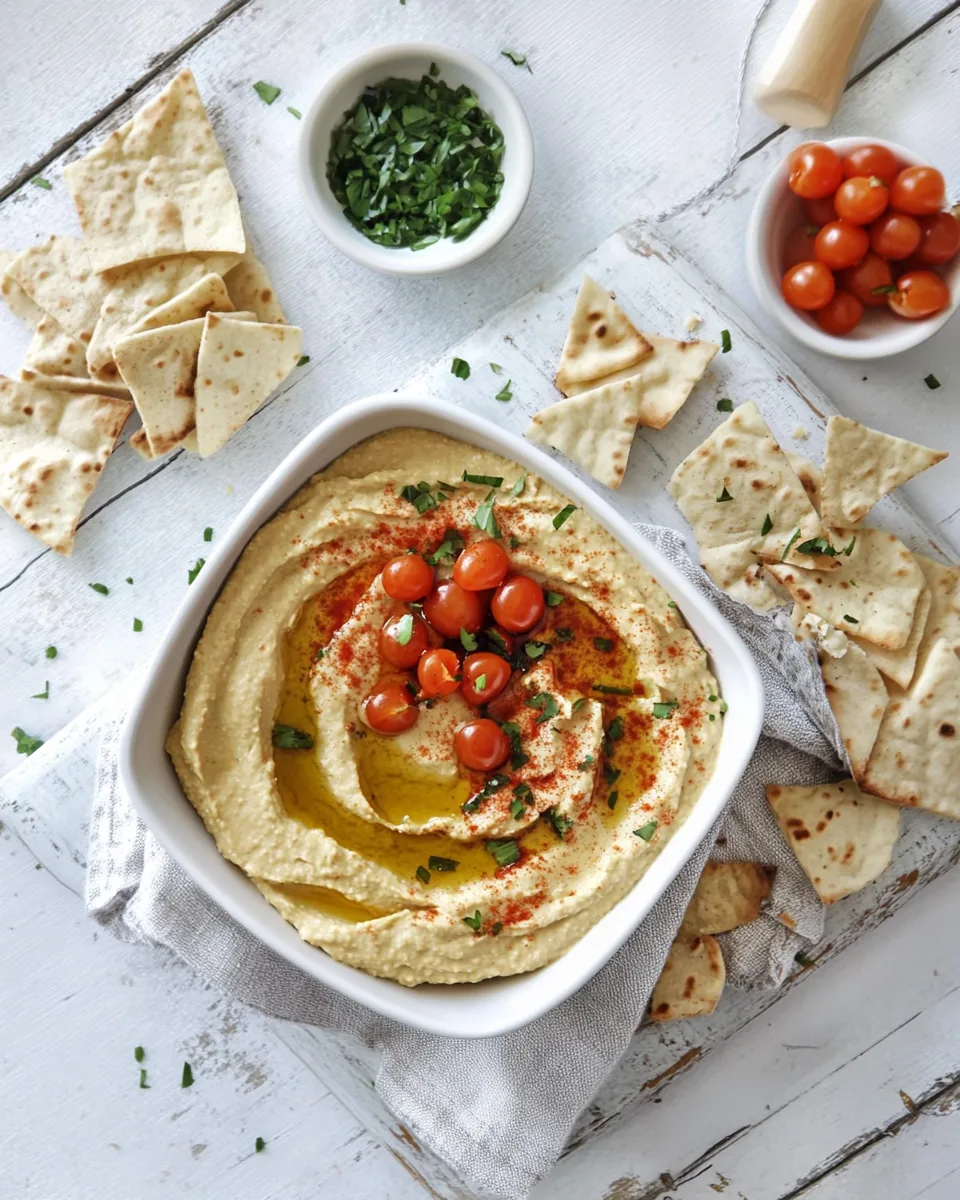
- Warm Pita Bread: Serve alongside warm pita bread or pita chips for a delightful bread-and-dip experience.
- Sandwich Spread: Use hummus as a spread in wraps or sandwiches for a creamy texture that ties all the flavors together.
- Salads: Drizzle over salads or grain bowls for a delicious dressing alternative.
- Meal Prep: Make a big batch to use throughout the week as a snack, quick lunch, or party dip.
- Family Gatherings: Create a vibrant platter with various dips, including Creamy Oil Free Hummus and other spreads for entertaining.
FAQ
Conclusion
In summary, Creamy Oil Free Hummus is not only a delightful addition to your meals but also a nutritious and versatile option for any occasion. I encourage you to give this recipe a try – it’s quick, easy, and a fantastic way to bring people together over food. Enjoy the rich flavors and the health benefits, and don’t forget to share your delicious hummus with friends and family!
Creamy Oil Free Hummus
Equipment
- Vitamix A2300
- Lemon juicer
- Silicone spatula
- Simple garlic press
Ingredients
- 3 cups Chickpeas (canned)
- 2 cups Aquafaba (water from the canned chickpea) or water
- ¼ cup Tahini
- 4 Tbsp Lemon juice (freshly squeezed)
- 2 cloves Garlic
- 1 tsp Salt
Instructions
- Start by measuring the canned chickpeas. You’ll need about three cups, which provides a hearty base. Drain them well and set them aside. This step is essential for the creaminess of your hummus.
- Next, gather your tahini, which is a key ingredient in achieving that rich texture. It’s best to mix it well, as it can sometimes separate. This ensures even distribution in your hummus.
- Peel the garlic cloves. You can either mince them or add them whole into the blender. If you love a strong garlic flavor, go for more cloves!
- Squeeze one lemon to get about four tablespoons of fresh juice. This will add a refreshing brightness to your hummus. Remember, freshly squeezed is always best!
- In your blender, add the aquafaba first. This liquid will help in blending the ingredients smoothly. If you don't have aquafaba, use water instead.
- Next, add the drained chickpeas, tahini, lemon juice, and the garlic to the blender. Sprinkle in the salt for seasoning.
- Now, turn on your blender. I recommend starting at a low speed and gradually increasing to the maximum. This method helps to incorporate air and achieve a fluffy texture.
- After about a minute, stop the blender and scrape down the sides with a silicone spatula to ensure everything is mixed well. Blend again until it reaches your desired consistency.
- Once perfectly creamy, taste your hummus. You can adjust the seasoning by adding more salt or lemon juice if needed. Blend again if necessary.
- Finally, transfer your Creamy Oil Free Hummus to a serving bowl. To garnish, you can sprinkle some chopped herbs like parsley or a touch of sweet paprika powder for a pop of color!
Notes
- Consistency is Key: For the best texture, ensure that you blend your hummus long enough. The longer you blend, the creamier it will become.
- Ingredient Quality: Using fresh, high-quality ingredients, especially lemon and garlic, can significantly enhance the flavor.
- Peeling Chickpeas: For an ultra-smooth hummus, consider peeling the chickpeas. Removing the skins can make a noticeable difference in texture.
- Storing Hummus: Store your hummus in an airtight container in the refrigerator for up to a week. You can also drizzle a little water on top before sealing to keep it moist.
- Experiment with Flavors: Don’t hesitate to mix in different spices or roasted vegetables to create unique flavor profiles!