Christmas Milkshake
Every holiday season, I find myself craving something sweet and festive. That’s where this Christmas Milkshake comes in, a magical blend of flavors that perfectly encapsulates the holiday spirit. Imagine gathering around with family and friends, laughter filling the room, as you serve up these delightful milkshakes that are as creamy as they are colorful. With each sip, you’ll be transported to cozy winter nights spent by the fire, sharing stories and memories. Trust me, this isn’t just any milkshake; it’s a celebration in a glass, topped with whipped cream and holiday sprinkles that bring joy to your taste buds. So, let’s dive into this recipe that’s bound to become a cherished tradition in your home!
Recipe Snapshot
10 mins
10 mins
0 mins
Easy
350 kcal
6 g
Keto, Gluten-Free, Low FODMAP
15 g
Blender
The Beauty of This Christmas Milkshake
Festive and Fun Appeal
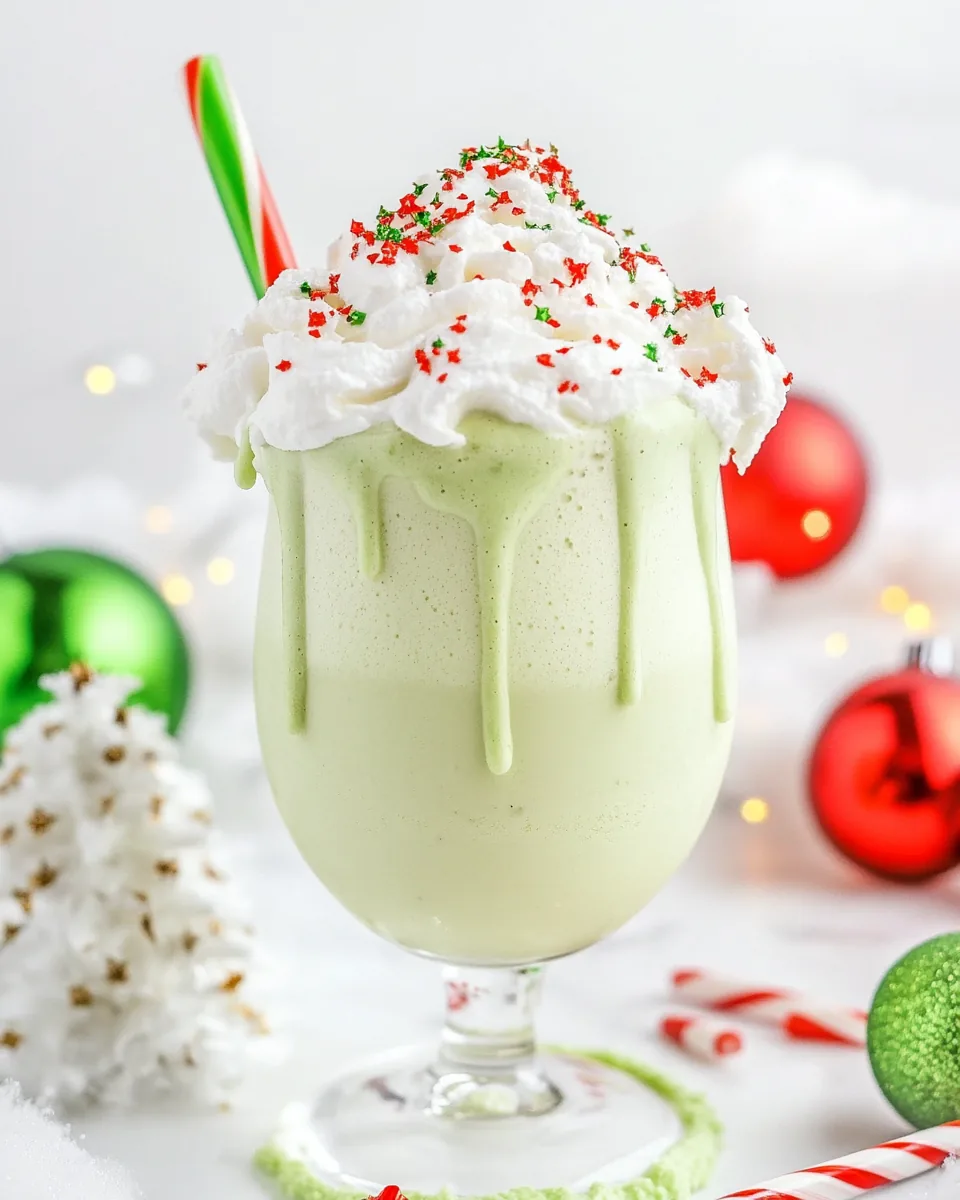
There’s something about a milkshake that just screams fun! The Christmas Milkshake isn’t just a beverage; it’s an experience. The vibrant colors and toppings make it a feast for the eyes, instantly elevating your holiday gatherings.
Easy to Make
If you’re looking for a stress-free dessert this season, look no further. This milkshake comes together in mere minutes, allowing you to spend more time with loved ones. I love how simple it is to whip up a batch!
Customizable Toppings
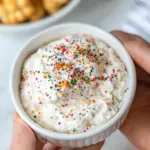
The toppings are where you can really let your creativity shine. From whipped cream to festive sprinkles, you can personalize each Christmas Milkshake to reflect your holiday spirit. The kids will love getting involved, decorating their own creations.
Holiday Nostalgia
This recipe evokes nostalgia, reminding many of the traditional flavors of the season. Each sip brings back memories of holiday festivities, making it a perfect addition to your celebrations.
Perfect for All Ages
Whether you’re serving it at a Christmas party or just enjoying a cozy night in, this milkshake appeals to all ages. Kids and adults alike will delight in this sweet treat, making it a universal favorite.
Great for Entertaining
Hosting friends over the holidays? The Christmas Milkshake is an excellent conversation starter. Its unique presentation and festive vibe make it a hit at any gathering.
Key Ingredients for Christmas Milkshake
The ingredients for this Christmas Milkshake are not only delicious but also work together to create a rich, creamy texture and a festive appearance. Each component plays a vital role in the final product, bursting with holiday cheer.
- 4 cups ice cream (vanilla or cookie ice cream): The base of our milkshake, providing a creamy and sweet foundation.
- 1 cup milk (whole or 2%): This adds the perfect consistency, making your milkshake drinkable and smooth.
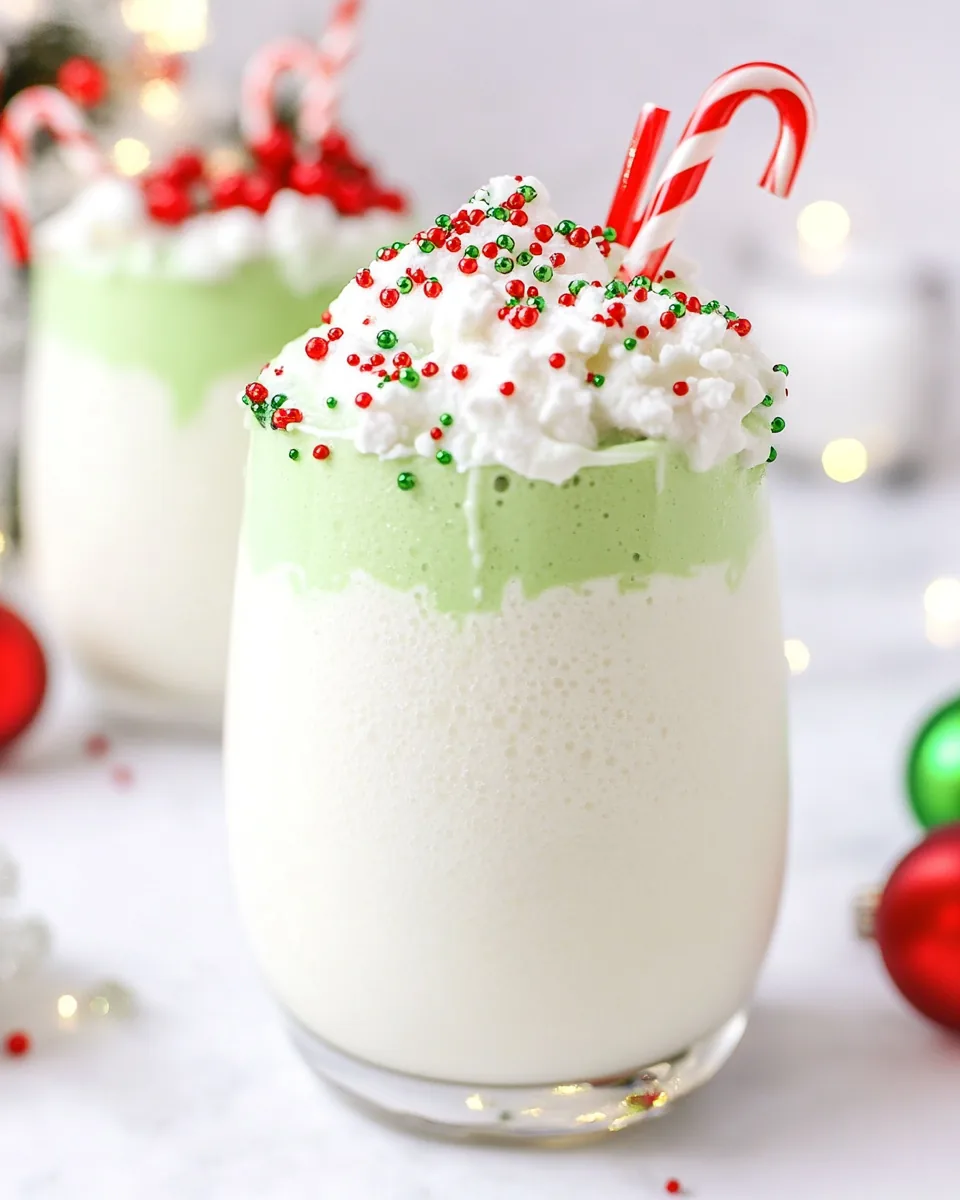
- Green gel food coloring: This gives our milkshake a festive twist, transforming it into a holiday delight.
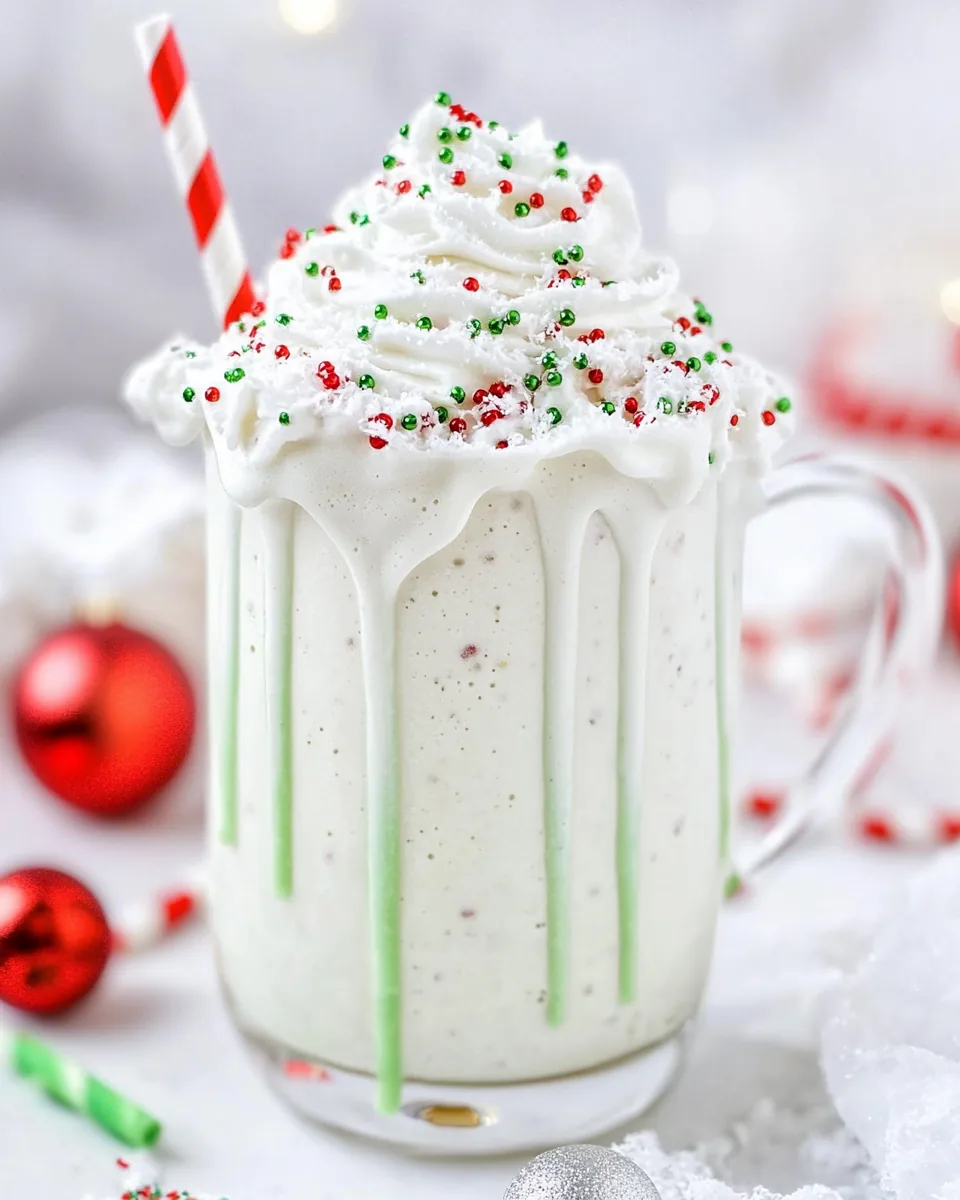
- Whipped cream: Essential for topping, it adds a light and airy finish to your treat.
- Red frosting: Used to rim the glasses, it adds flavor and a pop of color that’s visually appealing.
- Holiday sprinkles: These are the finishing touch, bringing fun and festivity to each sip.
Cooking Instructions for Christmas Milkshake

Making this Christmas Milkshake is as enjoyable as sipping it! Follow these simple steps to create a festive drink that will impress your family and friends.
- To start, gather all your ingredients and grab a blender. Adding your ice cream to the jug is a fun and satisfying first step. You’ll want to scoop in 4 cups of your chosen vanilla or cookie ice cream. This forms the rich base of your milkshake.
- Next, pour in 1 cup of milk. I recommend using whole milk for an extra creamy texture, but 2% works just as well. This combination will make your milkshake smooth and delightful.
- Now, add a few drops of green gel food coloring into the blender. This is where the magic begins! Watch as the ice cream and milk swirl together to create a festive green hue.
- Blend everything on low speed until the mixture is smooth and creamy. You might need to stop and scrape down the sides to ensure everything is well blended. If it’s too thick, feel free to add a splash more milk to get your desired consistency.
- While the blender does its work, prepare your glasses. Take a small amount of red frosting and spread it around the rims of your glasses. This will give your milkshake a festive flair and help the sprinkles stick.
- Immediately after frosting the rims, dip the glasses into a plate of holiday sprinkles. This will create a colorful, decorative edge that’s perfect for any festive occasion.
- Once your milkshake is blended to perfection, it’s time to pour! Carefully fill each rimmed glass with your delicious concoction, watching the vibrant green shake flow in.
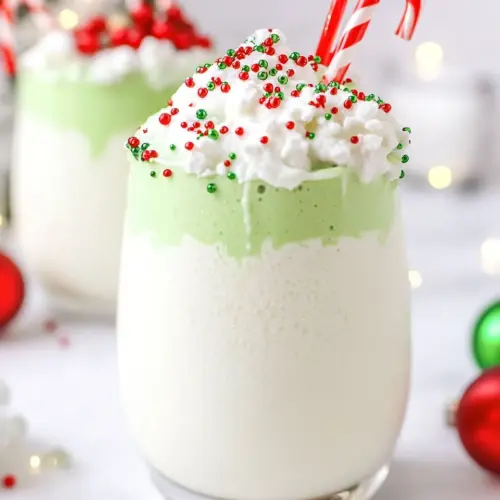
- To finish, top each Christmas Milkshake with a generous swirl of whipped cream. Don’t be shy; make it tall and fluffy!
- Finally, add a sprinkle of more holiday sprinkles on top of the whipped cream for an extra festive touch. You can even add a straw for that classic milkshake feel!
- Serve immediately and enjoy the delighted faces of everyone as they take their first sip of this delightful treat!
Things Worth Knowing
- Consistency is Key: Ensure your ice cream is slightly soft before blending. This will help achieve a creamy texture without straining your blender.
- Frosting Tip: If you don’t have red frosting, you can use any color or even melted chocolate for rimming your glasses.
- Chill Your Glasses: For an added touch, place your glasses in the freezer for 15 minutes before serving. This keeps your milkshake colder for longer.
- Avoid Ice: Do not add ice cubes to the milkshake; they will dilute the flavor and change the texture.
How to Switch It Up
Feel like getting creative with your Christmas Milkshake? Here are some fun tips to make it your own!
- Flavor Variations: Swap out the ice cream flavor for peppermint, chocolate, or even cookie dough for a unique twist.
- Add a Crunch: Crushed cookies or candy canes can be blended in for extra texture and flavor.
- Milk Choices: Experiment with different types of milk, like almond milk or oat milk, for a dairy-free option.
- Syrup Swirls: Drizzle some chocolate or caramel syrup inside the glass before pouring in the milkshake for a fun presentation.
- Colorful Frosting: Use different colors of frosting for different holidays or celebrations, making it versatile year-round.
Serving Options for Christmas Milkshake
When it comes to serving your Christmas Milkshake, the options are truly endless! Here are some suggestions:
- Holiday Parties: Serve these milkshakes at your next holiday gathering for an unforgettable treat that guests will love.
- Cozy Family Nights: Enjoy them during family movie nights, snuggled up with holiday classics.
- Seasonal Gatherings: Great for Thanksgiving, Christmas, or New Year’s Eve celebrations, adding a festive touch to your table.
- Pair with Snacks: These milkshakes pair beautifully with cookies, brownies, or even festive popcorn for a delightful dessert table.
- Storage Tips: If you have leftovers, store them in the freezer but keep in mind they may lose some texture when thawed.
- Presentation: Serve with festive straws and decorative napkins to enhance the visual appeal.
FAQ
Conclusion
The Christmas Milkshake is more than just a delicious treat; it’s a joyful gathering of flavors that encapsulates the spirit of the holidays. Perfect for family gatherings or festive parties, it’s sure to delight everyone. I encourage you to try making your own version and add your special touch. It’s a simple yet effective way to spread joy and create lasting memories this holiday season!
Christmas Milkshake
Equipment
- Blender
Ingredients
- 4 cups ice cream vanilla or cookie ice cream
- 1 cup milk whole or 2%
- 1 Green gel food coloring
- 1 Whipped cream for topping
- 1 Red frosting for the rim
- 1 Holiday sprinkles
Instructions
- To the jug of a blender, add ice cream, milk, and green food coloring. Blend on low speed until smooth and creamy. If needed, adjust the consistency by adding more milk.
- To rim the glasses, spread a small quantity of red frosting to the edge of the rim and immediately decorate with holiday sprinkles.
- Pour the milkshake into the rimmed glasses, then garnish with fresh whipped cream and decorate with more sprinkles.
Notes
- Tip 1: Allow the ice cream to sit on your counter for 5 minutes before scooping it into the blender.
- Tip 2: When buying ice cream, make sure that it’s 100% made of dairy.
- Tip 3: Place your glasses in the freezer for 15 minutes before making the milkshakes.
- Tip 4: Do not add ice cubes to your milkshake, they will melt and your milkshake will become too watery.