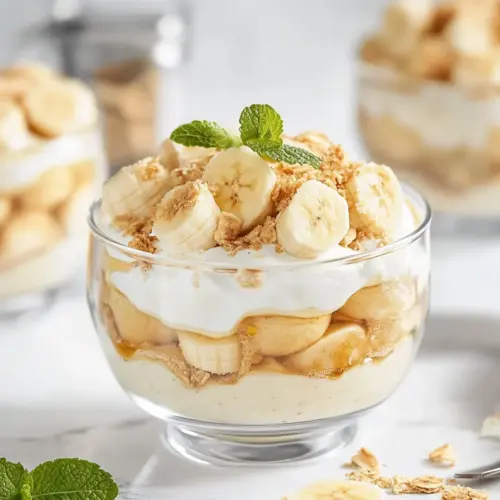
Banana Pudding
Nothing brings back fond memories quite like a delicious bowl of Banana Pudding. Growing up, my family often gathered for Sunday dinners, and this creamy delight was always the star of the dessert table. I still remember the way the sweet aroma of ripe bananas and whipped cream filled the air as we anticipated our first spoonful. It’s a dish that holds a special place in my heart, not just for its taste, but for the laughter and stories shared over each delightful bite. The Banana Pudding was always a crowd-pleaser, disappearing faster than I could serve it. Whether it was a birthday celebration or a casual family get-together, this dessert never failed to spark joy and smiles. So grab your mixing bowls and let’s recreate this nostalgic treat that’s sure to warm your heart and satisfy your sweet tooth!
Recipe Snapshot
20 mins
20 mins
0 mins
Medium
320 kcal
4 g
Keto, Gluten-Free, Low FODMAP
15 g
Silicone Spatula Set, Mixing bowl set, KitchenAid stand mixer
Why Try This Banana Pudding
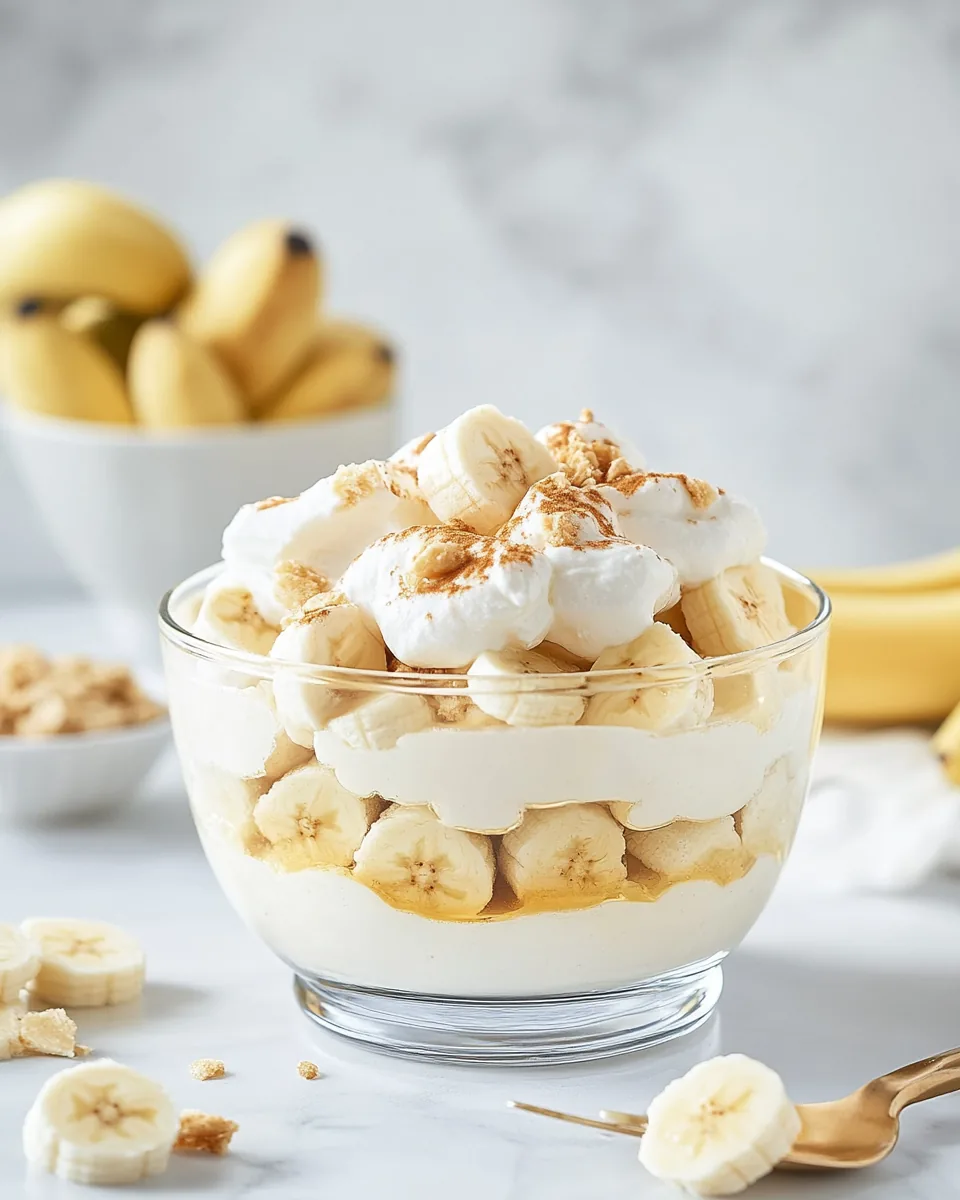
Comforting Creaminess
The first thing that strikes you about Banana Pudding is its rich and creamy texture. Every spoonful is a harmonious blend of sweet and smooth, creating a delightful mouthfeel that’s hard to resist. The fluffy whipped cream adds a lightness that balances the density of the pudding itself, making it feel indulgent yet not overly heavy.
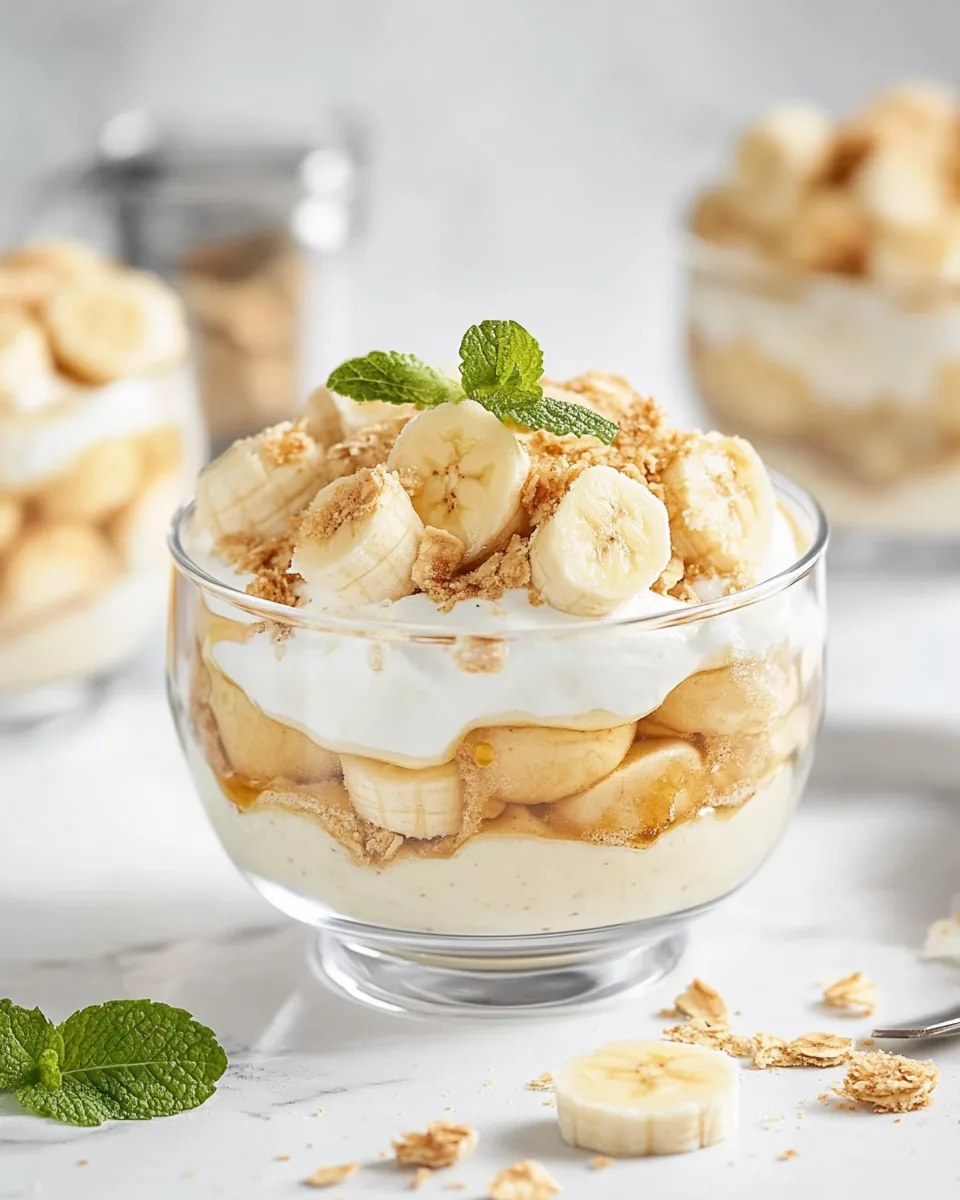
Layered Goodness
What I love most about this dessert is the exquisite layering. Each layer of pudding, bananas, and cookies creates a visual delight that’s as appealing to the eyes as it is to the palate. It’s like unwrapping a present with each scoop; you never know how much of each layer you’ll get, but it’s always a delicious surprise!
A Flavorful Adventure
The combination of flavors in Banana Pudding is simply unmatched. The sweetness of ripe bananas pairs beautifully with the creamy pudding, while the vanilla wafers provide a satisfying crunch. Together, these ingredients create a flavor explosion that is both comforting and uplifting, making it a perfect choice for any occasion.
Perfect for Any Occasion
Whether it’s a summer picnic, a holiday celebration, or just a quiet night at home, Banana Pudding fits in seamlessly. Its versatile nature allows it to be both a casual treat and a festive dessert, making it a staple in many households. I love preparing it for gatherings because it never fails to elicit smiles and compliments from family and friends.
Make-Ahead Marvel
Another great aspect of this recipe is its make-ahead potential. With a little planning, you can whip up a batch of Banana Pudding the day before your event, allowing the flavors to meld beautifully as it chills in the refrigerator. This not only saves you time on the day of your gathering but also allows for a perfectly set pudding that is ready to serve when you are.
Family Tradition
Lastly, Banana Pudding is a recipe that can be passed down through generations. It’s a beautiful way to connect with family traditions and share love through food. As I prepare this dish, I often think of the loved ones who came before me, adding their own twists and touches over the years. It’s a nostalgic journey that brings us all closer together.
What Goes Into Banana Pudding
Creating a delicious Banana Pudding requires a thoughtful selection of ingredients that complement each other beautifully. Each element plays a vital role in achieving that perfect balance of sweetness and creaminess. The key players are the ripe bananas, which provide natural sweetness, and the whipped cream, which adds a light, airy texture. Together, they create a dessert that is both satisfying and indulgent.
- 1 (14-ounce) can sweetened condensed milk: This is the base for the pudding, adding a rich, creamy sweetness that sets the tone for the entire dessert.
- 1½ cups ice cold water: This helps in mixing the condensed milk and pudding mix, giving it a smooth and creamy consistency.
- 1 (13.4-ounce) package instant vanilla pudding mix: This is the secret to a velvety pudding that thickens quickly without any cooking required.
- 3 cups heavy cream: Whipped to soft peaks, this ingredient adds a fluffy texture and rich flavor, making the dessert feel indulgent.
- 1 (11-ounce) box vanilla wafers: These cookies bring a delightful crunch that contrasts with the creaminess of the pudding and bananas.
- 6 ripe large bananas: Sliced and layered throughout the pudding, they provide a natural sweetness and a fresh burst of flavor.
Cooking Method for Banana Pudding
Making Banana Pudding is a fun and straightforward process that yields impressive results. It’s a great opportunity to get your hands busy in the kitchen while creating something delightful. Let’s dive into the step-by-step instructions to bring this classic dessert to life!
- Start by whisking together the ice cold water and sweetened condensed milk in a medium-sized bowl. This combination serves as the foundation of your pudding and creates a creamy base. Make sure to whisk until well combined, achieving a homogeneous mixture.
- In a separate bowl, pour in the instant vanilla pudding mix. Begin to slowly whisk in the liquid mixture you prepared earlier. As you whisk, you’ll notice the mixture starting to thicken. Keep whisking for about one minute until it is smooth and free of lumps. This is the moment where your pudding starts to take shape.
- Once the pudding is smooth, cover the bowl with plastic wrap and refrigerate for at least one hour or overnight if you have the time. This chilling process allows the pudding to firm up, ensuring a delightful texture when served.
- While the pudding is chilling, it’s time to whip the heavy cream. Using a stand mixer or a hand mixer, whip the cream until it starts to thicken. Gradually increase the speed until you achieve stiff peaks. This fluffy cream will be folded into your pudding, creating a luxurious texture.
- Once the pudding has set, gently add your whipped cream to the pudding mixture. Use a spatula to fold the whipped cream into the pudding until there are no streaks visible. This should result in a light and creamy filling that’s perfect for layering.
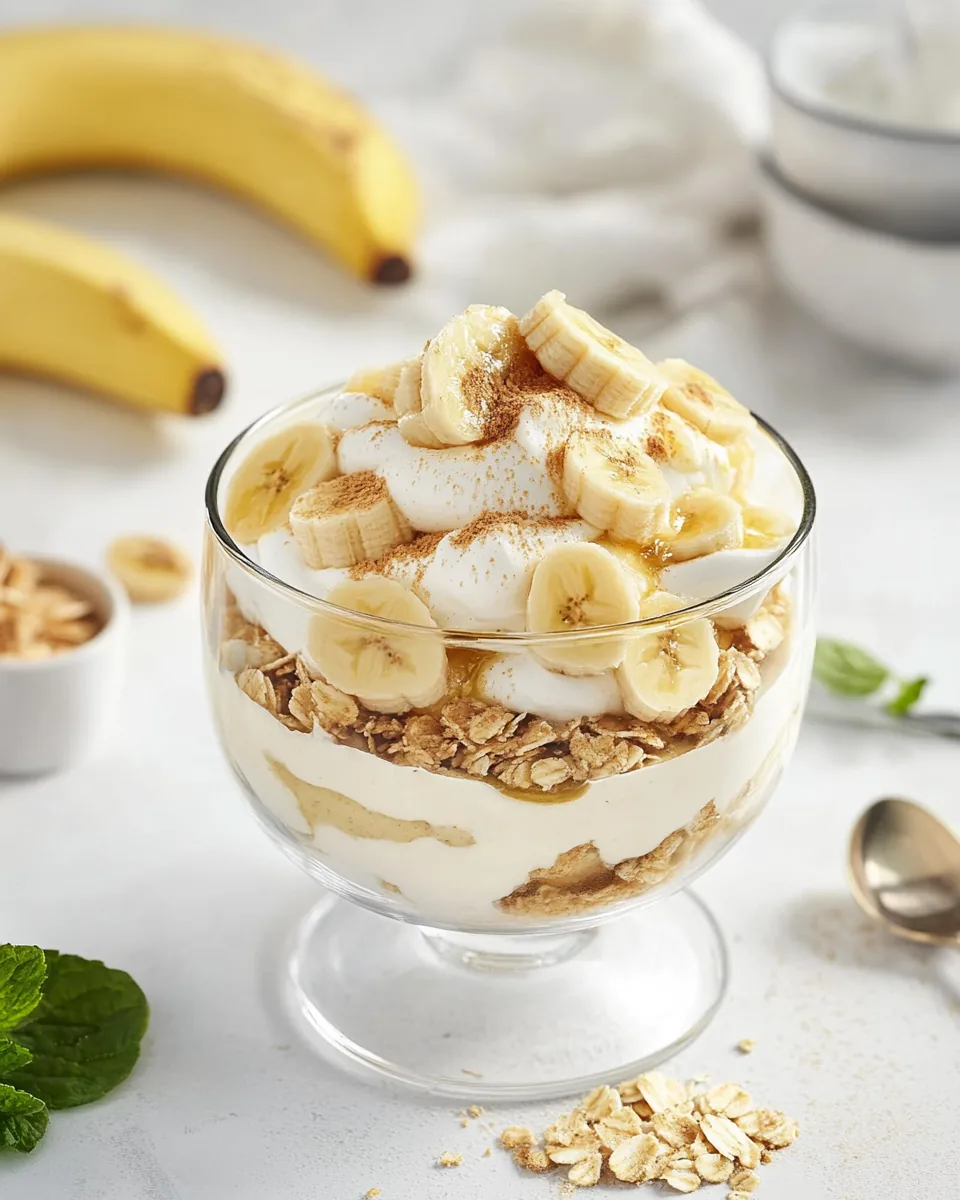
- Now, let’s assemble the Banana Pudding! Start by spreading one-quarter of the pudding mixture over the bottom of a trifle dish or a wide glass bowl. This layer sets the stage for the rest of the deliciousness to come.
- Layer one-third of the vanilla wafers on top of the pudding, followed by about 1 to 1 ½ of the sliced bananas. The layering is crucial; it’s what makes each bite so special! The crunch of the cookies and the softness of the bananas work together beautifully.
- Continue this layering process until all components are used up. Make sure to end with a final layer of pudding on top. This not only looks beautiful but also keeps the bananas from browning too quickly.
- For the finishing touch, garnish the top with some of the remaining vanilla wafers to add a decorative flair. Once assembled, cover the dish with plastic wrap and refrigerate for four to six hours to let the flavors meld.
- Just before serving, slice additional bananas to top the pudding for a fresh touch. Serve this delightful dessert within 12 hours for the best experience. Enjoy the smiles and compliments!
Things Worth Knowing
- Perfect Ripeness: Ensure your bananas are just ripe, as overly ripe bananas can become mushy when layered.
- Whipping Cream Technique: When whipping the cream, make sure your bowl and beaters are cold to achieve better volume and texture.
- Flavor Enhancements: Consider adding a splash of lemon juice to the banana slices to prevent browning.
- Chilling Time: The longer you chill, the better the flavors meld together, creating a more delicious pudding.
Recipe Variations about Banana Pudding
There are countless ways to put a personal twist on your Banana Pudding. Whether you want to switch up the flavors or add some fun toppings, here are some ideas:
- Chocolate Twist: Use chocolate pudding mix instead of vanilla for a rich chocolate banana pudding.
- Nutty Crunch: Add crushed nuts such as pecans or walnuts for an extra crunch in your layers.
- Fruit Medley: Mix in other fruits like strawberries or blueberries for a colorful and flavorful variation.
- Caramel Drizzle: Drizzle caramel sauce over the top layer to add a sweet, buttery flavor contrast.
- Storage: Leftovers can be stored in an airtight container in the refrigerator for up to three days. Just remember that the cookies will soften as time goes on.
- Freezing: It’s not recommended to freeze the assembled pudding, as the texture can change. However, the components can be made ahead and assembled later.
- Pairing: This dessert pairs wonderfully with a side of freshly brewed coffee or a scoop of vanilla ice cream for an extra treat.
Serving Options for Banana Pudding
When it comes to serving Banana Pudding, the possibilities are endless. Here are some creative and enjoyable ways to present this delightful dessert:
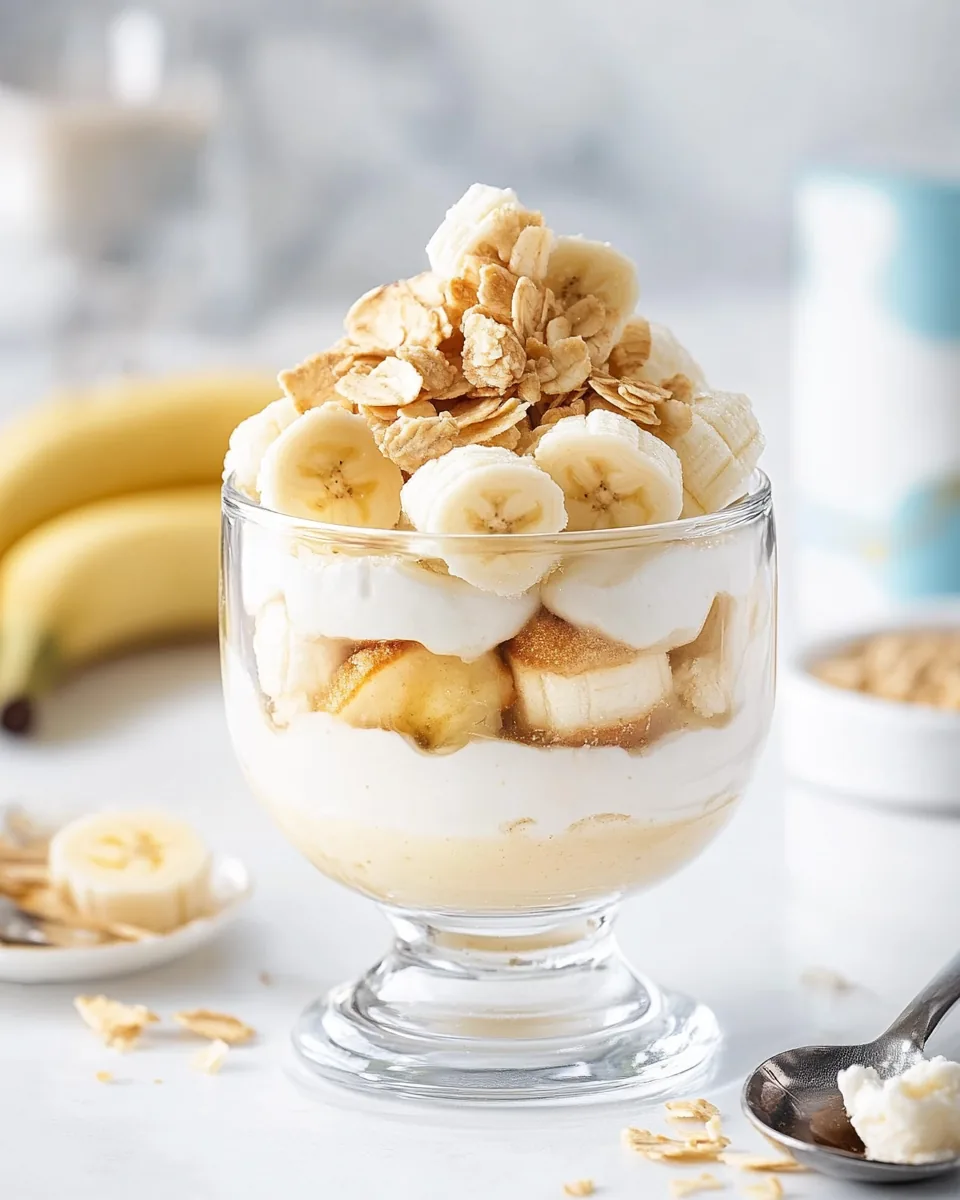
- Trifle Style: Serve in clear glass bowls or cups to showcase the beautiful layers of pudding, bananas, and cookies.
- Individual Portions: For a more personal touch, create individual servings in small jars or dessert cups, making them perfect for parties.
- Family Style: Present the assembled pudding in a large trifle bowl for everyone to serve themselves, fostering a communal and cozy atmosphere.
- Seasonal Toppings: During the holidays, consider adding festive toppings like crushed candy canes or pumpkin spice for a seasonal twist.
- Gatherings: This dessert is ideal for potlucks, BBQs, or family reunions, as it’s easy to transport and always a hit with guests.
- Storage Tips: To keep the pudding fresh, store it in the refrigerator covered well with plastic wrap for up to three days. Just be cautious of the bananas browning over time.
- Garnishing: Right before serving, add a few fresh banana slices or a sprinkle of crushed wafers on top for an appealing presentation.
FAQ
Conclusion
The Banana Pudding is a classic dessert that brings comfort and joy to any gathering. Its creamy layers and delightful flavors make it a dessert loved by many. I encourage you to try making this recipe and share it with your loved ones. It’s a wonderful way to create new memories around the table, just like I did growing up.
Banana Pudding
Equipment
- Silicone Spatula Set
- Mixing bowl set
- KitchenAid stand mixer
Ingredients
- 1 can sweetened condensed milk 14-ounce can
- 1.5 cups ice cold water
- 1 package instant vanilla pudding mix 13.4-ounce package
- 3 cups heavy cream
- 1 box vanilla wafers 11-ounce box
- 6 large ripe bananas sliced
Instructions
- Whisk together the ice cold water and sweetened condensed milk in a medium-sized bowl until well combined.
- In a separate bowl, pour in the instant vanilla pudding mix. Slowly whisk in the liquid mixture until smooth, about one minute.
- Cover the bowl and refrigerate for at least one hour until firm.
- Whip the heavy cream until stiff peaks form, then fold it into the pudding mixture until there are no streaks.
- Spread one-quarter of the pudding in a trifle dish, add one-third of the vanilla wafers, and one-third of the sliced bananas.
- Repeat layering until all ingredients are used, finishing with pudding on top.
- Garnish the top with remaining vanilla wafers and refrigerate for four to six hours.
- Before serving, top with additional slices of fresh bananas.
Notes
- Storage: Leftovers can be stored in an airtight container in the refrigerator for up to three days.
- Freezing: It’s not recommended to freeze the assembled pudding.
- Pairing: This dessert pairs well with coffee or vanilla ice cream.