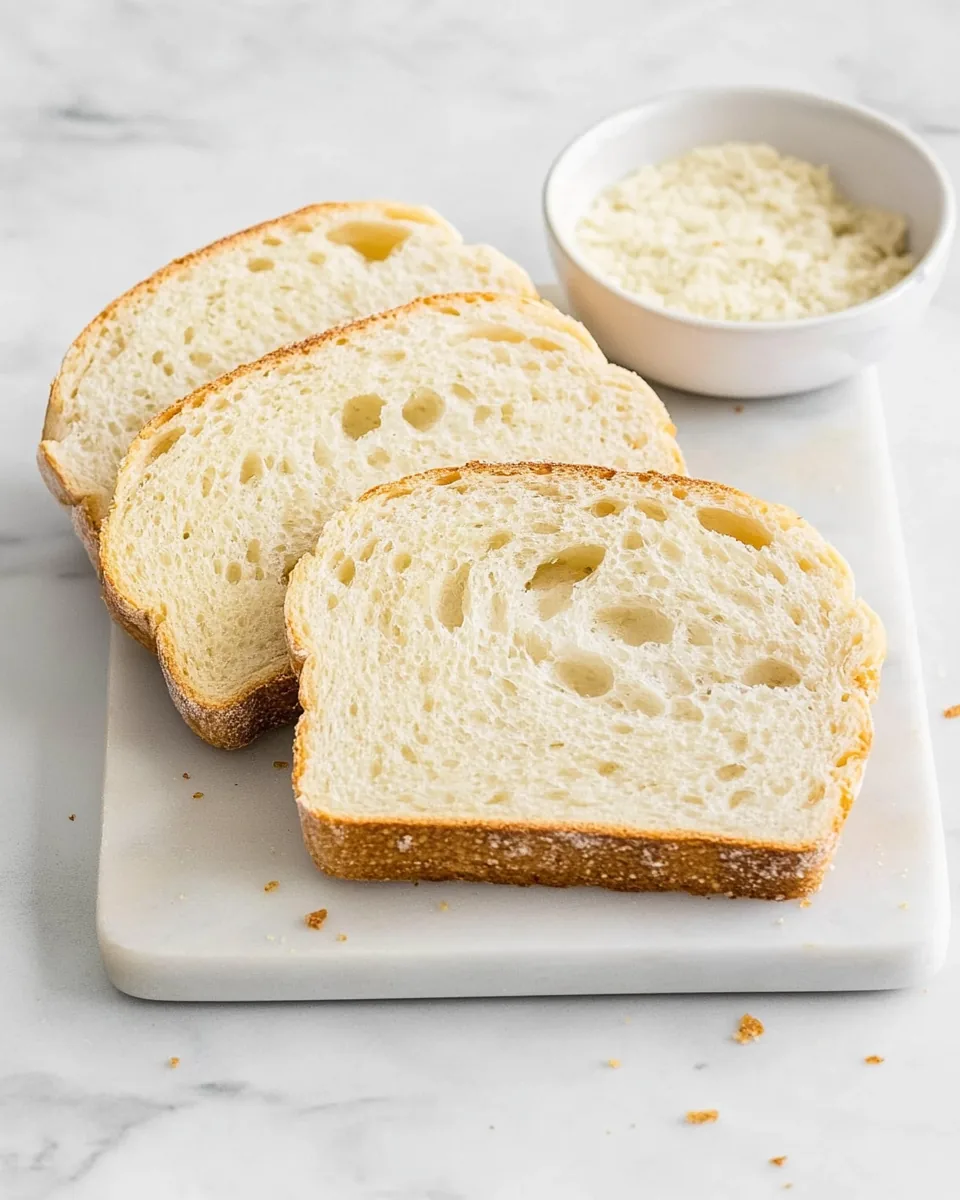
Air Fryer Bread
There’s something magical about homemade bread, and nothing beats the convenience of making Air Fryer Bread. I remember the first time I decided to try it; I was curious about how the air fryer could transform simple ingredients into a warm, fluffy loaf. As the aroma filled my kitchen, it took me back to the days of my grandmother baking bread in her cozy oven. The anticipation of enjoying freshly baked bread was palpable as I waited for it to cool. Whether you’re looking for a quick side for dinner or a delightful snack, this Air Fryer Bread is your ticket to deliciousness!
Recipe Snapshot
40 mins
10 mins
30 mins
Medium
150 kcal
4 g
Paleo, Vegan, Gluten-Free
2 g
Skillet, Frying Pan, Air Fryer, Wooden Spoon, Mixing Bowl
Why You Need This Air Fryer Bread
Quick and Easy
Making Air Fryer Bread is incredibly straightforward, even for beginners. With minimal ingredients, you can whip up a warm loaf in no time. The simplicity of combining flour, yeast, and a few pantry staples makes it an accessible recipe for all.
Perfectly Fluffy Texture
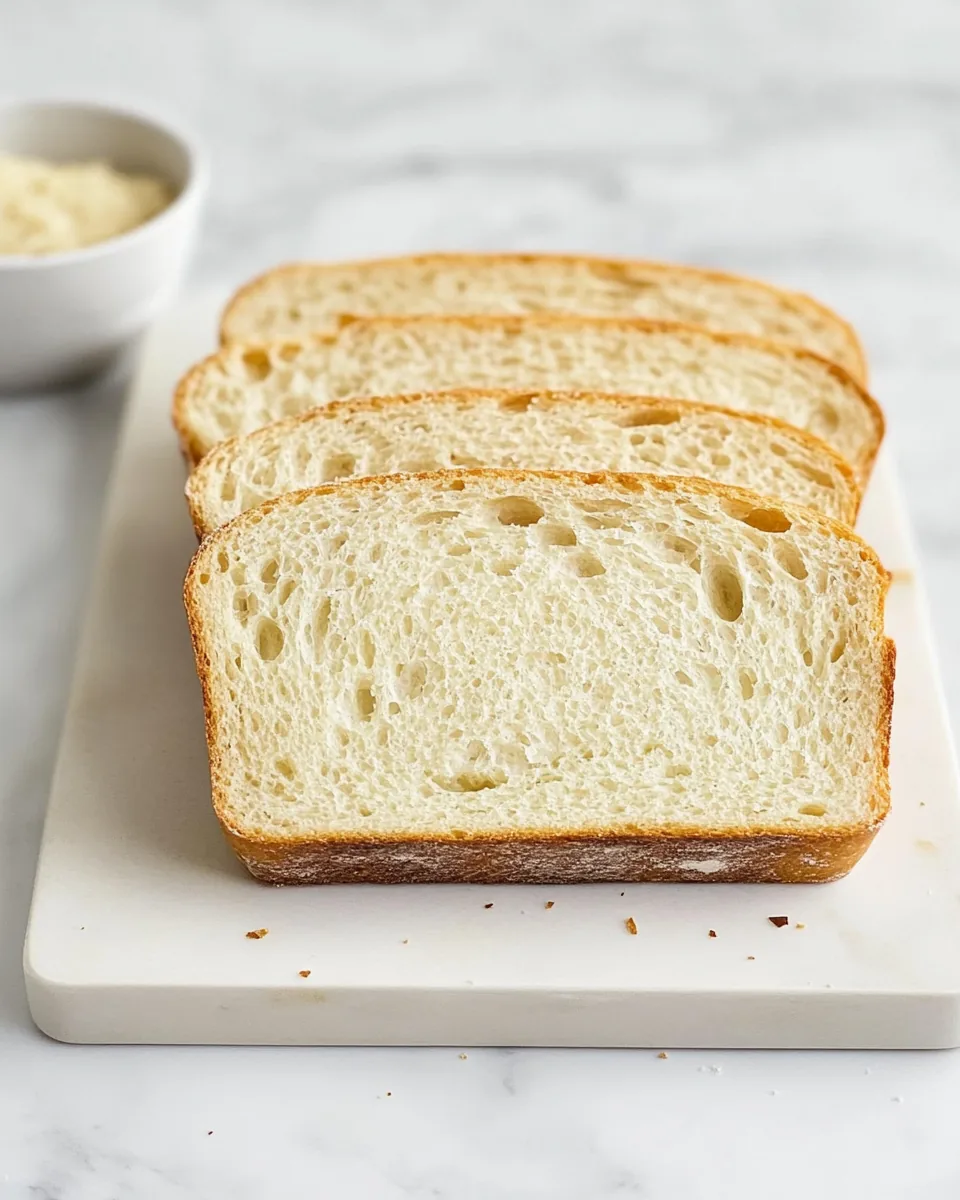
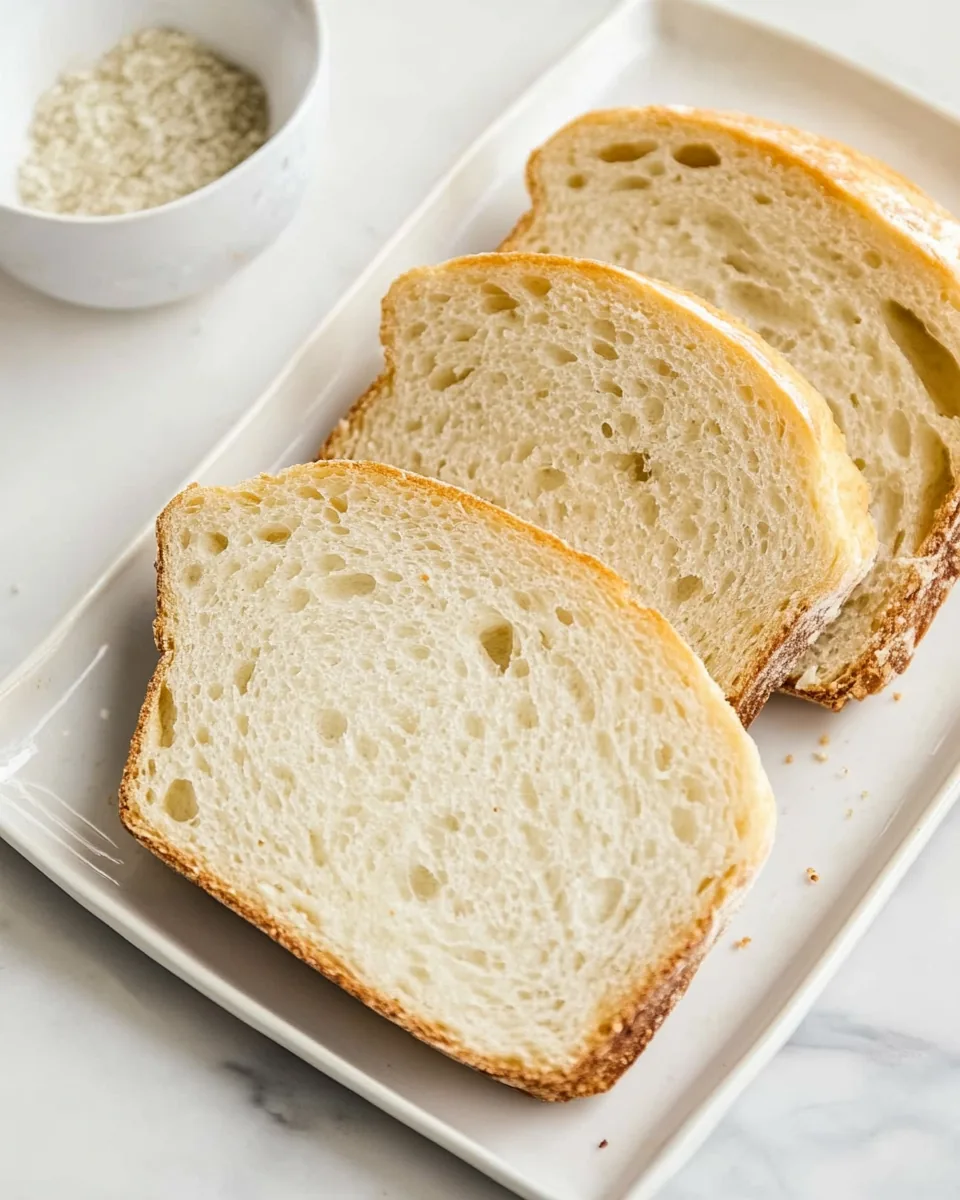
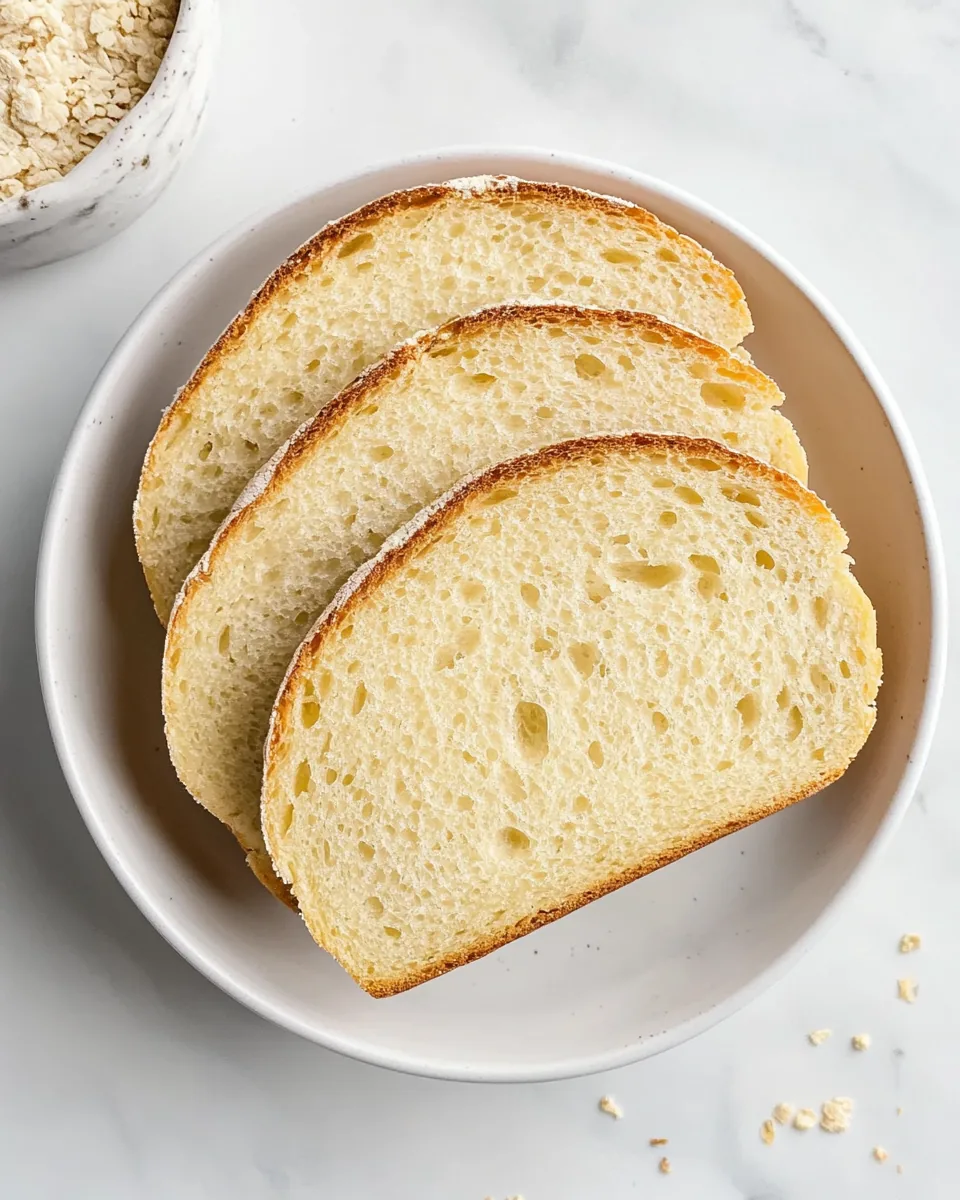
The air fryer provides an ideal environment for baking bread. The hot air circulates evenly, ensuring that the exterior becomes beautifully golden and crispy while keeping the interior fluffy and soft. You won’t find a bread recipe that yields a better texture!
Versatile and Customizable
This bread can be easily customized. Want to add herbs or cheese? Go for it! You can personalize this Air Fryer Bread to match your taste preferences, making every loaf a unique creation.
Less Mess, More Fun
Unlike traditional oven baking, the air fryer minimizes cleanup. You won’t need to deal with multiple pans or sticky dough messes. The whole process is contained, making it as enjoyable as it is delicious.
Great for Any Occasion
Whether it’s a weekday dinner, a weekend brunch, or a family gathering, Air Fryer Bread fits perfectly into any setting. It’s an excellent accompaniment to soups, salads, or just butter. You’ll be amazed at how quickly it disappears!
Air Fryer Bread Ingredients
The ingredients for Air Fryer Bread are simple yet powerful. Each component plays a vital role in creating that perfect loaf. The combination of flour, yeast, and water not only forms the basis of the bread but also contributes to its flavor and texture.
- White bread flour: This is the backbone of the bread, giving it structure and a chewy texture.
- Sugar: A little sweetness helps to activate the yeast and adds a slight flavor enhancement.
- Salt: Essential for flavor, it also helps to strengthen the dough.
- Instant dry yeast: This is what helps the bread rise, giving it that light and airy quality.
- Warm water: Vital for activating the yeast and bringing the dough together.
- Olive oil: Adds moisture and richness to the bread.
Recipe Steps for Air Fryer Bread
Making Air Fryer Bread is easier than you might think! Follow these steps closely for a guaranteed delicious loaf. I promise the results will be worth every second spent.
- In a large mixing bowl, combine the white bread flour, sugar, salt, and instant dry yeast. Stir these dry ingredients to ensure they are evenly mixed.
- Next, pour in the warm water and olive oil. Use a wooden spoon or spatula to mix the ingredients together until you form a sticky dough. If the dough feels overly wet, sprinkle in a bit more flour to adjust the consistency.
- Cover the bowl with a clean towel and place it in a warm area for about one to two hours. You want the dough to rise and double in size. Keep an eye on it; the magic of yeast is fascinating!
- Once the dough has risen, transfer it to a lightly floured surface. Here, gently punch it down to release any air bubbles. Shape the dough into a ball, being careful not to deflate it too much.
- Next, place the shaped dough into a lightly greased 7-inch springform pan or on parchment paper. Allow it to rise again for about 15 more minutes. This second rise helps achieve that fluffy texture.
- Meanwhile, preheat your air fryer to 400°F for about five minutes. This step is important for getting a nice crust on your bread.
- When ready, carefully transfer the dough into the air fryer. If using a pan, keep the dough inside; if not, place it on a parchment-lined basket. Cook at 400°F for 10 minutes.
- After 10 minutes, lower the air fryer temperature to 350°F. Continue to air fry for an additional 20 minutes. Your bread is done when the crust turns golden and sounds hollow when tapped.
- Remove the loaf from the air fryer and transfer it to a cooling rack. Let it rest for a few minutes before slicing it. Enjoy the warm, homemade Air Fryer Bread fresh!
Things Worth Knowing
- Yeast Activation: Make sure your water is warm, but not too hot; otherwise, it can kill the yeast. Aim for between 100°F to 110°F.
- Flour Choice: While I recommend white bread flour for this recipe, experimenting with whole wheat flour can give a different flavor and texture.
- Cooling Time: Allowing the bread to cool on a rack helps maintain its crustiness, preventing it from getting soggy.
- Baking Sheet Use: If using a baking sheet instead of a pan, placing parchment paper can help prevent sticking.
Substitutions and Tips
Here are some handy tips to enhance your experience while making Air Fryer Bread. These suggestions can help you along the way!
- Storage: Store leftover bread in an airtight container at room temperature. This helps keep it fresh for a few days.
- Freezing: Yes, you can freeze this bread! Slice it first, then wrap tightly in plastic wrap and foil before placing it in the freezer. It will keep for about three months.
- Pairing: Enjoy this bread with soups, salads, or as a base for sandwiches. It’s so versatile!
- Herbs and Spices: Add fresh or dried herbs to the dough, such as rosemary or thyme, for extra flavor.
- Serving Temperature: This bread is best served warm. If you have leftovers, reheat them in the air fryer for a few minutes.
Side Dish Ideas for Air Fryer Bread
Wondering what to serve alongside your Air Fryer Bread? Here are some delicious side dish ideas!
- Soups: This bread pairs beautifully with tomato soup, chicken noodle soup, or a rustic vegetable soup. The bread can be used for dipping!
- Salads: Serve with a hearty salad, like a classic Caesar or a light Mediterranean salad, to complement your meal.
- Dips: Enjoy with dips such as hummus or spinach-artichoke dip for a delightful appetizer or snack.
- Sandwiches: Use slices of this bread to create gourmet sandwiches, filled with your choice of fresh ingredients.
- Seasonal Pairings: This bread is perfect for any occasion, whether it’s a summer barbecue or a cozy winter dinner.
FAQ
Conclusion
This Air Fryer Bread recipe is a fantastic way to enjoy homemade bread without the hassle of traditional baking methods. With its crispy crust and fluffy interior, it’s sure to become a favorite in your kitchen. I encourage you to try making it for your next meal; your taste buds will thank you!

Air Fryer Bread
Equipment
- Skillet
- Frying Pan
- Air Fryer
- Wooden Spoon
- Mixing Bowl
Ingredients
- 3 cups White bread flour
- 1.5 teaspoons Sugar
- 1.25 teaspoons Salt
- 2.25 teaspoons Instant dry yeast
- 1.5 cups Warm water
- 0.25 cups Olive oil
Instructions
- In a large mixing bowl, combine the white bread flour, sugar, salt, and instant dry yeast. Stir these dry ingredients to ensure they are evenly mixed.
- Next, pour in the warm water and olive oil. Use a wooden spoon or spatula to mix the ingredients together until you form a sticky dough. If the dough feels overly wet, sprinkle in a bit more flour to adjust the consistency.
- Cover the bowl with a clean towel and place it in a warm area for about one to two hours. You want the dough to rise and double in size. Keep an eye on it; the magic of yeast is fascinating!
- Once the dough has risen, transfer it to a lightly floured surface. Here, gently punch it down to release any air bubbles. Shape the dough into a ball, being careful not to deflate it too much.
- Next, place the shaped dough into a lightly greased 7-inch springform pan or on parchment paper. Allow it to rise again for about 15 more minutes. This second rise helps achieve that fluffy texture.
- Meanwhile, preheat your air fryer to 400°F for about five minutes. This step is important for getting a nice crust on your bread.
- When ready, carefully transfer the dough into the air fryer. If using a pan, keep the dough inside; if not, place it on a parchment-lined basket. Cook at 400°F for 10 minutes.
- After 10 minutes, lower the air fryer temperature to 350°F. Continue to air fry for an additional 20 minutes. Your bread is done when the crust turns golden and sounds hollow when tapped.
- Remove the loaf from the air fryer and transfer it to a cooling rack. Let it rest for a few minutes before slicing it. Enjoy the warm, homemade Air Fryer Bread fresh!
Notes
- Storage: Store leftover bread in an airtight container at room temperature. This helps keep it fresh for a few days.
- Freezing: Yes, you can freeze this bread! Slice it first, then wrap tightly in plastic wrap and foil before placing it in the freezer. It will keep for about three months.
- Pairing: Enjoy this bread with soups, salads, or as a base for sandwiches. It’s so versatile!
- Herbs and Spices: Add fresh or dried herbs to the dough, such as rosemary or thyme, for extra flavor.
- Serving Temperature: This bread is best served warm. If you have leftovers, reheat them in the air fryer for a few minutes.