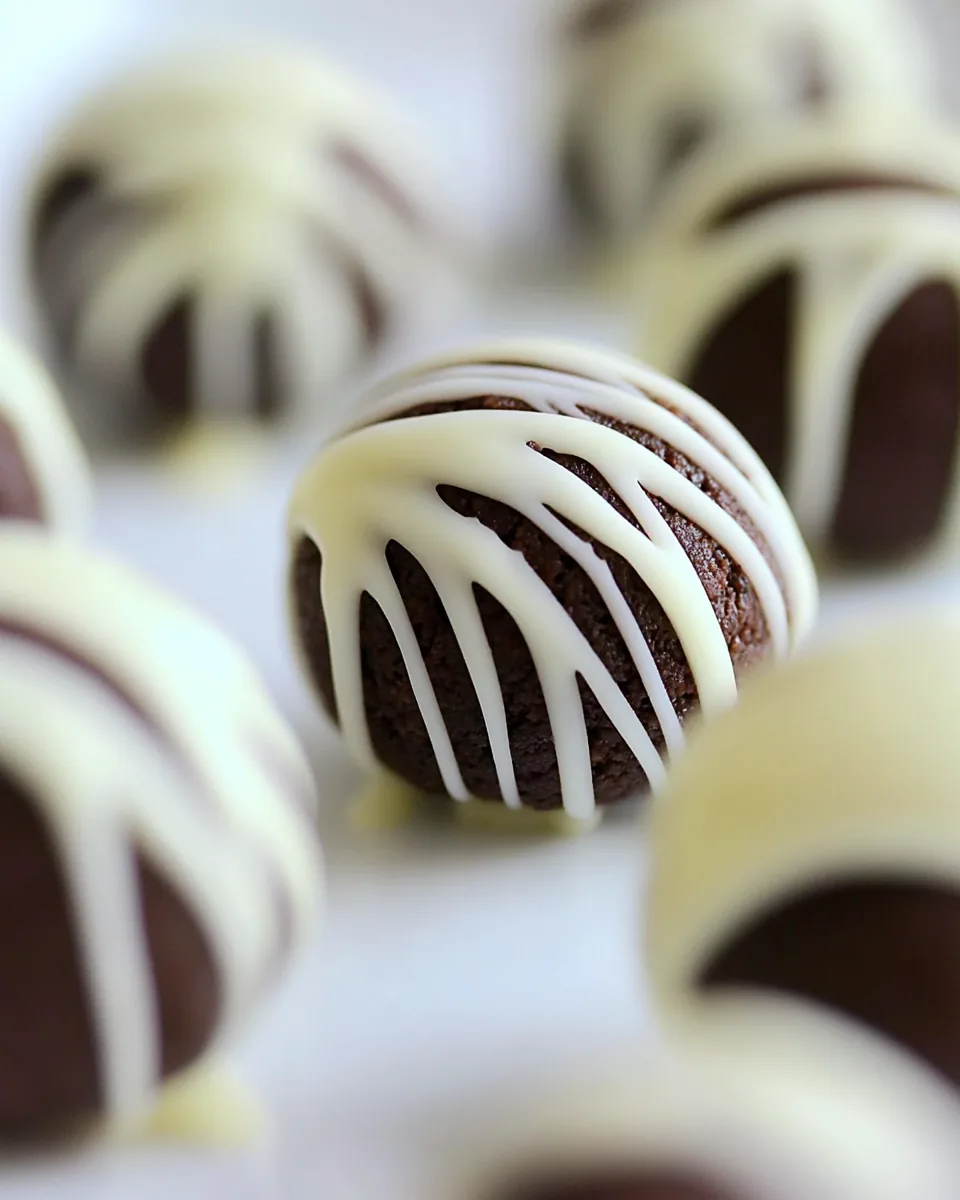
No Bake Oreo Balls
There’s something truly special about indulging in a batch of No Bake Oreo Balls. I still remember the first time I made these delightful treats for a family gathering. As the kids gathered around, eagerly anticipating the sweet bites, I felt a wave of nostalgia wash over me. These little morsels, with their rich flavor and creamy texture, have become a staple in my dessert arsenal. They’re the perfect treat for any occasion, whether it’s a birthday party or just a cozy night in. What’s more, they require no baking, making them incredibly easy to whip up. Just imagine how much fun it is to roll them and dip them in chocolate—an activity that the whole family can enjoy together.
Recipe Snapshot
60 mins
60 mins
0 mins
Medium
129 kcal
1 g
Keto, Paleo, Whole30
7 g
Food Processor, Microwave Safe Bowl, Forks
What makes No Bake Oreo Balls stand out is their sheer simplicity. With just a handful of ingredients, you can create a dessert that feels indulgent without spending hours in the kitchen. The combination of crushed Oreo cookies and cream cheese creates a deliciously rich filling, while the layer of chocolate melting wafers adds that perfect crunch. Every bite is a delightful blend of flavors and textures that leave you craving more. Plus, they’re easy to customize, allowing you to get creative with toppings or even the types of chocolate you use. No matter how you make them, these little treats are sure to impress and satisfy your sweet tooth.
Over the years, I’ve perfected this recipe, and it’s become a beloved favorite among friends and family alike. It’s hard to resist the charm of these treats, especially when they’re served at parties or special occasions. So, if you’re looking for a fun and tasty dessert that’ll leave everyone asking for seconds, look no further than No Bake Oreo Balls. I can’t wait for you to try them and watch as smiles light up the room!
Recipe Snapshot
60 mins
60 mins
0 mins
Medium
129 kcal
1 g
Keto, Paleo, Whole30
7 g
Food Processor, Microwave Safe Bowl, Forks
Why This No Bake Oreo Balls Stands Out
Quick and Easy Preparation
One of the best things about the No Bake Oreo Balls is how simple they are to prepare. With no baking required, you can mix and roll them in a matter of minutes!
Perfect for Any Occasion
Whether it’s a family gathering, birthday party, or holiday celebration, these treats fit right in. Everyone loves them!
A Fun Family Activity
Rolling the balls and dipping them in chocolate is a great way to get the kids involved in the kitchen. It’s a bonding experience that creates lasting memories.
Easy to Customize
Feel free to experiment with toppings or different types of chocolate. Whether you prefer dark, milk, or white chocolate, they all work wonderfully.
Always a Crowd-Pleaser
These treats are consistently a hit with friends and family. The rich, creamy taste of the cream cheese paired with the crunch of the Oreo cookies makes them irresistible.
Store and Enjoy Later
You can make a big batch and store them for later. They keep well in the fridge, making them a perfect treat to have on hand!
What to Gather for No Bake Oreo Balls

To create these delightful No Bake Oreo Balls, you’ll need just a few key ingredients that work beautifully together. The star of the show is, of course, the Oreo cookies, which provide a rich, chocolatey base that pairs perfectly with the smoothness of cream cheese. The chocolate melting wafers and white chocolate melting wafers add that irresistible outer layer, ensuring each bite is filled with flavor. Let’s take a closer look at these ingredients and why they are so essential to the success of this recipe.
- 40 Oreo cookies: The foundation of this recipe, these classic cookies give the balls their distinct chocolate flavor.
- 8 oz cream cheese: At room temperature, it adds creaminess and helps bind the cookie crumbs together.
- 1 1/2 cups chocolate melting wafers: These are used for coating half of the balls, giving a rich chocolate flavor.
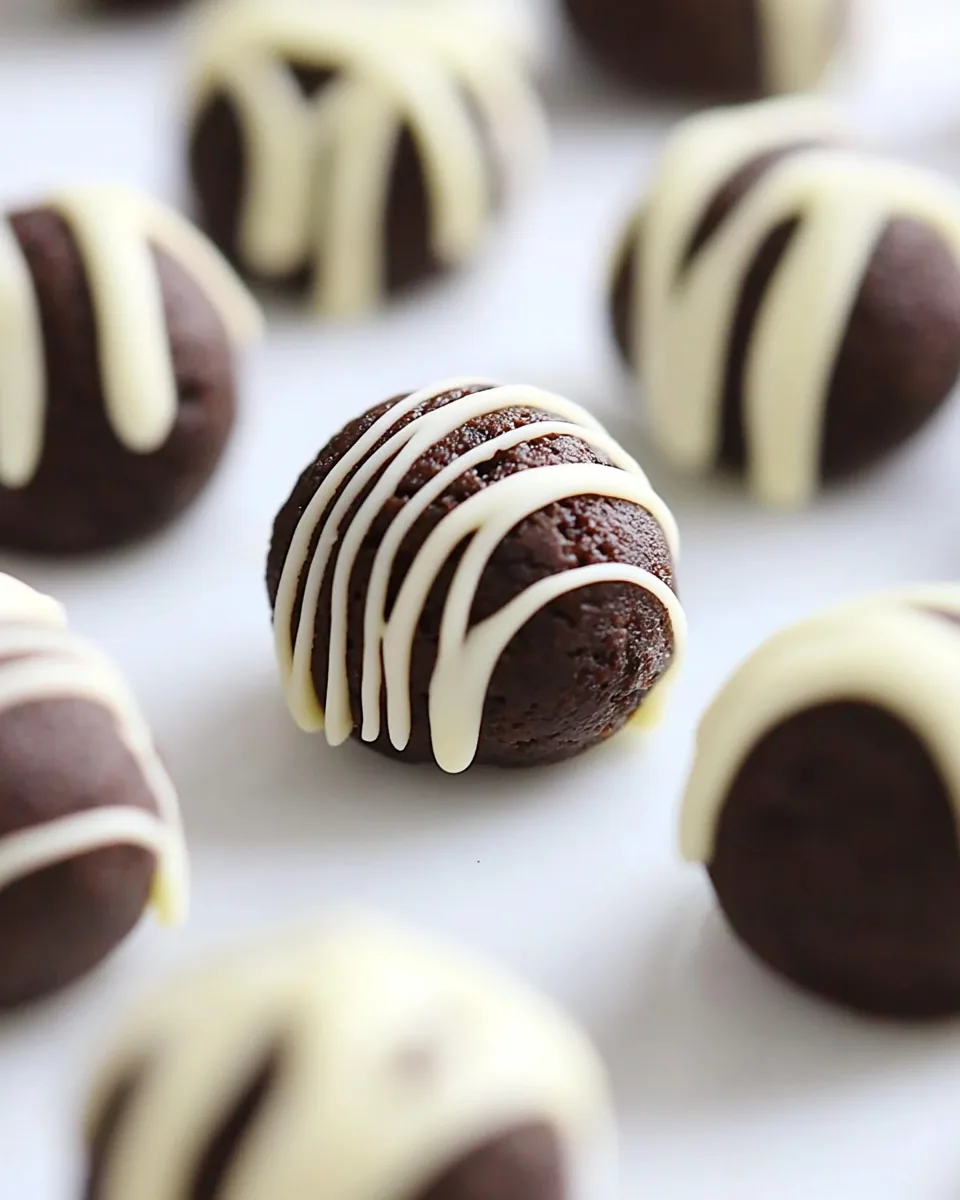
- 1 1/2 cups white chocolate melting wafers: These provide a sweet contrast to the chocolate coating and make the balls visually appealing.
Making This No Bake Oreo Balls
Creating No Bake Oreo Balls is a fun and straightforward process that anyone can enjoy. Here’s how to bring these delicious treats to life!
- Start by covering a cookie sheet with parchment paper and set it aside. This will be where you place your No Bake Oreo Balls once they’re rolled.
- Next, take your Oreo cookies and place them in a food processor. Pulse them until they are transformed into fine crumbs. This step is crucial as it creates the base for your filling.
- In a large bowl, using a hand mixer, beat the cream cheese until it is smooth, approximately 1 minute. It should be creamy with no lumps.
- Add the crushed Oreo cookie crumbs to the cream cheese mixture and mix until everything is well combined. This should create a thick and sticky mixture.
- Now, roll the mixture into small balls, about 1 inch in diameter, and place them onto the prepared cookie sheet. You should be able to make around 24 balls.
- Once rolled, place the cookie sheet in the freezer for 15 to 30 minutes. This helps the balls firm up so they hold their shape when dipped in chocolate.
- While the balls are chilling, take the chocolate melting wafers and place them in a small microwave-safe bowl. Do the same with the white chocolate melting wafers in another bowl.
- Following the instructions on the packaging, melt the chocolate wafers in the microwave, stirring every 30 seconds until smooth. Be careful not to overheat the chocolate.
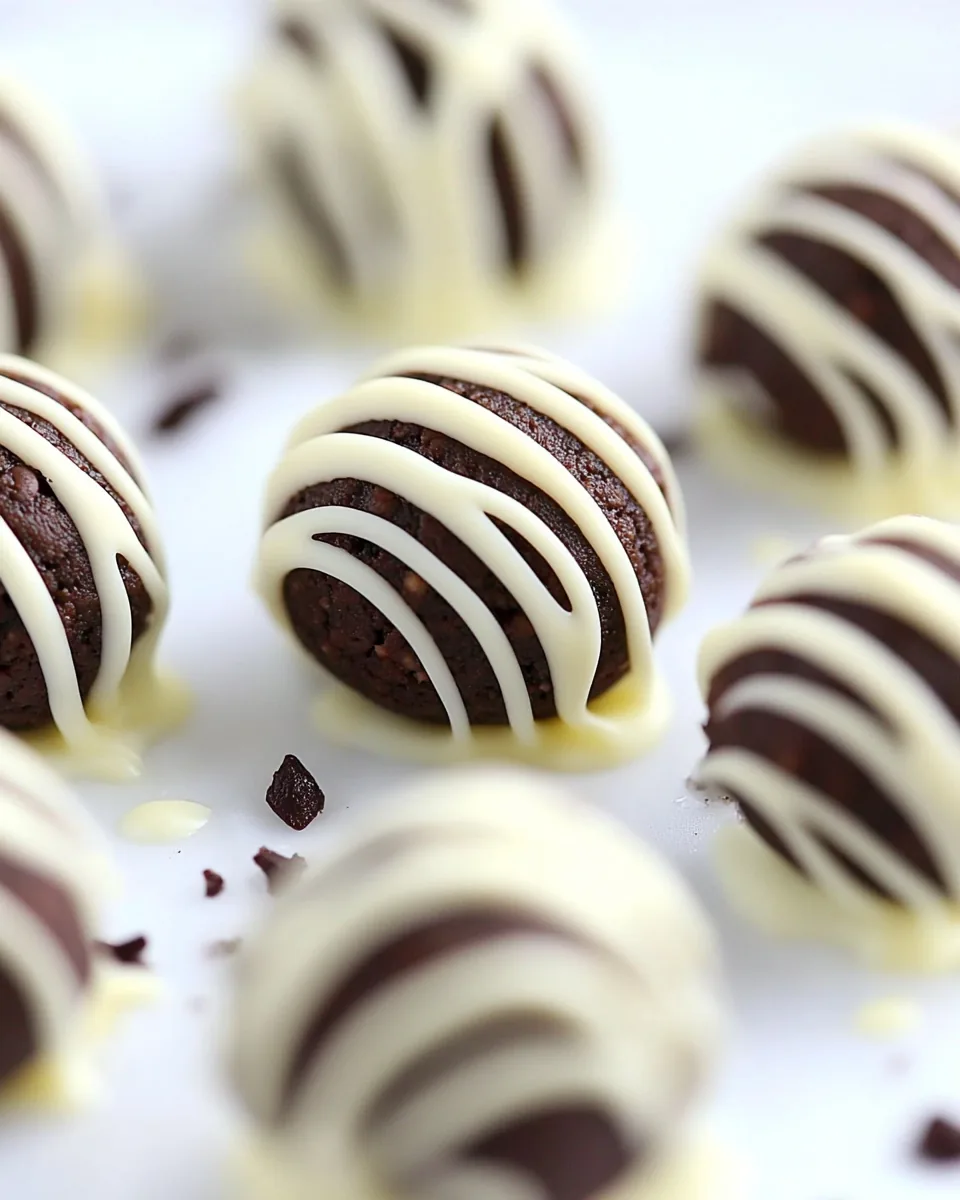
- After the No Bake Oreo Balls have frozen, remove them from the freezer. Using forks, dip the balls into the melted chocolate, allowing any excess to drip off. You can dip half in chocolate and half in white chocolate for variety!
- Finally, place the dipped balls back on the cookie sheet. If desired, you can drizzle extra melted chocolate on top and sprinkle some crushed Oreo cookies for decoration. Chill the balls in the fridge for at least an hour before serving. Enjoy!
Things Worth Knowing
- Consistency is Key: Ensure your cream cheese is at room temperature for easy mixing and a smooth texture.
- Freezing Time: Don’t skip the freezing step! It makes dipping easier and helps maintain the shape of the balls.
- Melting Chocolate: Stir the chocolate frequently while melting to prevent burning and achieve a smooth consistency.
- Serving Size: Roll smaller balls for bite-sized treats or larger ones for a more decadent experience!
How to Switch It Up
When it comes to No Bake Oreo Balls, there are endless possibilities for customization! Here are some ideas to switch things up.
- Flavor Variations: Try using different flavored Oreo cookies, like peanut butter or mint, to give a unique twist to your treats.
- Coating Options: Instead of traditional chocolate, experiment with candy melts in various colors for a fun presentation.
- Decorative Toppings: Add chopped nuts, sprinkles, or shredded coconut on top of the chocolate coating for added texture and fun.
- Different Fillings: For a surprise inside, try adding mini chocolate chips or flavored extracts before rolling.
- Storage: Store leftovers in an airtight container in the refrigerator to keep them fresh and tasty.
- Freezing: You can freeze the finished balls for up to 3 months! No need to defrost before serving; just enjoy them straight from the freezer!
- Pairing: Consider serving with a scoop of ice cream or alongside fresh berries for a delightful contrast.
Side Dish Ideas for No Bake Oreo Balls
When it comes to serving No Bake Oreo Balls, you can get creative with pairings and presentations. Here are some ideas:
- Chocolate Dipped Strawberries: A perfect complement, these fresh strawberries add a fruity freshness that balances the rich flavors of the balls.
- Creamy Ice Cream: Serve them alongside a scoop of vanilla or chocolate ice cream for a delightful dessert combination.
- Fresh Fruit Platter: Include a variety of seasonal fruits, like berries, which provide a splash of color and a refreshing contrast to the sweetness of the balls.
- Milk or Hot Chocolate: Pairing with a glass of milk or a warm cup of hot chocolate can make for a nostalgic, comforting treat.
- Serve at Parties: These treats are perfect for celebrations, so don’t hesitate to serve them at birthdays, holidays, or potlucks.
- Presentation: Arrange them on a decorative platter and garnish with additional crushed Oreo cookies or chocolate shavings for an elegant touch.
- Storage Tips: Keep uneaten balls in a covered container in the fridge. They can last for several days, making them a convenient treat for guests or family.
FAQ
Conclusion
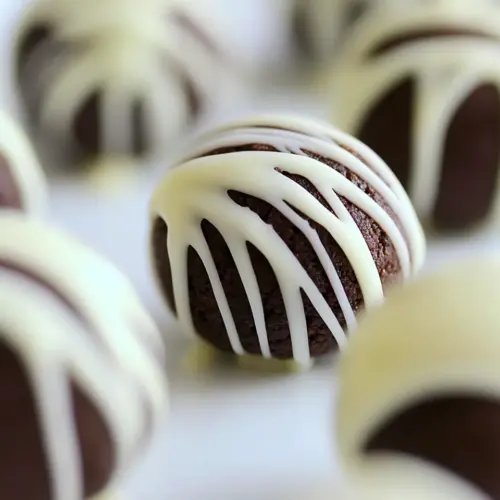
In summary, No Bake Oreo Balls are a delightful treat that combines rich flavors and easy preparation. These little bites of joy are perfect for any occasion, from casual gatherings to special celebrations. I encourage you to give this recipe a try and see how quickly they become a favorite in your home. With their simplicity and delicious taste, you’ll find yourself making them time and again!
No Bake Oreo Balls
Equipment
- Food Processor
- Microwave-Safe Bowl
- Forks
Ingredients
- 40 pieces Oreo cookies
- 8 oz cream cheese at room temperature
- 1.5 cups chocolate melting wafers or candy coating
- 1.5 cups white chocolate melting wafers or candy coating
Instructions
- Cover a cookie sheet with parchment paper and set aside.
- Place Oreo cookies in a food processor. Pulse until transformed into fine crumbs.
- Using a hand mixer, in a large bowl, beat the cream cheese until it is smooth, about 1 minute.
- Add the Oreo cookie crumbs and mix until well combined.
- Roll the mixture into small balls and place onto the prepared cookie sheet.
- Freeze the Oreo balls for 15-30 minutes.
- Place the chocolate wafers in a small microwave-safe bowl and the white chocolate wafers into another one. Melt according to instructions on the packaging.
- Remove the balls from the freezer and using forks, dip the balls into the melted chocolate, shaking off excess chocolate.
- Dip half of the balls in the chocolate and half in the white chocolate. Place the dipped balls back on the cookie sheet.
- Decorate with a drizzle of chocolate and additional crushed Oreos.
- Chill for at least an hour before serving.
Notes
- Storage: Keep leftovers in an airtight container in the refrigerator. They can last for several days.
- Freezing: You can freeze the finished balls for up to 3 months!
- Variations: Experiment with different flavored Oreo cookies for unique twists.
- Pairing: Consider serving with a scoop of ice cream or alongside fresh berries.
- Decorative Options: Use nuts, sprinkles, or shredded coconut for added texture and fun!