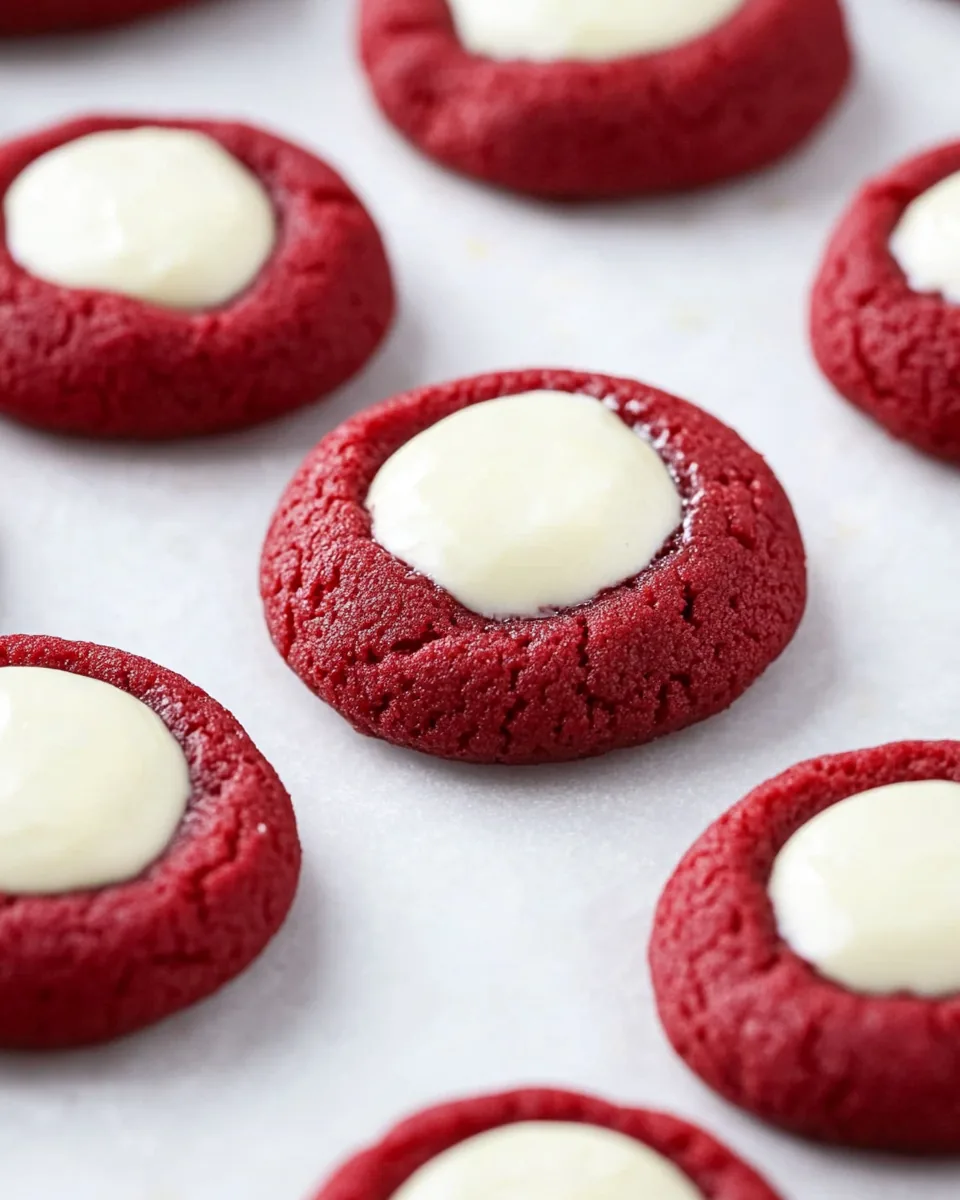
Red Velvet Thumbprint Cookies
There’s something truly magical about baking. The rich aroma wafting through the kitchen, the vibrant colors, and the irresistible allure of freshly baked cookies make it a joyous activity. That’s why I love making Red Velvet Thumbprint Cookies. These delightful treats not only capture the eye with their striking hue but also deliver a deliciously creamy surprise inside. I remember the first time I tried these cookies at a friend’s gathering; they were a hit! The combination of the tender, rich cookie with the luscious cream cheese filling is simply unforgettable.
Every bite transports you to a place of comfort and indulgence. Whether it’s for a special occasion like Valentine’s Day or just because you feel like treating yourself, these cookies are perfect. As I whip up a batch of Red Velvet Thumbprint Cookies, I can’t help but feel a sense of excitement, knowing that they will bring smiles to everyone who tries them. So, let’s dive in and create a batch that will surely impress!
Recipe Snapshot
20 mins
10 mins
10 mins
Medium
150 kcal
2 g
Gluten-Free, Low FODMAP
7 g
Whisk, Blender, Oven, Wooden Spoon, Mixing Bowl, Baking Sheet
What We Adore About This Red Velvet Thumbprint Cookies
Visually Stunning
The vibrant red color of Red Velvet Thumbprint Cookies makes them a showstopper. They are perfect for celebrations and gatherings where you want to impress your guests. The striking contrast between the red cookie and the cream cheese filling creates a beautiful presentation.
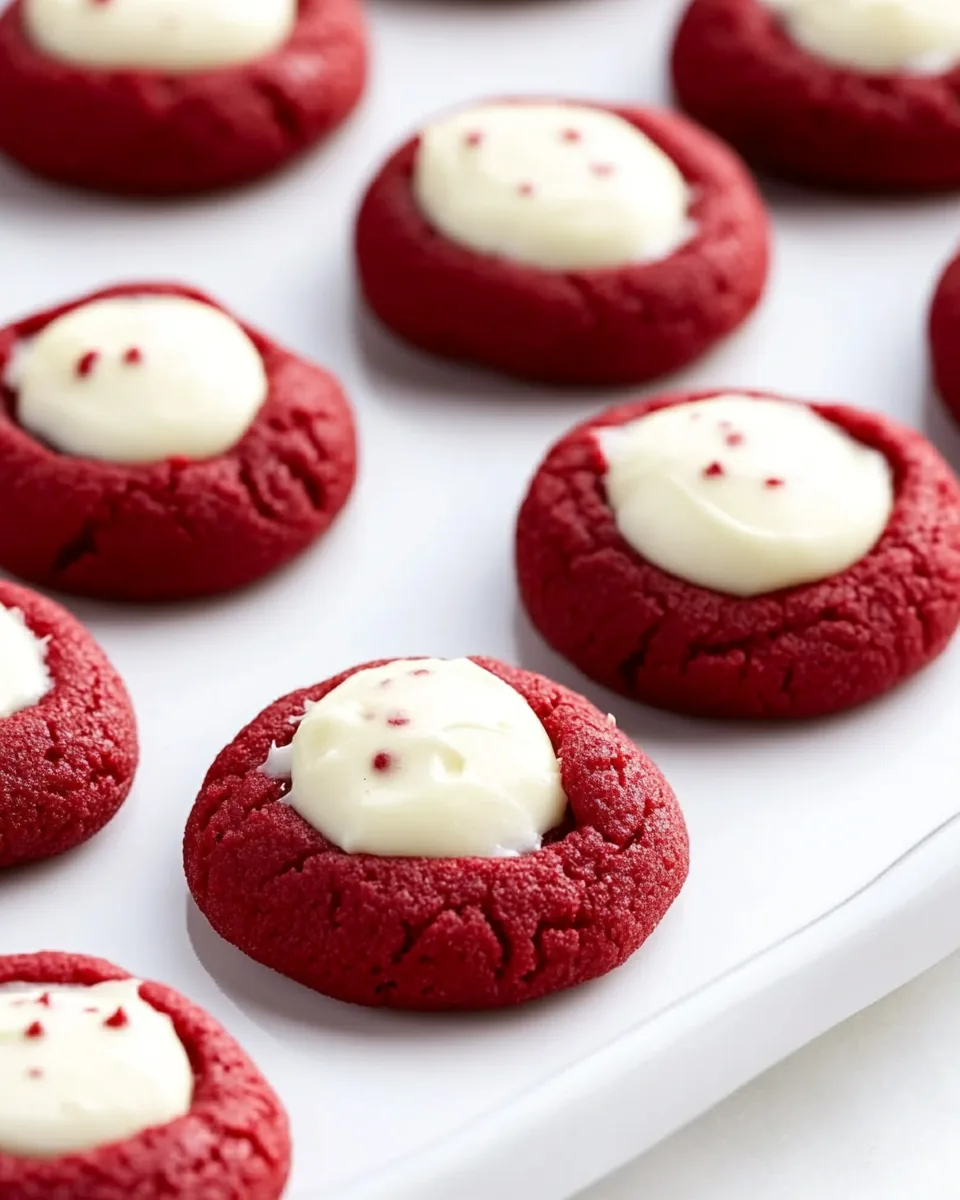
Indulgent Cream Cheese Filling
What sets these cookies apart is the delightful cream cheese filling. It adds a rich and creamy texture that perfectly balances the sweetness of the cookie. The filling is easy to make and elevates these cookies to a whole new level of deliciousness.
Perfect for Any Occasion
These cookies are not just for Valentine’s Day. While they are a romantic treat, they’re also great for birthdays, holidays, or simply as a sweet surprise for friends and family. You can bake them anytime and make any day special!
Easy to Make
Despite their fancy appearance, Red Velvet Thumbprint Cookies are surprisingly easy to make. With just a few simple ingredients, you can whip up a batch in no time. The straightforward process allows even novice bakers to succeed.
Great for Sharing
These cookies are perfect for sharing with loved ones. Whether you package them as a gift or bring them to a party, they’re sure to be a crowd-pleaser. Who wouldn’t want to take a bite of these delicious, velvety cookies?
Versatile Flavor
The flavor of Red Velvet Thumbprint Cookies is wonderfully versatile. You can enhance it by adding different extracts or spices to the dough. Moreover, you can experiment with various fillings to find your perfect combination.
Ingredients for Red Velvet Thumbprint Cookies
The ingredients for Red Velvet Thumbprint Cookies are simple yet significant. Each component plays a vital role in achieving that perfect balance of flavor and texture. The star ingredient, of course, is the red food coloring, which gives these cookies their iconic look. The butter and sugar provide a rich base, while the cream cheese filling delivers creaminess that makes every bite delightful.
- 1 cup softened butter: Adds richness and moisture.
- 1 cup sugar: Sweetens the dough and contributes to the cookie’s texture.
- 1 egg: Binds the ingredients and helps the cookies rise.
- 1 tablespoon red food coloring: Gives the cookies their vibrant red hue.
- 1 teaspoon vanilla: Adds a subtle sweetness and depth of flavor.
- 2 ½ cups all-purpose flour: The main structure of the cookie.
- 3 tablespoons unsweetened cocoa powder: Adds a hint of chocolate flavor and richness.
- ¼ teaspoon salt: Enhances the overall flavor.
- 2 tablespoons softened butter: Part of the creamy filling.
- 2 ounces softened cream cheese: The star of the filling, providing a creamy texture.
- ½ teaspoon vanilla: For flavoring the filling.
- 2 cups powdered sugar: Sweetens the filling and helps achieve the right texture.
How to Make Red Velvet Thumbprint Cookies
Making Red Velvet Thumbprint Cookies is a delightful experience! You’ll find that it’s an enjoyable process, from mixing the dough to baking and filling each cookie with that delightful cream cheese frosting. Follow these steps, and you’ll have a batch of cookies that are not only beautiful but also incredibly tasty.
- Preheat your oven to 350 degrees Fahrenheit and lightly spray a baking sheet with non-stick cooking spray. This ensures that your cookies won’t stick and will come off the tray easily.
- In a large bowl, whisk together 1 cup softened butter and 1 cup sugar for about 2 minutes or until the mixture is creamy and light in color. This step is crucial as it incorporates air into the dough.
- Add in 1 egg, 1 tablespoon red food coloring, and 1 teaspoon vanilla. Mix until everything is completely blended and the mixture is smooth. The red food coloring should turn the dough into a beautiful shade of red.
- Next, gradually mix in 2 ½ cups all-purpose flour, 3 tablespoons unsweetened cocoa powder, and ¼ teaspoon salt until combined. Be careful not to over-mix; you want the dough to be just combined.
- Once the dough is ready, roll it into 1-inch balls and place them about 2 inches apart on the prepared baking sheet. This will give them enough space to spread while baking.
- Using your thumb, gently press into the center of each ball to create an indentation. Make sure not to press all the way down to the baking sheet; you want to keep the dough intact.
- Bake for 10 to 12 minutes until the edges are set, but the centers may still look a bit soft. The cookies will firm up as they cool.
- Once baked, allow the cookies to cool on cooling racks. This helps them maintain their shape and texture.
- To make the frosting, whisk together 2 tablespoons softened butter and 2 ounces softened cream cheese until the mixture is light and fluffy, usually about 1 to 2 minutes.
- Gradually mix in ½ teaspoon vanilla and 2 cups powdered sugar until fully incorporated. The frosting should be smooth and easy to pipe.
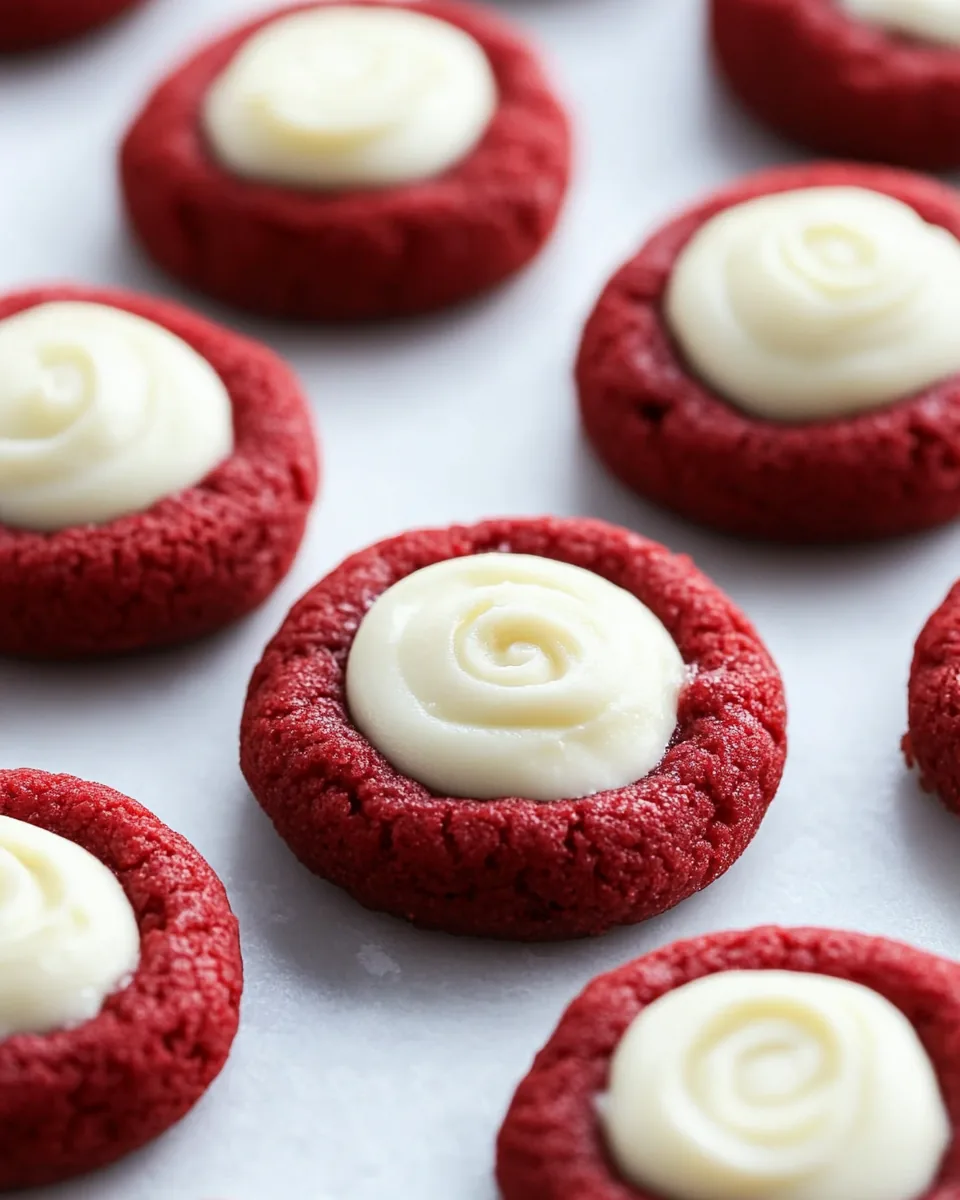
- Finally, pipe the cream cheese filling into the center of each cooled cookie. For an extra touch, feel free to add sprinkles on top if desired!
Things Worth Knowing
- Chilling the Dough: If you find the dough too sticky, consider chilling it for about 30 minutes. This helps make rolling easier.
- Quality of Ingredients: Using high-quality cocoa powder and cream cheese will elevate the flavor of your cookies significantly.
- Baking Time: Keep an eye on the cookies while they bake. Ovens can vary, and you want them just set but not overbaked.
- Storage: Store the cookies in an airtight container at room temperature for up to a week. Make sure they are fully cooled before storing.
Make It Your Own
There are countless ways to personalize Red Velvet Thumbprint Cookies! Depending on your taste preferences, you can modify the filling or the cookie itself to create variations that suit you or the occasion. Here are some ideas:
- Storage: To store leftovers, keep them in an airtight container to maintain freshness.
- Freezing: Yes, you can freeze the baked cookies! Just make sure they are well-wrapped, and they can last for about 3 months.
- Pairing: These cookies pair wonderfully with a hot cup of coffee or a glass of milk. They also make excellent gifts!
- Flavor Variations: Experiment with different fillings like chocolate ganache or fruit preserves for a unique twist.
- Color Variations: Instead of red, try using different food coloring to create cookies for various occasions.
- Sprinkle It! Add colorful sprinkles or crushed nuts on top of the frosting to add texture and visual appeal.
What to Serve Alongside Red Velvet Thumbprint Cookies
To make the experience of enjoying Red Velvet Thumbprint Cookies even better, consider what you can serve alongside them. Here are a few ideas:
- Coffee: A nice cup of coffee really complements the sweetness of these cookies.
- Milk: Classic and beloved, milk is a great pairing with any cookie, especially this one!
- Tea: A warm cup of tea can balance the sweetness and provide a cozy atmosphere.
- Fruit Salad: A fresh fruit salad can provide a refreshing contrast to the rich cookies.
- Ice Cream: Consider serving these cookies with a scoop of vanilla or chocolate ice cream for a decadent dessert.
- Cheese Platter: A platter with different cheeses can work surprisingly well with the flavors of these cookies.
- Nut Mix: A bowl of mixed nuts can add a crunchy texture that contrasts nicely with the soft cookies.
FAQ
Conclusion
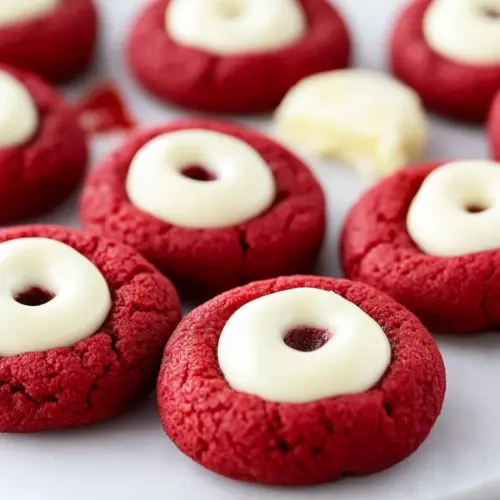
In conclusion, Red Velvet Thumbprint Cookies are a delightful treat that brings together the best of flavor and presentation. Their vibrant color and creamy filling make them a standout dessert for any occasion, and the baking process is enjoyable and straightforward. I encourage you to try your hand at making these cookies. I’m confident they’ll become a favorite in your home, just as they have in mine. Happy baking!
Red Velvet Thumbprint Cookies
Equipment
- Whisk
- Blender
- Oven
- Wooden Spoon
- Mixing Bowl
- Baking Sheet
Ingredients
- 1 cup Butter softened
- 1 cup Sugar
- 1 count Egg
- 1 tablespoon Red food coloring
- 1 teaspoon Vanilla
- 2.5 cups All-purpose flour
- 3 tablespoons Unsweetened cocoa powder
- 0.25 teaspoon Salt
- 2 tablespoons Butter softened for filling
- 2 ounces Cream cheese softened
- 0.5 teaspoon Vanilla for filling
- 2 cups Powdered sugar
Instructions
- 1. Preheat your oven to 350 degrees Fahrenheit and lightly spray a baking sheet with non-stick cooking spray.
- 2. In a large bowl, whisk together 1 cup softened butter and 1 cup sugar for about 2 minutes or until the mixture is creamy and light in color.
- 3. Add in 1 egg, 1 tablespoon red food coloring, and 1 teaspoon vanilla. Mix until everything is completely blended.
- 4. Gradually mix in 2 ½ cups all-purpose flour, 3 tablespoons unsweetened cocoa powder, and ¼ teaspoon salt until combined.
- 5. Once the dough is ready, roll it into 1-inch balls and place them about 2 inches apart on the prepared baking sheet.
- 6. Using your thumb, gently press into the center of each ball to create an indentation.
- 7. Bake for 10 to 12 minutes until the edges are set.
- 8. Allow the cookies to cool on cooling racks.
- 9. To make the frosting, whisk together 2 tablespoons softened butter and 2 ounces softened cream cheese until the mixture is light and fluffy.
- 10. Gradually mix in ½ teaspoon vanilla and 2 cups powdered sugar until fully incorporated.
- 11. Finally, pipe the cream cheese filling into the center of each cooled cookie.
Notes
- Tip 1: To store leftovers, keep them in an airtight container to maintain freshness.
- Tip 2: Yes, you can freeze the baked cookies! Just make sure they are well-wrapped, and they can last for about 3 months.
- Tip 3: These cookies pair wonderfully with a hot cup of coffee or a glass of milk.
- Tip 4: Experiment with different fillings like chocolate ganache or fruit preserves for a unique twist.
- Tip 5: Consider serving these cookies with a scoop of vanilla or chocolate ice cream for a decadent dessert.