Gluten Free Bread
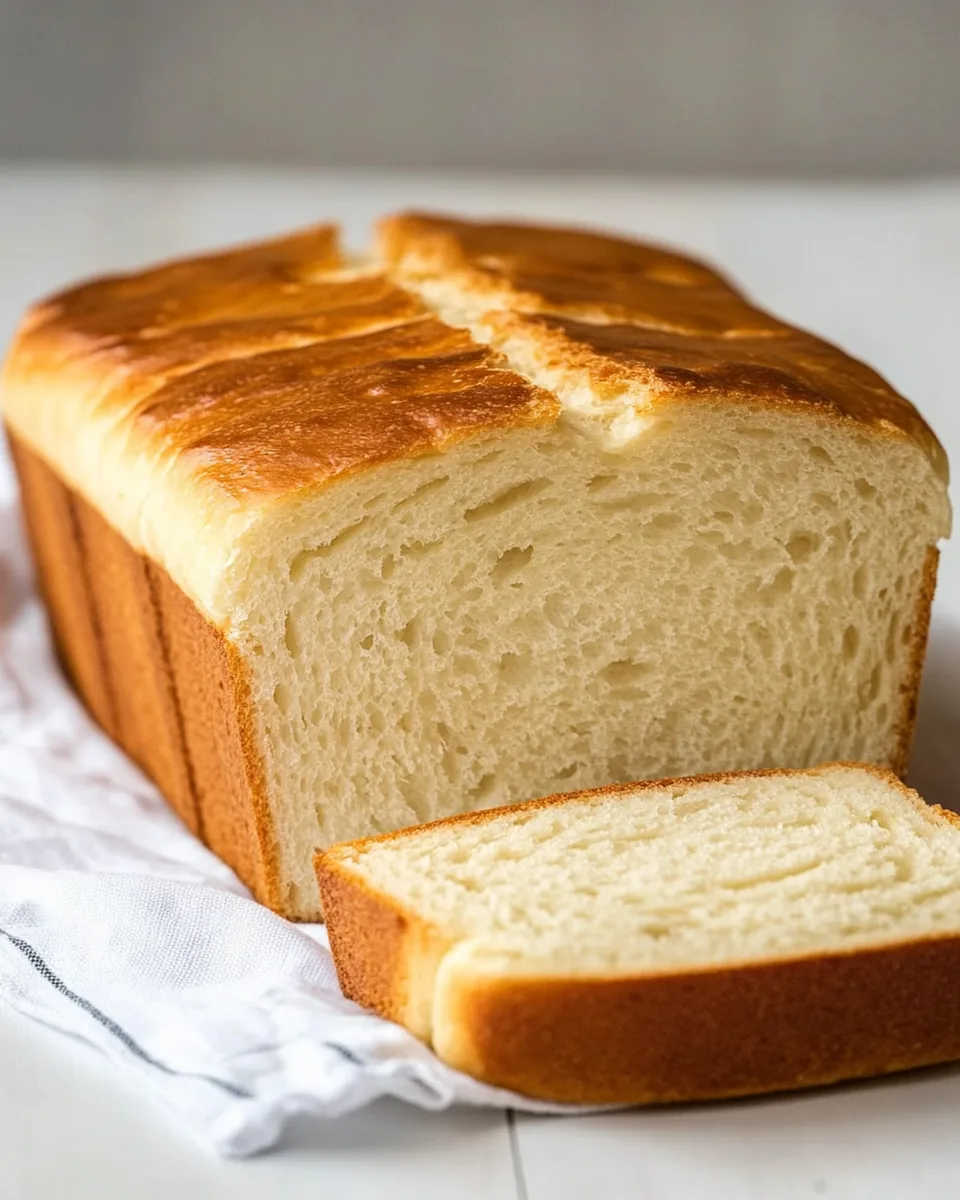
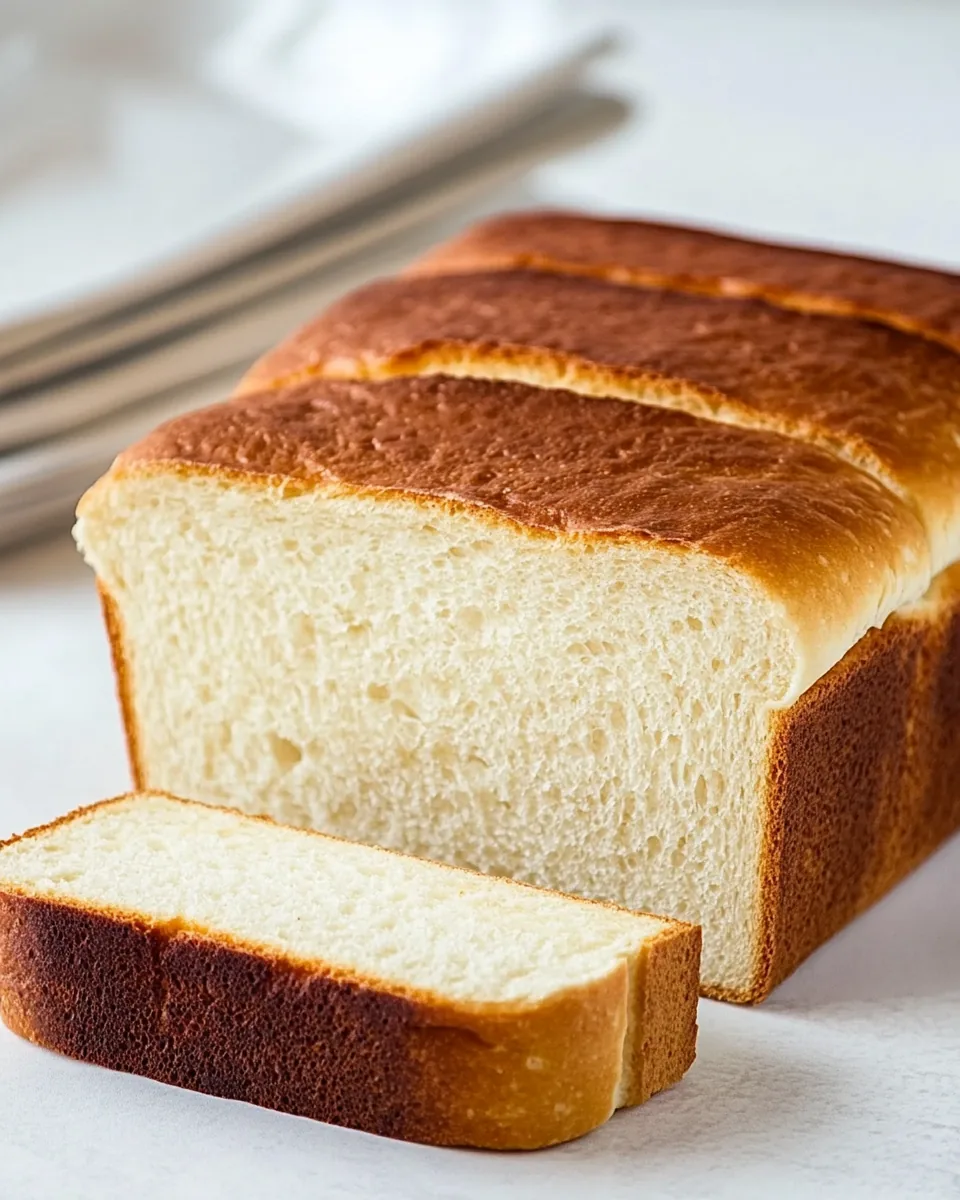
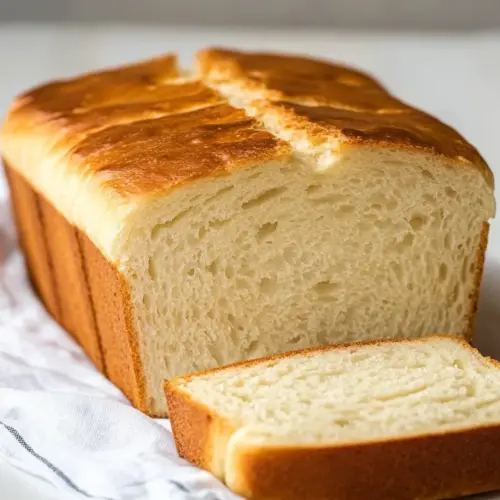
The moment I took my first bite of Gluten Free Bread, a wave of nostalgia washed over me. Growing up, bread was a staple in our household, a warm and comforting presence at every meal. However, as I embarked on my gluten-free journey, I faced the challenge of recreating that beloved texture and flavor without compromising on taste. Through countless experiments and a few delicious failures, I finally perfected this recipe that captures the essence of classic bread while being entirely gluten-free. Imagine the aroma of freshly baked loaf filling your kitchen, beckoning family and friends to gather around the table. This Gluten Free Bread is not just a recipe; it’s a celebration of flavor, texture, and the joy of sharing good food with loved ones.
Recipe Snapshot
60 mins
20 mins
40 mins
Medium
150 kcal
4 g
Vegan, Gluten-Free, Low FODMAP
2 g
Frying Pan, Whisk, Blender, Oven, Chef’s Knife, Mixing Bowl, Baking Sheet
As I lay out the ingredients, I find comfort in knowing that each one plays a crucial role in achieving the perfect loaf. The blend of white rice flour, tapioca flour, and potato starch mimics the texture of traditional bread. The xanthan gum acts as a binder, making sure everything holds together just right. Each slice is light and airy, perfect for sandwiches or slathering with butter. This is more than a gluten-free option; it’s a delightful addition to any meal. Whether you’re gluten intolerant or simply looking to explore new culinary territory, this bread will impress everyone. Trust me, you’ll want to make it again and again.
Why We Love This Gluten Free Bread
Perfect for Any Occasion
One of the things I love most about this Gluten Free Bread is its versatility. It’s perfect for breakfast, lunch, or dinner. Whether you toast it for a hearty breakfast or serve it alongside a warm soup for dinner, this bread fits seamlessly into any meal. The texture is delightful, and it holds up well with spreads or toppings.
Easy to Make
You don’t need to be a master chef to whip up this delicious bread. With just a few simple steps and minimal equipment, you can have a fresh loaf baking in your oven. I remember the first time I made it; the process felt effortless, and the result was pure satisfaction.
Healthy Ingredients
This recipe is packed with wholesome ingredients. Each component contributes to the overall health benefits of the bread. For instance, white rice flour is rich in carbohydrates, providing energy without gluten. Plus, it’s a great option for those with dietary restrictions.
Great for Meal Prep
Another reason I adore this Gluten Free Bread is that it’s perfect for meal prep. You can easily make a large batch and store it for the week. Simply slice the bread and freeze individual pieces. When you’re ready to eat, pop a slice in the toaster for a quick snack or meal.
Family-Friendly
This recipe has something for everyone. Kids love the taste, and adults appreciate the healthy ingredients. Making this bread is a fun activity for the whole family. I often have my kids help mix the ingredients, creating memories in the kitchen that last a lifetime.
Recipe Ingredients for Gluten Free Bread
When it comes to the ingredients for Gluten Free Bread, each plays a vital role in creating the perfect loaf. The blend of flours combined with other ingredients brings a beautiful texture and flavor profile. Here’s what you’ll need:
- 2 1/2 tsp active dry yeast: This is what makes our bread rise and gives it that fluffy texture.
- 3 1/2 Tbsp sugar, divided: Sugar not only sweetens the bread but also helps the yeast activate.
- 1/4 cup warm water, at 110 degrees: Warm water is essential for activating the yeast.
- 1 1/4 cups milk, warmed to 110 degrees: This adds richness to the bread.
- 2 Tbsp canola oil: Oil keeps the bread moist and adds a nice texture.
- 2 Tbsp butter, softened: Adds flavor and moisture.
- 3 large eggs: Eggs contribute to the structure and richness of the bread.
- 1 Tbsp lemon juice: This adds a touch of acidity, enhancing the flavor.
- 2 cups (320g) white rice flour: The main flour to create the base of the bread.
- 1/2 cup (66g) tapioca flour: This helps provide a chewy texture.
- 1/2 cup (81g) potato starch: Enhances the moisture content.
- 1/3 cup (46g) cornstarch: This improves the bread’s overall texture.
- 1 Tbsp xanthan gum: A crucial ingredient that helps bind the gluten-free ingredients.
- 1 3/4 tsp salt: Enhances the flavor of the bread.
- 1 tsp baking powder: Helps the bread rise during baking.
The Method for Gluten Free Bread

Making this Gluten Free Bread is a fun and fulfilling process that brings a comforting smell to your kitchen. Follow these steps, and you’ll soon have a delicious loaf ready to enjoy.
- Start by pouring the yeast into the bowl of an electric stand mixer. Add in 1/2 tsp of the sugar and 1/4 cup of warm water. Whisk to dissolve the yeast, and allow it to rest for about 5 to 10 minutes. You should see it become foamy, indicating that the yeast is active.
- Next, add in the remaining 3 Tbsp of sugar, the milk, canola oil, butter, eggs, and lemon juice. Fit your mixer with the paddle attachment and start whipping on low speed. Don’t worry if the butter doesn’t blend in right away; it will once the dry ingredients are added.
- Now, it’s time to add all the remaining dry ingredients into the mix. This includes the white rice flour, tapioca flour, potato starch, cornstarch, xanthan gum, salt, and baking powder. Start mixing on low speed until everything is combined, then gradually increase to medium speed and mix for around 5 minutes. If your stand mixer has a scraper attachment, use it as it makes mixing easier.
- Once mixed, the batter should have a consistency similar to that of banana bread—thick but pourable. Pour the bread dough into a buttered 9-by-5-inch baking dish. Use a rubber spatula to spread it evenly to both ends. Smooth the top using wet hands; this helps shape the loaf and prevents it from drying out as it rises.
- Transfer the dish to a warm, draft-free spot and let it rise for about 1 hour to 1 hour and 15 minutes. During the last 10 minutes of rising, preheat your oven to 375 degrees. Be gentle with the loaf to avoid deflation; it’s delicate.
- After the rising time, bake the loaf in the preheated oven for 20 minutes. Then, reduce the oven temperature to 350 degrees, tent the loaf with aluminum foil, and bake for an additional 20 minutes. The bread is done when the top center no longer feels doughy.
- Once baked, remove the bread from the oven and let it cool in the loaf pan for several minutes. Then, invert the bread onto a wire rack to cool completely.
- Once cooled, store the Gluten Free Bread in an airtight container or resealable bag in the refrigerator. When ready to serve, slice into 1/2-inch thick slices.
Things Worth Knowing
- Proofing the yeast: It’s crucial to ensure your yeast is active. If the mixture doesn’t foam, consider getting fresh yeast.
- Mixing speed: Use low speed first to avoid splattering, and increase gradually to ensure a smooth batter.
- Gentle handling: Be gentle with the dough after it rises to keep the air bubbles intact for a fluffier loaf.
- Cooling time: Allow the bread to cool completely before slicing to ensure it holds its shape.
Tips for Success

To ensure your Gluten Free Bread turns out perfectly every time, here are some essential tips:
- Storage: Store leftovers in an airtight container in the refrigerator to keep them fresh.
- Freezing: You can freeze slices for later. Just wrap them tightly in foil or plastic wrap before placing them in a freezer bag.
- Toasting: Warm each slice in the microwave for about 10 to 15 seconds before serving for the best texture.
- Ingredient quality: Always use ingredients that are labeled gluten-free to prevent cross-contamination.
- Measuring flour: Scoop and level your dry ingredients rather than packing them into the cup for accuracy.
Perfect Matches for Gluten Free Bread
When it comes to enjoying your Gluten Free Bread, the possibilities are endless. Here are some delightful ideas:
- Breakfast: Toast a slice with your favorite spread such as butter or jam for a delightful start to the day.
- Lunch: Use it to create hearty sandwiches filled with your favorite fillings, from classic turkey to veggie-packed options.
- Dinner: Serve alongside soups or salads for a well-rounded meal.
- Snack: Enjoy a slice with some cheese or hummus for a satisfying afternoon snack.
- Occasions: This bread is perfect for family gatherings, holidays, or simply as a treat for yourself during the week.
- Seasonal pairings: It goes wonderfully with warm, comforting winter meals but is light enough for summer dinners as well.
FAQ
Conclusion
This Gluten Free Bread truly stands out as a delectable option for anyone, whether gluten-sensitive or not. Its delightful texture and flavor will have you coming back for more. I encourage you to gather your ingredients and give this recipe a try. You won’t be disappointed. Enjoy the satisfaction of baking your own bread and sharing it with others!
Gluten Free Bread
Equipment
- Frying Pan
- Whisk
- Blender
- Oven
- Chef's Knife
- Mixing Bowl
- Baking Sheet
Ingredients
- 2 1/2 tsp Active dry yeast
- 3 1/2 Tbsp Sugar, divided
- 1/4 cup Warm water 110 degrees
- 1 1/4 cups Milk warmed to 110 degrees
- 2 Tbsp Canola oil
- 2 Tbsp Butter, softened plus more for bread pan
- 3 Large eggs
- 1 Tbsp Lemon juice
- 2 cups White rice flour (320g)
- 1/2 cup Tapioca flour (66g)
- 1/2 cup Potato starch (81g)
- 1/3 cup Cornstarch (46g)
- 1 Tbsp Xanthan gum
- 1 3/4 tsp Salt
- 1 tsp Baking powder
Instructions
- Start by pouring the yeast into the bowl of an electric stand mixer. Add in 1/2 tsp of the sugar and 1/4 cup of warm water. Whisk to dissolve the yeast, and allow it to rest for about 5 to 10 minutes. You should see it become foamy, indicating that the yeast is active.
- Next, add in the remaining 3 Tbsp of sugar, the milk, canola oil, butter, eggs, and lemon juice. Fit your mixer with the paddle attachment and start whipping on low speed. Don’t worry if the butter doesn’t blend in right away; it will once the dry ingredients are added.
- Now, it’s time to add all the remaining dry ingredients into the mix. This includes the white rice flour, tapioca flour, potato starch, cornstarch, xanthan gum, salt, and baking powder. Start mixing on low speed until everything is combined, then gradually increase to medium speed and mix for around 5 minutes. If your stand mixer has a scraper attachment, use it as it makes mixing easier.
- Once mixed, the batter should have a consistency similar to that of banana bread—thick but pourable. Pour the bread dough into a buttered 9-by-5-inch baking dish. Use a rubber spatula to spread it evenly to both ends. Smooth the top using wet hands; this helps shape the loaf and prevents it from drying out as it rises.
- Transfer the dish to a warm, draft-free spot and let it rise for about 1 hour to 1 hour and 15 minutes. During the last 10 minutes of rising, preheat your oven to 375 degrees. Be gentle with the loaf to avoid deflation; it’s delicate.
- After the rising time, bake the loaf in the preheated oven for 20 minutes. Then, reduce the oven temperature to 350 degrees, tent the loaf with aluminum foil, and bake for an additional 20 minutes. The bread is done when the top center no longer feels doughy.
- Once baked, remove the bread from the oven and let it cool in the loaf pan for several minutes. Then, invert the bread onto a wire rack to cool completely.
- Once cooled, store the Gluten Free Bread in an airtight container or resealable bag in the refrigerator. When ready to serve, slice into 1/2-inch thick slices.
Notes
- Tip 1: Store leftovers in an airtight container in the refrigerator to keep them fresh.
- Tip 2: You can freeze slices for later. Just wrap them tightly in foil or plastic wrap before placing them in a freezer bag.
- Tip 3: Warm each slice in the microwave for about 10 to 15 seconds before serving for the best texture.
- Tip 4: Always use ingredients that are labeled gluten-free to prevent cross-contamination.
- Tip 5: Scoop and level your dry ingredients rather than packing them into the cup for accuracy.