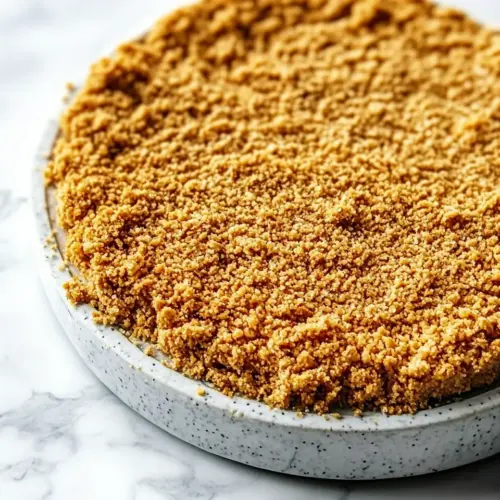
Graham Cracker Crust
There’s something undeniably comforting about a good dessert, and it all starts with a solid base; that’s where Graham Cracker Crust comes in. I remember the first time I made this crust for a family gathering. I was knee-deep in flour and sugar, trying to keep up with my little cousin, who was eagerly waiting for dessert. As I crunched those graham cracker crumbs together, the sweet, buttery aroma filled the kitchen, and I knew I was onto something special. It wasn’t just about making a dessert; it was about creating memories that would last a lifetime. Graham Cracker Crust has become my go-to foundation for pies, cheesecakes, and more. It’s simple, quick, and absolutely delicious.
Recipe Snapshot
15 mins
5 mins
10 mins
Medium
180 kcal
2 g
Paleo, Whole30, Vegan
8 g
Mixing bowl set, Silicone Spatula Set
Why This Graham Cracker Crust Stands Out
1. Easy to Make
One of the best parts about Graham Cracker Crust is how incredibly simple it is to whip up. There’s no need for fancy equipment or complicated techniques; all you need are a few basic ingredients that come together in a flash. I love that I can make this crust in under 15 minutes, leaving me more time to focus on the filling.
2. Versatile Uses
This crust isn’t just for one kind of dessert. It’s the perfect base for a range of recipes, from classic cheesecakes to fruity pies. You can experiment with different fillings and toppings, making it a versatile choice for any occasion. Whether it’s a summer barbecue or a cozy winter gathering, Graham Cracker Crust fits right in.
3. Irresistible Flavor
The flavor of Graham Cracker Crust is simply divine. The combination of sugar, butter, and the natural sweetness of graham crackers creates a warm, comforting taste that pairs well with almost any filling. It’s a delicious balance of sweetness and crunch that will leave your guests craving more.
4. Perfect Texture
The texture of this crust is another reason I adore it. It’s crunchy yet soft enough to easily slice through when serving. Once baked, it provides a sturdy foundation for your desserts while still being tender and enjoyable to eat. You’ll love the way it holds up under the weight of creamy fillings.
5. Customizable
Want to elevate your Graham Cracker Crust? You can easily customize it with spices, nuts, or even a touch of cocoa powder. Add some cinnamon for warmth or a handful of finely chopped nuts for extra crunch. The possibilities are endless, and I encourage you to make this recipe your own.
6. Budget-Friendly
Finally, Graham Cracker Crust is easy on the wallet. The ingredients are inexpensive and readily available, making it a great option for those who want to bake on a budget without sacrificing flavor or quality.
Ingredients You’ll Need for Graham Cracker Crust
Using quality ingredients is key to making a great Graham Cracker Crust. Each component plays a vital role in creating that perfect balance of flavor and texture. The graham cracker crumbs provide the sweet, crunchy base, while the sugar and butter add richness and moisture. Together, they form a delicious crust that will elevate any dessert.
- 2 cups of graham cracker crumbs: These form the main base of the crust. It’s essential to crush them finely for an even texture.
- 3 tablespoons of sugar: Adds sweetness and enhances the flavor of the graham cracker crumbs.
- 6 tablespoons of butter: Melted and mixed in, it binds the crumbs together while adding richness to the flavor.
Step by Step Guide for Graham Cracker Crust
Making a Graham Cracker Crust is not only straightforward, but it’s also a fun process. You’ll see how quickly everything comes together, and soon enough, you’ll have a wonderful crust that forms the base for any number of delicious desserts. Here’s how to do it!
- Preheat your oven to 350°F. This is an important first step to ensure your crust bakes evenly and achieves that perfect golden color.
- If using a springform pan: Separate a 9-inch springform pan into two pieces. Line the bottom of the pan with foil, then fasten on the side piece. Spray the inside of the pan with nonstick cooking spray. This prevents sticking and makes for easy release later.
- Tightly wrap the outside bottom and sides of the springform pan with two layers of heavy-duty foil. This step is crucial to prevent leaks if you’re using a water bath. Optionally, you can place the foil-wrapped springform pan inside an oven bag while baking for extra protection.
- If using a pie plate or other baking dish: Spray the inside with nonstick cooking spray. This ensures your crust will come out cleanly.
- In a medium bowl, combine the graham cracker crumbs, sugar, and melted butter. Stir until the mixture is evenly distributed, and the crumbs are well coated with the butter.
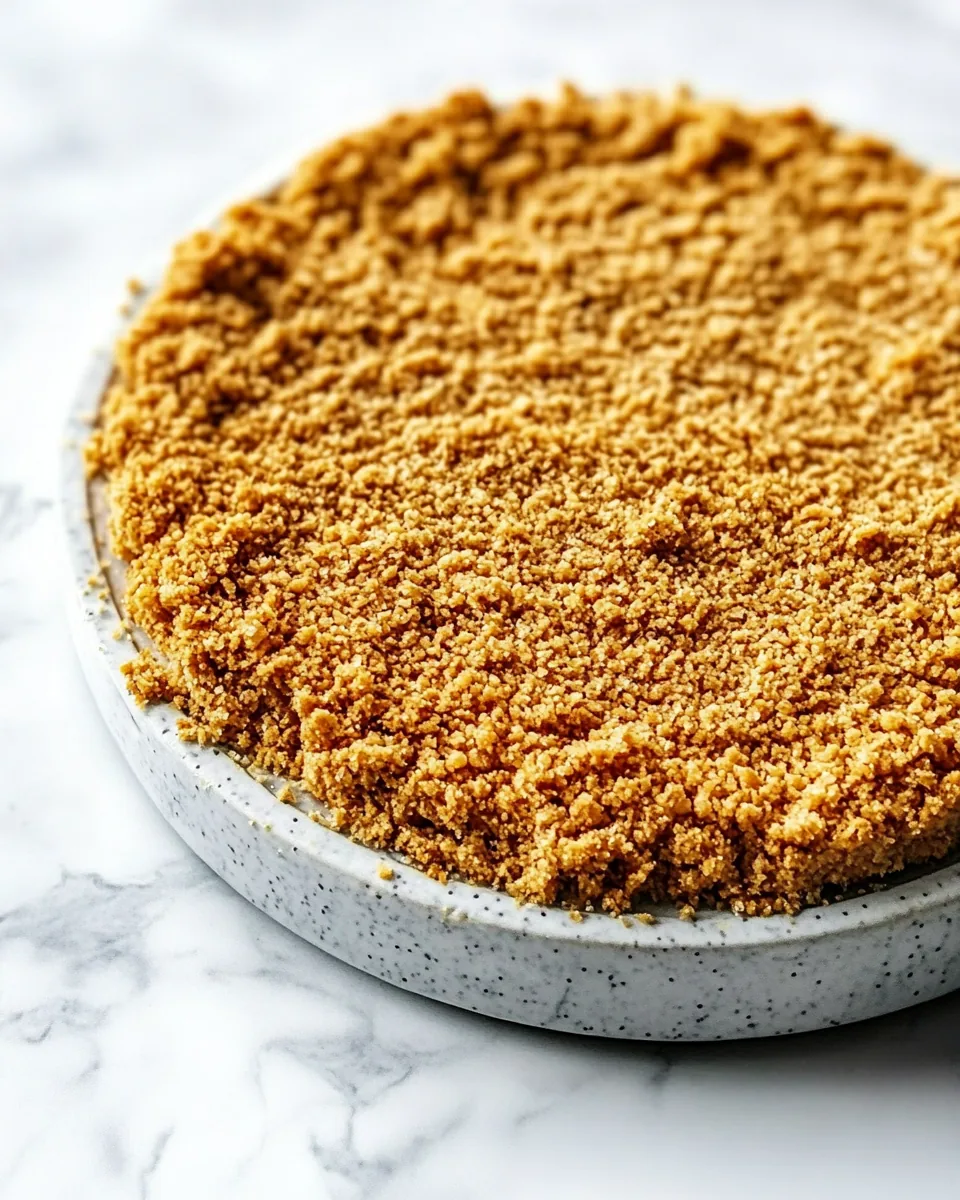
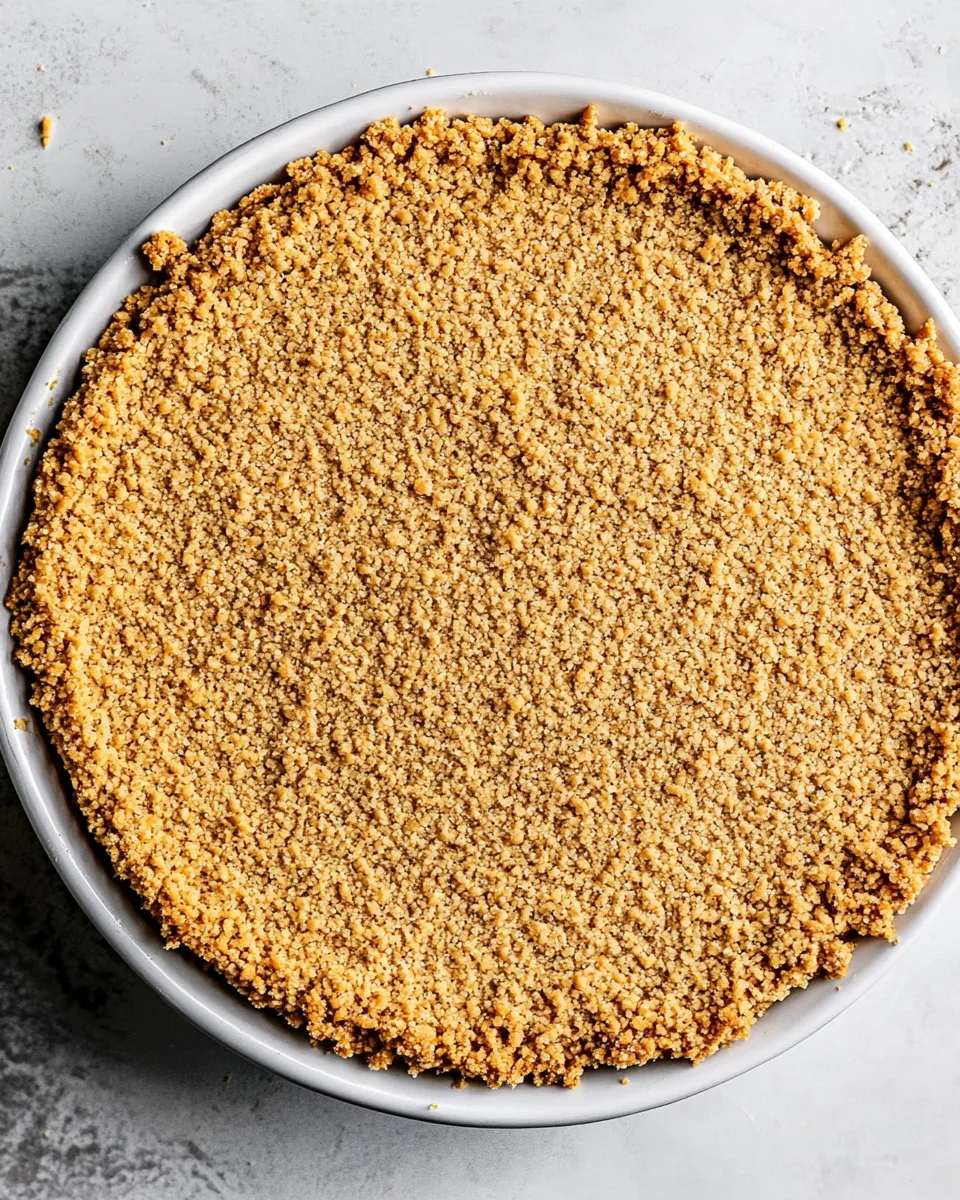
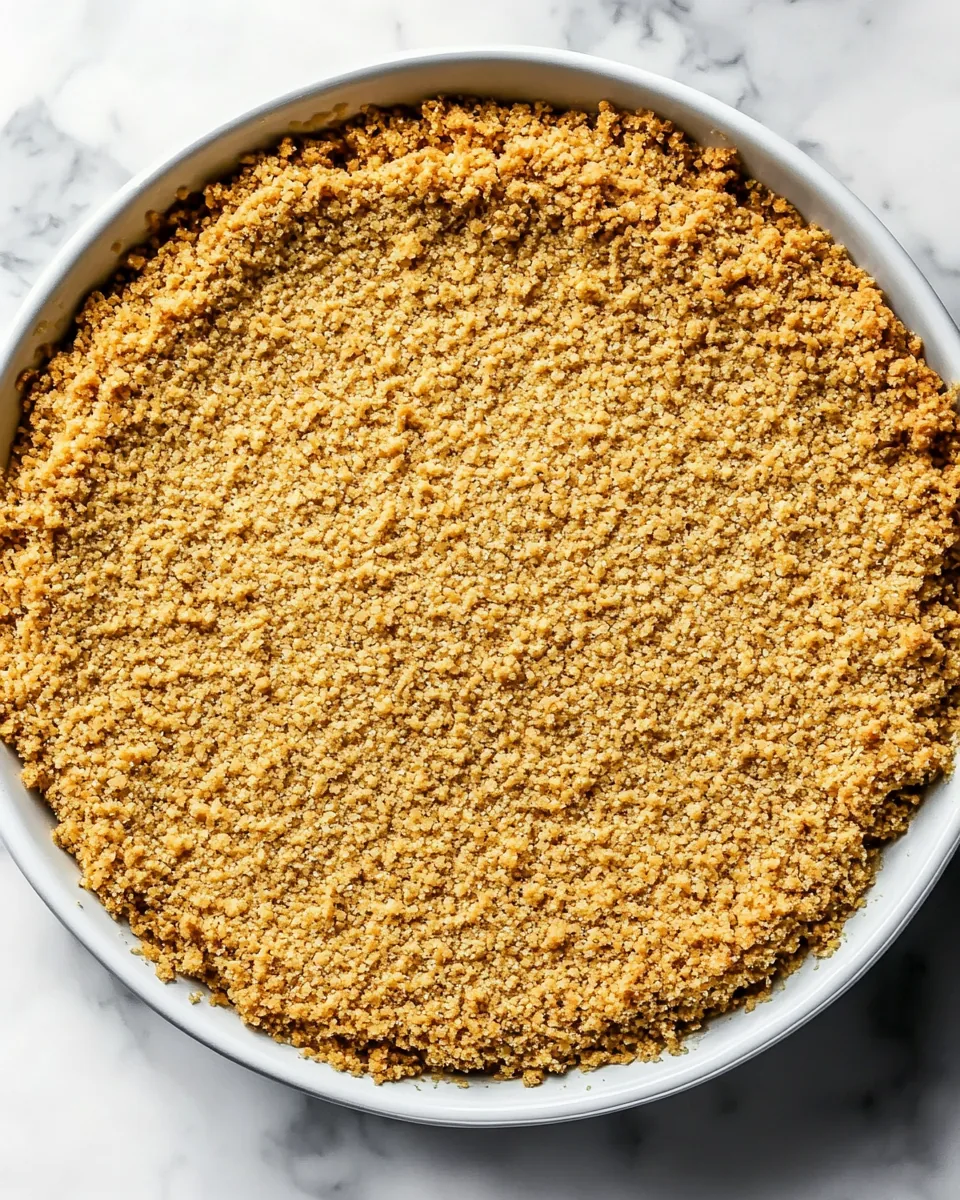
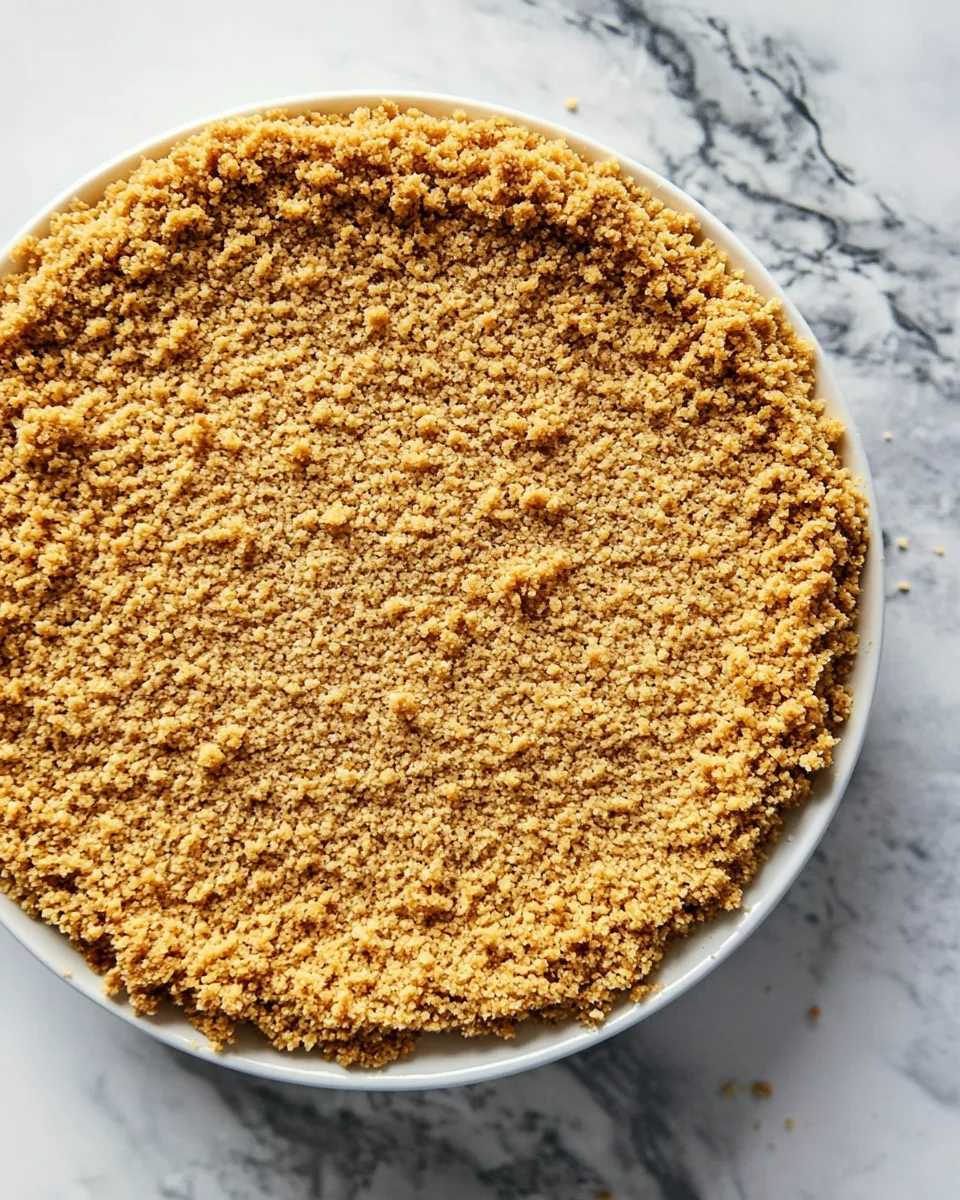
- Spoon the crumb mixture into the prepared pan. Press it firmly into the bottom and up the sides to form a crust layer. Make sure it’s compact to give your crust stability.
- Place the crust in your preheated oven and bake it for 10 minutes. This helps set the crust and enhances the flavors.
- Once baked, remove the pan to a cooling rack. Allow it to cool for a few minutes before continuing with your recipe. This step is essential to avoid a soggy bottom.
- Continue with your dessert recipe as instructed. Your Graham Cracker Crust is now a fantastic base for your favorite filling!
Things Worth Knowing
- Crust Storage: Store any leftover crust in an airtight container at room temperature for up to a week.
- Flavor Additions: Consider adding spices like cinnamon or nutmeg to the crumb mixture for an extra flavor boost.
- Butter Alternatives: If you prefer, coconut oil can be used instead of butter for a different flavor profile.
- Using Other Crumbs: You can substitute graham cracker crumbs with crushed cookies for a unique twist on the classic crust.
Tips for Success
Here are some handy tips to ensure your Graham Cracker Crust turns out perfectly every time. With a few simple tricks, you can elevate your baking game!
- Storage: After preparing your crust, you can store any leftovers in an airtight container at room temperature for up to a week.
- Freezing: You can freeze this crust for up to three months. Just wrap it tightly in plastic wrap and place it in a freezer-safe bag.
- Pairing: This crust pairs wonderfully with creamy desserts, such as cheesecakes or mousse pies, enhancing their flavors.
- Customize: Feel free to add different spices or even finely chopped nuts to the crumb mixture for a unique flavor.
- Don’t Overmix: When combining the ingredients, mix just until they’re combined for the best texture.
Serving Suggestions
Serving your homemade Graham Cracker Crust can be just as fun as making it! Here are some ideas:
- Cheesecakes: Serve your favorite cheesecake on this crust for a classic dessert experience.
- Fruit Pies: Top it with fresh fruits and whipped cream for a refreshing summer treat.
- Layered Desserts: Use it as a base for layered desserts, adding mousse and whipped cream for a show-stopping presentation.
- Chocolate Desserts: Pair it with rich chocolate fillings for a decadent indulgence.
- Seasonal Events: This crust works great for holiday desserts, providing a sweet touch to your celebrations.
- Storage Tips: Keep any leftover crust in an airtight container in a cool, dry place.
FAQ
Conclusion
The Graham Cracker Crust is a timeless dessert base that never goes out of style. Its simplicity and versatility make it an essential recipe for any home baker. I encourage you to give it a try and elevate your dessert game. You won’t regret it!
Graham Cracker Crust
Equipment
- Mixing bowl set
- Silicone Spatula Set
Ingredients
- 2 cups graham cracker crumbs
- 3 tablespoons sugar
- 6 tablespoons butter
Instructions
- Preheat your oven to 350°F.
- If using a springform pan: Separate a 9-inch springform pan into two pieces. Line the bottom of the pan with foil, then fasten on the side piece. Spray the inside of the pan with nonstick cooking spray.
- Tightly wrap the outside bottom and sides of the springform pan with two layers of heavy-duty foil.
- If using a pie plate or other baking dish: Spray the inside with nonstick cooking spray.
- In a medium bowl, combine the graham cracker crumbs, sugar, and melted butter. Stir until the mixture is evenly distributed.
- Spoon the crumb mixture into the prepared pan. Press it firmly into the bottom and up the sides to form a crust layer.
- Place the crust in your preheated oven and bake it for 10 minutes.
- Once baked, remove the pan to a cooling rack.
- Continue with your dessert recipe as instructed.
Notes
- Storage: After preparing your crust, you can store any leftovers in an airtight container at room temperature for up to a week.
- Freezing: You can freeze this crust for up to three months.
- Pairing: This crust pairs wonderfully with creamy desserts.
- Customize: Feel free to add different spices or even finely chopped nuts.
- Don’t Overmix: When combining the ingredients, mix just until they’re combined for the best texture.