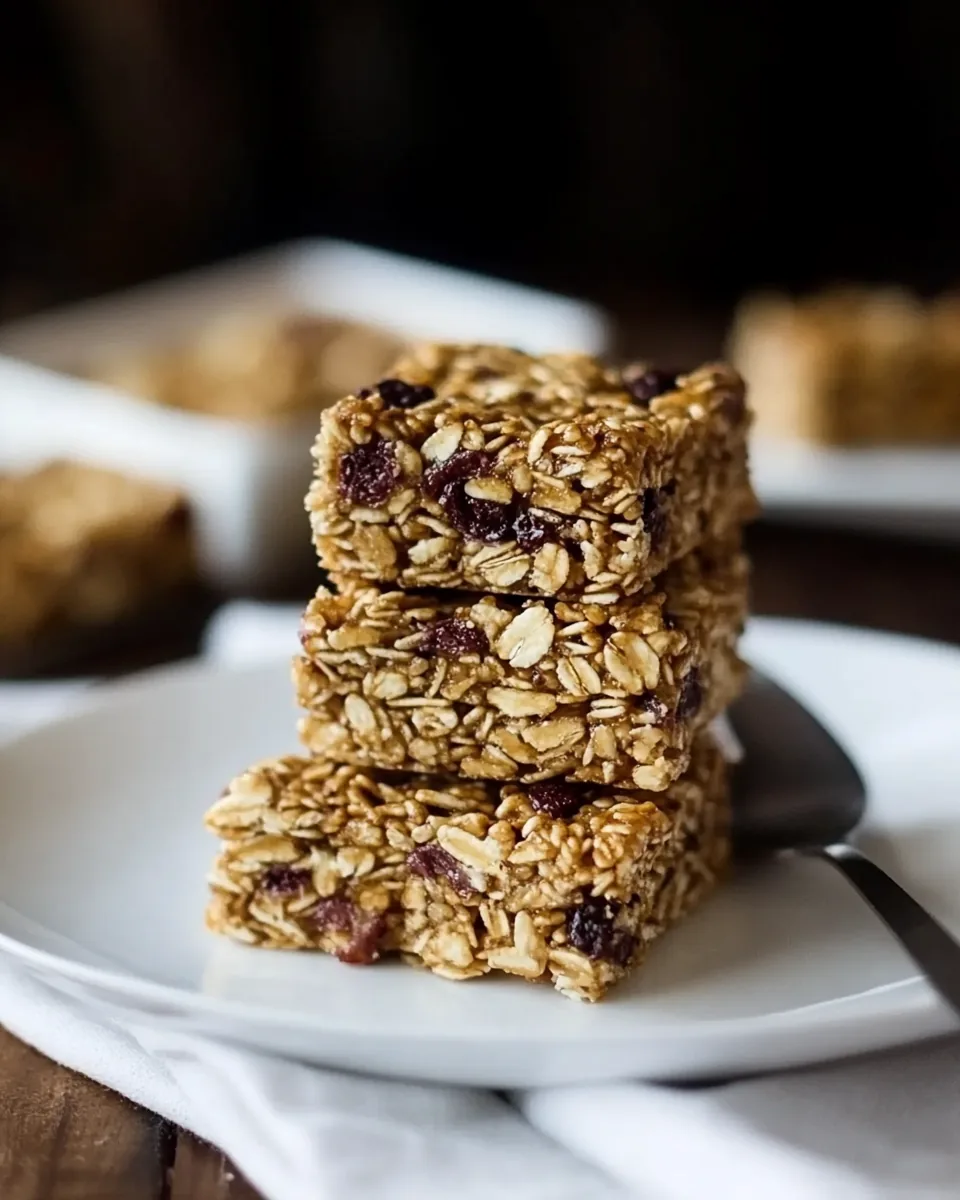
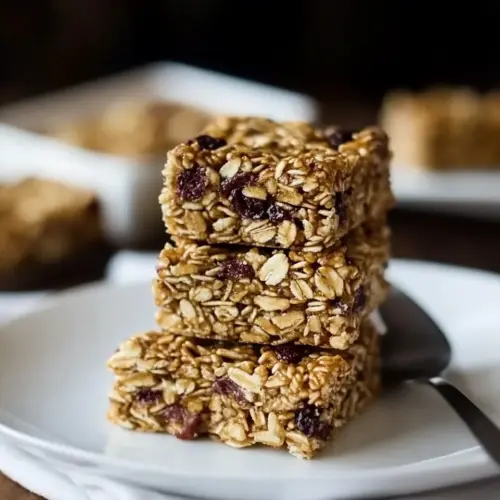
Rice Krispies Treats Granola Bars
The first time I made Rice Krispies Treats Granola Bars, it was a rainy Sunday afternoon. I was looking for a treat that would not only satisfy my sweet tooth but also provide a nutritious pick-me-up during the week. As I gathered my ingredients, I could already envision the crispy, chewy bites that would soon fill my kitchen with an irresistible aroma. These bars became an instant favorite in my family, perfect for school lunches, hiking trips, or simply an afternoon snack. Every bite is a delightful combination of textures and flavors, from the crunch of the rolled oats to the sweetness of the mini marshmallows. I can’t wait for you to try them!
Recipe Snapshot
20 mins
15 mins
5 mins
Medium
170 kcal
4 g
Gluten-Free, Low FODMAP
6 g
Frying Pan, Oven, Chef’s Knife, Mixing Bowl, Wooden Spoon, Baking Sheet
Why This Rice Krispies Treats Granola Bars Is a Winner
Perfectly Balanced Snack
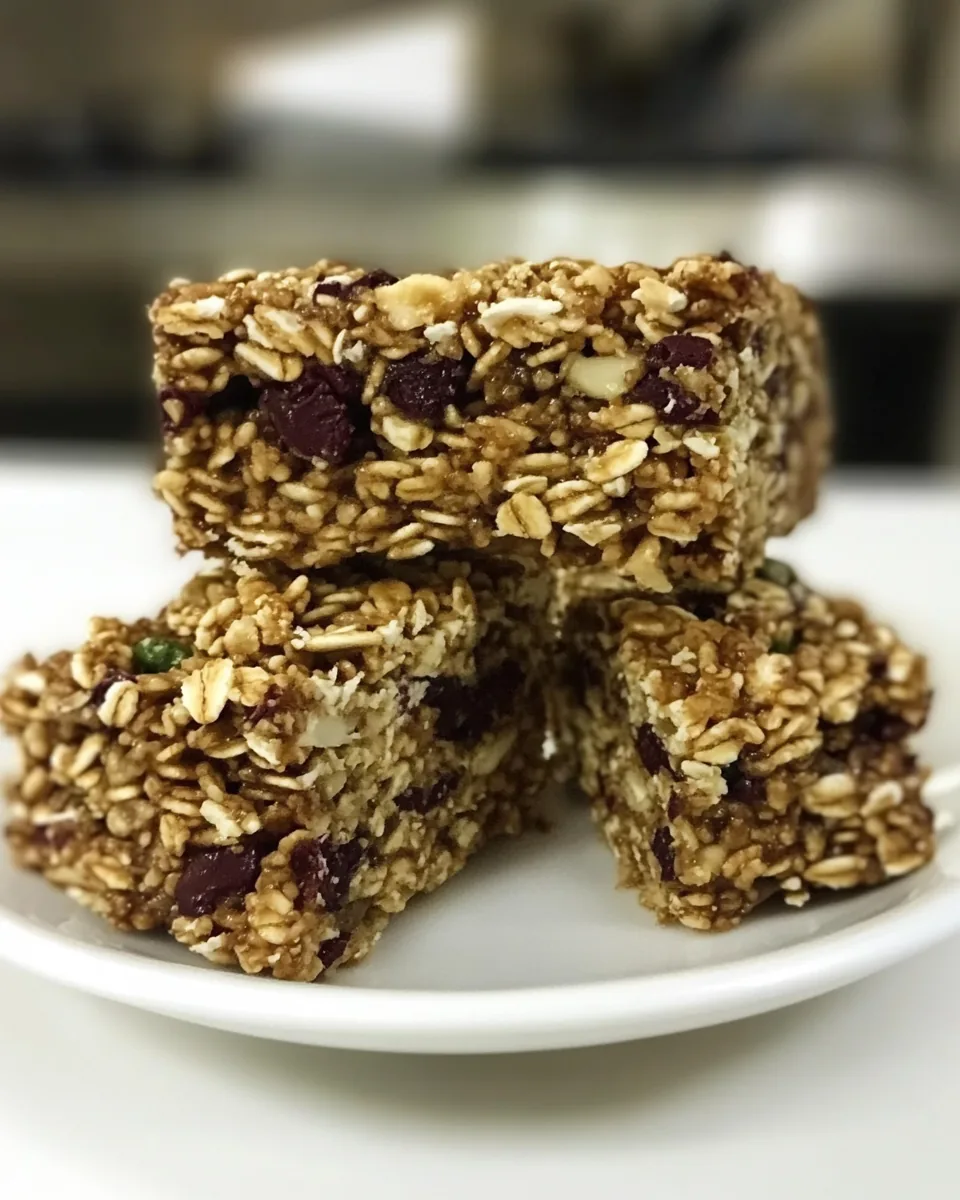
What I love most about these Rice Krispies Treats Granola Bars is their perfect balance of flavors. The sweetness of the mini marshmallows and peanut butter contrasts beautifully with the toasted oatmeal and crunchy nuts. Each bite is a symphony of tastes and textures that keeps you coming back for more.
Easy to Make
These bars are incredibly easy to whip up! With minimal ingredients and simple steps, they’re perfect for both experienced bakers and cooking novices. You’ll find that making your own snack bars is not only fun but also allows you to control the quality of the ingredients.
Healthy Ingredients
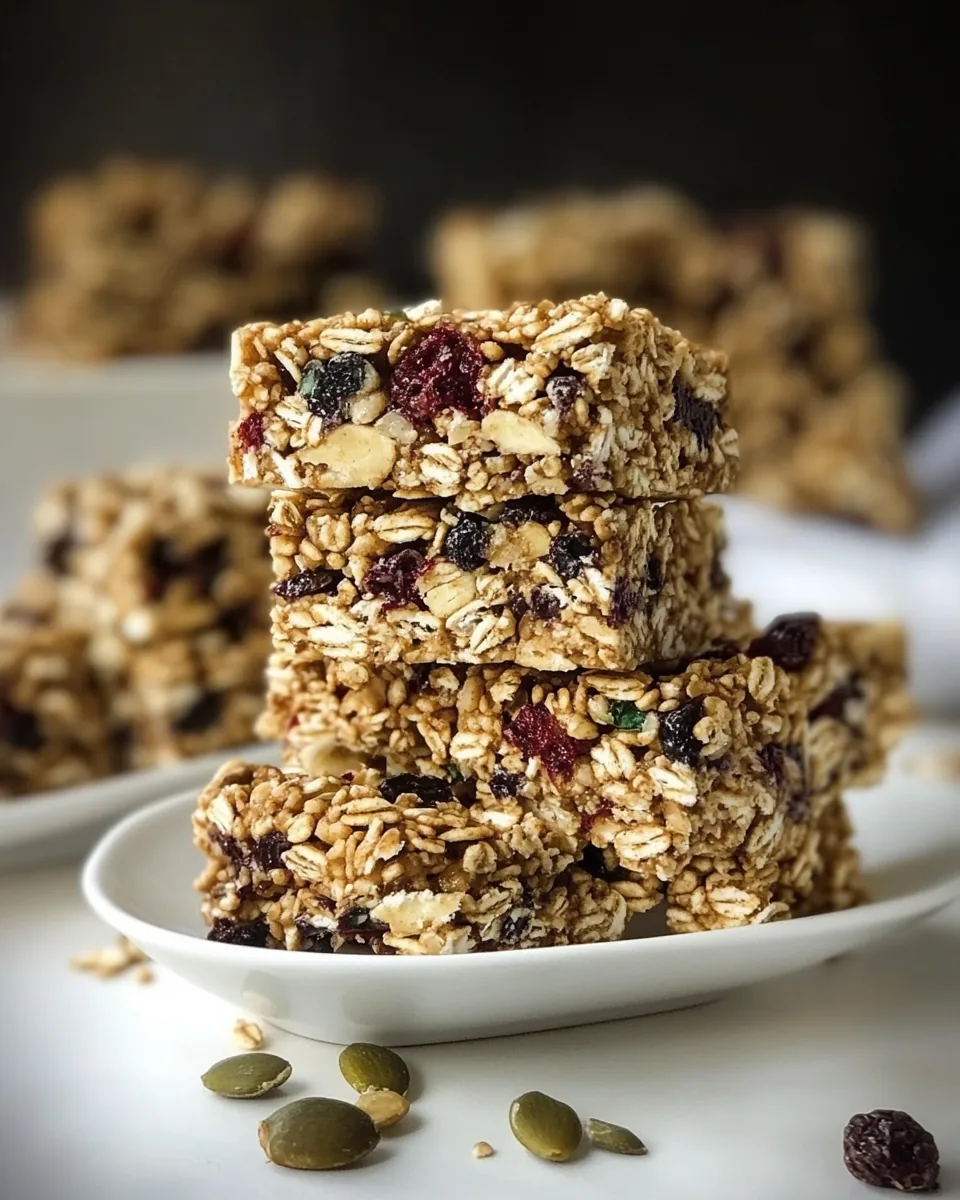
Another reason I adore this recipe is the healthy ingredients. With rolled oats, peanuts, and dried fruits, you’re not just consuming empty calories. Instead, you’re fueling your body with wholesome energy that can keep you going throughout the day.
Customizable
The versatility of these Rice Krispies Treats Granola Bars is another standout feature. You can easily tweak the recipe to suit your personal taste or dietary needs. Whether you want to add some chocolate chips, substitute different nuts, or use various dried fruits, the possibilities are endless!
Family-Friendly
These bars are also a hit with kids! They’re fun to eat, easy to pack for school lunches, and make for a delightful after-school snack. I love seeing my kids enjoy a homemade treat that I can feel good about giving them.
Great for Meal Prep
Lastly, they’re a meal prepper’s dream! You can make a big batch on the weekend, cut them into bars, and have snacks ready for the whole week. This makes it easier to resist those store-bought options that are often full of preservatives and artificial ingredients.
Ingredients to Make Rice Krispies Treats Granola Bars
To create the perfect Rice Krispies Treats Granola Bars, the key ingredients work harmoniously together. Each component adds its own flavor and texture, making these bars a unique and satisfying treat. The combination of rolled oats, peanut butter, and dried fruits not only provides a delightful taste but also contributes to a healthier snack option.
- 1 cup rolled old-fashioned oatmeal – This serves as the base for our bars, adding fiber and a nutty flavor.
- 3 tablespoons sesame seeds – These tiny seeds provide a delightful crunch and are rich in nutrients.
- 1/4 cup coconut oil – This healthy fat helps bind the bars together and adds a subtle coconut flavor.
- 1 10-oz bag of mini marshmallows – They provide sweetness and gooeyness, essential for holding the bars together.
- 1/2 cup natural peanut butter – This adds creaminess and a rich, nutty flavor.
- 2 1/2 cups puffed brown rice or Rice Krispies – The stars of the show, adding crunch and texture to the bars.
- 1/2 cup unsalted peanuts – For added crunch and protein.
- 1/2 cup raisins – These provide a natural sweetness and chewiness.
- 1/2 cup dried cranberries – Their tartness balances the sweetness perfectly.
- 1/2 cup dried apricots (chopped) – Adding a slight tang and lovely color.
- 1/2 cup sunflower seeds – They contribute a delightful crunch and are packed with vitamins.
Step by Step Instructions for Rice Krispies Treats Granola Bars
Making Rice Krispies Treats Granola Bars is a delightful process that fills your kitchen with wonderful aromas. Follow these easy steps to create a batch of bars that will surely become a family favorite!
- Preheat your oven to 300°F and spray an 8×8-inch pan with cooking spray. This simple step ensures your bars won’t stick, making it easy to slice them later.
- Roast the oatmeal and the sesame seeds on separate pans for about 5 minutes. You’ll want to keep an eye on them; they should turn a light golden brown and smell deliciously nutty.
- In a large microwave-safe bowl, melt the coconut oil, mini marshmallows, and peanut butter. I microwaved mine on half power for one minute, stirred, and then did another 30 seconds. Be careful not to overheat; you want them soft and melty, not burnt.
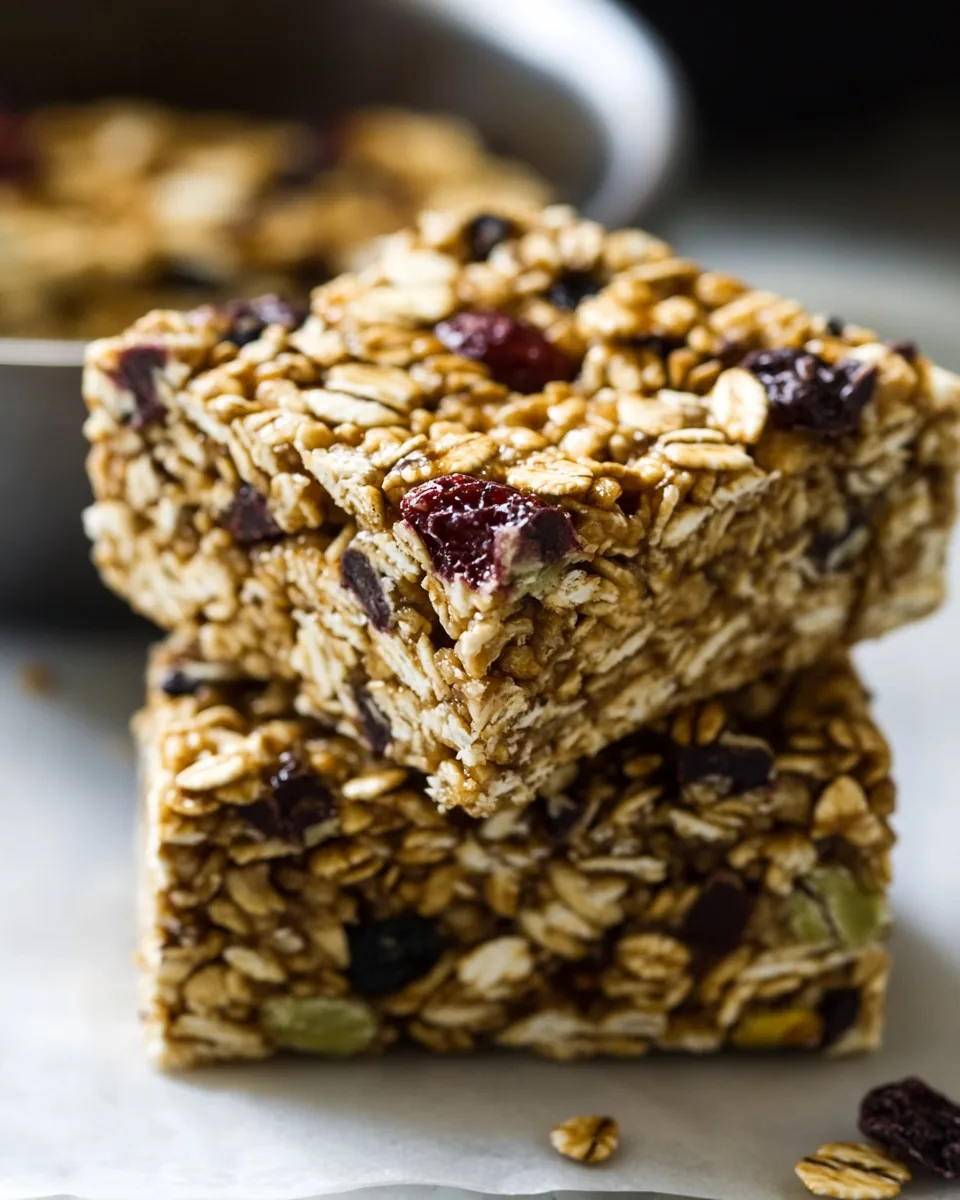
- In a separate large bowl, mix together the puffed brown rice, peanuts, raisins, cranberries, apricots, sunflower seeds, and the toasted oatmeal. This combination of ingredients brings a variety of textures and flavors that are simply irresistible.
- Pour the dry ingredients into the marshmallow mixture and stir until everything is well combined. This may take a little muscle, but it’s so worth it to ensure every piece is coated in that delicious mixture.
- Sprinkle half of the toasted sesame seeds evenly into the bottom of the prepared pan. Then, pour in the Rice Krispie mixture and press down HARD until it forms a compressed, even layer. This step will help your bars hold their shape.
- Sprinkle the remaining toasted sesame seeds on top and gently press to adhere to the bars. This adds an extra layer of flavor and a beautiful finish.
- Let the mixture set in the refrigerator for 15 to 20 minutes. This setting time is essential for the bars to firm up, making it easier to slice them into perfect squares.
- Once set, remove the bars from the pan and slice them into squares or rectangles. Serve and enjoy your homemade Rice Krispies Treats Granola Bars!
Things Worth Knowing
- Check your marshmallows: Ensure they are fresh for the best results. Stale marshmallows won’t melt properly.
- Be gentle with mixing: When combining the marshmallow mixture with the dry ingredients, be gentle not to crush the puffed rice.
- Experiment with flavors: Feel free to add spices like cinnamon or nutmeg for a different twist!
- Storage matters: Store your bars in an airtight container to maintain their freshness and prevent them from becoming soggy.
Pro Tips and Tweaks
When making Rice Krispies Treats Granola Bars, having a few handy tips can make all the difference. Here are some great ways to enhance your granola bars:
- Storage: Keep your bars in an airtight container at room temperature for up to a week. You can also refrigerate them for a firmer texture.
- Freezing: Yes, these bars freeze beautifully! Wrap them individually in plastic wrap and store them in a freezer-safe bag. They’ll last for up to three months.
- Pairing: These bars pair wonderfully with a glass of milk or a cup of tea. They’re also great for on-the-go snacking before a workout.
- Variations: Try adding chocolate chips or using almond butter instead of peanut butter for a different flavor profile.
- Height matters: Press the mixture firmly into the pan to ensure your bars hold their shape. The denser, the better!
- Mix-ins: Don’t hesitate to throw in some dark chocolate chunks or seeds to customize your bars to your liking.
What Complements This Rice Krispies Treats Granola Bars
These Rice Krispies Treats Granola Bars are incredibly versatile and make a perfect addition to any meal or snack occasion. Here’s how to serve them:
- Perfect for Breakfast: Enjoy these bars with a side of yogurt and fresh fruit for a balanced breakfast.
- Great for Lunchboxes: They make an easy, nutritious addition to kids’ lunches, ensuring they have something sweet but healthy.
- Snack Time: Pair them with a cup of tea or coffee for a delightful afternoon treat that satisfies cravings without the guilt.
- Post-Workout Snack: With the right balance of carbs and protein, they serve as an excellent refuel after a workout.
- Picnic Essential: These bars are easy to pack and transport, making them ideal for picnics or road trips.
- Seasonal Pairings: Add festive dried fruits or nuts during the holidays to give them a seasonal twist.
FAQ
Conclusion
These Rice Krispies Treats Granola Bars are truly a wonderful blend of flavors and textures that will satisfy any craving. They’re not only easy to make but are also a healthier option for a snack or dessert. I encourage you to give this recipe a try; your taste buds will thank you, and so will your family!
Rice Krispies Treats Granola Bars
Equipment
- Frying Pan
- Oven
- Chef's Knife
- Mixing Bowl
- Wooden Spoon
- Baking Sheet
Ingredients
- 1 cup rolled old-fashioned oatmeal
- 3 tablespoons sesame seeds
- 1/4 cup coconut oil
- 1 bag mini marshmallows
- 1/2 cup natural peanut butter
- 2 1/2 cups puffed brown rice or Rice Krispies
- 1/2 cup unsalted peanuts
- 1/2 cup raisins
- 1/2 cup dried cranberries
- 1/2 cup dried apricots (chopped)
- 1/2 cup sunflower seeds
Instructions
- Preheat your oven to 300°F and spray an 8×8-inch pan with cooking spray.
- Roast the oatmeal and the sesame seeds on separate pans for 5 mins. They will be just very lightly browned.
- In a large microwave-safe bowl, melt the coconut oil, mini marshmallows, and peanut butter. I microwaved mine on half power for 1 minute, stirred, and then did another 30 seconds. You don’t want to burn the marshmallows, so make sure to use only half power.
- In a separate large bowl, mix together the puffed brown rice, peanuts, raisins, cranberries, apricots, sunflower seeds, and toasted oatmeal.
- Pour the dry ingredients into the marshmallow mix and stir until everything is well combined.
- Sprinkle half of the toasted sesame seeds evenly into the bottom of the prepared pan. Then, pour in the Rice Krispie mixture and press down HARD, until it forms a compressed, even layer.
- Sprinkle with remaining sesame seeds and gently press to adhere to the bars.
- Let mixture set for 15 to 20 minutes in the refrigerator before slicing it into bars and serving.
Notes
- Tip 1: Keep your bars in an airtight container at room temperature for up to a week. You can also refrigerate them for a firmer texture.
- Tip 2: Yes, these bars freeze beautifully! Wrap them individually in plastic wrap and store them in a freezer-safe bag. They’ll last for up to three months.
- Tip 3: They pair wonderfully with a glass of milk or a cup of tea. They’re also great for on-the-go snacking before a workout.
- Tip 4: Try adding chocolate chips or using almond butter instead of peanut butter for a different flavor profile.
- Tip 5: Press the mixture firmly into the pan to ensure your bars hold their shape. The denser, the better!