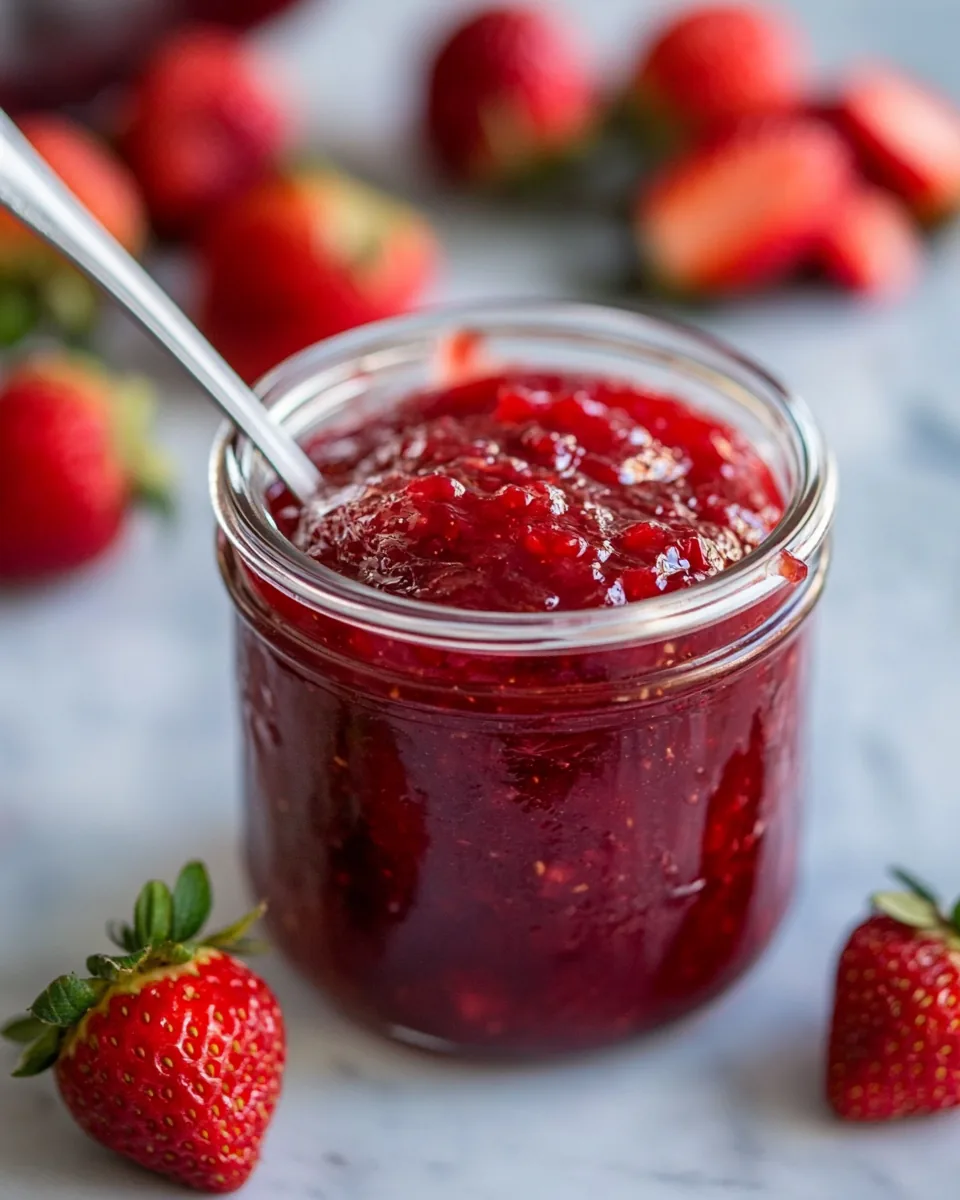
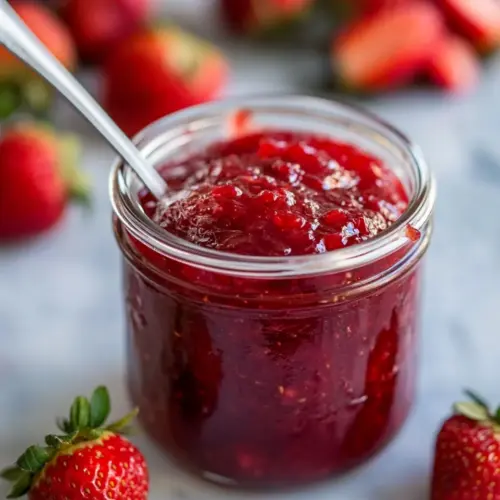
Instant Pot Strawberry Jam
When I think of summer, my mind immediately drifts to the gorgeous strawberries that grace our local farmers’ markets. A few years back, I decided to preserve this seasonal delight, and that’s how I discovered the magic of Instant Pot Strawberry Jam. The very first time I made it, I remember the sweet aroma wafting through my kitchen as the strawberries softened and mingled with sugar. It was like capturing the essence of summer in a jar! Now, every time I open a jar, it’s a burst of nostalgia. This jam is perfect for spreading on warm toast, dolloping onto yogurt, or even using as a filling for cakes. Trust me, once you try making your own, store-bought jams will never compare.
Recipe Snapshot
30 mins
4 mins
26 mins
Medium
50 kcal
0g g
Vegan, Gluten-Free, AIP
0g g
Instant Pot
Why This Instant Pot Strawberry Jam Stands Out
Quick and Easy
One of the things I love most about this recipe is how simple it is. Using the Instant Pot cuts down on cooking time significantly. You can make this delicious jam in no time, allowing you to enjoy fresh flavors with minimal effort.
Fresh Ingredients
Using fresh, ripe strawberries elevates the flavor profile of the jam. Not only do they taste better, but they also retain their vibrant color and nutritional value. This recipe is a great way to utilize those perfect berries during the peak season.
Versatile Use
Whether you want to spread it on a slice of bread, add it to desserts, or even mix it into your morning oatmeal, the possibilities are endless with Instant Pot Strawberry Jam. It’s a versatile treat that can be used in various ways!
Gift-Worthy
This homemade jam makes a lovely gift. Imagine giving a jar of your homemade strawberry jam to friends or family. It’s a personal touch that shows you care, especially when it’s beautifully packaged with a ribbon.
Healthy Alternative
Making jam at home allows you to control the amount of sugar. You can adjust it to suit your preference, making this Instant Pot Strawberry Jam a healthier alternative to store-bought options filled with preservatives.
Preserving Summer
By making this jam, you’re also capturing the essence of summer, allowing you to enjoy the flavors long after the season is over. There’s something truly special about opening a jar of homemade jam and reliving those sunny days.
Ingredients Overview for Instant Pot Strawberry Jam
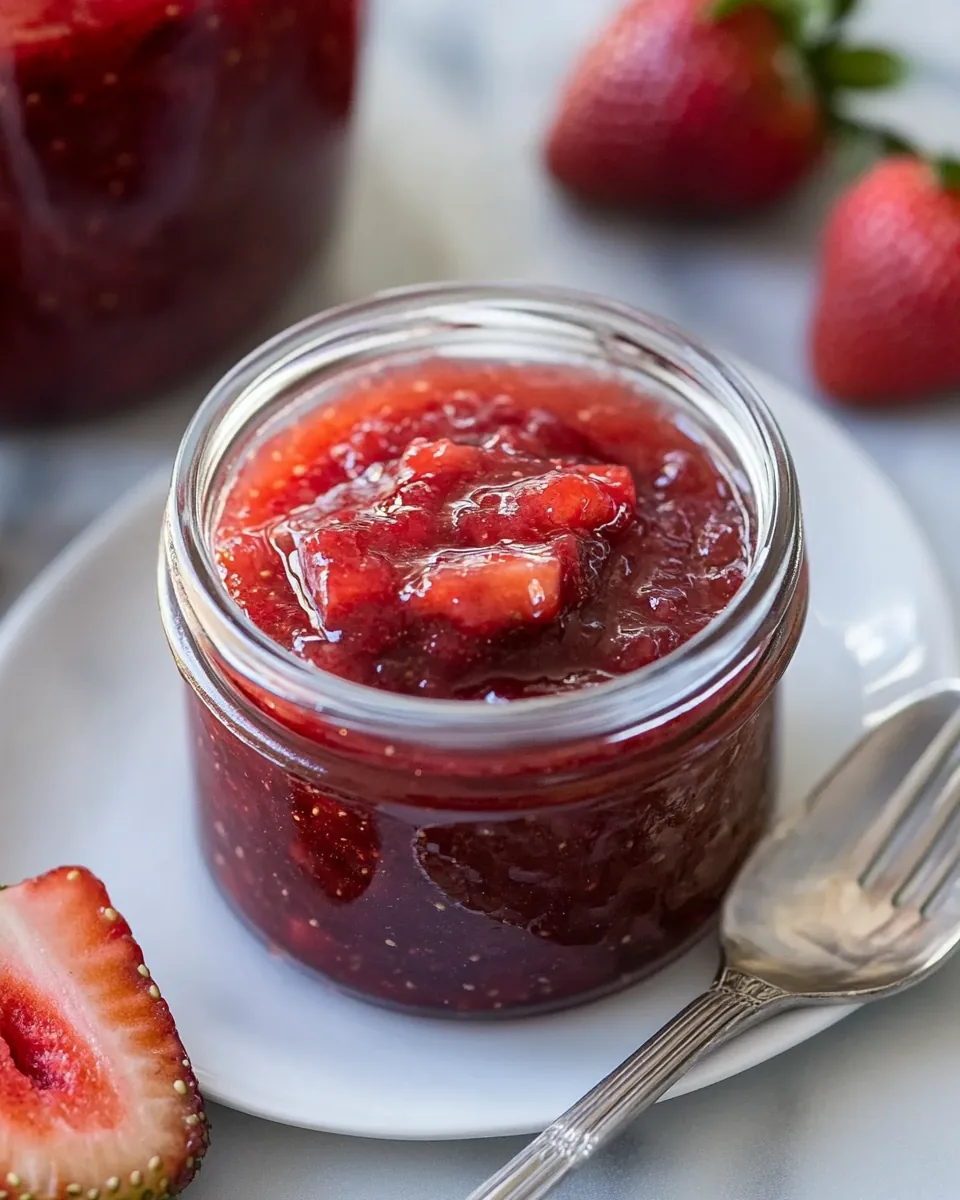
The beauty of this Instant Pot Strawberry Jam lies in its straightforward ingredients. Each component works harmoniously to create a deliciously sweet and tangy spread. The star of the show is, of course, the strawberries, but the addition of sugar and lemon juice brings out their natural sweetness while providing a balanced flavor. Cornstarch is essential for thickening the jam, ensuring it has the perfect consistency, while water helps in creating that smooth blend. Together, these ingredients come together to create something truly special.
- Fresh Strawberries: 2 pounds of ripe, hulled and halved strawberries provide the base for this delightful jam. Their natural sweetness is enhanced during the cooking process, resulting in a rich flavor.
- Granulated Sugar: 1 cup of sugar is used to sweeten the jam. It helps in drawing out the juices from the strawberries, creating a syrupy consistency.
- Lemon Juice: 2 tablespoons of lemon juice add a zesty brightness that balances the sweetness of the strawberries, enhancing the overall flavor.
- Cornstarch: 3 tablespoons of cornstarch act as a thickening agent, ensuring the jam has the right texture for spreading.
- Water: 3 tablespoons of water are used to create a smooth cornstarch slurry, helping to incorporate it into the jam without lumps.
The Method for Instant Pot Strawberry Jam
Making Instant Pot Strawberry Jam is a delightful process that’s both rewarding and fun! Let’s walk through the steps together, so you know exactly what to expect. You’ll find that each step is quite simple, but the results are incredibly satisfying. Here’s how to whip up a batch of this sweet jam that captures the essence of summer.
- Start by adding the hulled and halved strawberries, sugar, and lemon juice to the Instant Pot. Let them sit for about 10 minutes. This step is crucial as the sugar will help draw out the juices from the strawberries, creating a flavorful base for your jam.
- Once you’ve allowed the mixture to sit, close the lid of the Instant Pot and secure the pressure release valve. Cook on high pressure for 1 minute. This short cooking time ensures the strawberries soften without losing their flavor.
- After the cooking time is up, allow for a natural release for 15 minutes. This method helps the jam retain its fruity flavor and texture. After that, do a controlled quick release to let out any remaining steam.
- Next, in a separate bowl, combine the cornstarch and water until smooth. If the mixture is too thick, add a tiny bit more water until it’s liquid and the cornstarch is completely smooth. This slurry will help thicken your jam.
- Now, remove the lid of the Instant Pot. Don’t be alarmed if it looks a bit soupy; this is normal! Stir in the cornstarch slurry into the strawberry mixture.
- Select the “saute” function on your Instant Pot and bring the mixture to a full boil. Stir frequently to prevent any sticking or burning at the bottom. This boiling process helps the jam thicken further.
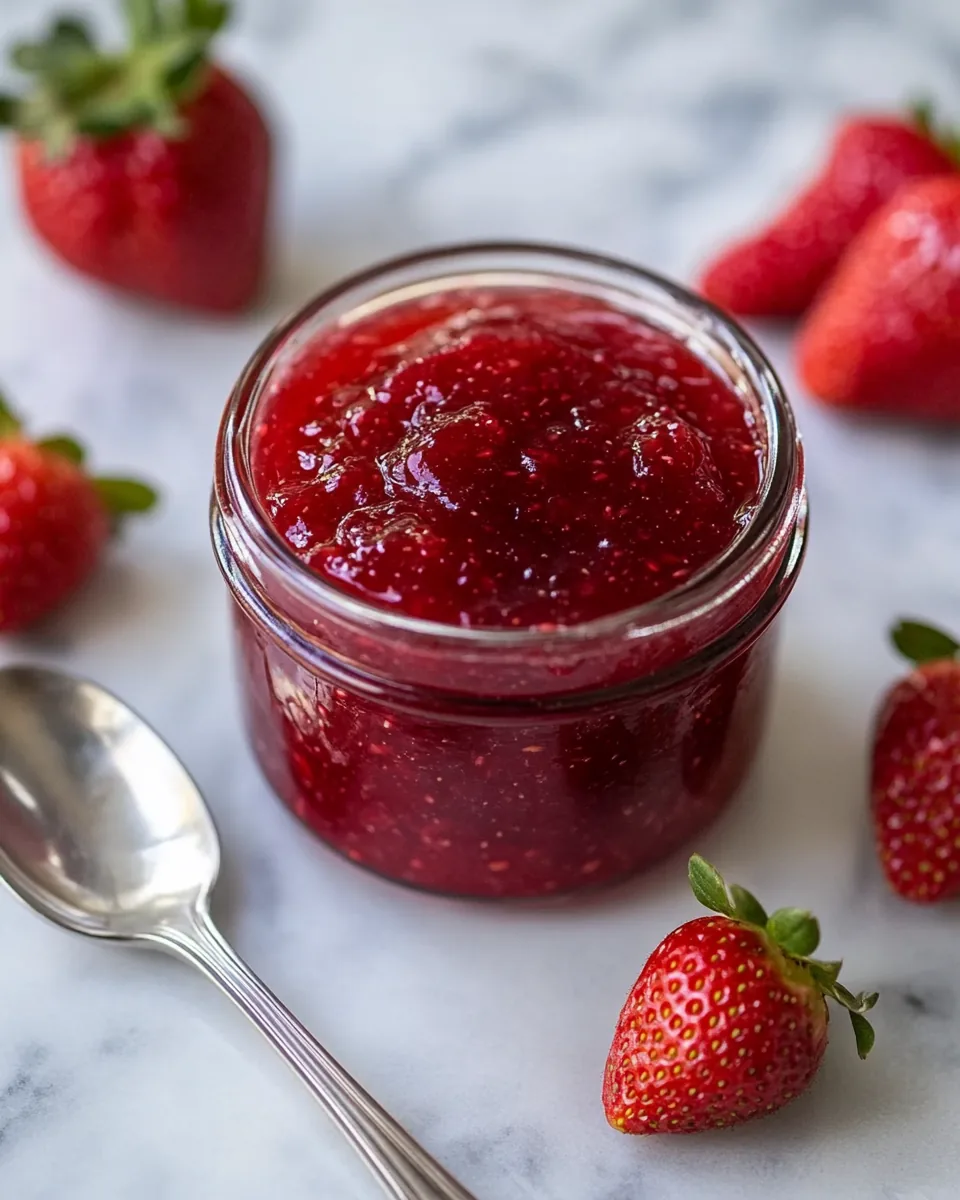
- Continue boiling for a few minutes, stirring constantly until the mixture has thickened. You’ll notice the color deepening and the texture changing as it cooks. Once it reaches your desired consistency, turn off the Instant Pot.
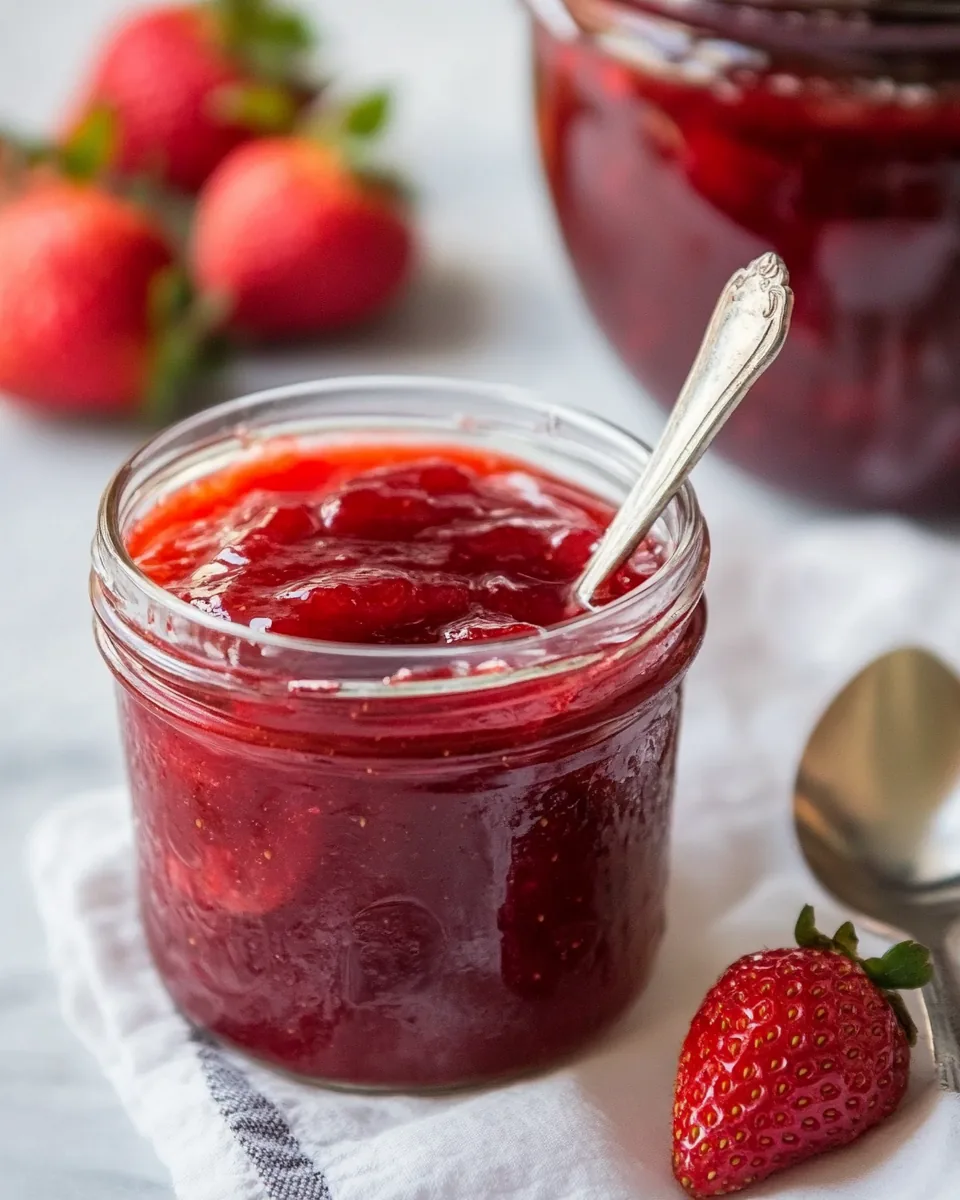
- Pour the jam into a container. Make sure to allow it to cool down before sealing it. Enjoy the satisfaction of having made your very own Instant Pot Strawberry Jam!
- Make sure to check the details about storing and preserving this jam recipe to keep it fresh and delicious.
Things Worth Knowing
- Using fresh strawberries is key. The riper they are, the better the flavor will be.
- Always let the jam cool completely before sealing it in jars for storage. This prevents condensation and spoilage.
- If you wish for a smoother texture, blend the mixture after cooking.
- Experiment with adding other fruits or spices for unique flavor variations!
Helpful Hints
Here are some tips to ensure your Instant Pot Strawberry Jam turns out perfectly every time. With these hints, you can enjoy the process of making jam even more.
- Storage: Store your jam in an airtight container in the refrigerator. It will last for up to two weeks.
- Freezing: You can freeze this jam! Just pour it into freezer-safe containers, leaving some space for expansion. It can last for up to a year.
- Pairing: This jam pairs perfectly with fresh bread, yogurt, or even pancakes!
- Texture Check: If the jam is too runny after boiling, continue to simmer it until it thickens to your liking.
- Flavor Boost: Don’t hesitate to add a pinch of cinnamon or vanilla during the cooking process for an extra flavor dimension.
Perfect Pairings for Instant Pot Strawberry Jam
When it comes to serving Instant Pot Strawberry Jam, the sky’s the limit! Here’s how to enjoy it:
- Breakfast Delight: Spread it generously on warm toast or bagels for a delightful breakfast treat.
- Yogurt Topping: Stir it into your morning yogurt for a sweet twist.
- Pancake Companion: Use it as a topping for pancakes or waffles on a lazy Sunday morning.
- Dessert Filling: Incorporate it into cakes, pastries, or as a filling for tarts for an extra burst of flavor.
- Gift Idea: Package some in a cute jar, and you’ve got a thoughtful homemade gift for friends or family!
- Seasonal Treat: Perfect for summer gatherings or picnics, bringing a touch of sweet nostalgia to the table.
FAQ
Conclusion
The Instant Pot Strawberry Jam is a delightful way to enjoy fresh strawberries all year round. Its quick and easy preparation, combined with the burst of flavor, makes it a must-try recipe for anyone who loves homemade preserves. I encourage you to give this recipe a go and savor the taste of summer anytime you like!
Instant Pot Strawberry Jam
Equipment
- Instant Pot
Ingredients
- 2 pounds Fresh Strawberries hulled and halved
- 1 cup Granulated Sugar
- 2 tablespoons Lemon Juice
- 3 tablespoons Cornstarch
- 3 tablespoons Water
Instructions
- Start by adding the hulled and halved strawberries, sugar, and lemon juice to the Instant Pot. Let them sit for about 10 minutes. This step is crucial as the sugar will help draw out the juices from the strawberries, creating a flavorful base for your jam.
- Once you’ve allowed the mixture to sit, close the lid of the Instant Pot and secure the pressure release valve. Cook on high pressure for 1 minute. This short cooking time ensures the strawberries soften without losing their flavor.
- After the cooking time is up, allow for a natural release for 15 minutes. This method helps the jam retain its fruity flavor and texture. After that, do a controlled quick release to let out any remaining steam.
- Next, in a separate bowl, combine the cornstarch and water until smooth. If the mixture is too thick, add a tiny bit more water until it’s liquid and the cornstarch is completely smooth. This slurry will help thicken your jam.
- Now, remove the lid of the Instant Pot. Don’t be alarmed if it looks a bit soupy; this is normal! Stir in the cornstarch slurry into the strawberry mixture.
- Select the “saute” function on your Instant Pot and bring the mixture to a full boil. Stir frequently to prevent any sticking or burning at the bottom. This boiling process helps the jam thicken further.
- Continue boiling for a few minutes, stirring constantly until the mixture has thickened. You’ll notice the color deepening and the texture changing as it cooks. Once it reaches your desired consistency, turn off the Instant Pot.
- Pour the jam into a container. Make sure to allow it to cool down before sealing it. Enjoy the satisfaction of having made your very own Instant Pot Strawberry Jam!
- Make sure to check the details about storing and preserving this jam recipe to keep it fresh and delicious.
Notes
- Tip 1: Store your jam in an airtight container in the refrigerator. It will last for up to two weeks.
- Tip 2: You can freeze this jam! Just pour it into freezer-safe containers, leaving some space for expansion. It can last for up to a year.
- Tip 3: This jam pairs perfectly with fresh bread, yogurt, or even pancakes!
- Tip 4: If the jam is too runny after boiling, continue to simmer it until it thickens to your liking.
- Tip 5: Don’t hesitate to add a pinch of cinnamon or vanilla during the cooking process for an extra flavor dimension.