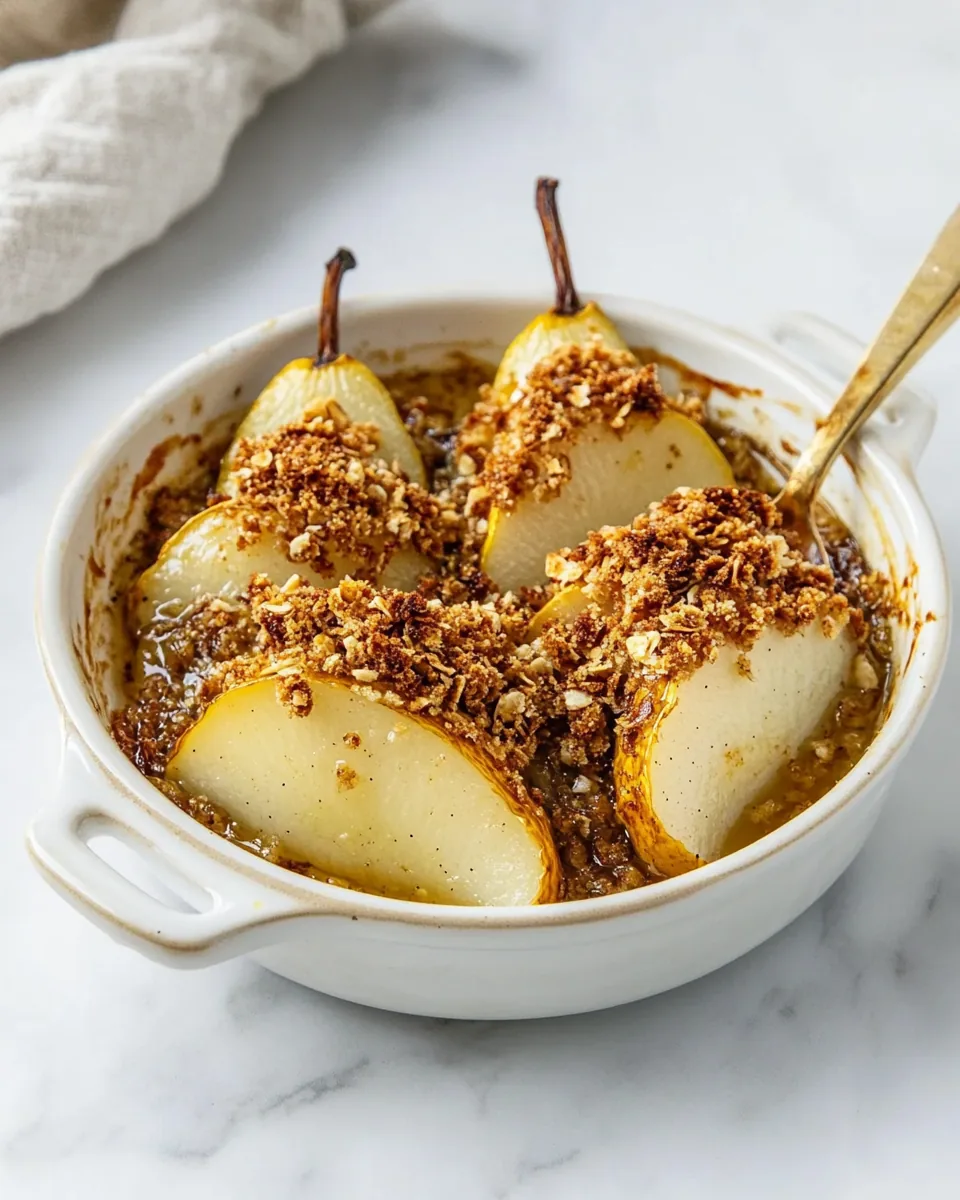
Baked Pears
There’s something so comforting about the aroma of Baked Pears wafting through the kitchen. It always reminds me of crisp autumn days when the trees are adorned with vibrant hues of red and gold. One of my favorite memories is standing at my grandmother’s side as she prepared her famous Baked Pears. The way she would slice the pears, carefully filling them with a sweet, crumbly topping, created a sense of magic in the air. It felt like a warm hug that invited everyone to gather around the table and enjoy a slice of homemade happiness.
Recipe Snapshot
50 mins
10 mins
40 mins
Medium
180 kcal
1 g
Vegan, Gluten-Free, AIP
8 g
Whisk, Blender, Oven, Chef’s Knife, Mixing Bowl, Baking Sheet
What’s Great About This Baked Pears
Why I Love Baked Pears
Baked Pears are not just a dessert; they are a delightful way to celebrate the flavors of fall. Here are a few reasons why I adore this recipe:
1. Simple Yet Elegant
With just a handful of ingredients, Baked Pears transform into an elegant dish that impresses family and friends alike. Their natural sweetness shines through, paired perfectly with a crunchy topping of brown sugar, oats, and a hint of cinnamon. It’s a dessert that says, “I care,” without requiring hours in the kitchen.
2. Versatile Treat
Not only can you serve Baked Pears as a sweet dessert, but they also make a fantastic breakfast option. Imagine enjoying them warm, drizzled with honey and paired with yogurt or a scoop of ice cream. The versatility of this dish is what keeps me coming back for more!
3. Nutritious and Delicious
Pears are incredibly nutritious, packed with fiber and antioxidants. When baked, they become soft and juicy, enhancing their natural flavors. With the addition of wholesome ingredients like oats and cinnamon, Baked Pears are a comforting yet healthy choice. It’s a dessert you can feel good about serving!
4. Perfect for Any Occasion
Whether it’s a cozy family dinner or a festive gathering, Baked Pears fit perfectly into any occasion. Their warm, inviting aroma draws everyone in, making them the ideal centerpiece for your table. Plus, they are easy to prepare, so you can spend more time enjoying the company of your loved ones.
5. Fall Flavors at Their Best
As the leaves change and the temperatures drop, I crave the flavors of fall. The simple combination of pears, brown sugar, and spices creates a nostalgic warmth that reminds me of home. Each bite brings back memories of family gatherings and laughter, making Baked Pears a must-have in my kitchen during the season.
Baked Pears Shopping List

When it comes to making Baked Pears, the ingredients play a significant role in creating that perfect balance of flavors and textures. Each component complements the others beautifully, leading to a delightful experience. The star of the show, the pear, brings natural sweetness and juiciness, while the combination of brown sugar, oats, and cinnamon adds warmth and crunch. Together, they create a mouthwatering dish that’s both comforting and satisfying.
- Pears – The main ingredient, they should be ripe yet firm for the best results.
- Brown Sugar – Adds a rich sweetness and caramel-like flavor that enhances the pears.
- Flour – Helps bind the topping and adds a nice texture.
- Rolled Oats – Provides a crunchy topping that contrasts beautifully with the soft pears.
- Cinnamon – A warm spice that elevates the flavors, making the dish feel cozy and inviting.
- Salt – A dash brings out the sweetness of the pears and balances the flavors.
- Butter – Adds richness and helps create a crumbly topping.
The Process for Making Baked Pears
Making Baked Pears is a simple and enjoyable process that yields delicious results. Let’s walk through the steps together!
- Preheat your oven to 375° Fahrenheit and prepare a 13×9 baking dish by spraying it with non-stick cooking spray. This ensures that your Baked Pears won’t stick and will come out beautifully.
- Wash and dry the pears, then slice each one vertically down the center. This will allow you to easily scoop out the seeds. Make sure to be gentle to keep the halves intact.
- Using a melon baller or small spoon, scoop out the seeds to create a small section for the topping. For added stability, you can cut a tiny slice off the back of each pear so they sit flat in the baking dish.
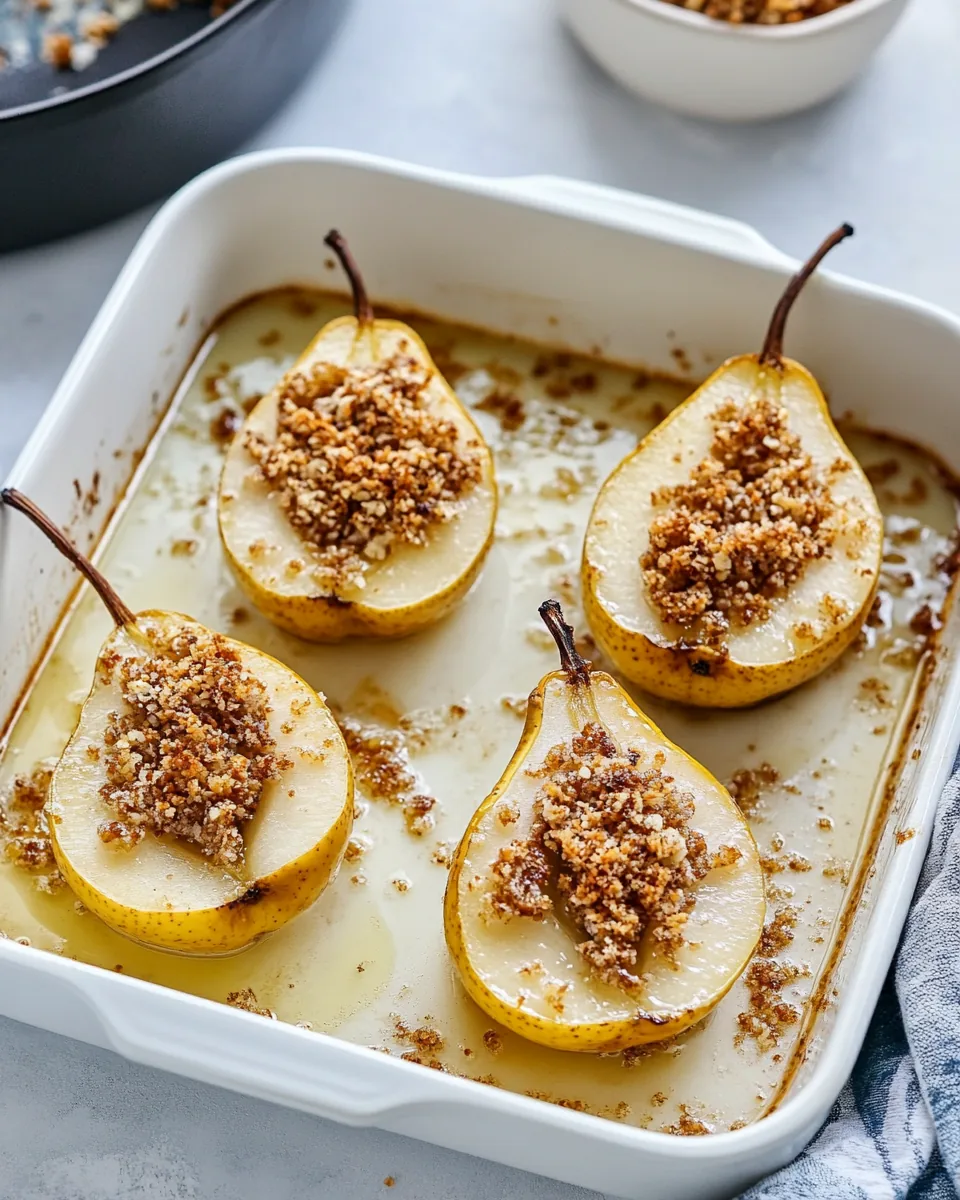
- Once your pears are ready, place them in the prepared baking dish, cut side up. This allows the flavors to meld beautifully as they bake.
- In a medium bowl, combine the brown sugar, flour, rolled oats, cinnamon, and a dash of salt. Whisk these ingredients together until they are well mixed.
- Add the butter pieces into the mixture. Using a pastry blender, two knives, or even your fingers, cut the butter in until the mixture becomes crumbly. It should resemble coarse crumbs.
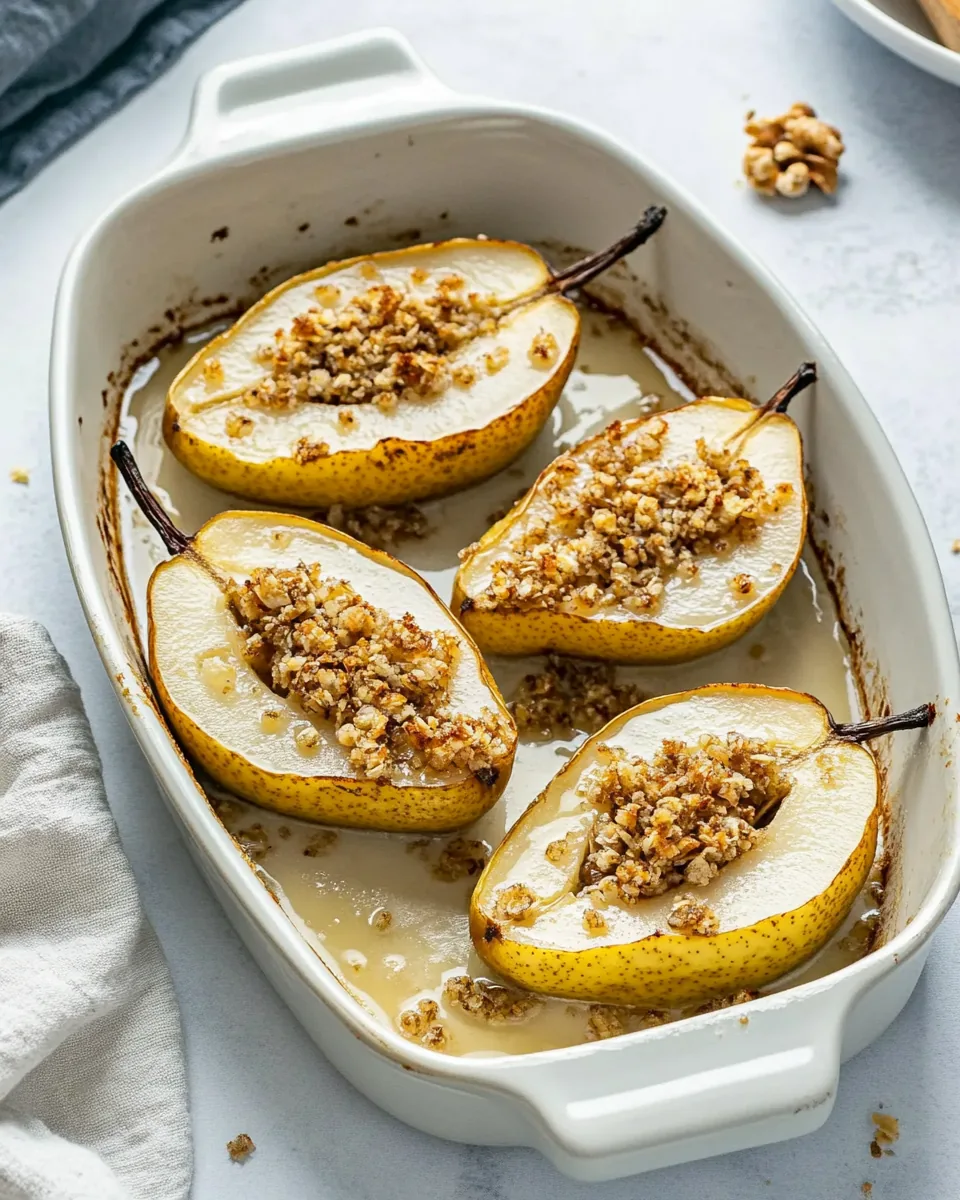
- Sprinkle the topping evenly over the prepped pears in the baking dish. Make sure to cover them generously for that perfect texture.
- Now it’s time to bake! Place the baking dish in the preheated oven and let the Baked Pears cook for 35 to 40 minutes. You’re looking for the pears to become fork-tender and slightly caramelized on top.
- Once they are done, remove them from the oven and allow them to cool slightly before serving. They are divine served warm, perhaps with a scoop of ice cream on top or a drizzle of honey for that extra touch of sweetness!
Things Worth Knowing
- Choose the Right Pears: Look for ripe pears that still have a bit of firmness to them. Varieties like Bosc or Anjou are excellent choices for baking.
- Mind the Sugar: Adjust the amount of brown sugar to your preference. If you prefer a less sweet dish, you can reduce the sugar without sacrificing flavor.
- Experiment with Spices: While cinnamon is a classic, feel free to experiment with nutmeg or ginger for a different flavor profile.
- Watch the Baking Time: Every oven is different, so keep an eye on your Baked Pears. You want them tender but not mushy!
Recipe Tips about Baked Pears
Here are some valuable tips to enhance your experience with Baked Pears:
- Storage: Store leftover Baked Pears in an airtight container in the refrigerator for up to three days.
- Freezing: You can freeze baked pears, but it’s best to do so without the topping. Just cover them well, and they should keep for up to three months.
- Pairing: Serve Baked Pears with a scoop of vanilla ice cream, whipped cream, or a drizzle of maple syrup for an extra special treat.
- Variations: Consider adding nuts or dried fruits to the crumb topping for added texture and flavor.
Serve This Baked Pears With
Enhancing your Baked Pears experience can be a fun journey! Here are some delightful ways to serve this dish:
- Ice Cream: A scoop of vanilla or caramel ice cream perfectly complements the warm Baked Pears. The cold and creamy texture is simply dreamy.
- Fresh Whipped Cream: Top your Baked Pears with freshly whipped cream for a light and fluffy finish.
- Honey Drizzle: A drizzle of honey adds a natural sweetness that enhances the flavors of the pears.
- Breakfast Treat: Enjoy Baked Pears as a breakfast option, served with yogurt and granola for a wholesome start to your day.
- Seasonal Theme: These pears make a fantastic addition to your fall gatherings or holiday dinners, bringing warmth and festivity to the table.
FAQ
Conclusion
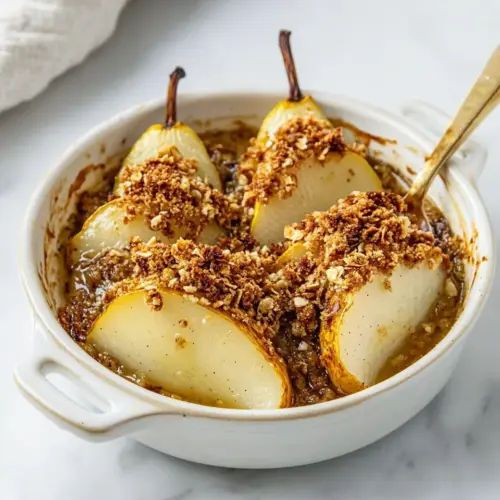
Baked Pears are a delightful dessert that captures the essence of fall in every bite. Their comforting flavors and warm aroma make them a perfect choice for any gathering or cozy evening at home. I encourage you to give this recipe a try; it’s simple, rewarding, and sure to impress everyone at the table.
Baked Pears
Equipment
- Whisk
- Blender
- Oven
- Chef's Knife
- Mixing Bowl
- Baking Sheet
Ingredients
- 3 whole Pears
- 1/4 cup Brown Sugar
- 1/4 cup Flour
- 1/4 cup Rolled Oats
- 1 teaspoon Cinnamon
- dash Salt
- 1/4 cup Butter, cut into pieces
Instructions
- Preheat your oven to 375° Fahrenheit and prepare a 13×9 baking dish by spraying it with non-stick cooking spray. This ensures that your Baked Pears won’t stick and will come out beautifully.
- Wash and dry the pears, then slice each one vertically down the center. This will allow you to easily scoop out the seeds. Make sure to be gentle to keep the halves intact.
- Using a melon baller or small spoon, scoop out the seeds to create a small section for the topping. For added stability, you can cut a tiny slice off the back of each pear so they sit flat in the baking dish.
- Once your pears are ready, place them in the prepared baking dish, cut side up. This allows the flavors to meld beautifully as they bake.
- In a medium bowl, combine the brown sugar, flour, rolled oats, cinnamon, and a dash of salt. Whisk these ingredients together until they are well mixed.
- Add the butter pieces into the mixture. Using a pastry blender, two knives, or even your fingers, cut the butter in until the mixture becomes crumbly. It should resemble coarse crumbs.
- Sprinkle the topping evenly over the prepped pears in the baking dish. Make sure to cover them generously for that perfect texture.
- Now it's time to bake! Place the baking dish in the preheated oven and let the Baked Pears cook for 35 to 40 minutes. You're looking for the pears to become fork-tender and slightly caramelized on top.
- Once they are done, remove them from the oven and allow them to cool slightly before serving. They are divine served warm, perhaps with a scoop of ice cream on top or a drizzle of honey for that extra touch of sweetness!