Frozen Yogurt
As summer approaches, there’s nothing quite like the refreshing taste of Frozen Yogurt. I remember the first time I made it on a hot day. The sun was shining, and the kids were running around, begging for something to cool them down. I decided to whip up a batch of this easy treat, using fresh, frozen fruits and creamy, tangy yogurt. The moment I served it, smiles spread across their faces, and I knew this would become a summer staple in our house. Making Frozen Yogurt is not just about enjoying a delicious dessert; it’s about creating memories and indulging in a treat that’s both satisfying and guilt-free.
Recipe Snapshot
5 mins
5 mins
0 mins
Medium
120 kcal
5 g
Gluten-Free, AIP, Low FODMAP
0 g
Chef’s Knife, Food Processor, Mixing Bowl, Blender
The Appeal of This Frozen Yogurt
Healthier Option
One of the biggest reasons I love making Frozen Yogurt at home is that it’s a healthier alternative to store-bought ice creams. You control the ingredients, so you can enjoy a sweet treat without the guilt. Greek yogurt adds protein and probiotics, making this dessert a nutritious choice.
Versatility is Key
The beauty of Frozen Yogurt lies in its versatility. You can mix and match your favorite fruits, from strawberries to mangoes, and even add in extras like nuts or a drizzle of honey. This means that every batch can be uniquely yours!
Fun for Everyone
Making Frozen Yogurt is a fun activity for the whole family. Kids can help choose their favorite fruits and mix everything in the blender. Watching them scoop their creations and share with friends is a joy that makes the effort worthwhile.
Perfect for Any Occasion
This dessert is perfect for summer barbecues, birthday parties, or just an afternoon snack. You can even customize it for holidays by adding seasonal flavors. It’s a hit with both kids and adults!
Simple to Prepare
With just a few simple ingredients, you can prepare Frozen Yogurt in a matter of minutes. No special equipment is required—just a blender and a freezer. The best part? You can make it ahead of time and have it ready for whenever the craving strikes.
Cool & Refreshing
On a scorching day, there’s nothing more refreshing than a scoop of Frozen Yogurt. It’s soothing and satisfying, providing a cool respite from the heat. You’ll find yourself reaching for it time and again during those hot summer months.
Ingredients Overview for Frozen Yogurt
Creating the perfect Frozen Yogurt relies on quality ingredients that blend harmoniously. The key players in this recipe are frozen strawberries, banana slices, and nonfat Greek yogurt. Together, they create a creamy and flavorful base, while honey provides the sweetness that enhances the natural flavors of the fruits.
- 4 cups frozen strawberries or other frozen fruit: These serve as the primary flavor and provide natural sweetness. Use ripe strawberries for the best taste.
- 2 cups frozen banana slices: Bananas add creaminess and a rich texture to your Frozen Yogurt. They also help to balance the tartness of the strawberries.
- 1 cup nonfat Greek yogurt: This ingredient is crucial for creaminess and adds a good amount of protein to your dessert.
- 2 teaspoons vanilla extract: A splash of vanilla enhances the overall flavor, making the dessert taste richer and more indulgent.
- 4-6 tablespoons honey (adjust to taste): Honey is the natural sweetener that brings all the flavors together. Adjust the amount based on your sweetness preference.
Directions for Frozen Yogurt

Making Frozen Yogurt is as easy as blending and freezing! Here’s a simple guide to follow, ensuring you achieve that perfect creamy texture.
Begin by gathering all your ingredients: the frozen strawberries, banana slices, nonfat Greek yogurt, vanilla extract, and honey. You want everything to be ready for a seamless blending process.
In a food processor or blender, combine the frozen strawberries, banana slices, Greek yogurt, vanilla extract, and honey. Make sure the lid is secured before starting the blending.
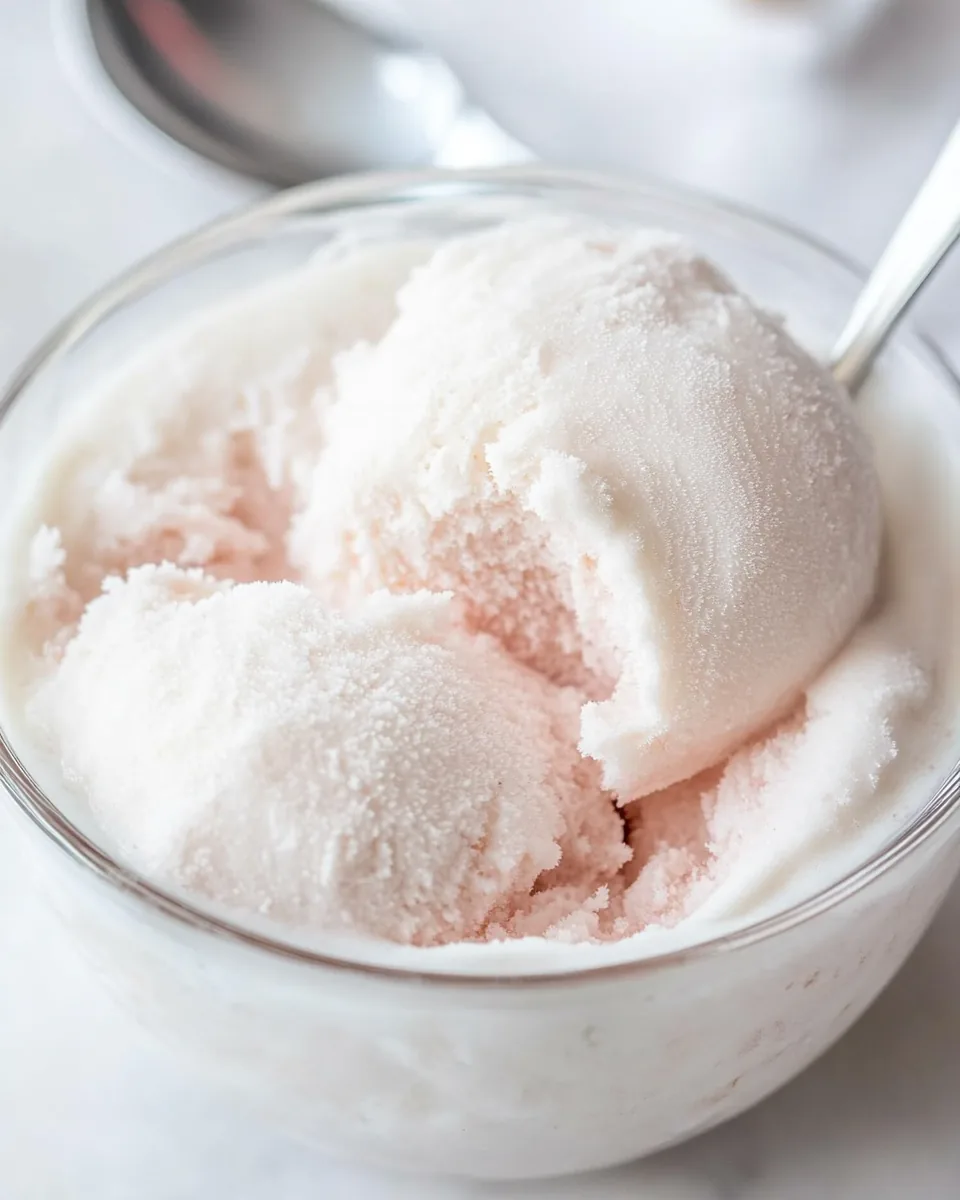
Blend the mixture until it’s smooth and creamy. You should be able to see a beautiful pink hue from the strawberries and the thick texture from the bananas and yogurt.
Once blended, taste the mixture. If you think it needs more sweetness, add another tablespoon of honey and blend again. This step is crucial for achieving your desired flavor.
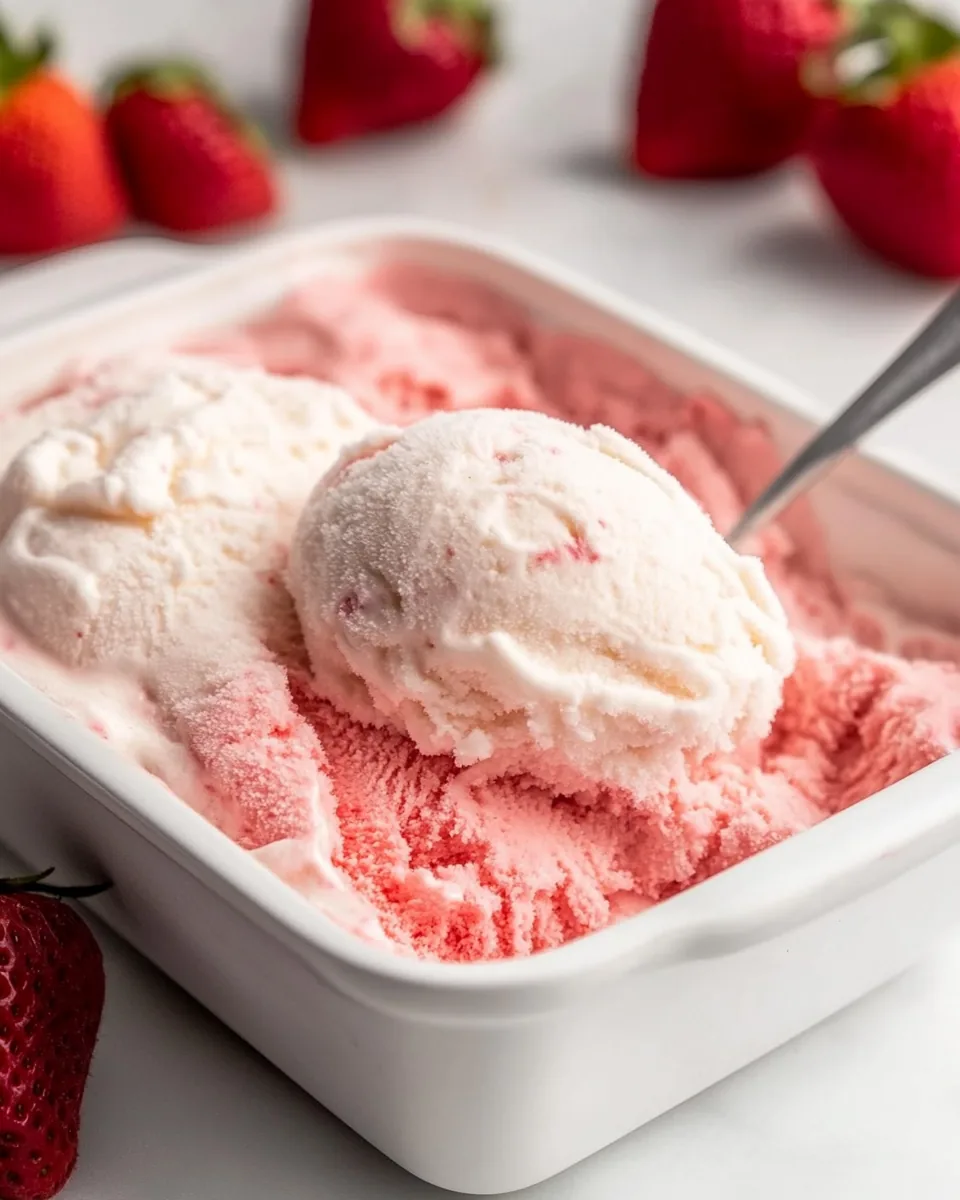
Transfer the mixture to a freezer-safe container. Use a spatula to smooth the top for an even freeze, ensuring there are no air pockets.
To prevent ice crystals from forming, cover the top of the mixture with parchment paper, pressing it directly against the yogurt. This helps maintain that lovely, creamy consistency.
Freeze for at least 6 hours, or until firm. It’s important to let it freeze completely so you can scoop it easily later.
Before serving, take the container out of the freezer and let it sit at room temperature for a few minutes. This will soften the Frozen Yogurt, making it easier to scoop.
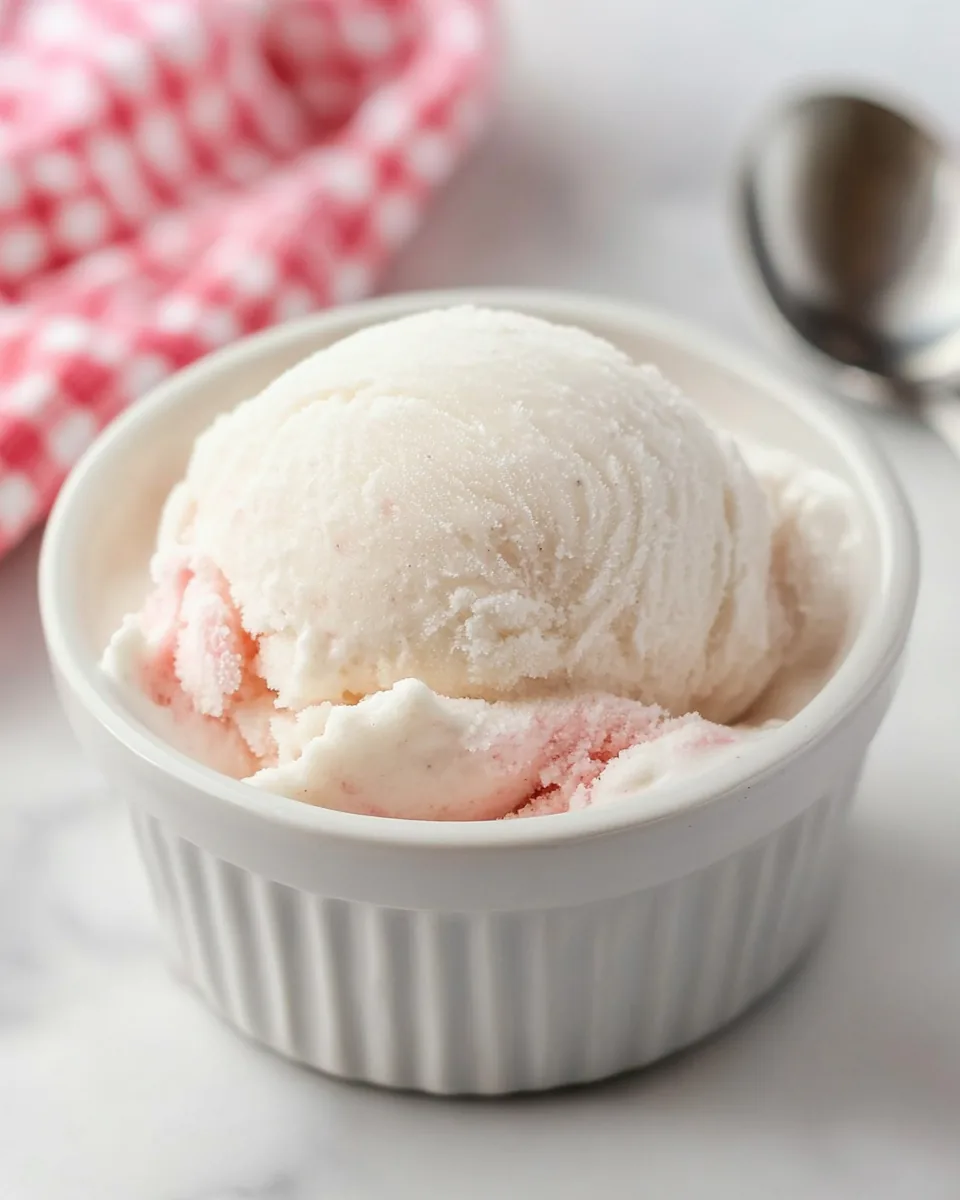
Once it’s slightly softened, scoop out the Frozen Yogurt into bowls or cones. You can garnish with fresh fruits, nuts, or a drizzle of more honey if desired. Enjoy your homemade treat!
Things Worth Knowing
- Texture Matters: When blending, ensure the mixture is completely smooth. This ensures you won’t have any chunks of fruit in your final product.
- Freezing Time: The longer you freeze, the firmer the yogurt will be. If you want a softer texture, consider mixing it every couple of hours.
- Serving Sizes: Use an ice cream scoop for perfect portion sizes. This also makes for a neater presentation!
- Ingredient Quality: Always opt for ripe fruits when available. The natural sweetness and flavor will elevate your Frozen Yogurt.
- Custom Flavors: Experiment with different fruits or even add in some cocoa powder for a chocolate version!
Ways to Adapt This Recipe
There are endless ways to put a personal touch on your Frozen Yogurt. Here are some ideas to inspire you!
- Storage: Store your Frozen Yogurt in an airtight container to keep it fresh. It can last in the freezer for about two weeks.
- Freezing: If you don’t finish your Frozen Yogurt right away, consider portioning it out into smaller containers for easy access later.
- Pairing: Serve with fresh fruits, granola, or a sprinkle of nuts for added texture and flavor.
- Flavor Variations: Try adding different fruits like mangoes or blueberries for a twist on the classic recipe.
- Serving Suggestion: For a fun presentation, serve in a waffle cone or topped with colorful sprinkles.
- Sweetness Level: Adjust the amount of honey based on your taste preference. You can also use other sweeteners like agave or maple syrup.
How to Serve Frozen Yogurt
Serving Frozen Yogurt is all about creativity and enjoyment. Here are some tips to elevate your dessert experience:
- Garnish with Fresh Fruits: Add fresh berries, sliced bananas, or even a sprinkle of coconut flakes on top for a colorful presentation.
- Serve in Waffle Cones: Transform your Frozen Yogurt into a fun treat by serving it in waffle cones. It’s perfect for parties or family gatherings.
- Pair with Toppings: Provide a variety of toppings like granola, nuts, or chocolate chips. This creates a fun, customizable dessert bar!
- Occasion-Focused: Ideal for summer BBQs, birthday parties, or casual family nights, Frozen Yogurt is suitable for any festive occasion.
- Seasonal Adjustments: Incorporate seasonal fruits or flavors, such as pumpkin in the fall or cherries in the summer, to keep things fresh.
- Chill Your Bowls: For an elegant touch, chill your serving bowls in the freezer before serving. It keeps the yogurt colder for longer!
FAQ
Conclusion
Making Frozen Yogurt at home is a delightful experience that combines flavor with health benefits. It’s an easy way to enjoy a refreshing treat without the guilt of high calories and sugars. I encourage you to try it out and customize it to your liking. You might just find that it becomes a new family favorite!

Frozen Yogurt
Equipment
- Chef's Knife
- Food Processor
- Mixing Bowl
- Blender
Ingredients
- 4 cups frozen strawberries
- 2 cups frozen banana slices
- 1 cup nonfat Greek yogurt
- 2 teaspoons vanilla extract
- 4-6 tablespoons honey
Instructions
- Begin by gathering all your ingredients: the frozen strawberries, banana slices, nonfat Greek yogurt, vanilla extract, and honey. You want everything to be ready for a seamless blending process.
- In a food processor or blender, combine the frozen strawberries, banana slices, Greek yogurt, vanilla extract, and honey. Make sure the lid is secured before starting the blending.
- Blend the mixture until it’s smooth and creamy. You should be able to see a beautiful pink hue from the strawberries and the thick texture from the bananas and yogurt.
- Once blended, taste the mixture. If you think it needs more sweetness, add another tablespoon of honey and blend again. This step is crucial for achieving your desired flavor.
- Transfer the mixture to a freezer-safe container. Use a spatula to smooth the top for an even freeze, ensuring there are no air pockets.
- To prevent ice crystals from forming, cover the top of the mixture with parchment paper, pressing it directly against the yogurt. This helps maintain that lovely, creamy consistency.
- Freeze for at least 6 hours, or until firm. It’s important to let it freeze completely so you can scoop it easily later.
- Before serving, take the container out of the freezer and let it sit at room temperature for a few minutes. This will soften the Frozen Yogurt, making it easier to scoop.
- Once it’s slightly softened, scoop out the Frozen Yogurt into bowls or cones. You can garnish with fresh fruits, nuts, or a drizzle of more honey if desired. Enjoy your homemade treat!