Sugar Cookie Icing
Every time I bake, I find myself dreaming about the perfect finish for my treats, and that’s where Sugar Cookie Icing comes into play. There’s something truly magical about the way a smooth, glossy icing can transform simple cookies into delightful masterpieces. It’s not just about aesthetics; it’s about creating a canvas for creativity. I remember the first time I made Sugar Cookie Icing for a family gathering. The kids were in awe as I spread the icing over freshly baked cookies, and I could see their excitement grow with every sprinkle I added. This icing has become my go-to for any occasion, from birthday parties to holiday cookie exchanges, and it never fails to impress.
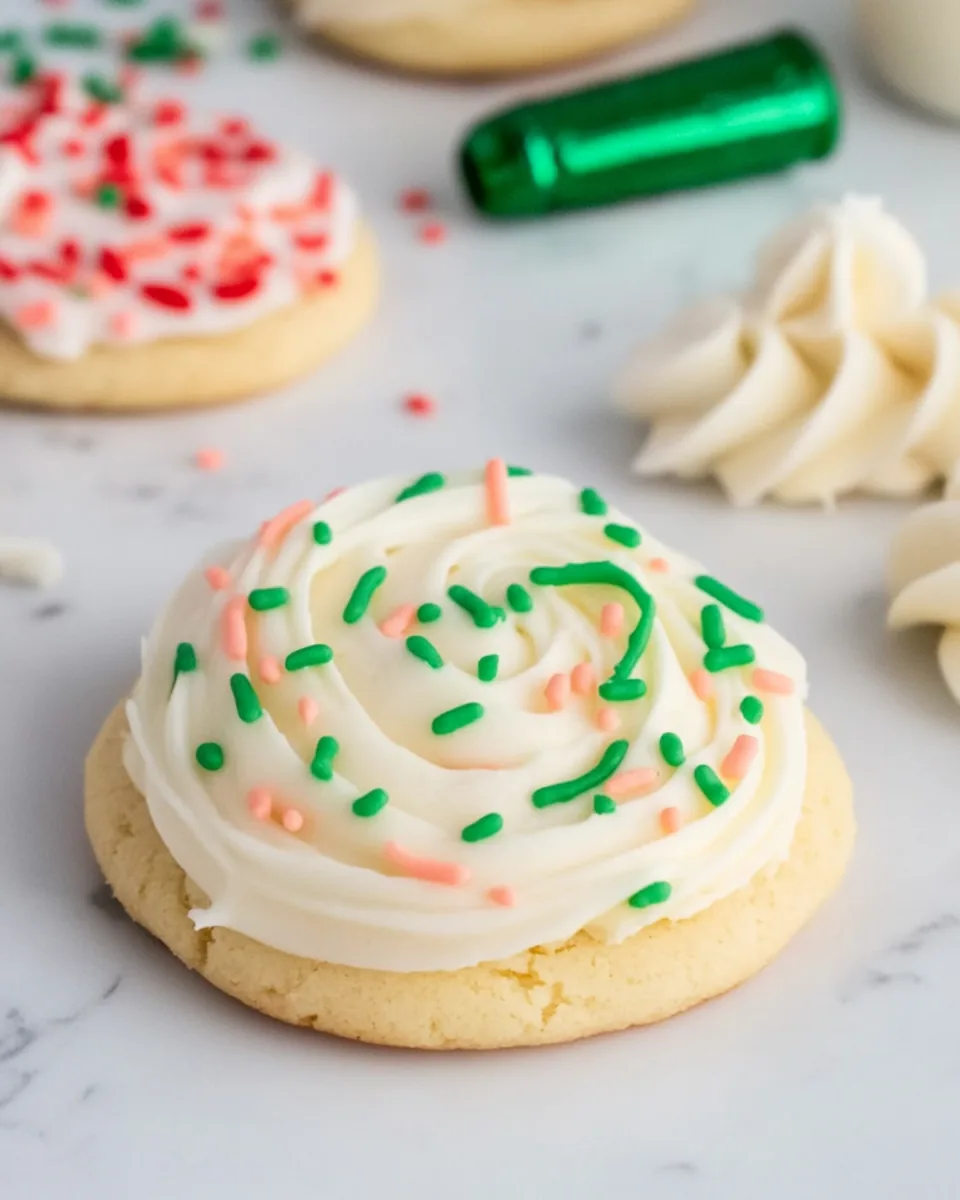
What I love most about this Sugar Cookie Icing is its versatility. You can customize it with food coloring for any celebration theme, or leave it White for a classic look. The smooth, creamy texture perfectly complements the sweetness of the cookies, creating a delightful balance. Plus, it sets nicely, making it easy to stack and store the decorated cookies without fear of mess. The best part? It’s incredibly easy to whip up! With just a few ingredients, you can create a delicious frosting that will elevate your cookie game to a whole new level. I can’t wait for you to try it!
Recipe Snapshot
10 mins
10 mins
0 mins
Medium
80 kcal
1 g
Gluten-Free, Low FODMAP
4 g
Mixing Bowl
Why This Sugar Cookie Icing Shines
Brings Joy to Baking
There’s nothing quite like the joy of decorating cookies with Sugar Cookie Icing. It’s a fun activity that can be enjoyed with family or friends, making it perfect for gatherings. The smiles on everyone’s faces when they see the colorful, beautifully iced cookies are priceless.
Perfect Texture
This icing achieves that perfect balance of thick yet pourable, creating a smooth finish on your cookies. It drips just right, allowing for clean edges and a professional look, which is especially important for special occasions.
Quick to Prepare
You’ll be amazed at how quickly you can whip up this icing. With just a handful of ingredients, you can have it ready in no time, making it an ideal choice for last-minute baking projects.
Customizable Colors and Flavors
Whether you want pastel shades for a baby shower or vibrant colors for a birthday party, this icing can be tailored to fit any theme. A few drops of food coloring and you’re all set! You can even add different flavorings to suit your taste.
Long-Lasting Storage
This Sugar Cookie Icing can be stored for up to five days in the refrigerator, and it freezes beautifully, making it a convenient option for those who like to plan ahead.
Great for All Occasions
From birthdays to holidays, this icing is perfect for any celebration. It’s a versatile recipe that can elevate any cookie, making it a must-have in your baking repertoire.
What You Need for Sugar Cookie Icing
The ingredients for Sugar Cookie Icing are simple but essential for achieving that perfect consistency and flavor. Each ingredient plays a crucial role in creating a smooth, glossy finish that will enhance your cookies tremendously.
- 4 ounces of full-fat cream cheese, softened – This forms the creamy base of your icing, providing richness and a subtle tang.
- 2 tablespoons of unsalted butter, softened – Adds a lovely buttery flavor and helps achieve a smooth texture.
- 1 teaspoon of vanilla extract – Gives the icing a sweet aroma and enhances the overall flavor.
- ⅛ teaspoon of table salt – Balances the sweetness and brings out the flavors of the other ingredients.
- 2 cups of powdered sugar, plus more as needed – This is the primary sweetener and thickening agent that gives the icing its structure.
- 2 tablespoons of milk, plus more as needed – Adjusts the consistency of the icing, making it spreadable or pourable as desired.
Recipe Steps for Sugar Cookie Icing

Getting started on your Sugar Cookie Icing is a breeze! Let’s dive into the steps to create this delicious frosting that will elevate your cookies. Follow along, and soon you’ll be ready to ice those cookies like a pro!
- In a large bowl, using a handheld mixer or a stand mixer fitted with a paddle attachment, beat 4 ounces of softened cream cheese and 2 tablespoons of softened butter together on medium-high speed. Keep mixing until the mixture is smooth and creamy, ensuring there are no lumps. You want a nice, fluffy texture that will make spreading or piping much easier.
- Next, add 1 teaspoon of vanilla extract and ⅛ teaspoon of table salt to the bowl. Mix on low speed until these ingredients are well integrated. The aroma of vanilla should fill your kitchen, adding a delightful hint of sweetness to your icing.
- Now, it’s time to sift in 2 cups of powdered sugar. This step is crucial, as sifting helps eliminate lumps, resulting in a silky icing. Once sifted, mix on low speed until just combined. Keep an eye on the mixer to avoid a sugar cloud!
- To achieve the right consistency, gradually add 2 tablespoons of milk, one tablespoon at a time. Beat on low to medium speed until the icing is thick but still pours easily. You want it to drip in a thick ribbon from the beaters. If it feels too thick, add a little more milk, adjusting as needed.
- If you’re looking for a thicker icing for detailed decorating, you can add ¼ cup more of powdered sugar, beating well after each addition until you reach your desired consistency. This is especially important if you plan to pipe intricate designs.
- If you wish to color your icing, now is the time to add food dye. Mix thoroughly until the color is evenly distributed. This is where you can let your creativity shine!
- To use the icing, you can spread it on cookies with an offset spatula or knife. For more precision, transfer the icing to a piping bag fitted with a small tip to ice cookies more accurately.
- For added flair, consider decorating with sprinkles while the icing is still wet. This will ensure they stick beautifully.
- After icing, allow the cookies to harden for about 12 to 24 hours at room temperature. This is essential to ensure your icing sets properly and won’t smudge.
- Once hardened, stack the cookies in an airtight container, separating layers with parchment or wax paper to keep them intact. You can store iced cookies in the refrigerator for up to five days or freeze them for up to one month in an airtight container.
Things Worth Knowing
- Consistency is Key: The perfect Sugar Cookie Icing should be thick yet drip slowly from a spoon. Adjust with more milk or powdered sugar as needed.
- Coloring Tips: Use gel food colors for more vibrant shades without affecting the consistency of your icing.
- Storage: Keep any leftover icing in an airtight container in the refrigerator for up to five days.
- Freezing: This icing can be frozen! Just ensure it’s in an airtight container and thaw in the fridge before using.
- Decorating Time: Allow the icing to set for at least 12 hours for best results before stacking or serving.
Substitutions and Tips

Every baker loves a good tip to make their work easier and more efficient! Here are some valuable insights and substitutions to consider when making your Sugar Cookie Icing.
- Storage: To store leftover icing, keep it in an airtight container in the refrigerator for up to five days.
- Freezing: Yes, you can freeze this icing! Store it in a freezer-safe container for up to one month.
- Pairing: This icing pairs wonderfully with vanilla or almond-flavored cookies for a delightful taste experience.
- Adjusting Sweetness: If you find the icing too sweet, consider adding a pinch of lemon juice or zest for a refreshing balance.
- Decorating Techniques: Experiment with different piping tips to create various designs on your cookies.
What Goes Well With This Sugar Cookie Icing
When it comes to serving cookies adorned with Sugar Cookie Icing, the possibilities are nearly endless! Here are some ideas to elevate your cookie experience:
- Sandwich Cookies: Use this icing to create sandwich cookies with a delightful filling of your choice.
- Occasions: Perfect for birthday parties, holiday gatherings, or just a cozy afternoon treat.
- Pair with Beverages: Enjoy these iced cookies with a glass of milk or a warm cup of tea for a comforting snack.
- Decorative Gift: Package decorated cookies in a box with a ribbon for a thoughtful gift.
- Seasonal Themes: Use seasonal colors and sprinkles to decorate cookies for specific holidays, enhancing the festive atmosphere.
FAQ
Conclusion
In summary, Sugar Cookie Icing is a simple yet transformative addition to your baking repertoire. It not only enhances the appearance of your cookies but also adds a delicious layer of flavor that everyone will love. I encourage you to try making this icing and experience the joy it brings to your baking adventures. You’ll find that it’s the perfect finishing touch to any cookie, making them irresistible!

Sugar Cookie Icing
Equipment
- Mixing Bowl
Ingredients
- 4 ounces Cream Cheese Softened for easier mixing.
- 2 tablespoons Unsalted Butter Softened for blending.
- 1 teaspoon Vanilla Extract For flavor enhancement.
- ⅛ teaspoon Table Salt Balances sweetness.
- 2 cups Powdered Sugar Essential for sweetness and structure.
- 2 tablespoons Milk Adjusts icing consistency.
Instructions
- In a large bowl, using a handheld mixer or a stand mixer fitted with a paddle attachment, beat 4 ounces of softened Cream Cheese and 2 tablespoons of softened Butter together on medium-high speed until smooth and creamy. Keep mixing until there are no lumps. You want a nice, fluffy texture.
- Next, add 1 teaspoon of Vanilla Extract and ⅛ teaspoon of Table Salt to the bowl. Mix on low speed until well integrated. The aroma of vanilla should fill your kitchen.
- Now, sift in 2 cups of Powdered Sugar. This step is crucial for a silky icing. Combine on low speed to avoid a sugar cloud.
- Add 2 tablespoons of Milk gradually, one tablespoon at a time. Mix on low to medium speed until the right consistency is achieved. It should drip in a thick ribbon from the beaters.
- Add ¼ cup more of Powdered Sugar for a thicker icing, beating well after each addition until desired consistency is reached.
- Add food dye if desired and mix until the color is evenly distributed.
- Spread the icing on cookies or transfer to a piping bag to ice cookies more accurately.
- Decorate with sprinkles while icing is still wet.
- Let cookies harden for 12 to 24 hours at room temperature.
- Stack cookies in an airtight container, separated by layers of parchment paper. Store iced cookies in the refrigerator for up to five days or freeze for up to one month.
Notes
- Yield: This recipe will ice about 3 dozen cookies.
- Cream Cheese: Use full-fat cream cheese at room temperature.
- Powdered Sugar: Sift for a smooth icing.
- Milk: Any variety works well.
- Storage: Store icing for up to five days or freeze for one month.