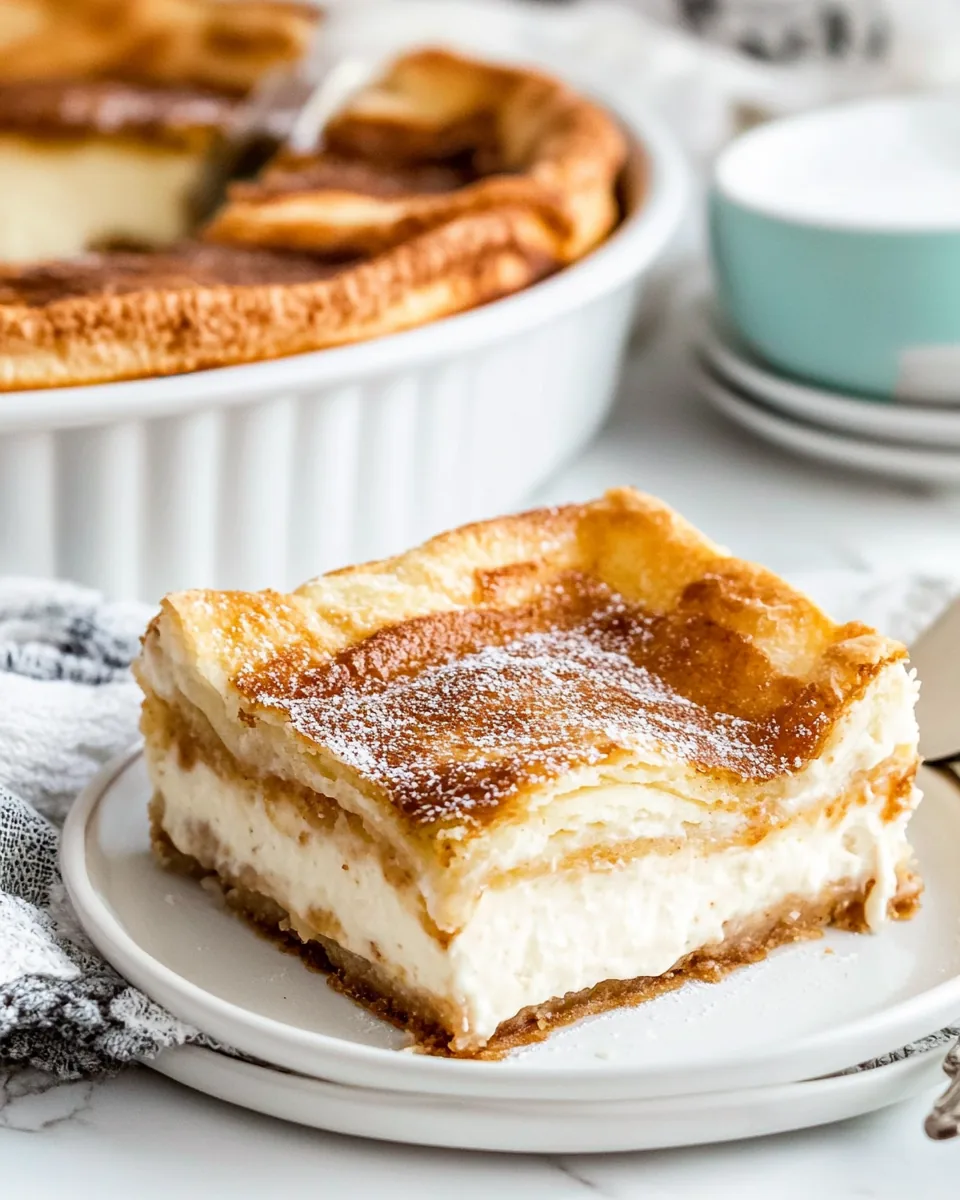
Sopapilla Cheesecake
The first time I tasted Sopapilla Cheesecake, I was completely enchanted. I remember sitting at a family gathering, surrounded by laughter and delicious food, when a relative brought out this dessert. It was beautifully golden, with a hint of cinnamon wafting through the air. The first bite was a delightful fusion of creamy and flaky textures, and I instantly knew I had to recreate it. It felt like a warm hug on a chilly evening, and it sparked a craving that I still have today. This dessert is perfect for any occasion, whether it’s a birthday party, a holiday gathering, or just a sweet treat at home.
Recipe Snapshot
40 mins
10 mins
30 mins
Easy
320 kcal
5 g
Keto, Gluten-Free, Low FODMAP
18 g
9×13 baking dish
The Appeal of This Sopapilla Cheesecake
It’s a Crowd-Pleaser
Whenever I make Sopapilla Cheesecake, it never fails to impress. The blend of flavors and textures appeals to both young and old. It’s a sweet dessert that satisfies everyone’s sweet tooth!
Simple Yet Elegant
This recipe is incredibly easy to prepare, making it perfect for those who might feel intimidated by baking. With just a few simple ingredients, you can create something that looks and tastes like a bakery masterpiece.
Versatile Serving Options
One of my favorite things about this dessert is its versatility. You can serve it warm or chilled, and it pairs perfectly with whipped cream or fresh fruit. You can also add a drizzle of honey for an extra touch of sweetness.
Great for Sharing
Sopapilla Cheesecake is great for sharing with friends and family. I often take it to gatherings, and it disappears quickly. It always sparks conversations about recipes and cooking, which adds an extra layer of joy to the sharing experience.
Comfort Food at Its Best
This dessert reminds me of family gatherings and special moments in life. Each bite brings back memories of joy and celebration, making it a comforting dish that I cherish.
What You Need for Sopapilla Cheesecake
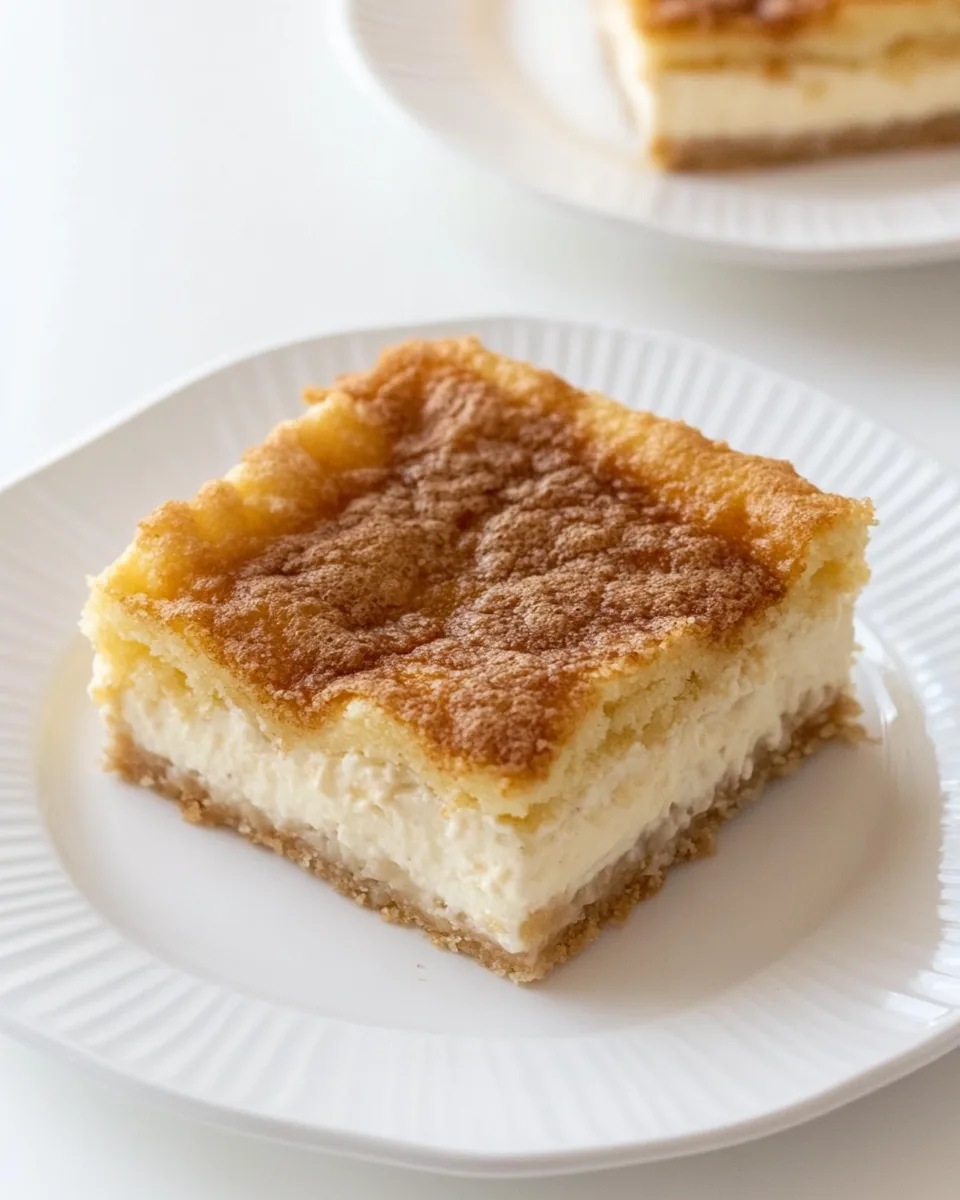
The ingredients for Sopapilla Cheesecake come together beautifully, creating a dessert that’s both sweet and satisfying. The star players are the crescent rolls, which provide a fluffy base, and the cream cheese that gives it a rich, creamy filling. Together, they form a delightful contrast that keeps you coming back for more.
- 2 (8 ounce cans) Pillsbury crescent rolls: These are the foundation of your cheesecake, providing a light and flaky crust that holds everything together.
- 2 (8 ounce packages) cream cheese (room temperature): This creamy ingredient adds a rich flavor and a velvety texture to your cheesecake filling.
- 1 1/2 cups sugar, divided: The sugar sweetens the filling and adds a delightful sweetness to the topping.
- 1 teaspoon vanilla extract: This brings depth to the flavor, enhancing the overall sweetness and aroma of the cheesecake.
- 1 teaspoon cinnamon: A classic spice that adds warmth and a hint of nostalgia, complementing the sweetness perfectly.
- 1/4 cup butter, melted: This adds richness and moisture, creating a beautiful golden crust when baked.
Making This Sopapilla Cheesecake
Now that you’re excited about making Sopapilla Cheesecake, let’s dive into the steps! This process is straightforward, and soon you’ll be enjoying a slice of this delicious dessert.
First, preheat your oven to 350 degrees. This ensures that your cheesecake bakes evenly and thoroughly, providing that perfect golden top.
Next, spray a 9 x 13-inch baking dish with nonstick cooking spray. This step is crucial to prevent sticking, ensuring a smooth release of your cheesecake once it’s baked.
Unroll one can of crescent rolls and press it into the bottom of the prepared baking dish. Make sure to seal the perforations for a uniform crust.
In a large bowl, blend the cream cheese, 1 cup of sugar, and the vanilla on medium speed with a hand mixer until smooth and creamy. This should take about 2 to 3 minutes, giving you a luscious filling.
Spread the cream cheese mixture evenly over the crescent roll dough. This layer will be the heart of your cheesecake, creating a delightful contrast to the flaky crust.
Unroll the second can of dough onto a sheet of saran wrap, pressing the perforations together to form a solid layer. Carefully transfer this dough on top of the cream cheese layer, covering it completely.
Pour the melted butter evenly over the top of the dough. This will help create a beautiful, golden crust as it bakes.
In a small bowl, combine the remaining 1/2 cup of sugar and cinnamon. Sprinkle this mixture evenly over the melted butter, ensuring every bite is sweet and flavorful.
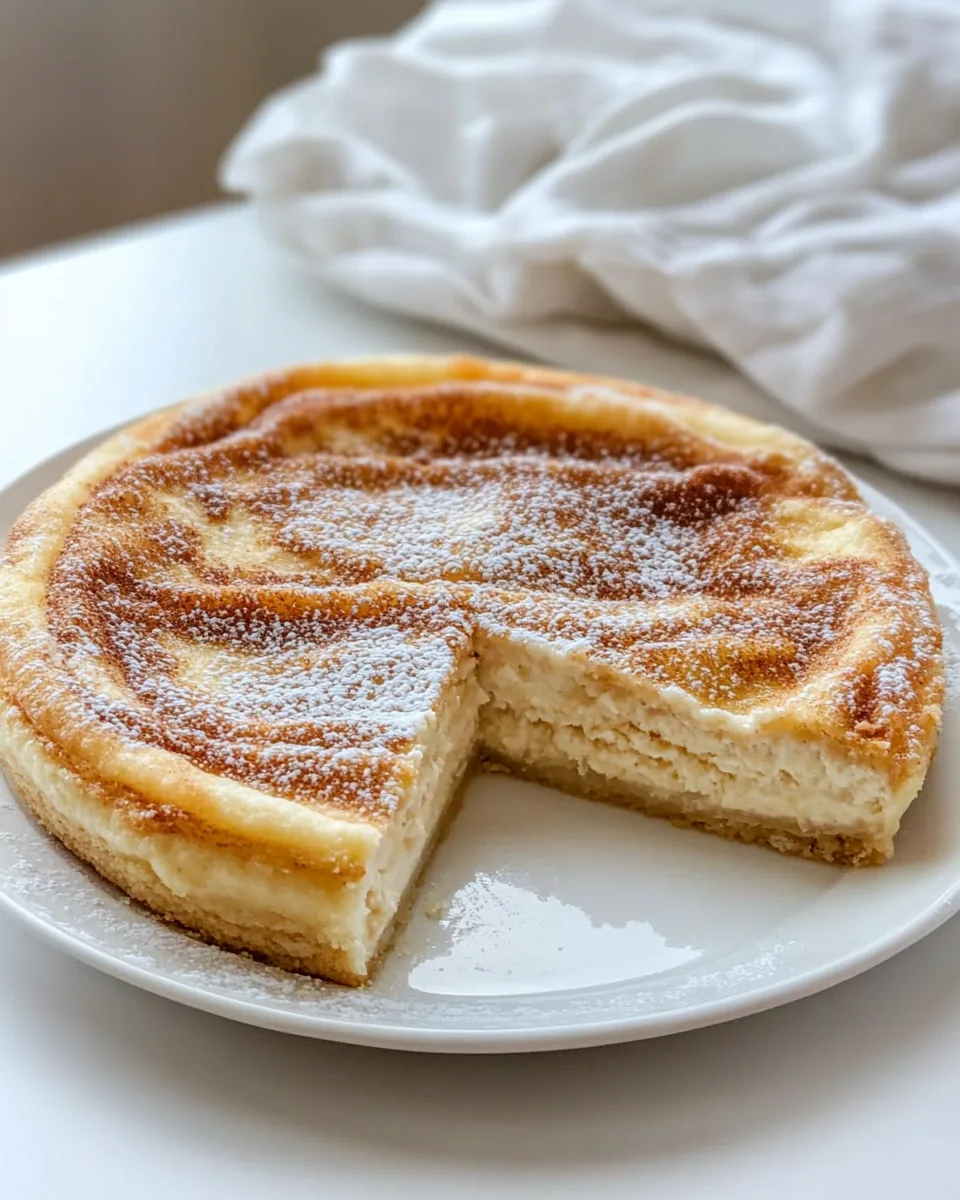
Bake the cheesecake for 25 to 30 minutes until bubbly and the top is golden brown. Keep an eye on it to prevent over-baking; you want a beautiful golden crust!
Once baked, remove it from the oven and let it cool completely. Store it in the fridge to firm up before slicing. When ready to serve, slice and add whipped cream and strawberries if desired. You could even drizzle some honey over it for an extra touch.
Things Worth Knowing
- Room Temperature Ingredients: Ensure your cream cheese is at room temperature before mixing. This will help create a smoother filling.
- Sealing the Dough: Press the seams of the crescent rolls firmly together to avoid leakage and create a solid base.
- Cooling Time: Allow the cheesecake to cool completely before slicing. This not only helps it set but also enhances the flavors.
- Variations: Feel free to experiment with toppings such as chocolate drizzles, fresh berries, or even a sprinkle of nuts for added texture.
Recipe Variations about Sopapilla Cheesecake

There are numerous ways to customize Sopapilla Cheesecake to fit your tastes. Here are some suggestions to get you started:
- Fruit Toppings: You can top the cheesecake with a variety of fruits like blueberries, raspberries, or sliced bananas for added flavor.
- Chocolate Drizzle: Consider drizzling melted chocolate over the top for a decadent twist.
- Nutty Crunch: Adding chopped nuts, such as pecans or almonds, can give your cheesecake an excellent crunch.
- Spice Variations: Try adding a pinch of nutmeg alongside the cinnamon for a more complex flavor.
- Sweet Cream: Serve it with sweetened whipped cream or a dollop of crème fraîche for an elegant touch.
- Layered Delight: Create layers by adding a layer of fruit preserves or caramel sauce between the dough and cream cheese.
- Holiday Flavors: During the holidays, consider infusing the cream cheese with peppermint extract for a festive version.
What to Pair With Sopapilla Cheesecake
When it comes to serving Sopapilla Cheesecake, there are plenty of delightful pairings to enhance the experience. Consider the following:
- Coffee: A warm cup of coffee complements the sweetness of the cheesecake beautifully.
- Ice Cream: Serve a slice with a scoop of vanilla or caramel ice cream for a decadent treat.
- Fruit Salad: A light fruit salad on the side can balance the richness of the cheesecake.
- Whipped Cream: A generous dollop of freshly whipped cream adds a lovely touch and enhances the dessert’s creaminess.
- Seasonal Occasions: This cheesecake is perfect for gatherings, potlucks, or celebratory meals, making it a versatile option.
- Picnic Treat: It’s a great dessert to bring along to picnics, as it travels well when kept chilled.
FAQ
Conclusion
In conclusion, Sopapilla Cheesecake is a truly special dessert that combines the comfort of home-baked goodness with the excitement of delightful flavors. It’s easy to make and perfect for sharing with family and friends. I encourage you to try this recipe and experience the joy it brings to any gathering. Whether it’s a holiday celebration or a casual get-together, this cheesecake is sure to be a hit!

Sopapilla Cheesecake
Equipment
- 9x13 baking dish
Ingredients
- 2 cans Pillsbury crescent rolls
- 2 packages cream cheese
- 1.5 cups sugar
- 1 teaspoon vanilla extract
- 1 teaspoon cinnamon
- 0.25 cup butter
Instructions
- First, preheat oven to 350 degrees. Spray a 9 x 13-inch baking dish with nonstick cooking spray. Unroll one can of crescent rolls and press it into the bottom of the prepared baking dish.
- Next, in a large bowl blend the cream cheese, 1 cup sugar, and the vanilla on medium speed with a hand mixer. Spread evenly over the top of the crescent roll dough.
- Unroll your second can of dough onto a sheet of saran wrap or some other surface and press the perforations together. Transfer to your baking pan, placing it on top of the cream cheese layer.
- Pour the melted butter on top of the dough.
- In a small bowl, combine the remaining 1/2 cup of sugar and cinnamon. Sprinkle evenly over the melted butter.
- Bake cheesecake for 25-30 minutes until bubbly and the top is golden brown. Let it cool and store in the fridge. When ready to serve, slice and add whipped cream and strawberries if desired.
Notes
- Storage: Allow leftovers to cool completely before storing in an airtight container in the fridge for up to five days.
- Freezing: You can freeze the cheesecake, but it’s best when enjoyed fresh. Wrap it well before freezing.
- Pairing: This dessert pairs well with coffee or ice cream for an indulgent treat.
- Serving Temperature: It’s delicious served cold or warm; both options are delightful!
- Creamy Texture: Ensure the cream cheese is at room temperature for the best creamy texture.