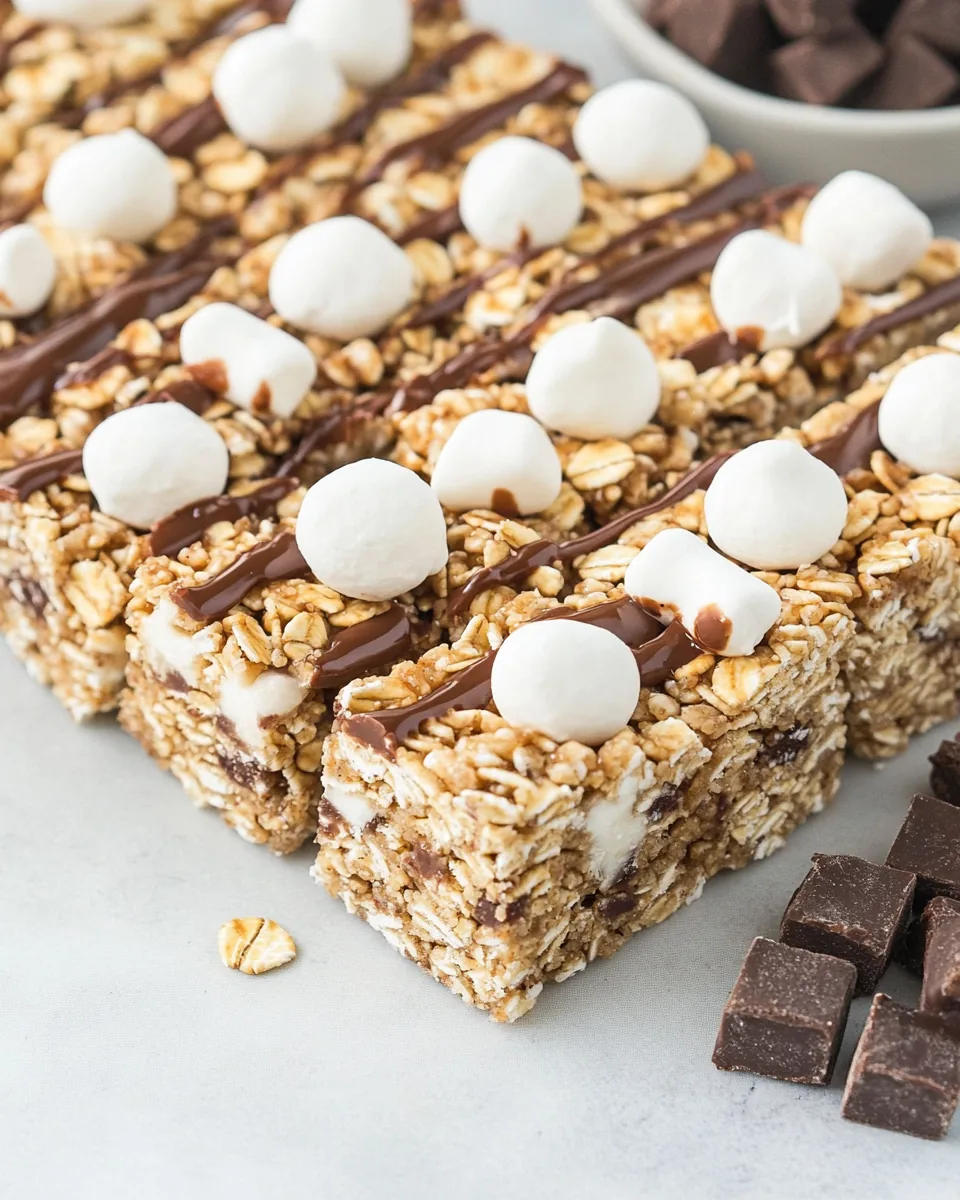
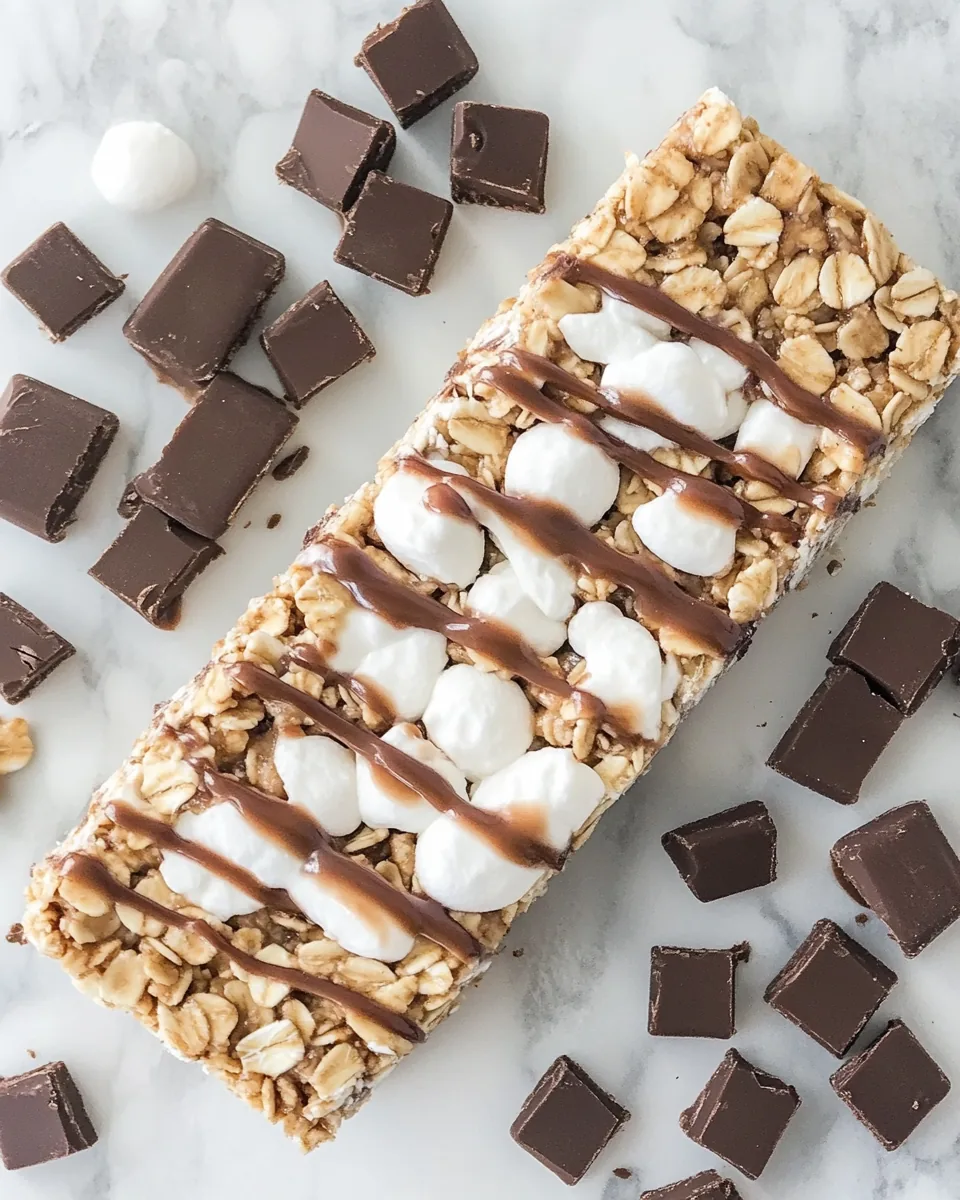
S’mores Granola Bars
There’s something irresistibly nostalgic about S’mores Granola Bars. As a kid, summer nights spent around a crackling campfire, roasting marshmallows until they were golden and gooey, always left me with a sweet tooth craving. Fast forward to today, and I’ve found a way to recreate that delightful flavor in a simple, chewy granola bar that can be enjoyed anytime. Whether I’m packing a quick snack for work, indulging in a midnight treat, or prepping for a road trip, these bars never fail to satisfy. They’re the perfect blend of crunchy and chewy, with a decadent chocolate layer that reminds me of those campfire nights. What I love most is how easy they are to make—I can whip them up in no time and share them with friends and family.
Recipe Snapshot
48 mins
30 mins
18 mins
Medium
200 kcal
2 g
Gluten-Free, Low FODMAP
8 g
Frying Pan, Oven, Large Pot, Wooden Spoon, Mixing Bowl, Baking Sheet
Each bite of these S’mores Granola Bars takes me back to those carefree days, evoking memories of laughter, warmth, and the simple joys of life. Not only do they taste amazing, but they also provide a wholesome energy boost, thanks to the oats and rice cereal. So, whether it’s a picnic in the park or a cozy movie night at home, these bars are a must-have. I can’t wait for you to make them!
Recipe Snapshot
48 mins
30 mins
18 mins
Medium
200 kcal
2 g
Gluten-Free, Low FODMAP
8 g
Frying Pan, Oven, Large Pot, Wooden Spoon, Mixing Bowl, Baking Sheet
What Sets This S’mores Granola Bars Apart
A Journey of Flavor
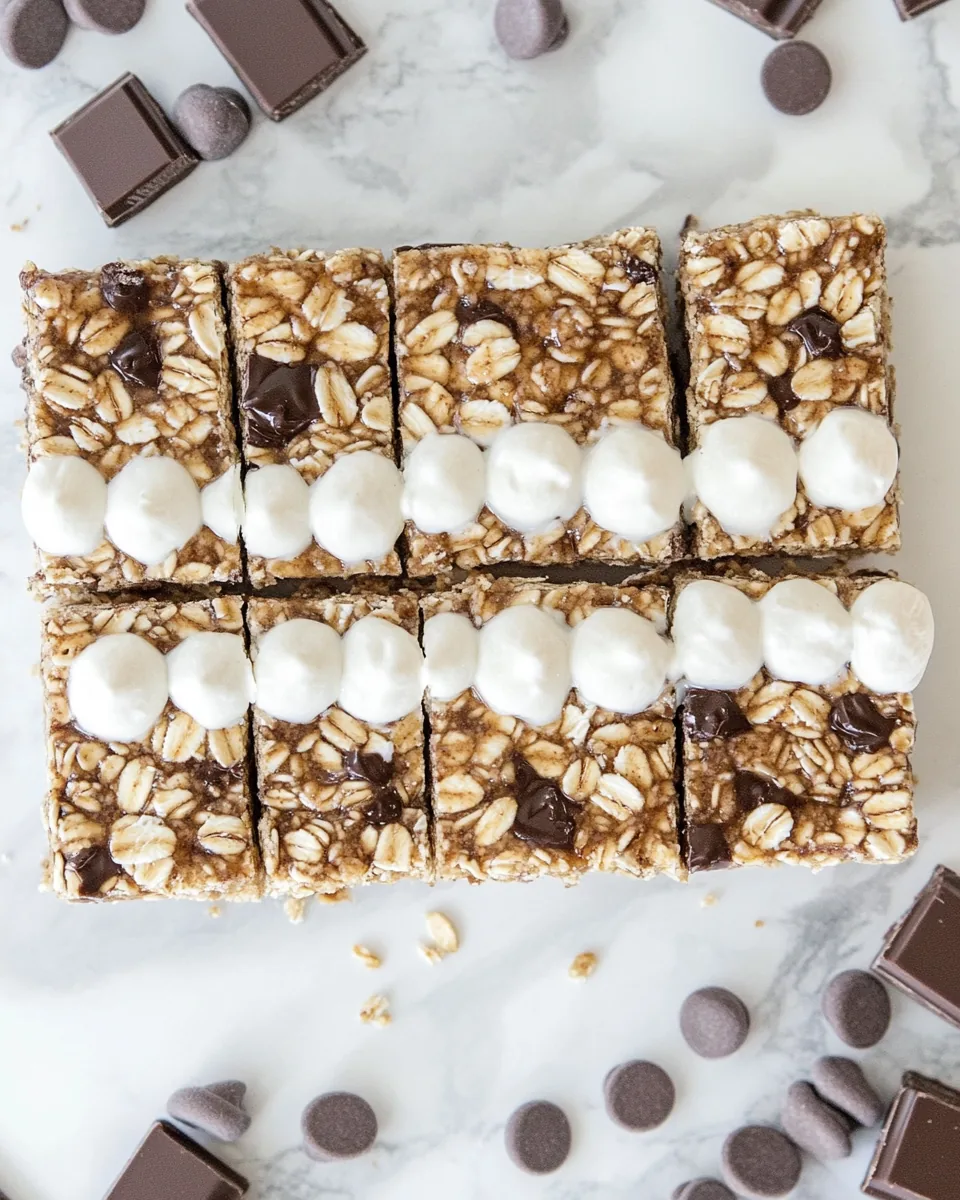
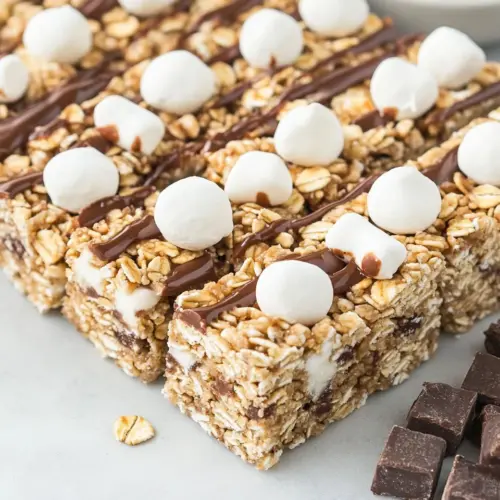
What sets these S’mores Granola Bars apart is their incredible flavor profile. With the perfect balance of sweetness from the chocolate and marshmallows, combined with the hearty texture of oats, every bite is a delightful experience. The addition of Rice Krispies gives them that satisfying crunch, making them a unique twist on the classic s’mores.
Make Ahead and Store
These bars are not just delicious but also practical. You can prepare a batch and store them for a week, making them an ideal snack for busy days. I love the idea of having a homemade treat on hand for when that sweet craving hits!
Customizable Ingredients
The beauty of these bars is that they can be easily customized. Feel free to swap in your favorite nuts or dried fruits, allowing for a personal touch that can cater to your tastes. You can even experiment with different chocolate types—dark, milk, or even white chocolate!
Perfect for Any Occasion
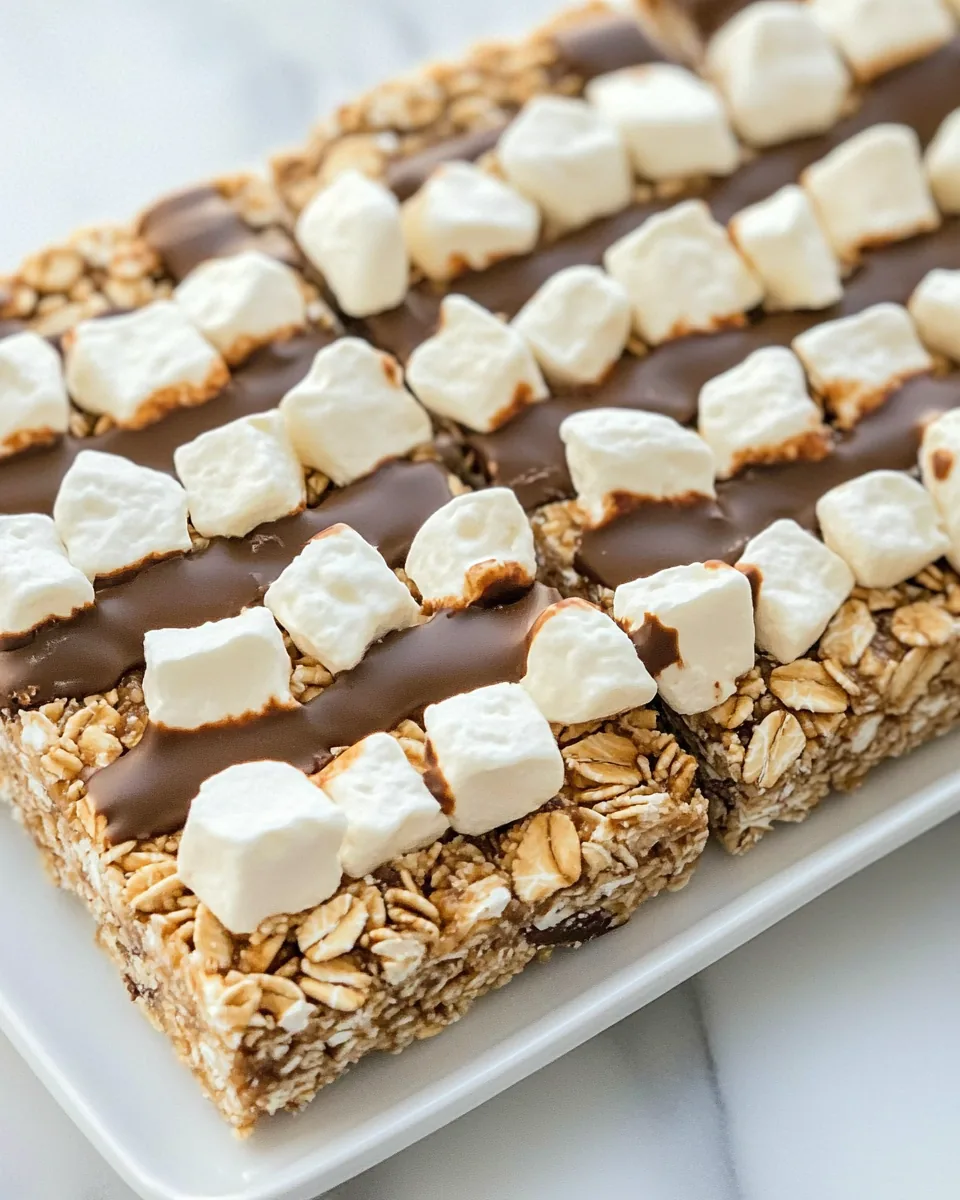
Whether you’re hosting a party, enjoying a family gathering, or just treating yourself, S’mores Granola Bars fit the bill perfectly. They’re easy to cut into individual portions, making them shareable, and they certainly look great on any dessert table!
Family-Friendly Fun
These bars are not only fun to make, but they’re also a great activity to do with kids. My family loves helping out by mixing the ingredients and pressing the mixture into the pan. It turns baking into a bonding experience, filled with laughter and creativity. Who doesn’t love a little bit of fun in the kitchen?
What Goes Into S’mores Granola Bars
The ingredients for S’mores Granola Bars are both simple and accessible, showcasing the beauty of classic flavors. The combination of rolled oats, Rice Krispies, and chocolate chips creates a delightful texture and taste that’s hard to resist. Each ingredient plays a crucial role in delivering that beloved s’mores experience.
- 4 cups rolled oats (regular, not quick cooking oats) – These oats form the hearty base of your granola bars, providing fiber and a chewy texture.
- 4 cups Rice Krispies cereal – This crispy cereal adds a delightful crunch that complements the chewiness of the oats.
- ¾ cup granulated white sugar – A touch of sweetness to bind the ingredients and enhance the overall flavor.
- ½ cup (1 stick) unsalted butter – The fat in this recipe helps bind everything together while adding richness.
- ¼ cup water – Used to create a syrup that helps hold the bars together.
- ½ cup light corn syrup – Adds sweetness and helps with the chewy texture.
- 1 teaspoon salt – Balances the sweetness and enhances the flavors of the other ingredients.
- 3 cups miniature marshmallows, divided – The star ingredient that brings the s’mores flavor, giving a sweet and gooey texture.
- 1½ cups chocolate chips – Chocolate adds that essential sweet touch, reminiscent of classic s’mores.
How to Make S’mores Granola Bars
Making S’mores Granola Bars is an enjoyable process that’s as rewarding as it is tasty. Let’s dive into the steps!
Start by preheating your oven to 425°F. This step is crucial as it prepares the environment for baking the oats. Lightly grease a half-sheet (18×13-inch) pan or two 9×13-inch pans to prevent sticking. Make sure to cover all the surfaces!
Next, place the rolled oats on the prepared pan(s). Spread them out evenly so they toast nicely. Bake for about 3 minutes, then stir the oats and return them to the oven for an additional 3 minutes. You’ll know they’re ready when they start to smell toasty but haven’t browned too much.
Once the oats are toasted, remove them from the oven and transfer them to a bowl. Now, add in the Rice Krispies, mixing them together well. It’s important to keep the oven on for later!
In a large saucepan over medium heat, combine the granulated sugar, unsalted butter, water, light corn syrup, and salt. Stir until the mixture comes to a boil. Once boiling, let it cook for about 5 minutes until it reaches 250°F on a candy thermometer. Be attentive to prevent burning!
Remove the saucepan from heat and pour the boiling mixture over the oats and cereal in the bowl. Toss everything together until well combined. You should see a gooey mixture forming.
Add 1½ cups of the miniature marshmallows into the mixture. Stir again until they’re evenly distributed throughout. You’ll get a nice blend of gooey marshmallow and crunchy oats.
Now, place the mixture back onto the prepared pan that you used for the oats, patting it down flat with your hands or a spatula. This step helps to compact the bars. Sprinkle the remaining 1½ cups of miniature marshmallows and chocolate chips on top. If you have another greased pan, you can press down on the mixture to make it even.
Return the pan to the oven for about 3 minutes. This will puff up the marshmallows slightly and give them a light golden color. Keep a close watch to avoid burning!
Once done, remove the pan from the oven and let it cool on a rack for about 10 minutes. Cutting them while warm is easier, so grab a baker’s bench knife or a knife with a wide blade to slice them into squares. If the mixture is too gooey, allow it to cool a bit more before cutting.
Things Worth Knowing
Things Worth Knowing
- Cooling Time: Allow your bars to cool completely before cutting to ensure clean edges.
- Ingredient Variability: Feel free to swap out ingredients based on your preferences, such as adding nuts or dried fruits for added texture.
- Storage Recommendations: Store bars in an airtight container at room temperature to maintain freshness.
- Customizing Sweetness: Adjust the amount of sugar based on your taste, but remember that it helps with binding.
Recipe Notes about S’mores Granola Bars
Here are some helpful tips to ensure your S’mores Granola Bars turn out perfectly every time.
- Storage: Store leftovers in an airtight container. They can last for about a week, maintaining their chewy texture.
- Freezing: These bars freeze well. Cut them into squares and wrap each individually in plastic wrap, then place them in a freezer bag.
- Pairing: Serve these bars with a glass of milk or a scoop of ice cream for a delightful treat.
- Serving Size: These bars can be cut into squares or rectangles based on your preference for serving sizes.
- Making Gluten-Free: For a gluten-free version, use certified gluten-free oats and ensure all other ingredients are gluten-free.
Perfect Pairings for S’mores Granola Bars
When it comes to enjoying your S’mores Granola Bars, there’s no shortage of delightful pairings!
- Great for Snacks: These bars make an excellent snack for kids and adults alike. Pack them in lunchboxes or take them on road trips.
- Picnic Treat: They’re perfect for picnics, providing a sweet bite to enjoy outdoors without the mess of traditional s’mores.
- Movie Night: Pair these bars with popcorn and your favorite drink for a fun movie night at home.
- School Events: Great for school bake sales or events, these bars are sure to please a crowd.
- Holiday Gatherings: Bring them to family gatherings—they’ll be the star of the dessert table!
FAQ
Conclusion
In summary, S’mores Granola Bars encapsulate the classic flavors of s’mores in a convenient form that’s perfect for any time. From their chewy texture to the delightful crunch of cereal and chocolate, they’re truly a treat that everyone will love. I encourage you to try making them yourself; you won’t regret it!
These bars are not only a wonderful snack but also a fun activity to share with family and friends. So gather your ingredients and whip up a batch today!
S'mores Granola Bars
Equipment
- Frying Pan
- Oven
- Large Pot
- Wooden Spoon
- Mixing Bowl
- Baking Sheet
Ingredients
- 4 cups rolled oats regular, not quick cooking oats
- 4 cups Rice Krispies cereal
- ¾ cup granulated white sugar
- ½ cup unsalted butter (1 stick)
- ¼ cup water
- ½ cup light corn syrup
- 1 teaspoon salt
- 3 cups miniature marshmallows divided
- 1½ cups chocolate chips
Instructions
- Start by preheating your oven to 425°F. This step is crucial as it prepares the environment for baking the oats. Lightly grease a half-sheet (18x13-inch) pan or two 9x13-inch pans to prevent sticking. Make sure to cover all the surfaces!
- Next, place the rolled oats on the prepared pan(s). Spread them out evenly so they toast nicely. Bake for about 3 minutes, then stir the oats and return them to the oven for an additional 3 minutes. You’ll know they’re ready when they start to smell toasty but haven’t browned too much.
- Once the oats are toasted, remove them from the oven and transfer them to a bowl. Now, add in the Rice Krispies, mixing them together well. It’s important to keep the oven on for later!
- In a large saucepan over medium heat, combine the granulated sugar, unsalted butter, water, light corn syrup, and salt. Stir until the mixture comes to a boil. Once boiling, let it cook for about 5 minutes until it reaches 250°F on a candy thermometer. Be attentive to prevent burning!
- Remove the saucepan from heat and pour the boiling mixture over the oats and cereal in the bowl. Toss everything together until well combined. You should see a gooey mixture forming.
- Add 1½ cups of the miniature marshmallows into the mixture. Stir again until they’re evenly distributed throughout. You’ll get a nice blend of gooey marshmallow and crunchy oats.
- Now, place the mixture back onto the prepared pan that you used for the oats, patting it down flat with your hands or a spatula. This step helps to compact the bars. Sprinkle the remaining 1½ cups of miniature marshmallows and chocolate chips on top. If you have another greased pan, you can press down on the mixture to make it even.
- Return the pan to the oven for about 3 minutes. This will puff up the marshmallows slightly and give them a light golden color. Keep a close watch to avoid burning!
- Once done, remove the pan from the oven and let it cool on a rack for about 10 minutes. Cutting them while warm is easier, so grab a baker's bench knife or a knife with a wide blade to slice them into squares. If the mixture is too gooey, allow it to cool a bit more before cutting.
Notes
- Tip: Store leftovers in an airtight container. They can last for about a week, maintaining their chewy texture.
- Freezing: These bars freeze well. Cut them into squares and wrap each individually in plastic wrap, then place them in a freezer bag.
- Pairing: Serve these bars with a glass of milk or a scoop of ice cream for a delightful treat.
- Serving Size: These bars can be cut into squares or rectangles based on your preference for serving sizes.
- Making Gluten-Free: For a gluten-free version, use certified gluten-free oats and ensure all other ingredients are gluten-free.