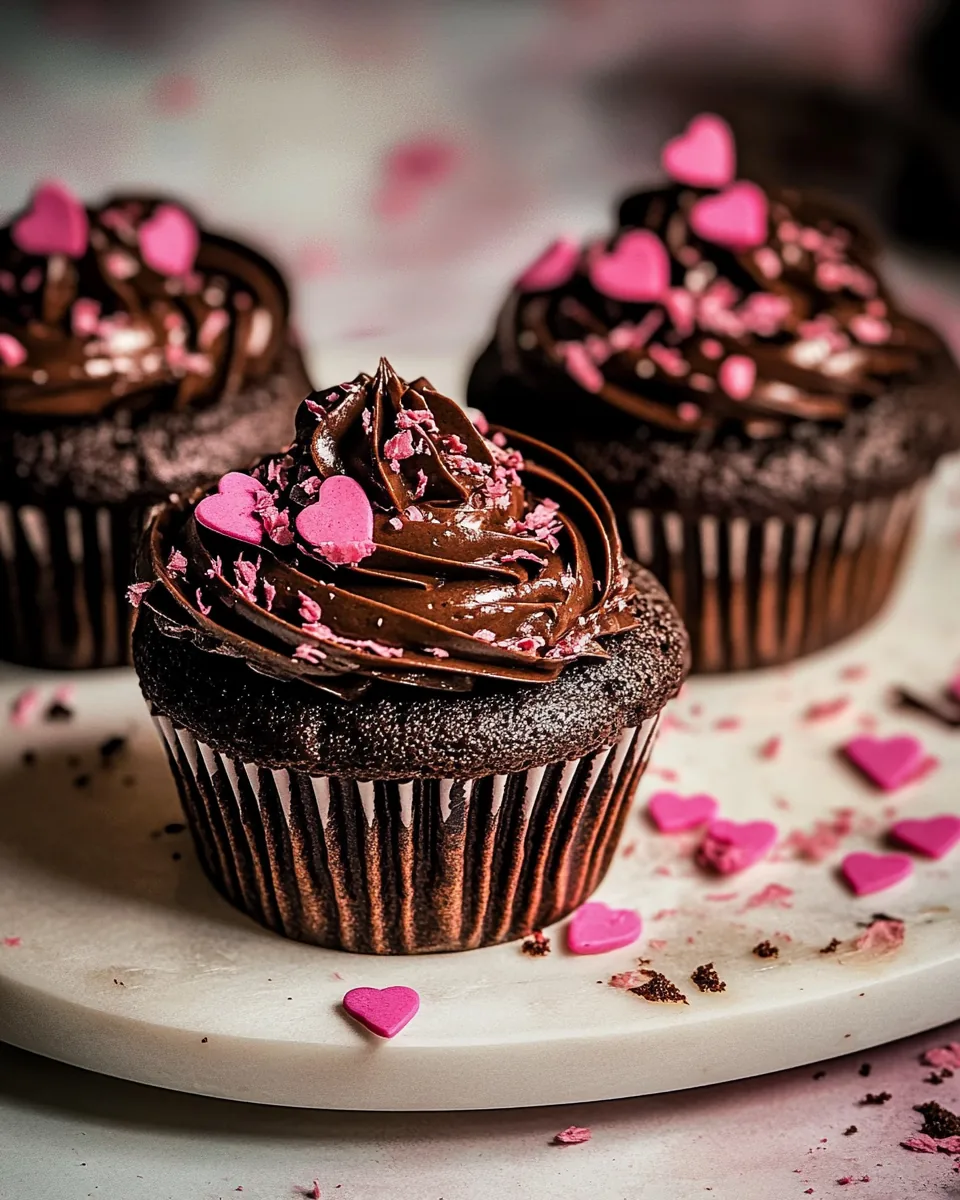
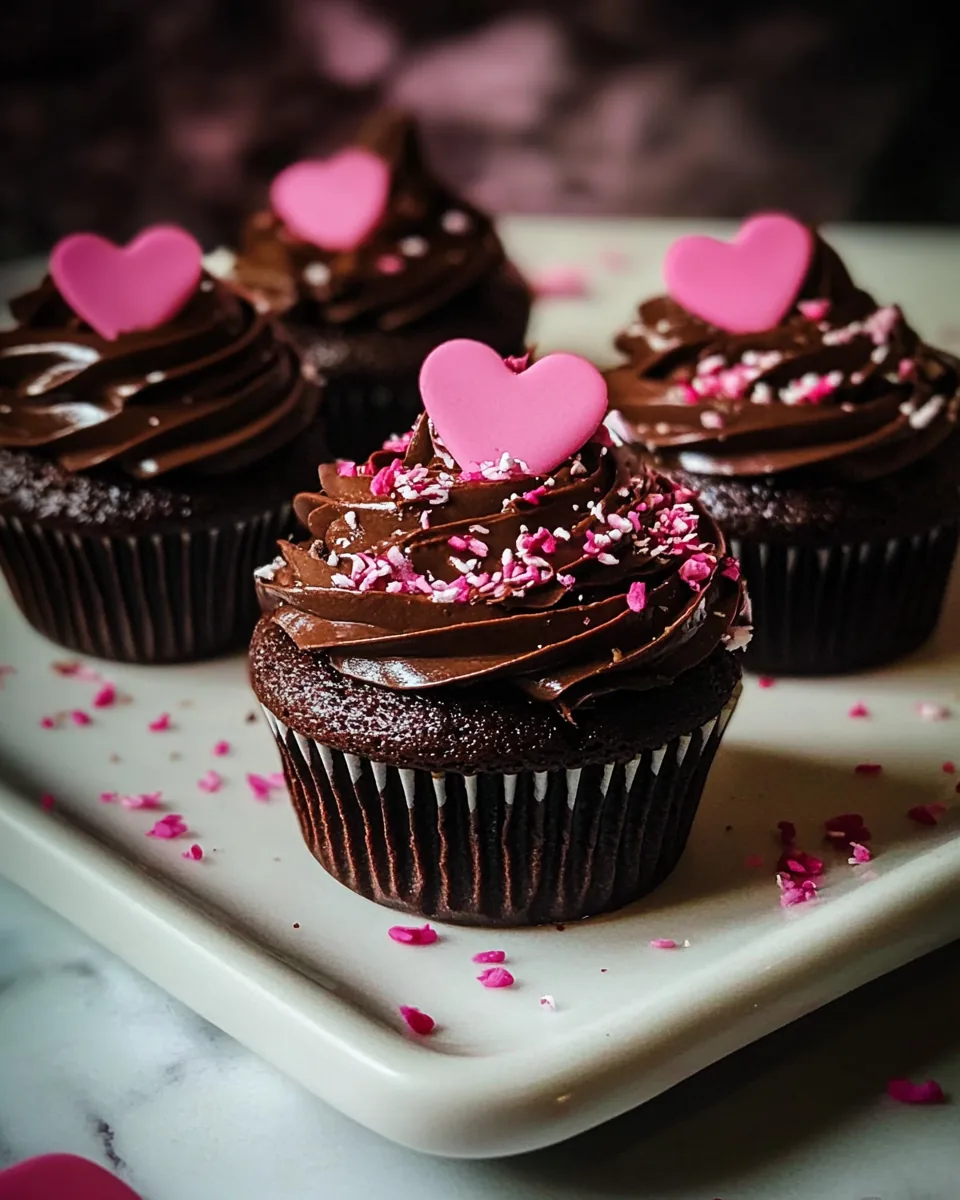
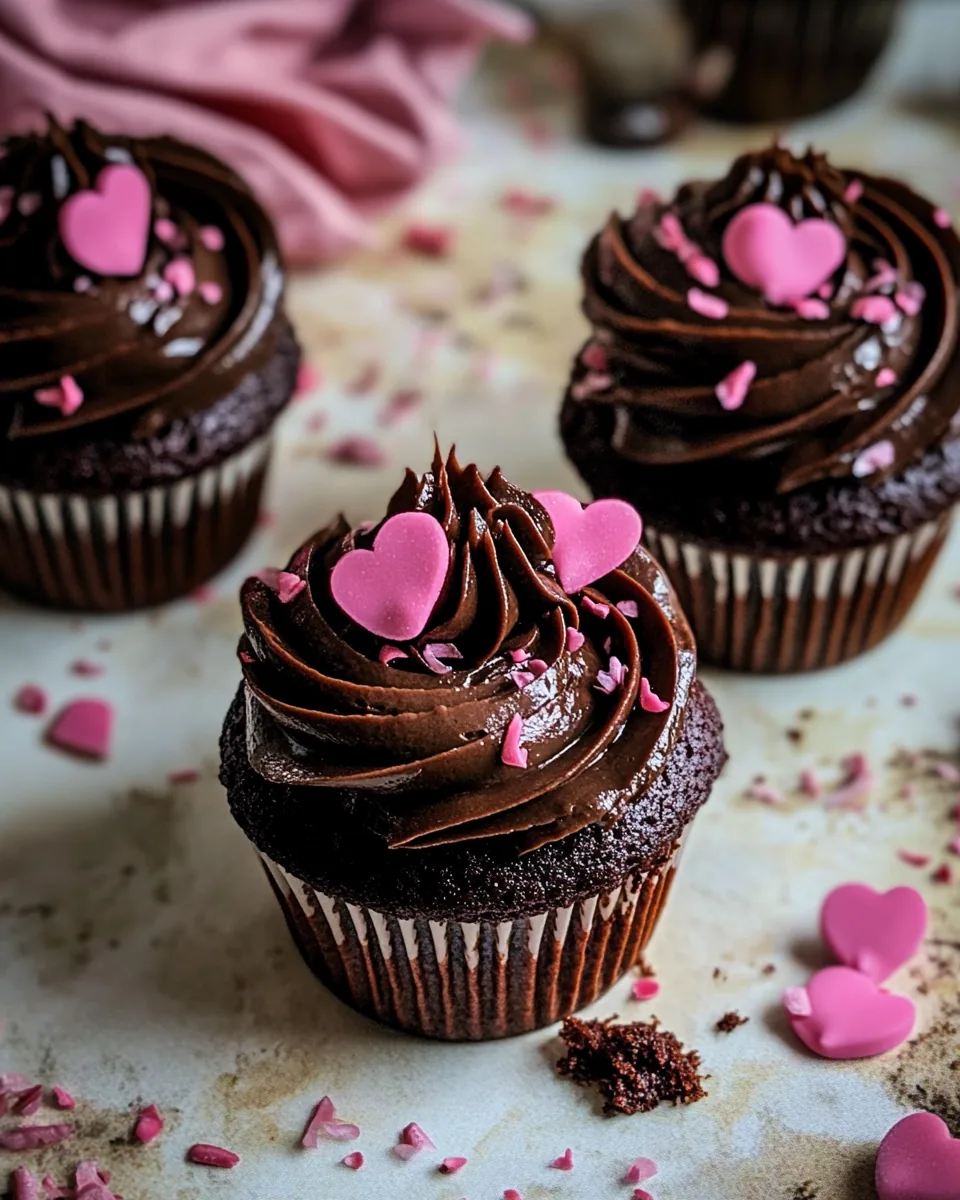
Simple Chocolate Celebration Cupcakes
There’s something incredibly special about celebrating with Simple Chocolate Celebration Cupcakes. I remember the first time I made these delightful treats for a friend’s birthday. The smell of freshly baked cupcakes wafted through my kitchen, mingling with laughter and joy. Every time I take a bite of these cupcakes, I’m transported back to that moment, where the chocolatey goodness wrapped everyone in happiness. These cupcakes are not just desserts; they’re little bites of joy, perfect for any occasion. Whether it’s a birthday party, a casual gathering, or simply a treat to enjoy at home, they never fail to impress.
Recipe Snapshot
50 mins
20 mins
30 mins
Medium
250 kcal
4 g
Gluten-Free, Low FODMAP
12 g
Wooden Spoon, Mixing Bowl, Oven, Baking Sheet
Why This Simple Chocolate Celebration Cupcakes Shines
Rich Chocolate Flavor
First and foremost, the rich chocolate flavor in these Simple Chocolate Celebration Cupcakes is absolutely divine. Each bite is a perfect blend of deep cocoa and sweetness that satisfies any chocolate lover’s craving. The use of unsweetened cocoa powder ensures a balanced flavor, while the addition of mini chocolate chips gives bursts of melted chocolate in each cupcake.
Moist and Tender Texture
One thing that makes these cupcakes stand out is their moist and tender texture. The combination of coconut oil or avocado oil, eggs, and Greek yogurt creates a batter that bakes up beautifully soft. You won’t find dry cupcakes here! Instead, they’re fluffy and melt-in-your-mouth delicious.
Easy to Make
Another reason to love these cupcakes is how easy they are to make. With just a few simple steps, you can have a batch of delicious cupcakes ready for any celebration. The recipe doesn’t require any special skills or tools, making it perfect for bakers of all levels. Plus, the cleanup is a breeze!
Versatile for Any Occasion
These cupcakes are incredibly versatile. You can dress them up with frosting and decorations for a birthday party, or keep them simple for an afternoon snack. The chocolate frosting is a showstopper, but they are equally delightful without it, allowing for customization to suit different occasions.
Perfect for Sharing
Finally, they’re perfect for sharing! With 24 cupcakes in a batch, they’re ideal for parties or family gatherings. I love bringing these cupcakes to potlucks; they disappear quickly, and it’s heartwarming to see everyone enjoy them together.
Shopping List for Simple Chocolate Celebration Cupcakes

Gathering the right ingredients is a crucial step in making the perfect Simple Chocolate Celebration Cupcakes. Each component has a role, ensuring the cupcakes are rich, moist, and flavorful. Here’s a look at what you’ll need:
- Melted coconut oil or avocado oil: These oils add moisture and a subtle flavor.
- Large eggs: They act as a binder, giving structure to your cupcakes.
- Whole milk: Adds richness and enhances the texture.
- Plain Greek yogurt: This ingredient keeps the cupcakes moist and tender.
- Granulated sugar: Sweetens the batter and balances the cocoa flavor.
- Vanilla extract: Adds a warm, aromatic flavor.
- All-purpose flour: The base of your cupcake batter.
- Unsweetened cocoa powder: This gives the cupcakes their signature chocolate flavor.
- Baking powder: Helps the cupcakes rise.
- Baking soda: Works with the acidity in the yogurt to provide lift.
- Kosher salt: Enhances the sweetness and balances flavors.
- Hot black coffee: Enhances the chocolate flavor, making it more robust.
- Semi-sweet chocolate chips (optional): For added chocolatey goodness.
- Salted butter: Essential for making the frosting fluffy and rich.
- Powdered sugar: Sweetens and thickens the frosting.
- Dark chocolate: Melts into the frosting for a rich finish.
- Warm milk: Helps to adjust the frosting’s consistency.
- Sprinkles or chocolate shavings (for decorating): Optional, but they add a festive touch.
Simple Chocolate Celebration Cupcakes Instructions
Making Simple Chocolate Celebration Cupcakes is a joy that any home baker can enjoy. Follow these steps to create delightful treats that will impress your guests.
- First, you’ll want to preheat your oven to 350 degrees Fahrenheit. This is a crucial step to ensure even baking. While that’s happening, line your cupcake molds with paper liners, which should fit about 24 to 26 cupcakes.
- Next, grab a large mixing bowl. In it, combine melted coconut oil, large eggs, whole milk, plain Greek yogurt, granulated sugar, and vanilla extract. Use a whisk or an electric mixer to beat these ingredients together until you have a smooth mixture.
- Now, it’s time to incorporate the dry ingredients. Add all-purpose flour, unsweetened cocoa powder, baking powder, baking soda, and kosher salt to the bowl. Mix until all the dry ingredients are just combined. Be careful not to overmix, as this can lead to tough cupcakes.
- Slowly mix in the hot black coffee. This will make your batter quite thin, which is okay! If you’re using them, stir in the semi-sweet chocolate chips gently.
- Now, take your batter and divide it evenly among the prepared cupcake molds. I like to use an ice cream scoop for this—it makes the process mess-free and ensures uniform sizes.
- Place the cupcake tray in the preheated oven. Bake for 25 to 30 minutes. You’ll know they’re done when the tops are set and no longer wiggly in the center. A toothpick inserted should come out clean.
- Once baked, remove the cupcakes from the oven and let them cool in the tray for about 10 minutes. After that, transfer them to a wire rack to cool completely.
- While your cupcakes are cooling, let’s turn our attention to the frosting. In a new mixing bowl, beat the salted butter until it’s light and fluffy, about 2 to 3 minutes. This step is essential for achieving the right texture.
- Add powdered sugar to the butter and mix until just combined. Pour in the melted dark chocolate, vanilla extract, and 1 tablespoon of warm milk. Beat until fully combined and fluffy. If it’s too thick, you can add more milk, one tablespoon at a time, until you reach your desired consistency.
- Finally, it’s time to frost your cupcakes! Using a knife or a piping bag, frost each cooled cupcake with the chocolate frosting. Decorate with sprinkles or chocolate shavings as desired. Enjoy every bite!
Things Worth Knowing
- Always preheat your oven: This ensures even baking and helps your cupcakes rise properly.
- Check for doneness: Use a toothpick to check if your cupcakes are cooked through; it should come out clean.
- Let them cool: Allow the cupcakes to cool completely before frosting to avoid melting the frosting.
- Use room temperature ingredients: This helps create a better emulsion and results in a fluffier texture.
Helpful Notes about Simple Chocolate Celebration Cupcakes
Here are some helpful notes to ensure your baking experience is smooth and successful.
- Storage: These cupcakes can be stored in an airtight container at room temperature for up to 3 days. If you want to keep them longer, refrigerate them for up to a week.
- Freezing: Yes, you can freeze these cupcakes! Allow them to cool completely, then wrap them tightly in plastic wrap and place them in a freezer-safe container. They can be frozen for up to 3 months.
- Pairing: Serve these cupcakes with a scoop of vanilla ice cream for a delightful dessert experience.
- Frosting options: Feel free to experiment with different frosting flavors, such as cream cheese frosting for a tangy twist.
- Decorating: Get creative with toppings. Nuts, caramel drizzle, or different sprinkles can elevate your cupcakes.
Pairing Suggestions for Simple Chocolate Celebration Cupcakes
When it comes to serving Simple Chocolate Celebration Cupcakes, the possibilities are endless! Here are some ideas to enhance your dessert experience:
- Ice Cream: Pair your cupcakes with a scoop of vanilla or chocolate ice cream. The creaminess complements the dense chocolate beautifully.
- Coffee: Serve these cupcakes alongside a cup of freshly brewed coffee. The chocolate flavor pairs perfectly with the rich undertones of coffee.
- Fruit: Fresh berries or a fruit salad can provide a refreshing contrast to the sweetness of the cupcakes.
- Whipped Cream: A dollop of whipped cream on top of each cupcake adds a light and airy texture that balances the richness.
- Special Occasions: These cupcakes are perfect for birthdays, anniversaries, or any festive gathering. They add a touch of sweetness to celebrations!
- Decorative Platter: Arrange them on a decorative platter with different toppings for a visually appealing dessert table.
FAQ
Conclusion
The Simple Chocolate Celebration Cupcakes are truly a crowd-pleaser with their rich flavor and delightful texture. Whether for a birthday, holiday, or simply as a treat for yourself, these cupcakes are sure to brighten anyone’s day. I encourage you to try making them soon; you won’t be disappointed. Your taste buds will thank you, and so will anyone you share them with!

Simple Chocolate Celebration Cupcakes
Equipment
- Wooden Spoon
- Mixing Bowl
- Oven
- Baking Sheet
Ingredients
- 1/2 cup Melted coconut oil or avocado oil
- 2 large Eggs
- 1/2 cup Whole milk
- 1/2 cup Plain Greek yogurt
- 1 cup Granulated sugar use to your taste
- 1 tablespoon Vanilla extract
- 1 1/2 cups All-purpose flour
- 1 cup Unsweetened cocoa powder
- 1 1/2 teaspoons Baking powder
- 1 teaspoon Baking soda
- 1 teaspoon Kosher salt
- 3/4 cup Hot black coffee
- 1/2 cup Semi-sweet chocolate chips (optional)
- 2 sticks Salted butter at room temperature
- 2 1/2 cups Powdered sugar
- 6 ounces Dark chocolate melted
- 2 teaspoons Vanilla extract
- 1-3 tablespoons Warm milk
- Sprinkles or chocolate shavings for decorating
Instructions
- 1. First, you'll want to preheat your oven to 350 degrees Fahrenheit. This is a crucial step to ensure even baking. While that's happening, line your cupcake molds with paper liners, which should fit about 24 to 26 cupcakes.
- 2. Next, grab a large mixing bowl. In it, combine melted coconut oil, large eggs, whole milk, plain Greek yogurt, granulated sugar, and vanilla extract. Use a whisk or an electric mixer to beat these ingredients together until you have a smooth mixture.
- 3. Now, it’s time to incorporate the dry ingredients. Add all-purpose flour, unsweetened cocoa powder, baking powder, baking soda, and kosher salt to the bowl. Mix until all the dry ingredients are just combined. Be careful not to overmix, as this can lead to tough cupcakes.
- 4. Slowly mix in the hot black coffee. This will make your batter quite thin, which is okay! If you're using them, stir in the semi-sweet chocolate chips gently.
- 5. Now, take your batter and divide it evenly among the prepared cupcake molds. I like to use an ice cream scoop for this—it makes the process mess-free and ensures uniform sizes.
- 6. Place the cupcake tray in the preheated oven. Bake for 25 to 30 minutes. You'll know they're done when the tops are set and no longer wiggly in the center. A toothpick inserted should come out clean.
- 7. Once baked, remove the cupcakes from the oven and let them cool in the tray for about 10 minutes. After that, transfer them to a wire rack to cool completely.
- 8. While your cupcakes are cooling, let’s turn our attention to the frosting. In a new mixing bowl, beat the salted butter until it’s light and fluffy, about 2 to 3 minutes. This step is essential for achieving the right texture.
- 9. Add powdered sugar to the butter and mix until just combined. Pour in the melted dark chocolate, vanilla extract, and 1 tablespoon of warm milk. Beat until fully combined and fluffy. If it’s too thick, you can add more milk, one tablespoon at a time, until you reach your desired consistency.
- 10. Finally, it’s time to frost your cupcakes! Using a knife or a piping bag, frost each cooled cupcake with the chocolate frosting. Decorate with sprinkles or chocolate shavings as desired. Enjoy every bite!
Notes
- Storage: These cupcakes can be stored in an airtight container at room temperature for up to 3 days. If you want to keep them longer, refrigerate them for up to a week.
- Freezing: Yes, you can freeze these cupcakes! Allow them to cool completely, then wrap them tightly in plastic wrap and place them in a freezer-safe container. They can be frozen for up to 3 months.
- Pairing: Serve these cupcakes with a scoop of vanilla ice cream for a delightful dessert experience.
- Frosting options: Feel free to experiment with different frosting flavors, such as cream cheese frosting for a tangy twist.
- Decorating: Get creative with toppings. Nuts, caramel drizzle, or different sprinkles can elevate your cupcakes.