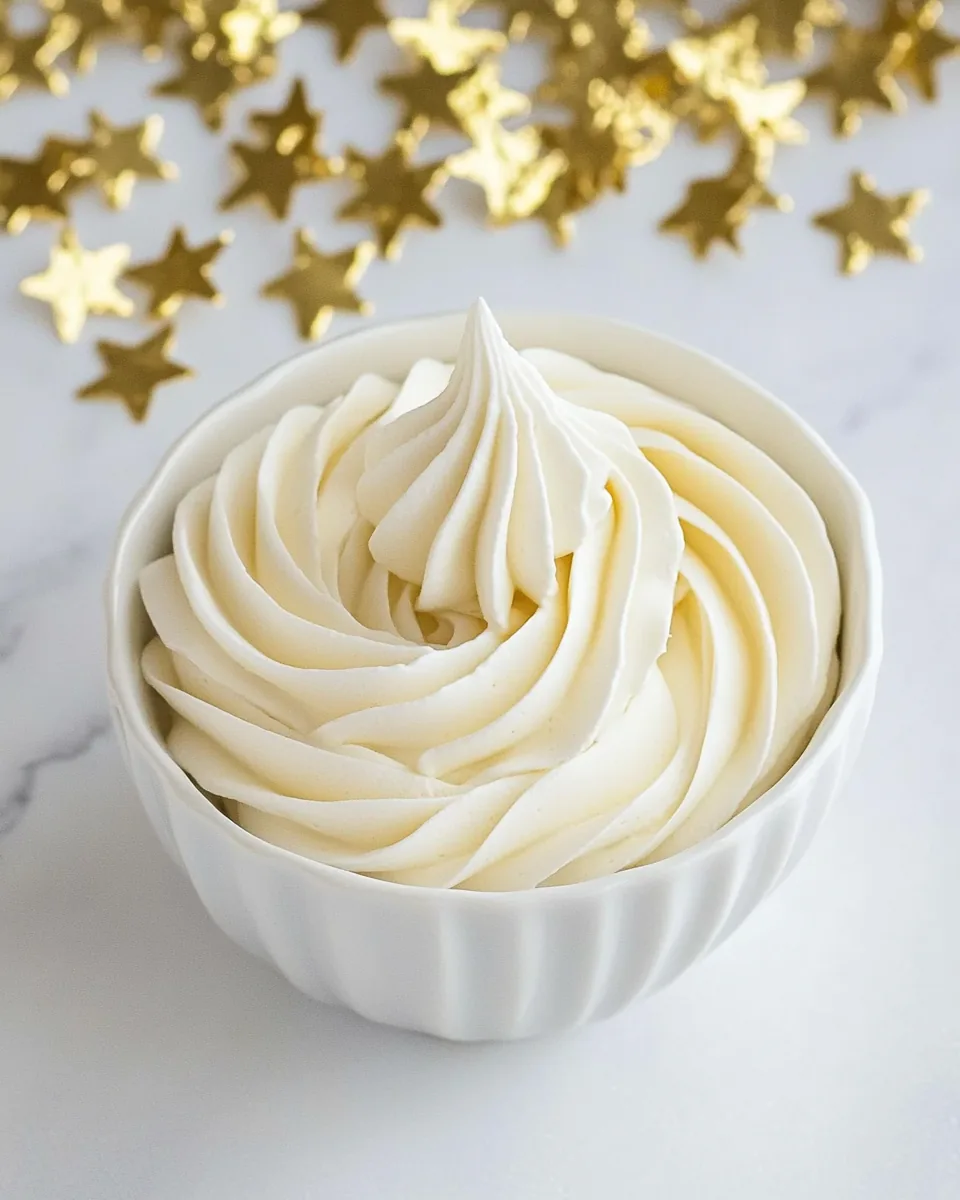
Royal Icing Recipe
The Royal Icing Recipe has a special place in my heart, especially during the holiday baking season. I remember the first time I tried my hand at decorating cookies with this icing—it was a delightful mess of laughter and creativity in my kitchen. The smooth, glossy finish of the icing was like magic, transforming simple cookies into beautiful edible decorations that brought smiles to my friends and family. Every swirl and piped detail was a chance to express my personality and creativity. As I perfected my technique, I found that the Royal Icing Recipe not only tasted incredible but also held its shape beautifully, making it ideal for intricate designs. Whether it was for a birthday party or a festive holiday gathering, I always made sure to have a batch of this icing on hand. The anticipation of seeing my creations come to life made every moment in the kitchen feel special.
Recipe Snapshot
25 mins
25 mins
0 mins
Easy
100 kcal
0 g
Vegan, Gluten-Free, AIP
0 g
Mixing Bowl
Why Try This Royal Icing Recipe
Perfect for Any Occasion
The versatility of the Royal Icing Recipe is unmatched. From holiday cookies to birthday treats, this icing is suitable for any celebration. Its ability to be tinted with different colors means you can customize it to fit the theme of your event.
Easy to Work With
One of my favorite aspects of this icing is its ease of use. Once you master the technique, you’ll find it easy to pipe beautiful designs. The consistency can be adjusted simply by adding a bit of water, making it perfect for both outlining and flooding your cookies.
Impressive Results
When you use the Royal Icing Recipe, the results are simply stunning. It dries to a hard finish, allowing you to stack your decorated cookies without fear of smudging your work. The glossy sheen also adds a professional touch, making your treats look like they came from a bakery.
Fun for Everyone
This recipe is not only for seasoned bakers. It’s a fun activity for kids and adults alike. Whether you’re hosting a cookie decorating party or just enjoying a quiet afternoon at home, this icing brings joy and creativity to the table.
Storable and Convenient
Leftover icing can be stored in an airtight container for future use. This means you can make a big batch and use it whenever inspiration strikes, making it a convenient option for spontaneous baking.
Key Ingredients for Royal Icing Recipe
The magic of the Royal Icing Recipe lies in its simple yet effective ingredients. Each component plays a critical role in achieving that perfect, glossy finish that we all admire. The key ingredients include powdered sugar for sweetness and structure, warm water for the right consistency, and meringue powder that helps stabilize the icing. Together, these ingredients create a delightful icing that’s not only easy to work with but also delicious.
- Powdered sugar: The main ingredient in royal icing, it provides the sweetness and structure needed for decorating. Its fine texture ensures a smooth finish.
- Warm water: This helps to hydrate the powdered sugar and achieve the desired icing consistency. Adjusting the amount of water can change the icing from thick for piping to thinner for flooding.
- Meringue powder: This is a crucial component that stabilizes the icing, giving it the ability to hold its shape when piped. It also helps the icing dry hard, making it stackable.
Step by Step Guide for Royal Icing Recipe
Creating the perfect Royal Icing Recipe is a straightforward process that anyone can master. I love how simple the steps are, yet the results can be extraordinarily beautiful. Follow these detailed steps, and you’ll be on your way to creating stunning cookies in no time!
Start by gathering all your ingredients: powdered sugar, warm water, and meringue powder. It’s crucial to have everything at hand before you begin.
In a large mixing bowl or the bowl of a stand mixer, add 4 cups of powdered sugar. This will be the base of your icing, providing both sweetness and structure.
Next, incorporate 5 tablespoons of warm water into the bowl. Make sure the water is warm, not hot, as this helps dissolve the sugar without cooking the meringue powder.
Add in 3 tablespoons of meringue powder. This ingredient is vital as it stabilizes the icing and helps it dry hard, allowing for stacking and decorating.
Using a hand mixer or a stand mixer, beat the mixture on medium speed. You want to mix it until it forms peaks, which usually takes about 7 to 10 minutes. Watch for the icing to become glossy and thick enough to hold its shape.
Once peaked, cover the bowl with a damp cloth or plastic wrap to prevent the icing from drying out while you work.
To achieve the right consistency for piping, you may need to add a teaspoon or two more of warm water. The ideal texture should be similar to that of buttercream frosting—smooth and easy to pipe.
Scoop some of the icing into a piping bag fitted with a small writing tip. Begin by piping a line of icing around the edge of a cookie. This will create a border to contain the flooding icing.
For flooding, adjust the icing consistency to that of a thick glaze. Add 1 teaspoon of water per cup of icing and test its flow by letting it run down into the bowl. It should disappear completely in under ten seconds.
Pipe the icing into the outline on the cookie, using a toothpick to drag the icing to fill any gaps. Alternatively, gently shake or tap the cookie to encourage the icing to settle into the outline.
Let the cookies set for 1 to 2 hours at room temperature before stacking them. Depending on humidity, drying time may vary.
Things Worth Knowing
- Tip for Consistency: Always check the consistency of your icing before starting. The right texture is crucial for achieving the desired look.
- Humidity Factor: Be cautious about the humidity in your kitchen, as it can affect how the icing dries. A dry environment is ideal for royal icing.
- Storage: Leftover royal icing can be stored in an airtight container. Just remember to cover it tightly to prevent it from hardening.
- Coloring: If you want to add color, use gel food coloring instead of liquid for better results without altering the consistency.
- Testing Consistency: Remember to test your icing on a cookie before decorating. It should spread smoothly without being too runny.
Pro Tips and Tweaks

With the Royal Icing Recipe, there are always ways to enhance your experience. Here are some tips and tweaks to help you achieve the best results:
- Storage: Properly store leftover icing in an airtight container in the fridge. It can last for about a week, but always check for freshness before using.
- Freezing: While it’s not recommended to freeze royal icing, you can freeze decorated cookies to preserve their beauty for future occasions.
- Variations: Experiment with flavors like lemon or almond extract to add a unique twist to your icing.
- Coloring: Use gel food coloring to dye your icing. This type of coloring ensures that the consistency remains intact.
- Practice Piping: Don’t be discouraged if your first attempts aren’t perfect. Practicing piping will improve your skills over time.
- Use Quality Ingredients: Always choose high-quality ingredients for the best results. This will affect the taste and texture of your icing.
- Tools: Invest in good piping bags and tips to make decorating easier and more enjoyable.
Great Combinations for Royal Icing Recipe
When it comes to serving the Royal Icing Recipe, the possibilities are endless. Here are some fantastic combinations to consider:
- Decorate Holiday Cookies: This icing is perfect for adding festive designs on sugar cookies during holiday gatherings.
- Birthday Treats: Use it to decorate cupcakes and cookies for birthday parties, creating a colorful and fun atmosphere.
- Wedding Favors: Consider using royal icing to adorn cookies as wedding favors, adding a personal touch to your special day.
- Tea Time: Serve decorated cookies with tea as a delightful afternoon treat that everyone will enjoy.
- Seasonal Decor: Use themed colors for different seasons—pastels for spring and warm tones for autumn—to keep your treats relevant year-round.
- Layered Desserts: Incorporate royal icing between layers of cakes for added sweetness and visual appeal.
FAQ
Conclusion
The Royal Icing Recipe is a delightful way to elevate your baking. Its versatility, ease of use, and stunning results make it a must-have for any baker’s repertoire. I encourage you to give it a try and witness the transformative magic of this icing for yourself. You’ll love how your baked goods can be turned into beautiful creations that not only taste great but also look impressive. Happy baking!
Royal Icing Recipe
Equipment
- Mixing Bowl
Ingredients
- 4 cups Powdered Sugar
- 5 tablespoons Warm Water
- 3 tablespoons Meringue Powder
Instructions
- Add the powdered sugar, warm water, and meringue powder to a large bowl or the bowl of a stand mixer. Beat the mixture until the icing forms peaks, about 7-10 minutes. Cover and let stand for 15 minutes.
- For piping, the icing should be about the consistency of buttercream frosting. You may need to add another teaspoon or two of warm water to reach a consistency that is easy to pipe.
- To decorate cookies, scoop some of the icing into a piping bag with a small writing tip. Pipe a line of icing around the edge of the cookie.
- For flooding, the icing should be about the consistency of a thick glaze. Add 1 teaspoon of water per cup of icing. To test for the correct consistency, scoop a spoonful of icing and let it run down into the bowl of icing. It should disappear into the icing completely by the time you count to ten. Be careful not to add too much water.
- To flood the cookies, add the icing to a piping bag or squeeze bottle. Pipe the icing into the outline on the cookie, and use a toothpick to drag the icing slightly to fill any gaps. Alternatively, you can gently shake or tap the cookie to encourage the icing to fill the outline.
- Let the cookies set for 1-2 hours before attempting to stack them. Depending on the humidity, the icing may need longer to set.