Roasted Garlic Focaccia
There’s something truly enchanting about pulling a warm loaf of Roasted Garlic Focaccia out of the oven. The aroma of roasted garlic fills the kitchen, teasing your senses and inviting friends and family to gather around the table. Each bite is a delightful combination of crispy crust and soft, airy interior, infused with the rich flavor of garlic and fragrant rosemary. I remember the first time I made this bread; it was a cool autumn afternoon, and I was preparing for a family gathering. As the bread baked, the scent wafted through the house, drawing everyone in. It became the star of the evening, served alongside a simple salad and a drizzle of olive oil for dipping. The best part? This Roasted Garlic Focaccia is not just a recipe; it’s an experience filled with warmth and connection.
Recipe Snapshot
2 hr 25 mins
120 mins
25 mins
Hard
210 kcal
4 g
Paleo, Whole30, Vegan
8 g
Frying Pan, Oven, Chef’s Knife, Mixing Bowl, Wooden Spoon, Baking Sheet
The Charm of This Roasted Garlic Focaccia
1. It’s a Perfect Pairing
The versatility of Roasted Garlic Focaccia is one of its best features. It pairs wonderfully with soups, salads, or even as a base for your favorite sandwich. I love serving it with a rich tomato soup on chilly days or alongside a fresh arugula salad topped with lemon vinaigrette. The bread absorbs flavors beautifully, enhancing every bite.
2. A Feast for the Senses
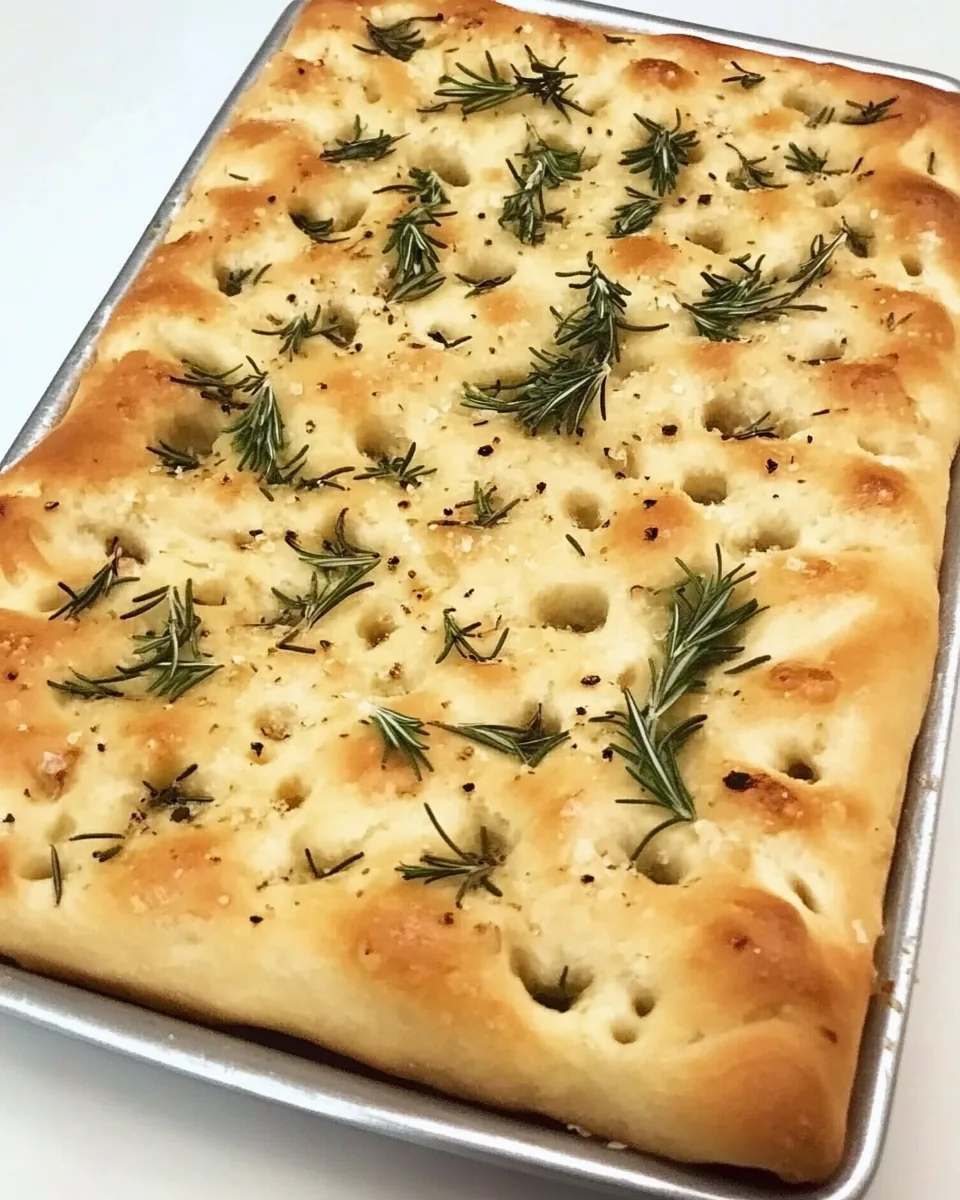
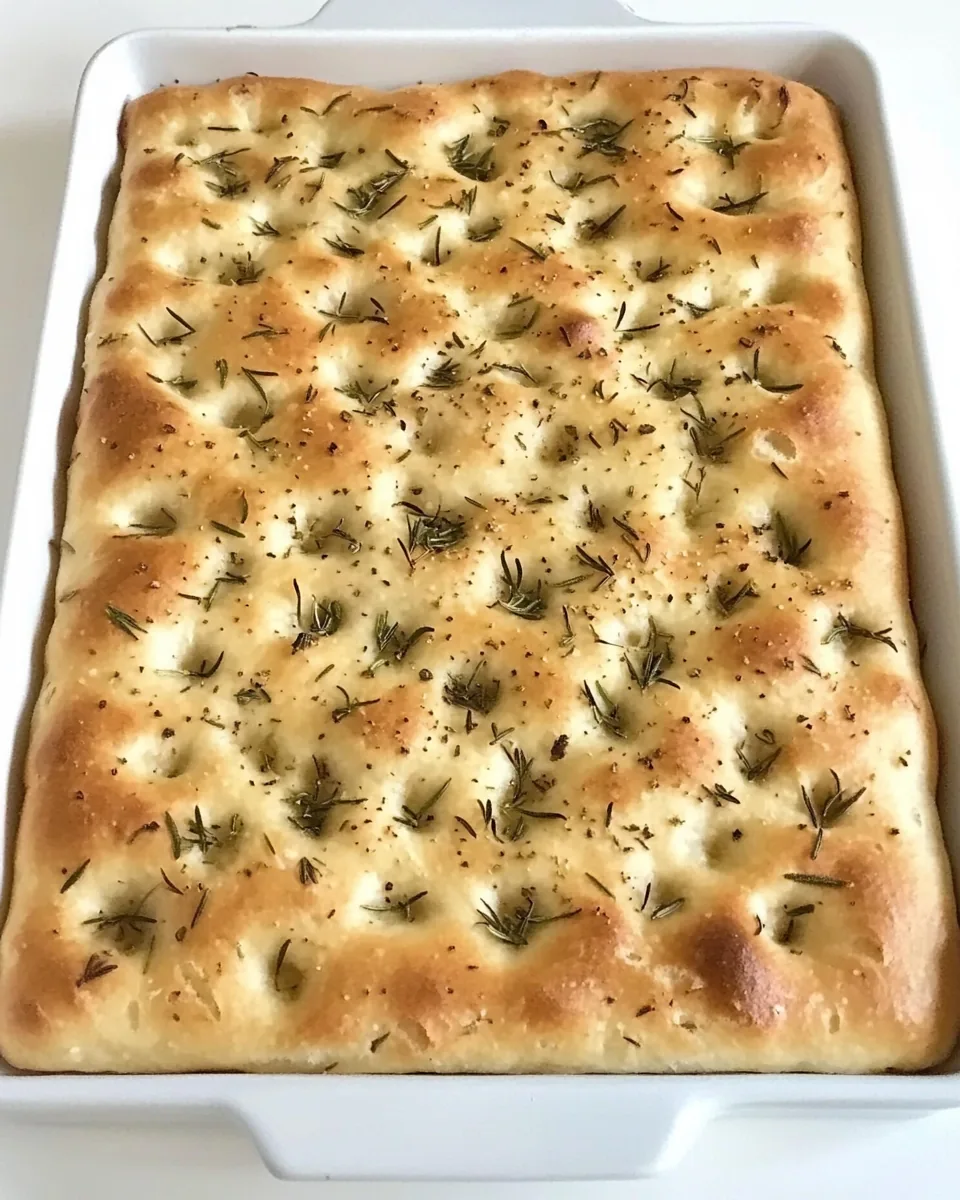
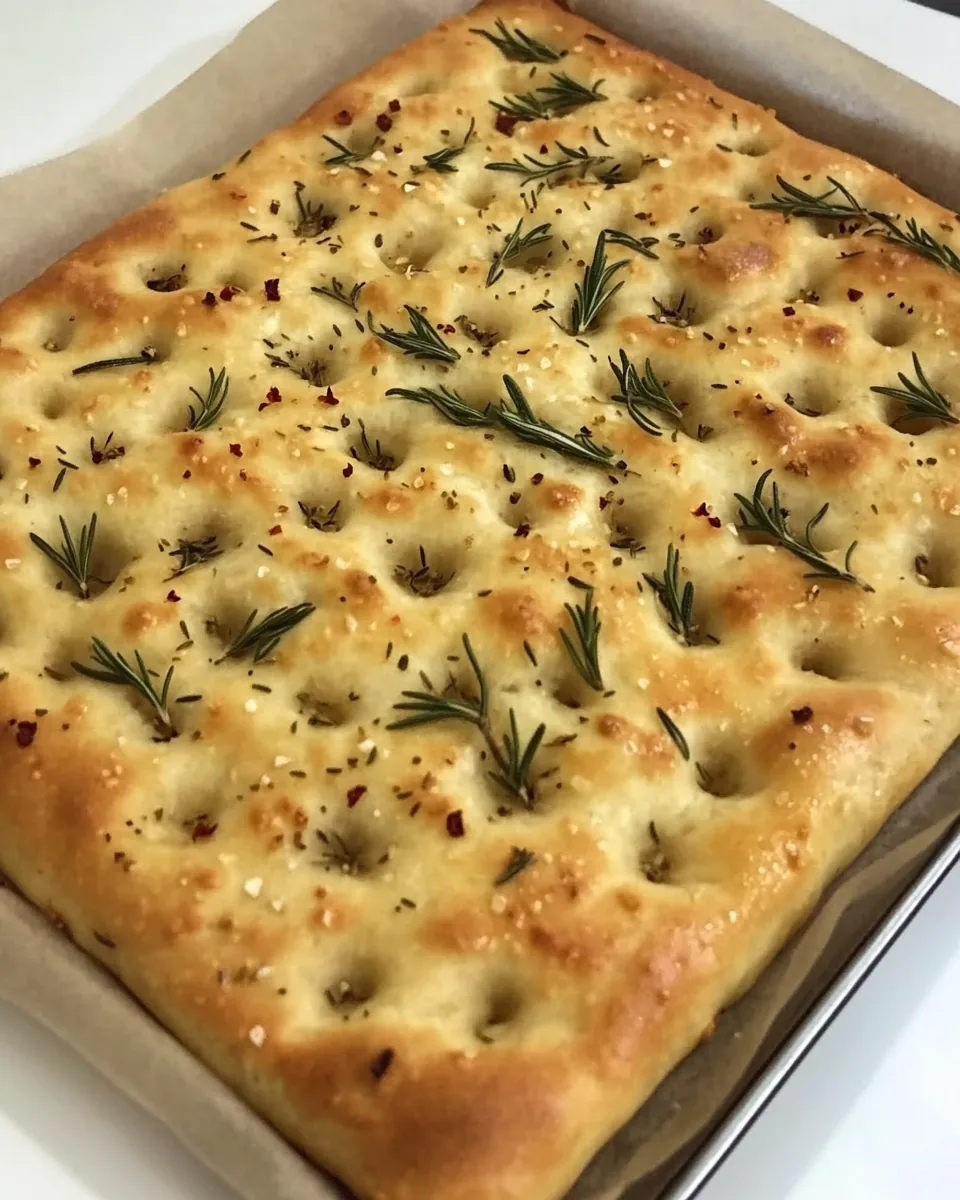
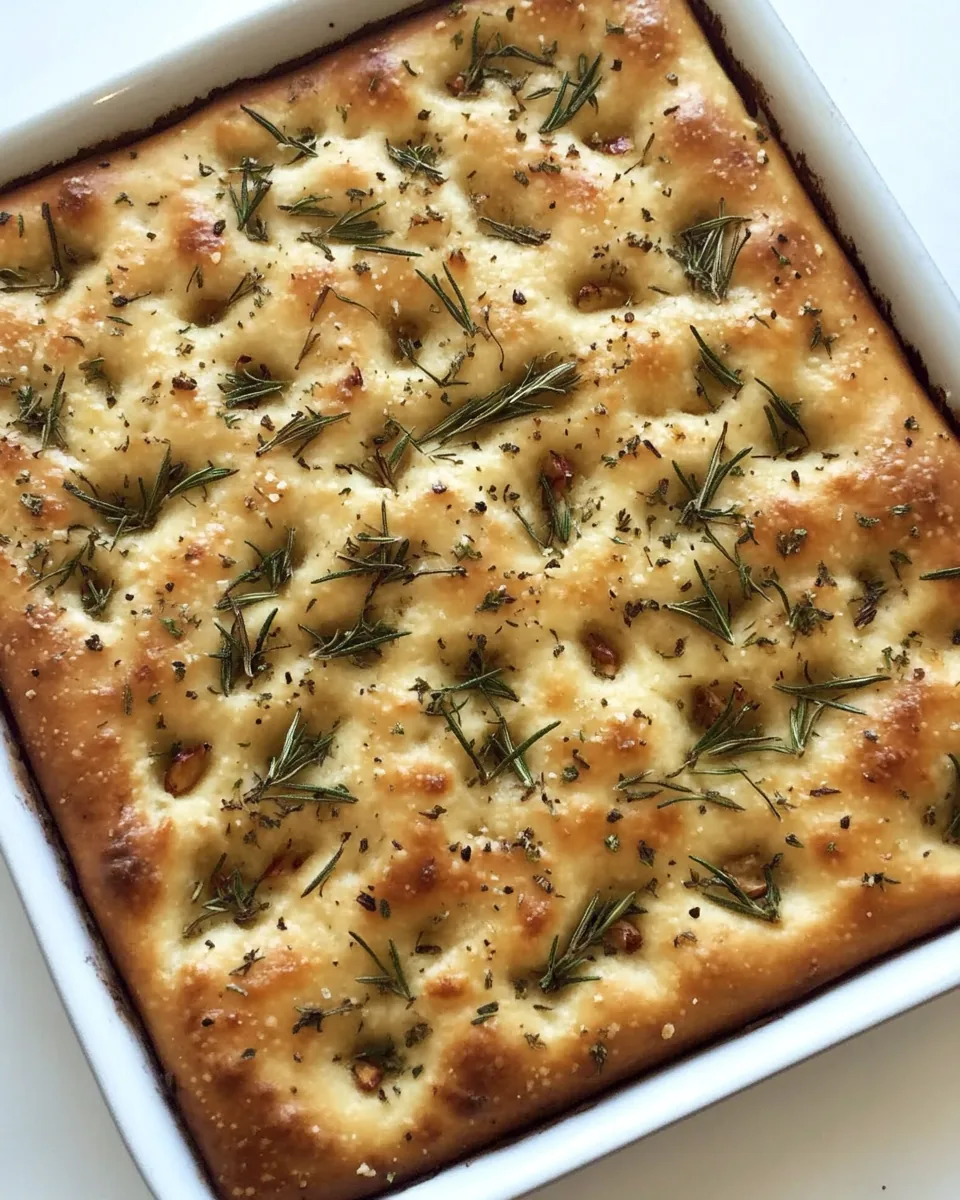
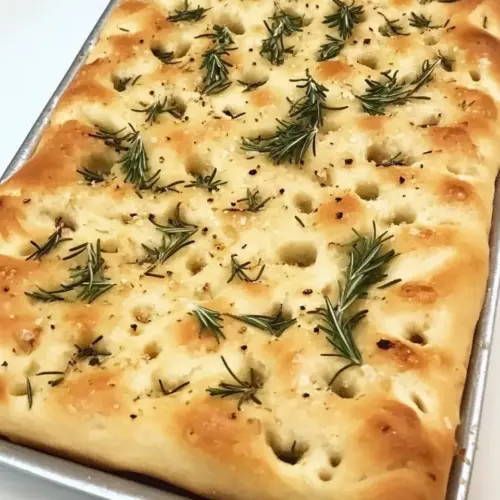
Visually stunning, this focaccia is a work of art. The dimpled surface, glistening with olive oil, and the garnishes of rosemary and flaky sea salt make it a feast for the eyes. The moment you pull it from the oven, the golden-brown crust contrasts with the soft interior, beckoning you to dive in.
3. A Simple Yet Luxurious Recipe
What I love most about Roasted Garlic Focaccia is how simple it is to make. With just a handful of ingredients, you can create a bread that tastes like it came from a fancy bakery. The process is straightforward, making it an ideal project for beginners and seasoned bakers alike.
4. The Joy of Homemade Bread
Baking your own bread is a therapeutic process. The kneading, the waiting for the dough to rise, and the anticipation of the final product create a sense of accomplishment and joy. Making Roasted Garlic Focaccia can turn an ordinary day into something special, as you immerse yourself in the experience of bread-making.
5. An Instant Crowd-Pleaser
This focaccia is a guaranteed hit at gatherings. Whether it’s an intimate dinner or a lively party, guests will rave about it. I can’t count how many times friends have asked for the recipe after just one bite. Sharing this bread is like sharing a piece of home, filled with love and flavor.
Key Ingredients for Roasted Garlic Focaccia
Every ingredient in Roasted Garlic Focaccia plays a crucial role in creating its unique flavor and texture. The key players here include flour, olive oil, and garlic. The combination of high-quality ingredients ensures that each bite is packed with flavor. Using fresh rosemary enhances the aroma and adds a delightful herbal note, making this bread stand out at any meal.
- ½ cup olive oil: Essential for flavor and moisture, it creates a rich taste and helps achieve the perfect crust.
- 1 large head garlic: Roasting the garlic mellows its flavor, adding a sweet, buttery richness to the bread.
- 1 envelope (2 ¼ teaspoons) active dry yeast: This is the leavening agent that helps the bread rise, creating its airy structure.
- 1 ¾ cups warm water: Activates the yeast and helps dissolve the ingredients, ensuring a smooth dough.
- 4 cups white flour: The backbone of the focaccia, it provides structure and texture. Use high-gluten flour for the best results.
- 2 teaspoons fine grain sea salt: Enhances flavor and strengthens gluten structure, essential for great bread.
- Just under 2 tablespoons coarsely chopped, fresh rosemary: Adds a fragrant, earthy note that complements the garlic beautifully.
- Flaky sea salt: Used for sprinkling on the top before baking, it adds a delicious crunch and burst of flavor.
Step by Step Guide for Roasted Garlic Focaccia
Making Roasted Garlic Focaccia is a delightful experience, and each step brings you closer to that golden loaf. Follow these instructions, and you’ll have a stunning bread that’s perfect for any occasion.
- Preheat your oven to 300°F and place a rack in the middle. Grab a small baking dish or an oven-safe bowl and pour olive oil into it. Add the halved garlic with the cut sides down. Cover tightly with foil and place it in the oven. Bake until the garlic is tender and golden, which should take about 45 minutes to 1 hour.
- Once the garlic is roasted, carefully pour the roasted garlic oil through a mesh strainer into a clean bowl. Set aside the garlic cloves and discard any solids. Allow the roasted garlic oil to cool completely before using it in the next steps.
- Rinse the bowl of your stand mixer with warm water to preheat it slightly. Dry the bowl, then add the yeast. Cover it with 1 ¾ cups of warm water, gently stirring to dissolve. Let it sit for 3 to 5 minutes until it becomes frothy.
- Using the dough hook, start the mixer on low speed. Gradually add the flour, salt, and 2 tablespoons of the roasted garlic oil. Increase the speed to medium once the dough starts to combine. Make sure to stop occasionally to scrape down the sides and ensure everything is mixed well. Continue mixing until the dough is smooth and slightly sticky, which should take around 8 to 10 minutes.
- Coat a large bowl with 2 teaspoons of the roasted garlic oil. Add the ball of dough into the bowl, turning it to coat all sides with oil. Cover the bowl with a kitchen towel, and place it in a warm spot to let it rise until doubled in size for about 1 hour 45 minutes.
- After the dough has risen, prepare a rimmed baking sheet by adding 1 teaspoon of the roasted garlic oil, spreading it evenly over the bottom and sides. Punch down the dough gently to release any air bubbles and transfer it to the baking sheet. Carefully stretch the dough out to the edges of the pan. Cover it again with a tea towel, allowing it to rest in a warm spot for about 30 minutes.
- While the dough is resting, preheat your oven to 450°F. Once the resting time is up, uncover the dough and dimple the surface with your oiled fingertips, creating little pockets.
- Brush more of the roasted garlic oil on top of the dough, then dot it with the reserved roasted garlic cloves. Sprinkle generously with fresh rosemary and a pinch of flaky sea salt for a savory finish.
- Place the baking sheet into the oven and immediately reduce the temperature to 375°F. Bake the focaccia until it’s golden brown, which should take about 20 to 25 minutes. Keep an eye on it to prevent over-browning.
- Once baked, transfer the focaccia to a wire rack to cool slightly before slicing. Enjoy the Roasted Garlic Focaccia warm, drizzled with even more olive oil or served with your favorite dip!
Things Worth Knowing
- Watch for the dough’s elasticity: The dough should pull away from the sides of the bowl and be slightly sticky, indicating it has developed good gluten structure.
- Adjust the baking time: Ovens can vary; keep an eye on your focaccia as it bakes to ensure it doesn’t overcook.
- Experiment with toppings: Feel free to add olives, sun-dried tomatoes, or even cheese on top for a different flavor profile.
- Store properly: Keep any leftovers in an airtight container to maintain freshness, or wrap it tightly in plastic wrap.
Recipe Notes about Roasted Garlic Focaccia
Creating the perfect loaf of Roasted Garlic Focaccia can be a rewarding experience. Here are some tips to help you along the way:
- Storage: Keep any leftover focaccia in an airtight container at room temperature for up to 3 days. For longer storage, refrigerate it, but this may change the texture.
- Freezing: Yes, you can freeze this focaccia! Wrap it tightly in plastic and then in aluminum foil. It can be stored for up to 2 months. Thaw it overnight in the refrigerator when you’re ready to enjoy it again.
- Pairing: This focaccia pairs beautifully with a hearty soup, robust salad, or even as a side to grilled vegetables.
- Serving Warm: For the best taste, warm the focaccia slightly before serving. It enhances the flavors and brings back that fresh-baked aroma.
- Variations: Feel free to experiment with different herbs like thyme or oregano, or add toppings like cheese or balsamic glaze for a unique twist.
Best Served With
When it comes to serving your Roasted Garlic Focaccia, you have a world of delicious possibilities. Here are some fantastic ideas:
- Hearty Soups: Serve your focaccia alongside a steaming bowl of tomato basil soup or minestrone for a comforting meal.
- Fresh Salads: Pair it with a crisp garden salad or a Caesar salad to create a balanced and satisfying meal.
- Party Platters: This bread is perfect for buffets or potlucks. Cut it into pieces and serve with dips like hummus or olive tapenade.
- Cheese Boards: Incorporate focaccia into your cheese board for a delightful addition that complements various cheeses and charcuterie.
- Brunch Spread: Pair it with an egg dish or quiche for a lovely brunch setting, creating a warm and inviting table.
- Warm Olive Oil: Drizzle warm olive oil on the bread for a classic Italian experience that’s sure to impress your guests.
FAQ
Conclusion
In conclusion, Roasted Garlic Focaccia is a delightful and satisfying bread that embodies comfort and warmth. Its rich flavors and inviting aroma make it a perfect companion for many meals. I encourage you to try making this focaccia at home, as it’s sure to impress your family and friends. Enjoy the process and savor each delicious bite.
Roasted Garlic Focaccia
Equipment
- Frying Pan
- Oven
- Chef's Knife
- Mixing Bowl
- Wooden Spoon
- Baking Sheet
Ingredients
- ½ cup olive oil
- 1 large head garlic cut in half widthwise
- 1 envelope active dry yeast (2 ¼ teaspoons) not rapid rising
- 1 ¾ cups warm water
- 4 cups white flour
- 2 teaspoons fine grain sea salt
- Just under 2 tablespoons coarsely chopped, fresh rosemary (from 3 – 4 sprigs)
- Flaky sea salt
Instructions
- Preheat your oven to 300°F and place a rack in the middle. Grab a small baking dish or an oven-safe bowl and pour olive oil into it. Add the halved garlic with the cut sides down. Cover tightly with foil and place it in the oven. Bake until the garlic is tender and golden, which should take about 45 minutes to 1 hour.
- Once the garlic is roasted, carefully pour the roasted garlic oil through a mesh strainer into a clean bowl. Set aside the garlic cloves and discard any solids. Allow the roasted garlic oil to cool completely before using it in the next steps.
- Rinse the bowl of your stand mixer with warm water to preheat it slightly. Dry the bowl, then add the yeast. Cover it with 1 ¾ cups of warm water, gently stirring to dissolve. Let it sit for 3 to 5 minutes until it becomes frothy.
- Using the dough hook, start the mixer on low speed. Gradually add the flour, salt, and 2 tablespoons of the roasted garlic oil. Increase the speed to medium once the dough starts to combine. Make sure to stop occasionally to scrape down the sides and ensure everything is mixed well. Continue mixing until the dough is smooth and slightly sticky, which should take around 8 to 10 minutes.
- Coat a large bowl with 2 teaspoons of the roasted garlic oil. Add the ball of dough into the bowl, turning it to coat all sides with oil. Cover the bowl with a kitchen towel, and place it in a warm spot to let it rise until doubled in size for about 1 hour 45 minutes.
- After the dough has risen, prepare a rimmed baking sheet by adding 1 teaspoon of the roasted garlic oil, spreading it evenly over the bottom and sides. Punch down the dough gently to release any air bubbles and transfer it to the baking sheet. Carefully stretch the dough out to the edges of the pan. Cover it again with a tea towel, allowing it to rest in a warm spot for about 30 minutes.
- While the dough is resting, preheat your oven to 450°F. Once the resting time is up, uncover the dough and dimple the surface with your oiled fingertips, creating little pockets.
- Brush more of the roasted garlic oil on top of the dough, then dot it with the reserved roasted garlic cloves. Sprinkle generously with fresh rosemary and a pinch of flaky sea salt for a savory finish.
- Place the baking sheet into the oven and immediately reduce the temperature to 375°F. Bake the focaccia until it’s golden brown, which should take about 20 to 25 minutes. Keep an eye on it to prevent over-browning.
- Once baked, transfer the focaccia to a wire rack to cool slightly before slicing. Enjoy the Roasted Garlic Focaccia warm, drizzled with even more olive oil or served with your favorite dip!
Notes
- Storage: Keep any leftover focaccia in an airtight container at room temperature for up to 3 days. For longer storage, refrigerate it, but this may change the texture.
- Freezing: Yes, you can freeze this focaccia! Wrap it tightly in plastic and then in aluminum foil. It can be stored for up to 2 months. Thaw it overnight in the refrigerator when you’re ready to enjoy it again.
- Pairing: This focaccia pairs beautifully with a hearty soup, robust salad, or even as a side to grilled vegetables.
- Serving Warm: For the best taste, warm the focaccia slightly before serving. It enhances the flavors and brings back that fresh-baked aroma.
- Variations: Feel free to experiment with different herbs like thyme or oregano, or add toppings like cheese or balsamic glaze for a unique twist.