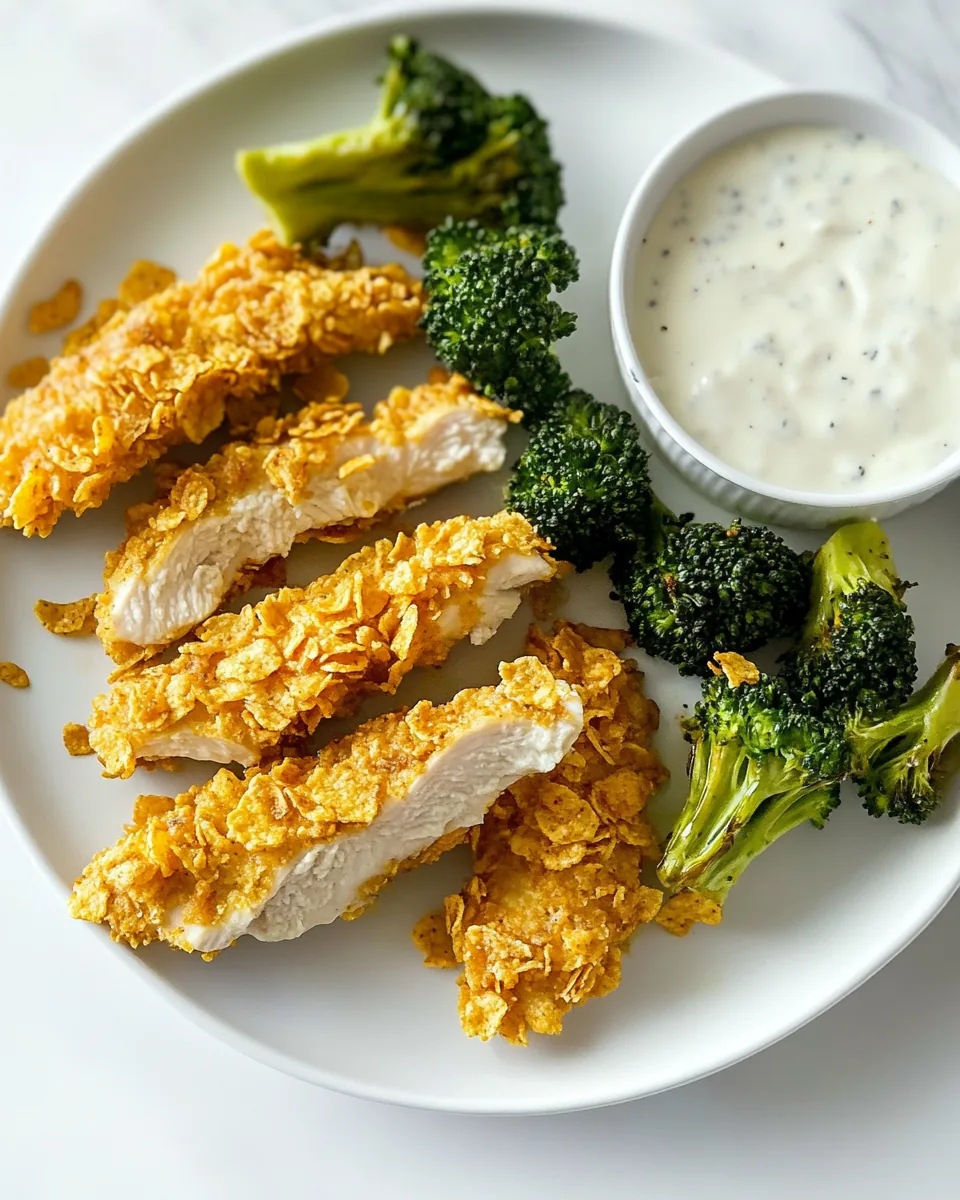
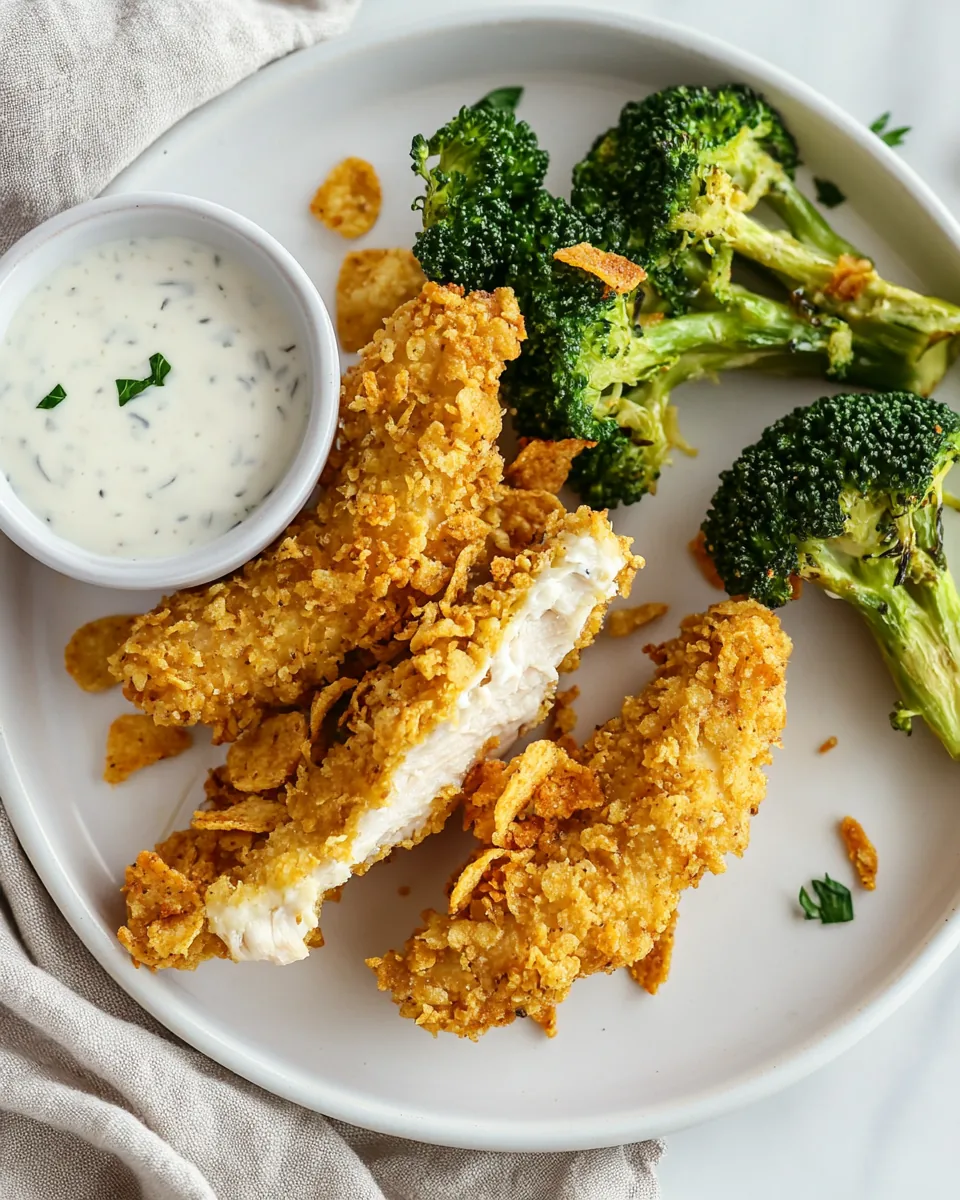
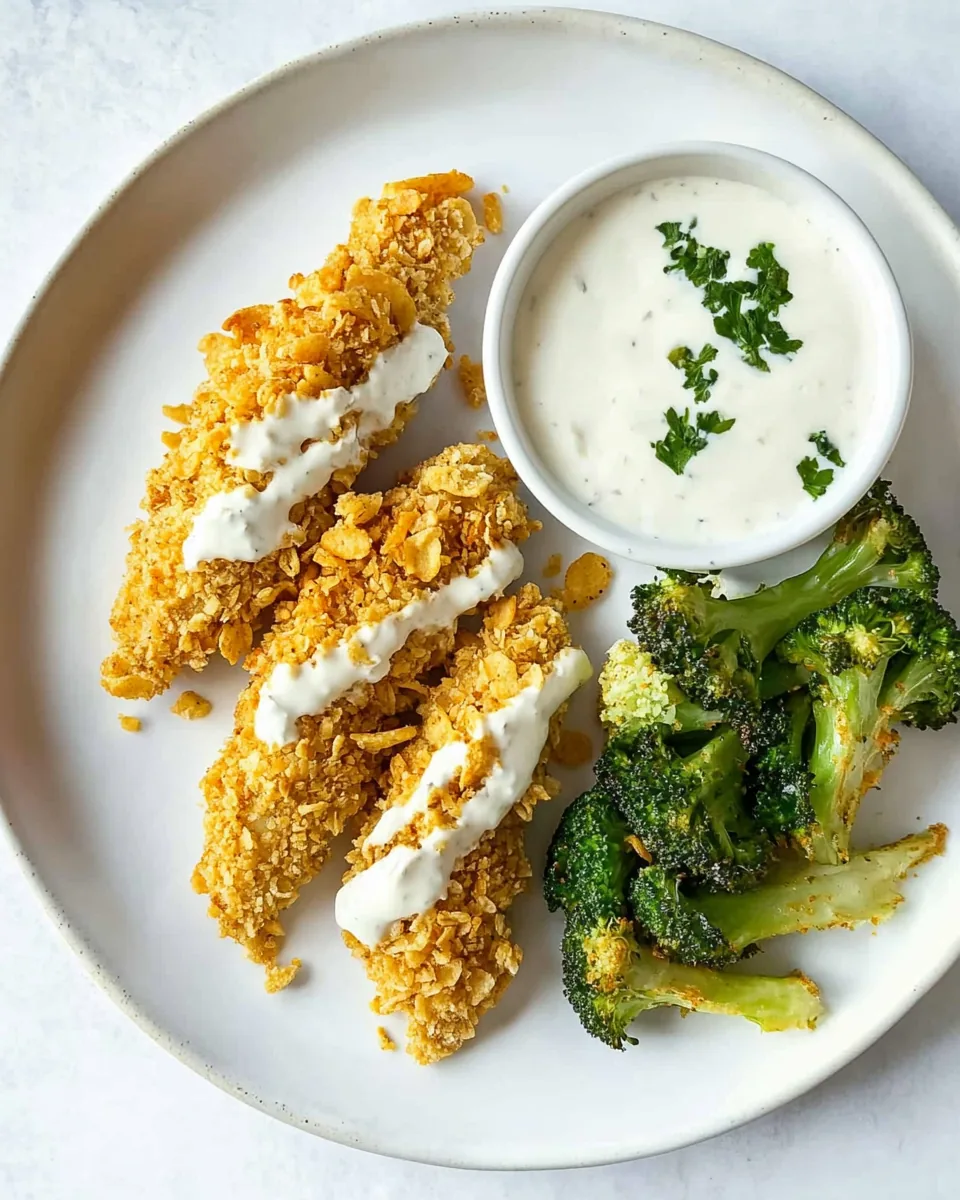
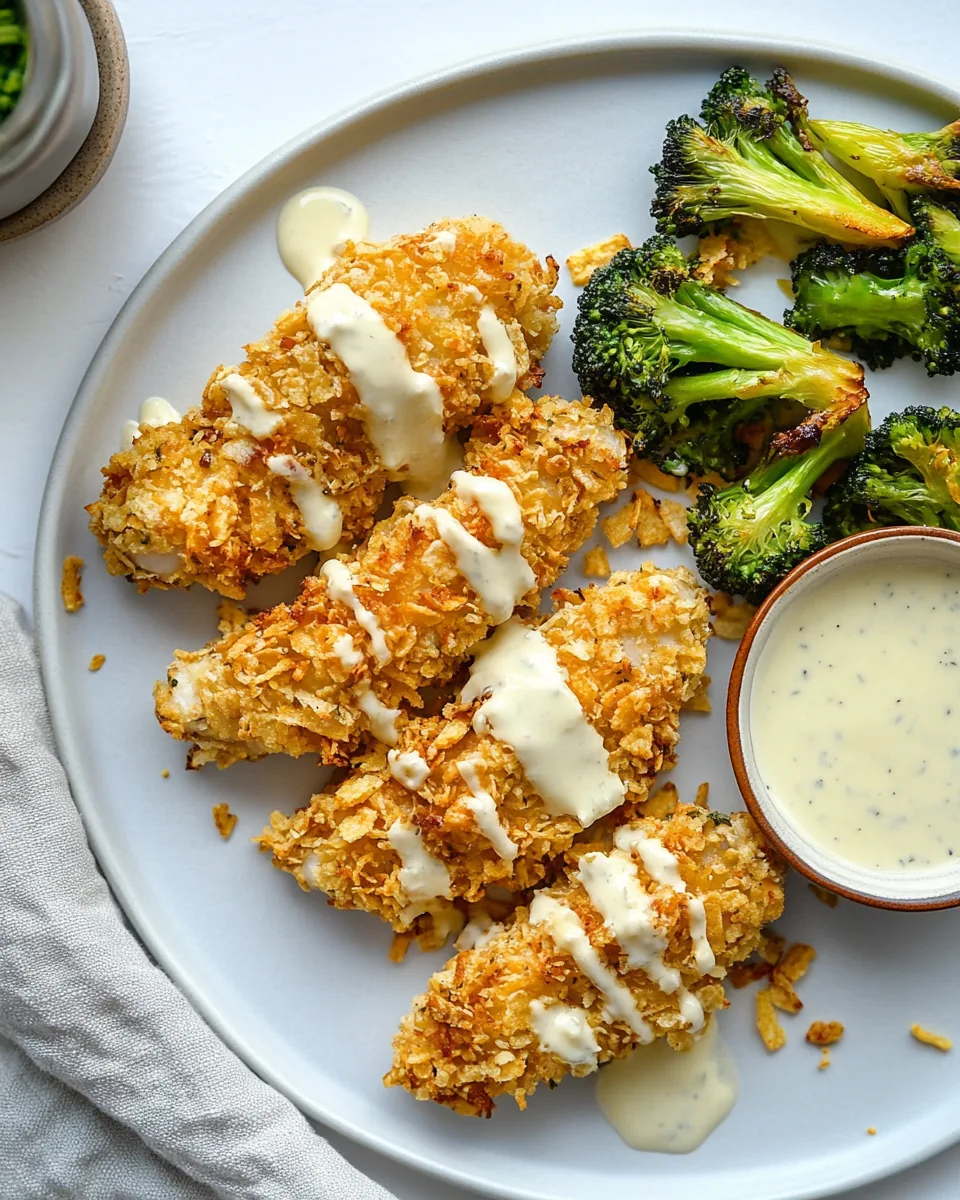
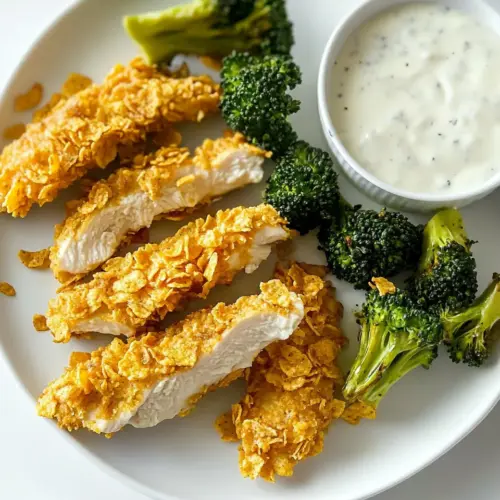
Potato Chip Crusted Chicken Fingers
When it comes to quick and delicious meals, nothing beats Potato Chip Crusted Chicken Fingers. Picture this: it’s a busy weekday evening, and the kids are hungry after a long day at school. Instead of resorting to takeout, I love whipping up these crispy chicken fingers that are not only a hit with the little ones but also satisfy my own craving for something crunchy and flavorful. The best part? They’re super easy to make! With just a handful of ingredients, and the satisfying crunch of kettle-cooked potato chips, these chicken fingers quickly become a family favorite. And if you’re looking for a side dish, I recommend pairing them with roasted broccoli that’s drizzled in olive oil and sprinkled with salt for the perfect balance. So, if you’re in the mood for comfort food that feels indulgent without the guilt, grab your apron, and let’s dive into making these Potato Chip Crusted Chicken Fingers!
Recipe Snapshot
45 mins
20 mins
25 mins
Medium
420 kcal
30 g
Gluten-Free
25 g
Food Processor, Oven, Blender, Baking Sheet
Why This Potato Chip Crusted Chicken Fingers Is a Winner
They’re Incredibly Crunchy!
The first thing that stands out about Potato Chip Crusted Chicken Fingers is their unbeatable crunch. The crushed potato chips create a delightful coating that locks in moisture while giving each piece that satisfying crunch with every bite. Who can resist that?
Perfect for Kids and Adults Alike
Kids love these chicken fingers, which means they’re perfect for family dinners. Adults, too, find them irresistible! They’re a great way to make chicken tender and fun while bringing some nostalgia from childhood to the dinner table.
Quick to Prepare
When time is of the essence, these chicken fingers offer a speedy solution. With a preparation time of just 20 minutes, you’ll have a delicious meal on the table in no time. Plus, the cooking time is only about 25 minutes, making it a recipe you can turn to again and again!
Versatile for Any Occasion
These chicken fingers aren’t just for dinner. They make a fantastic appetizer for parties or game day snacks. Serve them with a variety of dips, and you’ve got a crowd-pleaser that everyone will love!
Healthy Broccoli Side Dish
I love that these fingers are complemented perfectly by a simple side of roasted broccoli. Just a drizzle of olive oil and a sprinkle of seasonings transform broccoli into a delicious, nutritious addition to your meal without any extra hassle.
Homemade Ranch Dipping Sauce
And let’s not forget about the homemade ranch sauce! Made from simple ingredients, it offers a fresh and creamy pairing that elevates these chicken fingers to another level. It’s a great way to put a personal touch on your meal!
What You Need for Potato Chip Crusted Chicken Fingers
The ingredients for these Potato Chip Crusted Chicken Fingers are simple yet effective. Each one plays a crucial role in delivering a dish that’s crispy on the outside and tender on the inside. The combination of crunch from the potato chips and the savory flavors of the spices makes for a winning combination. Here’s what you’ll need:
- 1 ½ pounds chicken tenders
- Kosher salt and pepper – to taste
- Garlic powder, for sprinkling
- 1 cup flour
- 2 large eggs, lightly beaten
- 1 (8 ounce) bag kettle cooked potato chips, crushed
- Olive oil/canola/avocado oil spray
- 2 heads of broccoli, cut into florets
- 1 to 2 tablespoons olive oil, for roasting the broccoli
- 1 cup plain Greek yogurt or sour cream
- ½ cup mayonnaise
- ½ cup milk
- 3 tablespoons fresh chives or 1 tablespoon dried chives
- 2 tablespoons fresh dill or 2 teaspoons dried dill weed
- 1 tablespoon fresh parsley or 1 teaspoon dried parsley
- 2 teaspoons fresh lemon juice
- 1 teaspoon garlic powder
- ½ teaspoon onion powder
- ½ teaspoon salt
- ½ teaspoon pepper
- ¼ teaspoon smoked paprika
Making This Potato Chip Crusted Chicken Fingers
Creating these Potato Chip Crusted Chicken Fingers is a fulfilling experience that’s surprisingly easy! The steps are straightforward, but don’t worry, I’ll guide you through each part of the process to ensure your meal turns out perfectly. Let’s get started!
- Preheat your oven to 425 degrees F. This is an essential step as it ensures that the chicken fingers cook evenly and become perfectly crispy. While it heats, line a baking sheet with a wire rack and spray the rack with nonstick spray to prevent sticking.
- Season the chicken tenders all over with kosher salt, pepper, and a sprinkle of garlic powder. Seasoning well is key to flavoring the chicken, so don’t hold back!
- In one large bowl or plate, place the flour. In a second bowl, lightly beat the eggs. In a third bowl, place the crushed potato chips. This three-step dredging process ensures a beautiful coating.
- Take each piece of chicken and dip it into the flour, ensuring it’s completely covered. Shake off any excess flour before moving to the next step.
- Next, dip the chicken into the beaten eggs, letting any excess drip off. This wet layer is what will help the potato chip crumbs stick.
- Finally, coat each piece of chicken in the crushed potato chips, pressing gently to ensure the crumbs adhere well. This step is crucial for that perfect crunch!
- Place each coated chicken piece on the sprayed wire rack. Make sure they have a little space between them so they can crisp up nicely.
- I like to give my chicken fingers a light spritz of olive oil spray. This little extra touch helps them get even more golden and crispy while baking.
- Bake the chicken fingers in the preheated oven for 18 to 22 minutes, until they are cooked through and golden brown. You’ll want to check that they’re crispy on the outside and tender inside.
- Once the chicken is done, remove it from the wire rack immediately so it doesn’t stick. Using a spatula or tongs makes this easy!
- While the chicken is baking, prepare the broccoli. You can roast it in the same oven at 425 degrees. Drizzle the broccoli with olive oil, sprinkle with salt, pepper, and garlic powder, and roast for 15 to 20 minutes until slightly charred.
- To serve, drizzle both the chicken and the roasted broccoli with ranch dressing, and enjoy your meal immediately!
Things Worth Knowing
- Proper Coating Technique: Make sure to coat each chicken piece thoroughly with flour, then egg, and finally the potato chip crumbs. This layering creates the crunch that makes these chicken fingers special.
- Even Cooking: Using a wire rack allows hot air to circulate around the chicken, ensuring that every side gets crispy without needing to flip them.
- Broccoli Roasting Tips: When roasting the broccoli, watch it closely. You want it slightly charred for flavor but not burnt, so adjust your cooking time as needed.
- Flavor Variations: Feel free to add different spices to the potato chip coating for a unique twist, such as paprika or cayenne for heat.
Tips and Variations
Cooking is all about creativity, and here are some tips and variations to elevate your experience with Potato Chip Crusted Chicken Fingers.
- Storage: Store any leftover chicken fingers in an airtight container in the fridge. They will stay fresh for about 3 to 4 days, but they’re best enjoyed when freshly made.
- Freezing: You can freeze the uncooked, breaded chicken fingers. Just place them in a single layer on a baking sheet, freeze until solid, and then transfer to a freezer bag. Bake from frozen, adding a few extra minutes to the cooking time.
- Pairing: These chicken fingers pair wonderfully with fresh salads, coleslaw, or sweet potato fries for a delicious meal.
- Spice It Up: Add some heat by mixing crushed red pepper flakes into the potato chip coating for a spicy kick.
- Change the Dip: Instead of ranch, try serving with honey mustard, BBQ sauce, or a spicy aioli for a different flavor experience.
- Garnishing: Fresh herbs like parsley or chives make a great garnish for added flavor and a pop of color.
What Goes Well With This Potato Chip Crusted Chicken Fingers
Serving your Potato Chip Crusted Chicken Fingers can be as fun as making them! Here are some ideas to help you create the perfect meal:
- Roasted Vegetables: Pair your chicken fingers with roasted vegetables like carrots, zucchini, or bell peppers for a balanced plate.
- Fresh Salads: A crisp Caesar or garden salad can complement the richness of the chicken fingers beautifully.
- Healthy Dips: Include a variety of dips like guacamole, salsa, or hummus for added flavor and fun.
- Family Gatherings: These chicken fingers make a great addition to any gathering. Serve them during game nights or family get-togethers for a snack that everyone loves.
- Picnics: They’re easy to pack for picnics, making them a perfect finger food that’s satisfying and delicious.
- Dinner Parties: Impress your guests with these homemade chicken fingers as an appetizer or main course at dinner parties!
FAQ
Conclusion
The Potato Chip Crusted Chicken Fingers are truly a delightful dish that combines crunchiness with the tender juiciness of chicken. They make for a perfect family meal, whether it’s a weeknight dinner or a special gathering. I encourage you to try making these at home; they’re sure to impress both kids and adults alike. Enjoy the satisfaction of cooking a dish that’s fast, fun, and absolutely delicious!
Potato Chip Crusted Chicken Fingers
Equipment
- Food Processor
- Oven
- Blender
- Baking Sheet
Ingredients
- 1 ½ pounds chicken tenders
- kosher salt and pepper
- garlic powder
- 1 cup flour
- 2 large eggs
- 1 bag (8 ounce) kettle cooked potato chips
- olive oil/canola/avocado oil spray
- 2 heads broccoli
- 1 to 2 tablespoons olive oil
- 1 cup plain Greek yogurt or sour cream
- ½ cup mayonnaise
- ½ cup milk
- 3 tablespoons fresh chives
- 2 tablespoons fresh dill
- 1 tablespoon fresh parsley
- 2 teaspoons fresh lemon juice
- 1 teaspoon garlic powder
- ½ teaspoon onion powder
- ½ teaspoon salt
- ½ teaspoon pepper
- ¼ teaspoon smoked paprika
Instructions
- Preheat your oven to 425 degrees F. This is an essential step as it ensures that the chicken fingers cook evenly and become perfectly crispy. While it heats, line a baking sheet with a wire rack and spray the rack with nonstick spray to prevent sticking.
- Season the chicken tenders all over with kosher salt, pepper, and a sprinkle of garlic powder. Seasoning well is key to flavoring the chicken, so don’t hold back!
- In one large bowl or plate, place the flour. In a second bowl, lightly beat the eggs. In a third bowl, place the crushed potato chips. This three-step dredging process ensures a beautiful coating.
- Take each piece of chicken and dip it into the flour, ensuring it's completely covered. Shake off any excess flour before moving to the next step.
- Next, dip the chicken into the beaten eggs, letting any excess drip off. This wet layer is what will help the potato chip crumbs stick.
- Finally, coat each piece of chicken in the crushed potato chips, pressing gently to ensure the crumbs adhere well. This step is crucial for that perfect crunch!
- Place each coated chicken piece on the sprayed wire rack. Make sure they have a little space between them so they can crisp up nicely.
- I like to give my chicken fingers a light spritz of olive oil spray. This little extra touch helps them get even more golden and crispy while baking.
- Bake the chicken fingers in the preheated oven for 18 to 22 minutes, until they are cooked through and golden brown. You’ll want to check that they’re crispy on the outside and tender inside.
- Once the chicken is done, remove it from the wire rack immediately so it doesn’t stick. Using a spatula or tongs makes this easy!
- While the chicken is baking, prepare the broccoli. You can roast it in the same oven at 425 degrees. Drizzle the broccoli with olive oil, sprinkle with salt, pepper, and garlic powder, and roast for 15 to 20 minutes until slightly charred.
- To serve, drizzle both the chicken and the roasted broccoli with ranch dressing, and enjoy your meal immediately!
Notes
- Storage: Store any leftover chicken fingers in an airtight container in the fridge. They will stay fresh for about 3 to 4 days, but they’re best enjoyed when freshly made.
- Freezing: You can freeze the uncooked, breaded chicken fingers. Just place them in a single layer on a baking sheet, freeze until solid, and then transfer to a freezer bag. Bake from frozen, adding a few extra minutes to the cooking time.
- Pairing: These chicken fingers pair wonderfully with fresh salads, coleslaw, or sweet potato fries for a delicious meal.
- Spice It Up: Add some heat by mixing crushed red pepper flakes into the potato chip coating for a spicy kick.
- Change the Dip: Instead of ranch, try serving with honey mustard, BBQ sauce, or a spicy aioli for a different flavor experience.
- Garnishing: Fresh herbs like parsley or chives make a great garnish for added flavor and a pop of color.