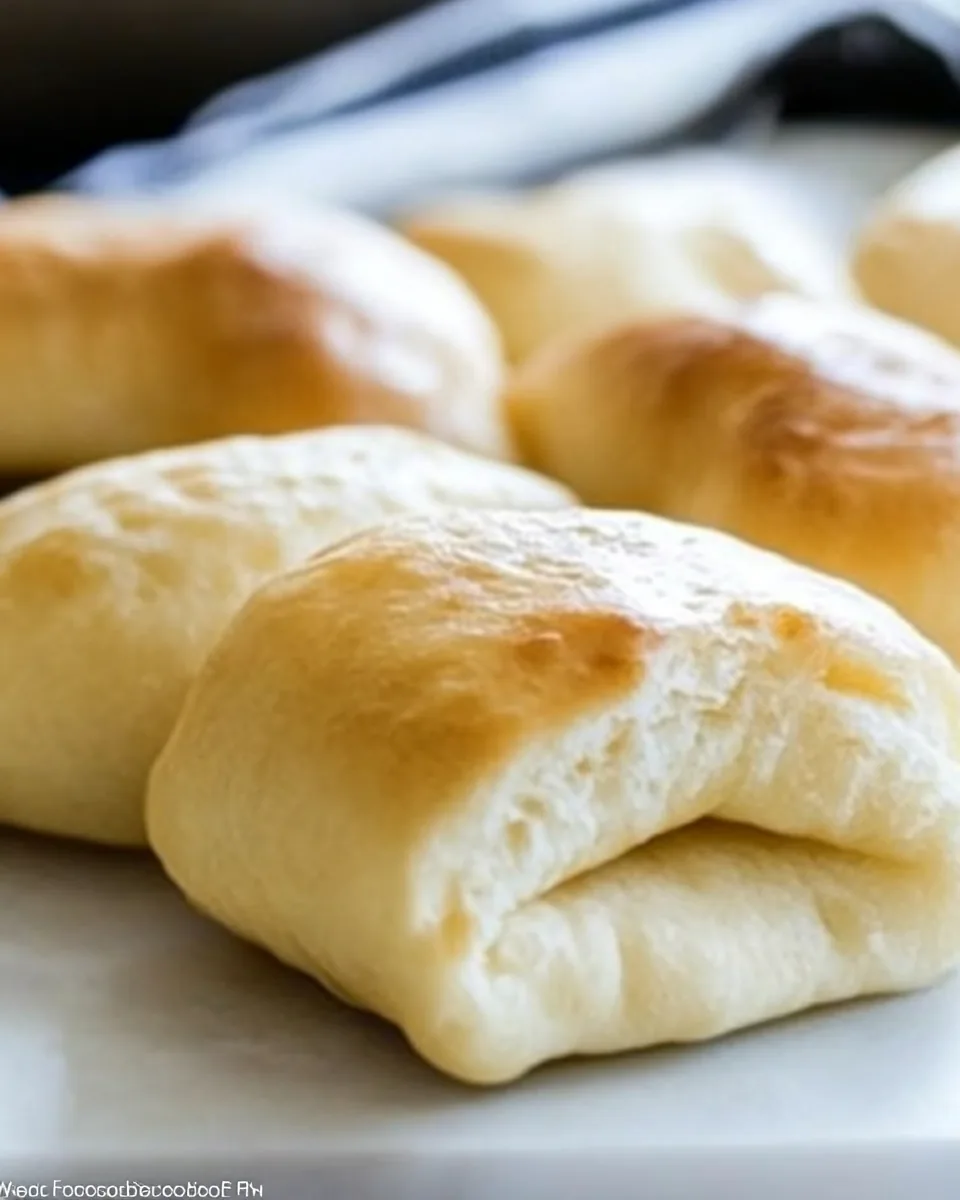
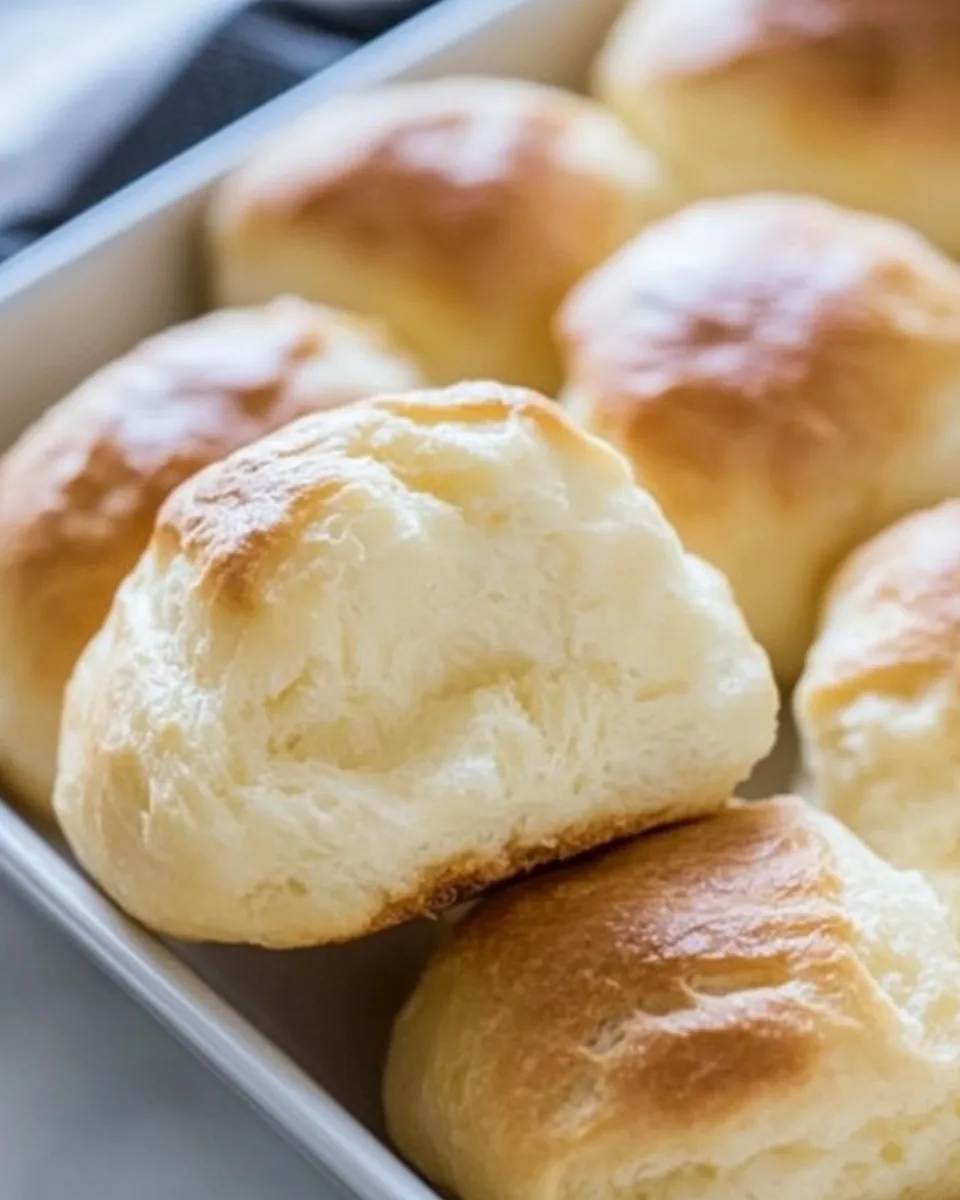
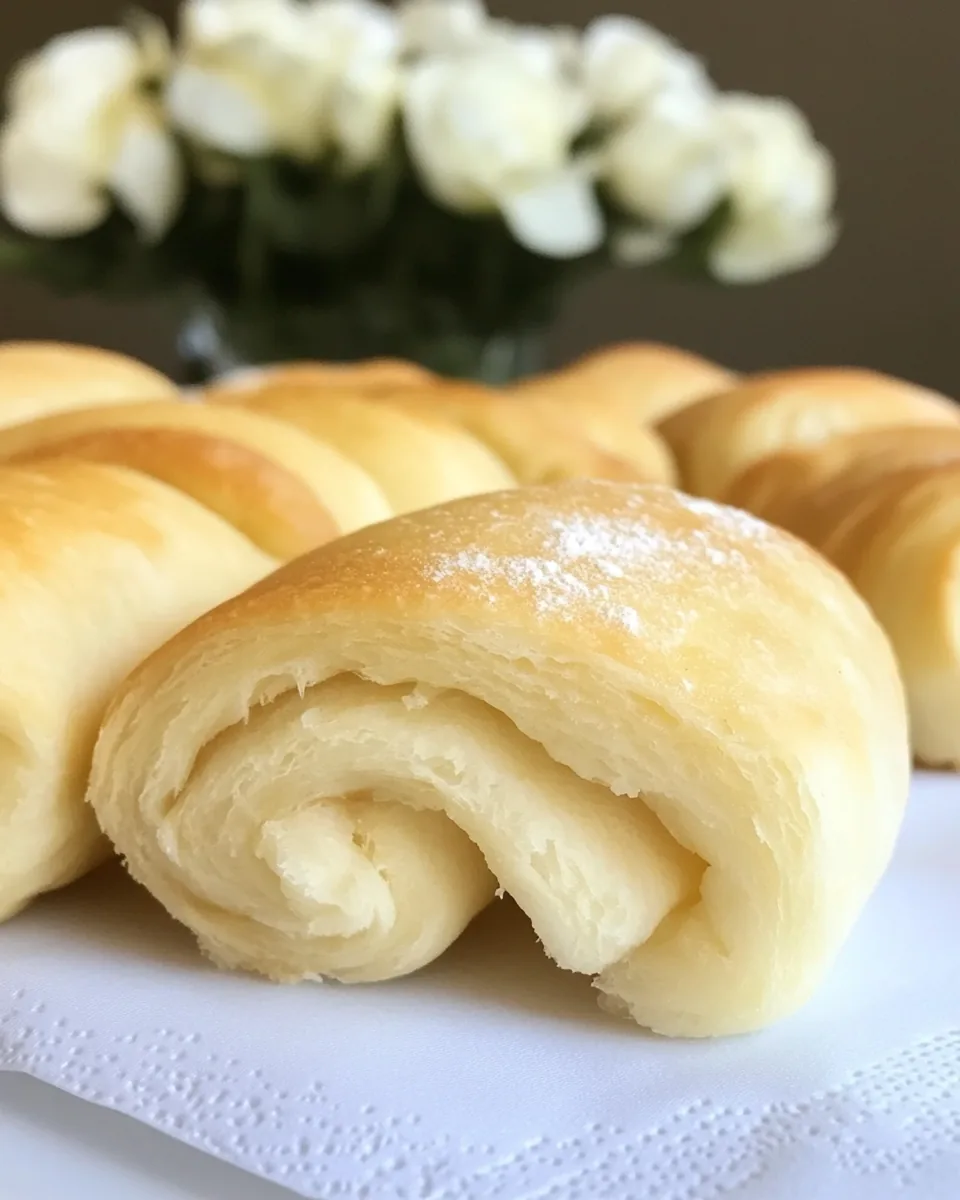
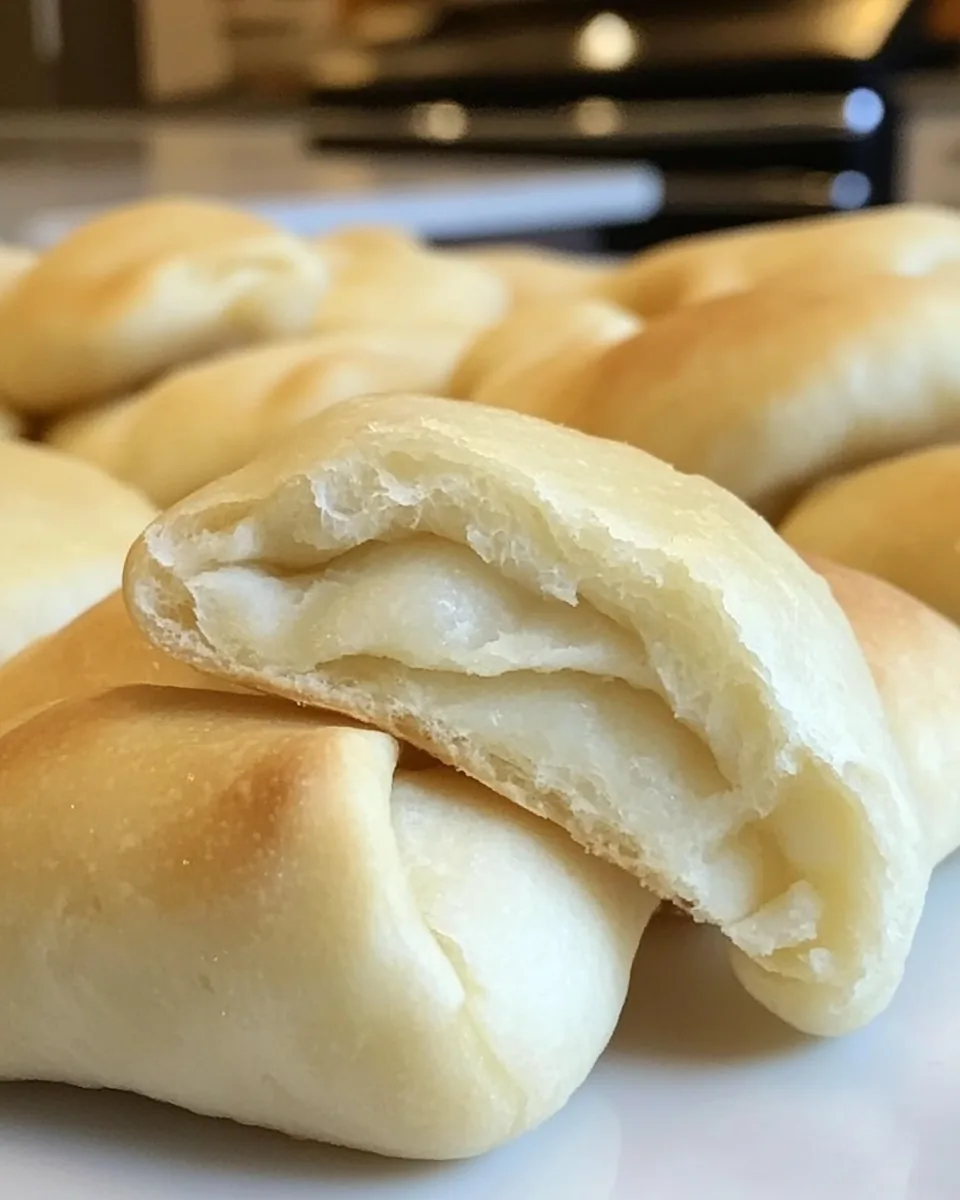
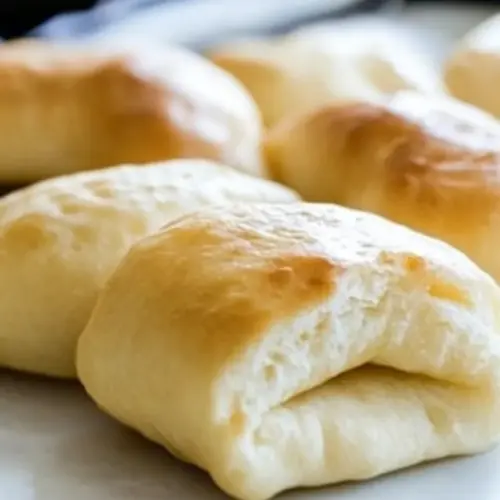
Pocketbook Rolls
There’s something incredibly comforting about the smell of freshly baked bread wafting through the house, and that’s exactly what you’ll experience with these Pocketbook Rolls. I still remember the first time I had them at a family gathering. My grandmother would make them every holiday, and they were always the star of the show. Soft, buttery, and just the right amount of sweetness, these rolls have a unique pocket shape that makes them perfect for scooping up gravy or butter. It’s a recipe that has been passed down through generations, and every bite takes me back to those warm moments spent around the dinner table. Whether you’re enjoying them with a hearty stew or just slathered with a bit of butter, Pocketbook Rolls are a delightful addition to any meal that will surely warm your heart.
Recipe Snapshot
22 mins
15 mins
7 mins
Medium
120 kcal
2 g
Paleo, Whole30, Gluten-Free
5 g
Electric Stand Mixer, 2½-inch biscuit cutter, Rimmed Baking Sheets
Why We Love This Pocketbook Rolls
Perfect for Any Occasion
You can serve these Pocketbook Rolls at any meal — breakfast, lunch, or dinner! They’re not just for special occasions; their comforting nature makes them a staple in my home.
Easy to Make
One of the best things about these rolls is that they’re surprisingly easy to make. With just a few ingredients and some patience, you’ll have a batch of delicious rolls that look like they came from a bakery.
Family-Friendly
Kids love these rolls! They’re fun to make and even more fun to eat. I often involve my children in the process, letting them help roll the dough and cut out the shapes.
Hearty and Satisfying
There’s nothing like biting into a warm, soft roll that has a hint of sweetness. These Pocketbook Rolls are hearty enough to satisfy even the biggest appetites, making them a great side dish for any meal.
Versatile
These rolls can be paired with virtually anything — soups, stews, or even eaten on their own with a bit of jam or honey. The possibilities are endless!
Memories in Every Bite
Each time I make Pocketbook Rolls, I’m reminded of family gatherings and the love that goes into making a meal from scratch. It’s not just a recipe; it’s a way to connect with my loved ones.
Ingredients for Pocketbook Rolls
The ingredients for Pocketbook Rolls come together to create a rich and satisfying dough. Each component plays its part in crafting soft, fluffy rolls that will melt in your mouth. The combination of yeast, flour, and butter ensures a delightful texture, while the sugar adds a hint of sweetness. It’s a simple yet effective mix that results in rolls loved by everyone.
- 1 package active dry yeast: This is the magic ingredient that makes your rolls rise fluffy and light.
- ½ cup warm water: It activates the yeast and helps the dough come together.
- ¼ cup vegetable shortening: This adds moisture and tenderness to the rolls.
- ¼ cup butter, at room temperature: Real butter enhances the flavor and richness.
- ¼ cup sugar: A touch of sweetness balances the flavors perfectly.
- ½ cup boiling water: This helps dissolve the shortening and butter, creating a smooth dough.
- 1 large egg, beaten: It enriches the dough and helps bind everything together.
- 3 cups all-purpose flour: The foundation of the rolls, providing structure.
- 1 ½ teaspoons salt: Enhances the flavor of the rolls.
- ½ cup butter, melted: Used for brushing on top before baking for a golden finish.
Making Pocketbook Rolls
Now that you’ve gathered your ingredients, let’s dive into the process of making these delightful Pocketbook Rolls. The steps may seem lengthy, but each one builds on the last to ensure you get the best results. Trust me, the aroma that fills your kitchen will be worth every minute!
- Combine the yeast and water in a small bowl. Stir the mixture together until it’s well combined and set aside for about five minutes. You should see bubbles forming, which means the yeast is active.
- In a large mixing bowl, cream together the shortening, ¼ cup of butter, and sugar using an electric mixer. Mix until light and fluffy, which usually takes about three to five minutes.
- Gradually beat in the boiling water and mix until everything is well combined. I recommend using the paddle attachment for this step as it incorporates the ingredients nicely.
- Add the yeast mixture to the bowl and beat until everything is blended smoothly. Then add the beaten egg and mix well until combined.
- Next, add the flour and salt to the mixture. Start mixing on low speed to avoid a flour cloud, and then gradually increase to medium speed until the dough comes together.
- Once mixed, cover the bowl with plastic wrap and refrigerate the dough until you’re ready to use it. This dough can be kept in the refrigerator for up to a week, which is fantastic for meal planning.
- When you’re ready to bake, remove the dough from the fridge three hours in advance. Roll it out on a floured surface to about ½ inch thickness. Use a small round biscuit or cookie cutter to cut the dough into circles, about 2 to 2 ½ inches wide.
- Next, fold each circle in half and place them on large greased baking sheets. Brush the tops with melted butter to give them that golden shine.
- Cover the baking sheets with a tea towel and let them rise in a warm place for about 2 ½ hours. Keep an eye on them; if your kitchen is warm, they may rise faster.
- Preheat your oven to 400 degrees Fahrenheit. Bake the rolls for 5 to 7 minutes or until they’re golden brown and puffed up. The aroma will be incredible!
Things Worth Knowing
Things Worth Knowing
- Keep your ingredients at room temperature for better mixing and activation of the yeast.
- Baking soda can negatively affect the rising process, so be careful to follow the recipe accurately.
- For a sweeter roll, you can add a little more sugar to the dough.
- Experiment with different flours, like whole wheat, for a different texture and flavor.
Tips and Variations
Making Pocketbook Rolls is a joy, and with a few tips, you can make them even better. Here are some suggestions to enhance your baking experience:
- Storage: These rolls are best enjoyed fresh, but you can store leftovers in an airtight container for up to two days.
- Freezing: You can freeze the unbaked roll dough. Just shape them, freeze them on a baking sheet, then transfer to a freezer bag. Bake from frozen, adding a few minutes to the baking time.
- Pairing: They go wonderfully with soups, stews, or simply with butter and jam for breakfast.
- Experiment with Flavors: Try adding herbs or spices to the dough for a unique twist!
- Make it Whole Wheat: Substitute half of the all-purpose flour with whole wheat flour for a heartier roll.
- Adjusting Sweetness: If you prefer a sweeter roll, increase the sugar slightly.
Great Combinations for Pocketbook Rolls
When it comes to serving Pocketbook Rolls, the possibilities are endless. Here’s how you can enjoy these delightful rolls:
- Serve with Soups: They’re perfect for soaking up the broth in your favorite soup.
- Perfect for Dinner Parties: Serve them alongside your main dish; their fluffy texture is a crowd-pleaser.
- Breakfast Delight: Enjoy them with honey or jam for a lovely morning treat.
- Holiday Gatherings: Make them a staple during family holidays; they’re sure to evoke fond memories.
- Seasonal Pairings: During colder months, they pair excellently with hearty, warming meals.
- Lunch Boxes: Include them in lunch boxes for a delightful surprise; kids will love them!
FAQ
Conclusion
The Pocketbook Rolls are truly special, combining family tradition with irresistible flavor. These rolls are not just a side dish; they’re a warm hug from the kitchen. I encourage you to try making them yourself; they’re a wonderful way to bring loved ones together. Enjoy the process and the delightful aroma that fills your home!
Pocketbook Rolls
Equipment
- Electric Stand Mixer
- 2½-inch biscuit cutter
- Rimmed Baking Sheets
Ingredients
- 1 package active dry yeast
- ½ cup warm water
- ¼ cup vegetable shortening
- ¼ cup butter at room temperature
- ¼ cup sugar
- ½ cup boiling water
- 1 large egg beaten
- 3 cups all-purpose flour
- 1 ½ teaspoons salt
- ½ cup butter melted
Instructions
- Combine the yeast and water in a small bowl. Stir together and set aside.
- Using an electric mixer, cream the shortening, ¼ cup butter, and sugar together in a large mixing bowl. Gradually beat in boiling water. Note: I used the paddle attachment.
- Add the yeast mixture and beat until well blended. Add the egg and mix well.
- Add the flour and salt and mix together well. Cover the bowl with plastic wrap and refrigerate until ready to use.
- Three hours before ready to use, roll the dough out on a floured surface to ½-inch thickness. Using a small round biscuit or cookie cutter (2 to 2 ½-inches), cut the dough into circles and fold each circle in half.
- Place on large greased baking sheets and brush with melted butter. Cover the baking sheets with a tea towel and let rise in a warm place for 2 ½ hours.
- Preheat oven to 400 degrees. Bake rolls for 5 to 7 minutes, until golden brown.
Notes
- Tip 1: It may not take quite 2 1/2 hours for the rolls to rise, depending on how warm your house is. Give them a peek every now and then because if they rise too much, they lose their shape.
- Tip 2: These rolls are best warm from the oven and do not keep all that well.
- Tip 3: Nutritional info is provided as an estimate only and will vary based on brands of products used.