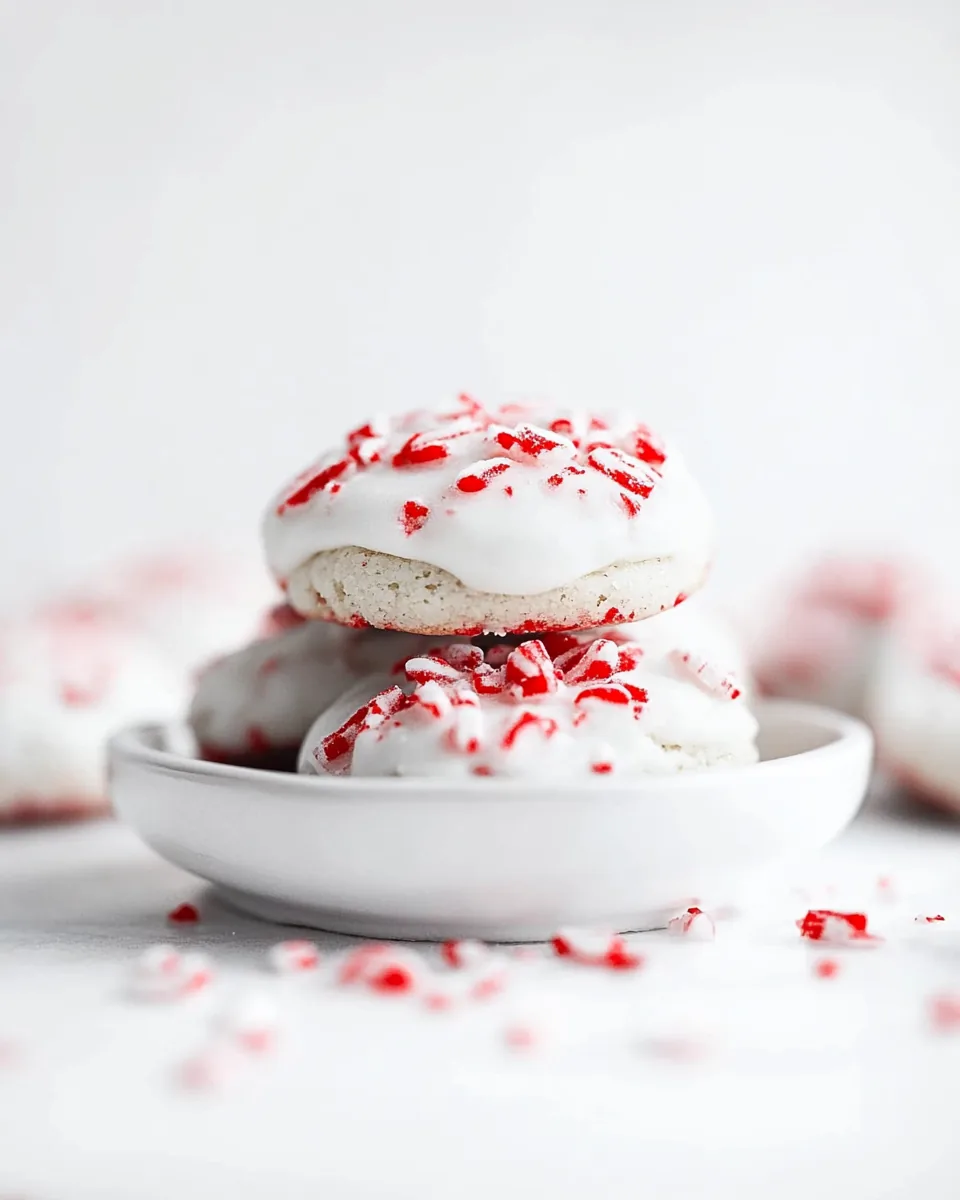
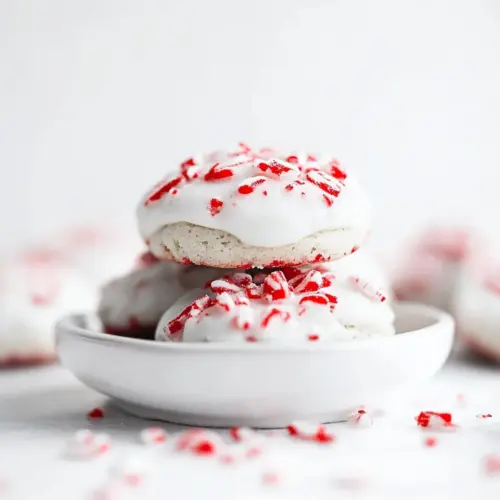
Peppermint Cookies
There’s something magical about making Peppermint Cookies during the chilly winter months. Every year, as the first snowflakes begin to fall, I find myself reaching for my baking supplies, eager to create these delightful treats that fill my home with a sweet, minty aroma. The nostalgic blend of flavors reminds me of childhood holidays spent gathering around the table with family, sharing laughter, and indulging in delicious goodies. With each bite, the cool crunch of peppermint complemented by the smooth sweetness of chocolate transports me back to those cherished moments. Inviting friends over becomes an opportunity to showcase these delightful cookies, and the joy on their faces as they savor each morsel is priceless. Join me in crafting these Peppermint Cookies that are not just desserts but a celebration of winter’s spirit.
Recipe Snapshot
20 mins
20 mins
0 mins
Medium
120 kcal
1 g
Keto, Paleo, Whole30
6 g
Large sheet pan (15″ x 21″), Parchment paper
Why This Peppermint Cookies Is So Good
1. Festive Flavor Profile
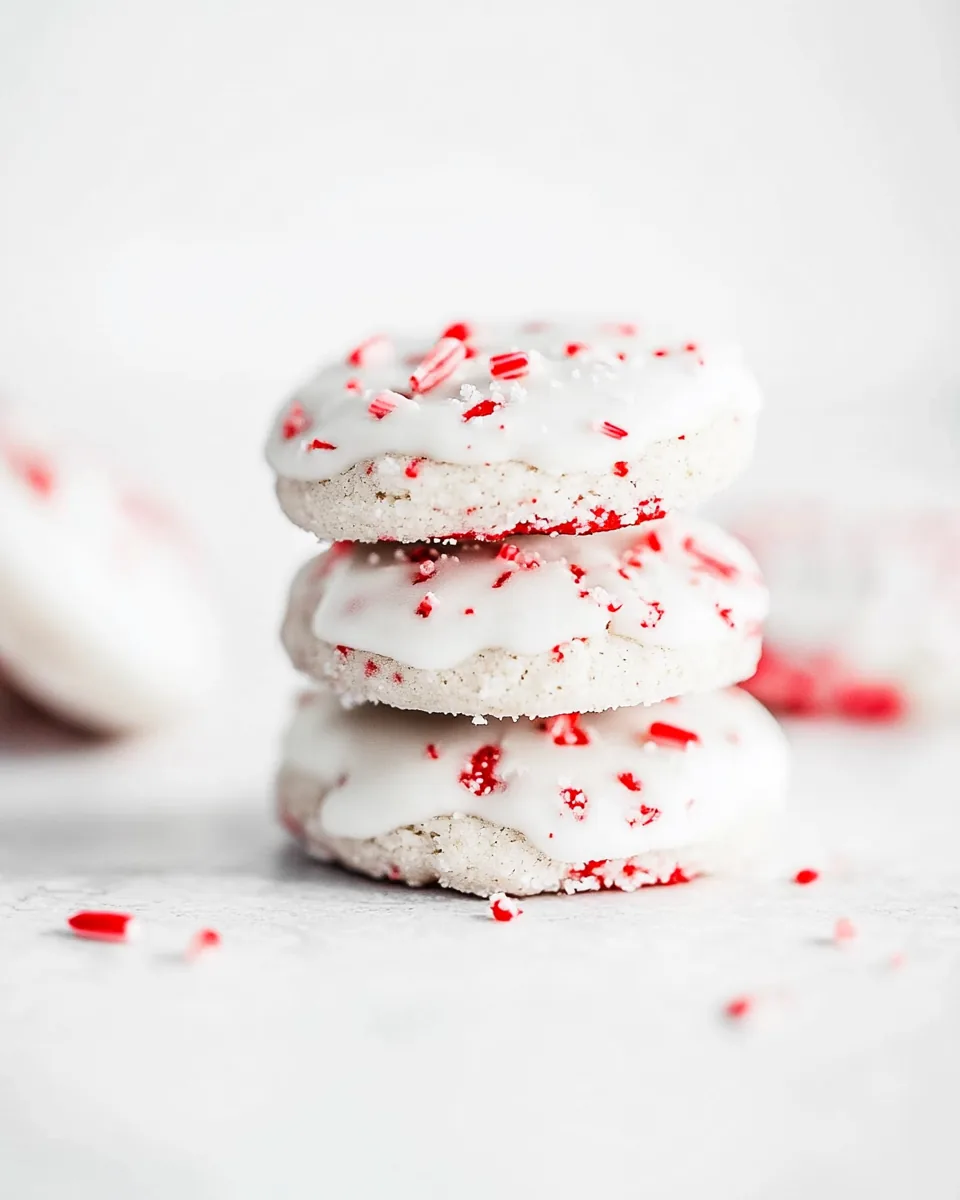
The combination of chocolate and peppermint in Peppermint Cookies makes them a favorite for festive occasions. The sweet, creamy chocolate melts in your mouth, while the peppermint adds a refreshing bite that balances the sweetness perfectly.
2. Perfect for Sharing
These cookies are ideal for sharing, whether at holiday gatherings, cookie swaps, or simply as a thoughtful gift for someone special. Their vibrant look and delightful taste make them a crowd-pleaser.
3. Easy to Make
Don’t let the festive appearance fool you; these cookies are surprisingly easy to prepare. With a straightforward recipe that doesn’t require advanced baking skills, you can whip up a batch in no time.
4. Customizable Treat
While the classic version is a hit, you can easily customize Peppermint Cookies to suit your preferences. Whether you want to add extra chocolate chunks or try different kinds of crushed candy canes, the variations are endless.
5. A Holiday Tradition
Making these cookies can easily become a cherished holiday tradition. Gather your loved ones, roll up your sleeves, and enjoy the process together, creating memories that will last a lifetime.
6. Great for All Ages
Kids and adults alike love Peppermint Cookies. The fun of dipping the cookies in melted chocolate and sprinkling peppermint on top makes it a fun activity for everyone.
What to Gather for Peppermint Cookies
Each ingredient in Peppermint Cookies plays a key role in crafting the perfect treat. The combination of rich, creamy chocolate and refreshing peppermint creates a harmonious balance that is both indulgent and refreshing. Let’s explore these essential players in this delicious recipe.
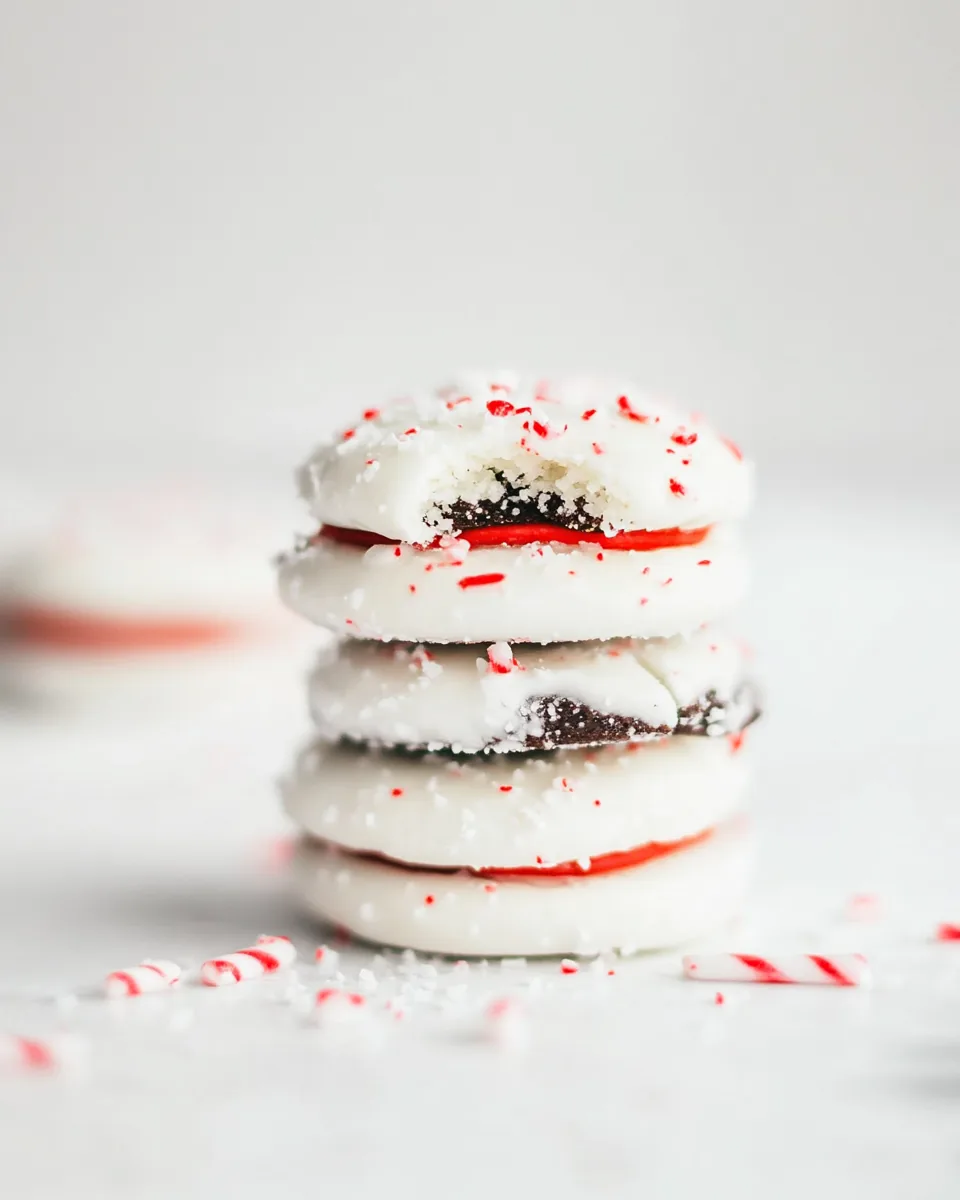
- Grasshopper Cookies: These pre-made cookies serve as the base for your delightful treats. Their minty flavor pairs beautifully with chocolate.
- White Chocolate Melting Wafers: These are crucial for the chocolate coating, offering a creamy texture and sweet flavor that harmonizes with the mint.
- Vegetable Oil: Used to thin the chocolate for dipping, ensuring a smooth and even coating on each cookie.
- Candy Canes: The final touch that adds a delightful crunch and burst of peppermint flavor on top of the cookies.
The Method for Peppermint Cookies
Making Peppermint Cookies is a delightful experience that brings the holiday spirit right into your kitchen. Follow these simple steps, and you’ll have a batch of cookies to share with friends and family in no time.
- Start by lining a large sheet pan with parchment paper or aluminum foil. This will make it easy to transfer your cookies once they’re ready. Prepare your workspace and gather all your ingredients.
- Take your grasshopper cookies and place them in the freezer for at least 30 minutes. This step is crucial as it helps the cookies maintain their shape when dipped in the melted chocolate.
- While the cookies freeze, unwrap your candy canes and place them in a large plastic bag. Seal the bag without any air, and crush the canes into coarse crumbs using a rolling pin or meat mallet. Set these aside for later.
- In a microwave-safe bowl, combine the white chocolate melting wafers and vegetable oil. Heat the mixture in short bursts in the microwave, stirring in between until fully melted and smooth. Let it cool slightly; it should be warm but not hot, as hot chocolate can melt the mint coating.
- Remove a few cookies from the freezer at a time. Take a fork and dip each cookie into the melted chocolate, ensuring it’s completely coated. Tap the fork on the side of the bowl to remove any excess chocolate, so you don’t have a thick layer.
- Using a knife, carefully slide the coated cookie onto the prepared sheet pan. It’s important to work quickly to prevent the mint cookie coating from melting into the chocolate. This can be a bit tricky, but with a little practice, you’ll get the hang of it.
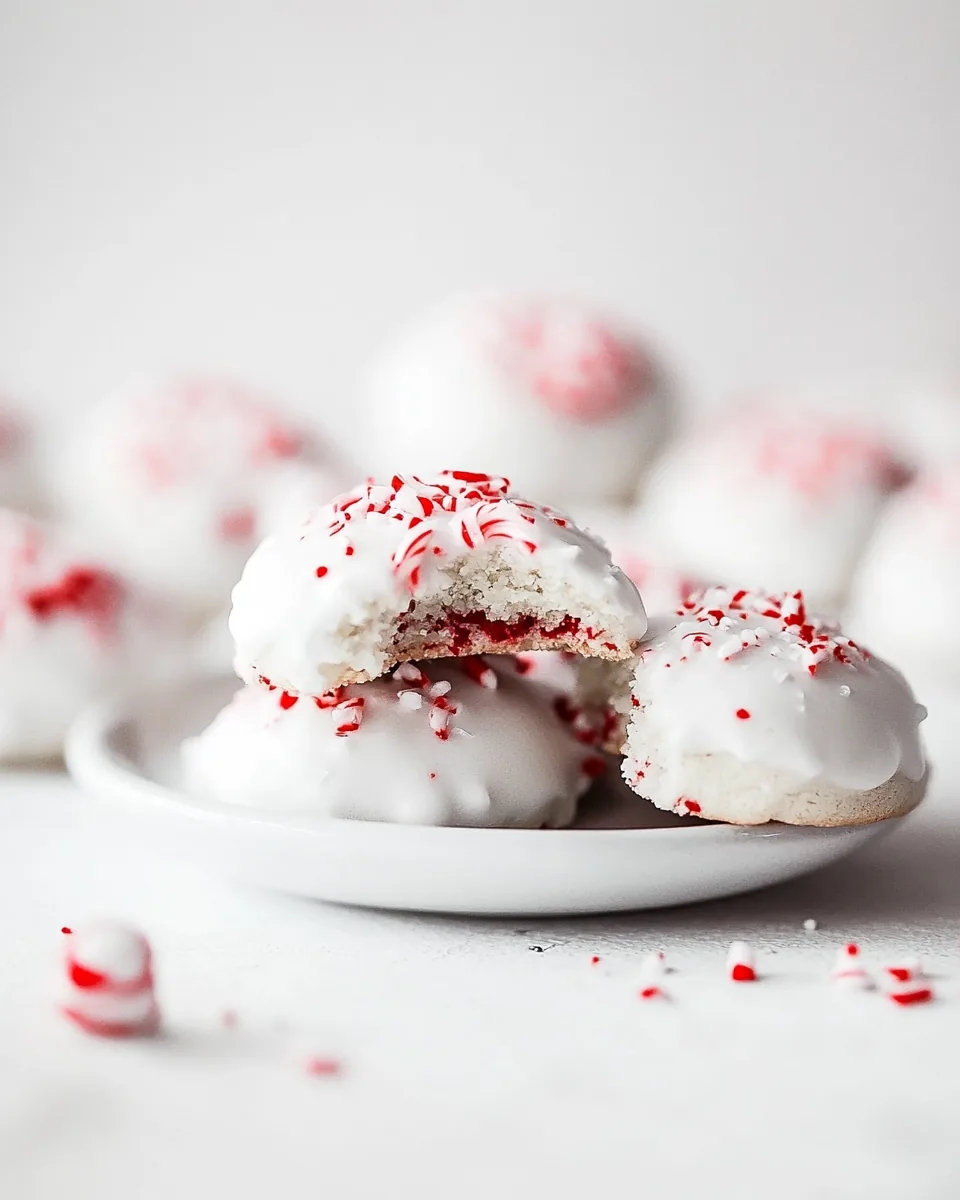
- As soon as you’ve finished coating a cookie, sprinkle the crushed peppermint on top before the chocolate hardens. This adds a beautiful touch and enhances the mint flavor.
- Continue this process until all cookies are coated and topped with peppermint. Once you’ve finished, let the cookies sit at room temperature until the chocolate is firm. Avoid refrigerating or freezing them to set the chocolate, as this might affect the texture.
Things Worth Knowing
Things Worth Knowing
- Crushing Candy Canes: If you find that the candy canes are difficult to crush, try placing them in the freezer for a few minutes before crushing. This will harden them and make breaking them easier.
- Chocolate Consistency: If the chocolate is too thick, you can add a little more vegetable oil to achieve your desired consistency for dipping.
- Storing Cookies: Keep your cookies in an airtight container at room temperature to maintain their freshness and crispy peppermint topping.
- Reheating Chocolate: If the melted chocolate hardens while you’re working, simply reheat it in the microwave for 15-second intervals until it reaches the right consistency again.
Tips and Tricks about Peppermint Cookies
As you embark on your baking adventure with Peppermint Cookies, here are some tips to ensure your cookies turn out perfectly.
- Storage: Store your cookies in an airtight container at room temperature. They stay fresh for about a week, but I guarantee they won’t last that long!
- Freezing: These cookies can be frozen for longer storage. Just make sure to wrap them well in plastic wrap and place them in a freezer bag. They can last up to a month in the freezer.
- Pairing: Serve these cookies with a cup of hot cocoa or coffee for a delightful treat. The warmth of the drink enhances the peppermint flavor.
- Decorating: Get creative! You can drizzle melted chocolate over the top for a fancy touch or use colored sprinkles for a festive look.
- Variations: Try mixing in some chopped nuts or other flavored chips for different taste profiles.
Serving Options for Peppermint Cookies
Serving Peppermint Cookies can be as festive as the cookies themselves. Here are some ideas to enhance your serving experience:
- Holiday Gatherings: Bring a plate of these cookies to your next holiday party. They will surely be a favorite among your friends and family.
- Gift Giving: Package them in decorative boxes or bags to give away as holiday gifts. They make for a thoughtful present.
- Cookie Platters: Include Peppermint Cookies on a dessert platter along with other holiday treats like gingerbread or sugar cookies for a festive display.
- Cozy Evenings: Enjoy these cookies on a chilly evening with your loved ones while watching holiday movies together.
- Office Treats: Share a batch at the office for a delightful pick-me-up during busy workdays.
FAQ
Conclusion
The magic of Peppermint Cookies lies in their festive flavor and the joy they bring during the holiday season. As you gather your ingredients and start baking, remember that each cookie you create holds the potential for sweet memories. I encourage you to give this recipe a try; you’ll not only satisfy your sweet tooth but also create delightful moments to share with loved ones. Happy baking!
Peppermint Cookies
Equipment
- Large sheet pan (15" x 21")
- Parchment Paper
Ingredients
- 1 package Grasshopper Cookies 40 cookies, see note 1
- 1 package White Chocolate Melting Wafers 2 cups, see note 2
- 1.5 teaspoon Vegetable Oil or coconut oil or shortening
- 3 full-sized Candy Canes or peppermint bark, see note 3
Instructions
- Line a large sheet pan with parchment paper or foil. Place the mint cookies in the freezer for at least 30 minutes; the longer, the better.
- Add unwrapped candy canes to a large plastic bag (double-bag if needed to avoid tears). Seal without air and crush with a rolling pin or meat mallet into coarse crumbs. Set aside.
- Combine white chocolate melts and oil in a microwave-safe bowl. Heat in short bursts, stirring until fully melted. Let cool slightly so it’s warm but not hot.
- Remove a few cookies from the freezer at a time. Using a fork, dip each cookie in the melted chocolate, coating it completely. Tap the fork gently on the side of the bowl to remove excess chocolate.
- Use a knife to slide the coated cookie onto the prepared sheet pan. Work quickly to avoid melting the mint cookie coating into the white chocolate.
- Immediately sprinkle crushed peppermint on top of each cookie before the chocolate hardens. Repeat until all cookies are coated and topped.
- Let cookies sit at room temperature until the chocolate is firm. Do not refrigerate or freeze to set the chocolate.
Notes
- If the chocolate is too thick to coat the cookies: add 1/2 teaspoon additional oil.
- If the chocolate hardens while working: reheat in the microwave for 15-second intervals.
- If the mint cookie coating melts into the white chocolate: freeze the cookies longer or allow the white chocolate to cool more before dipping.