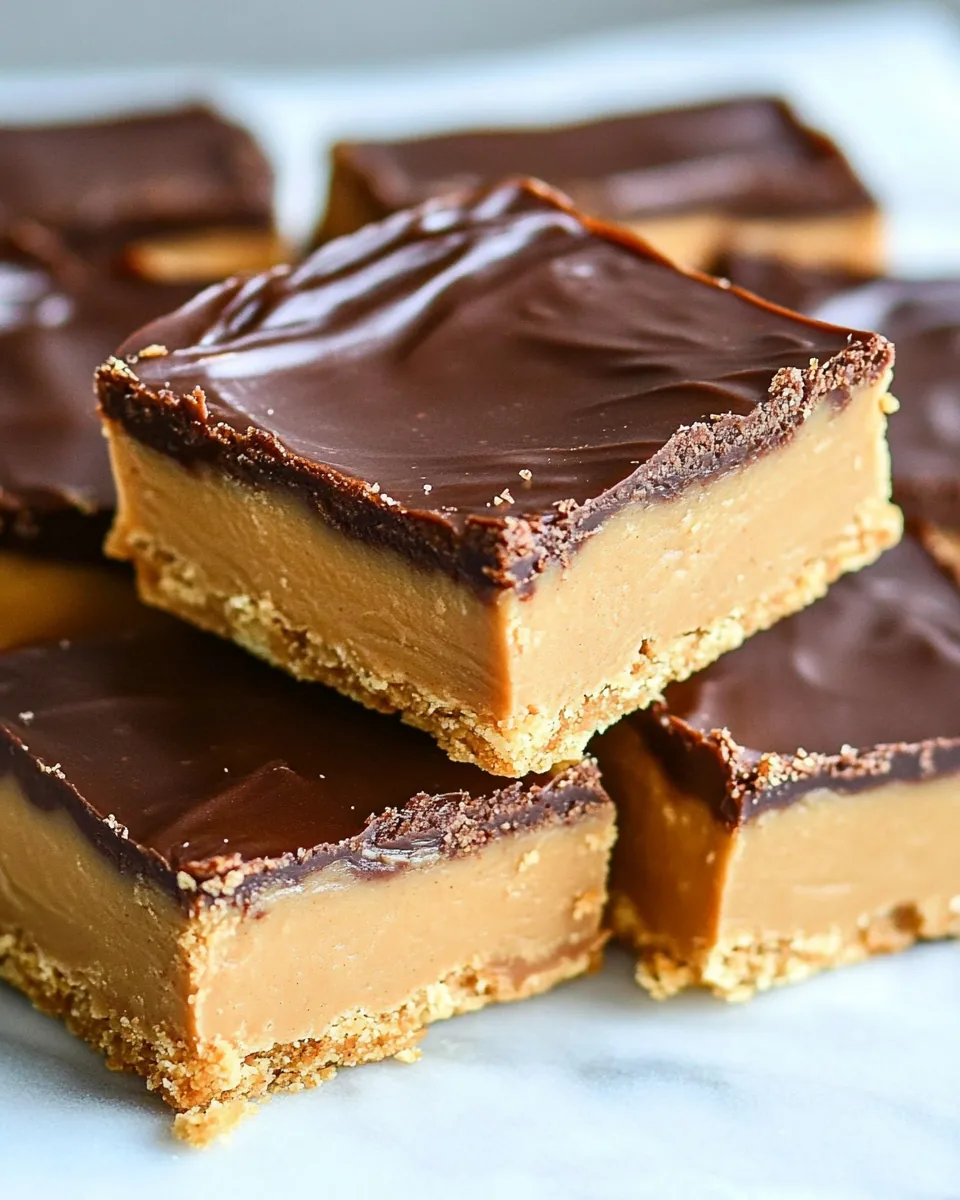
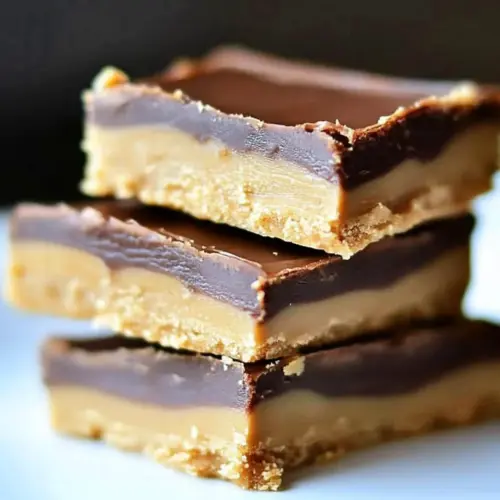
Peanut Butter Bars
There’s something incredibly satisfying about making Peanut Butter Bars. The aroma of melted butter and rich peanut butter fills the kitchen as I mix the ingredients, evoking memories of childhood treats and family gatherings. I remember the first time I made these bars with my grandmother, her laughter echoing as we got a little messy while creating our masterpiece. The simplicity of the ingredients combined with the rich, creamy texture makes Peanut Butter Bars a beloved favorite in our home. Anytime I crave something sweet, I turn to this recipe, knowing it will deliver that nostalgic comfort and satisfaction. This is more than just a dessert; it’s a way to connect with those special moments shared with loved ones, making each bite feel like a warm hug. Whether it’s a party, a simple gathering, or just a treat for myself, these bars never fail to impress.
Recipe Snapshot
27 mins
25 mins
2 mins
Medium
250 kcal
4 g
Gluten-Free, Low FODMAP
14 g
Wooden Spoon, Mixing Bowl
Why This Peanut Butter Bars Works
They’re Incredibly Easy to Make
One of the best aspects of Peanut Butter Bars is how straightforward they are. I love how the recipe calls for just a handful of ingredients that most of us already have in our kitchens. You don’t need any fancy equipment or culinary skills to whip these up. Just mix the ingredients in a bowl, and you’re almost there!
Perfect for Any Occasion
These bars are incredibly versatile. Whether you’re planning a casual picnic, a birthday party, or just a cozy movie night at home, they fit right in. They can be served as a snack or dessert, and their delicious taste is sure to please both kids and adults alike.
Rich and Satisfying Flavor
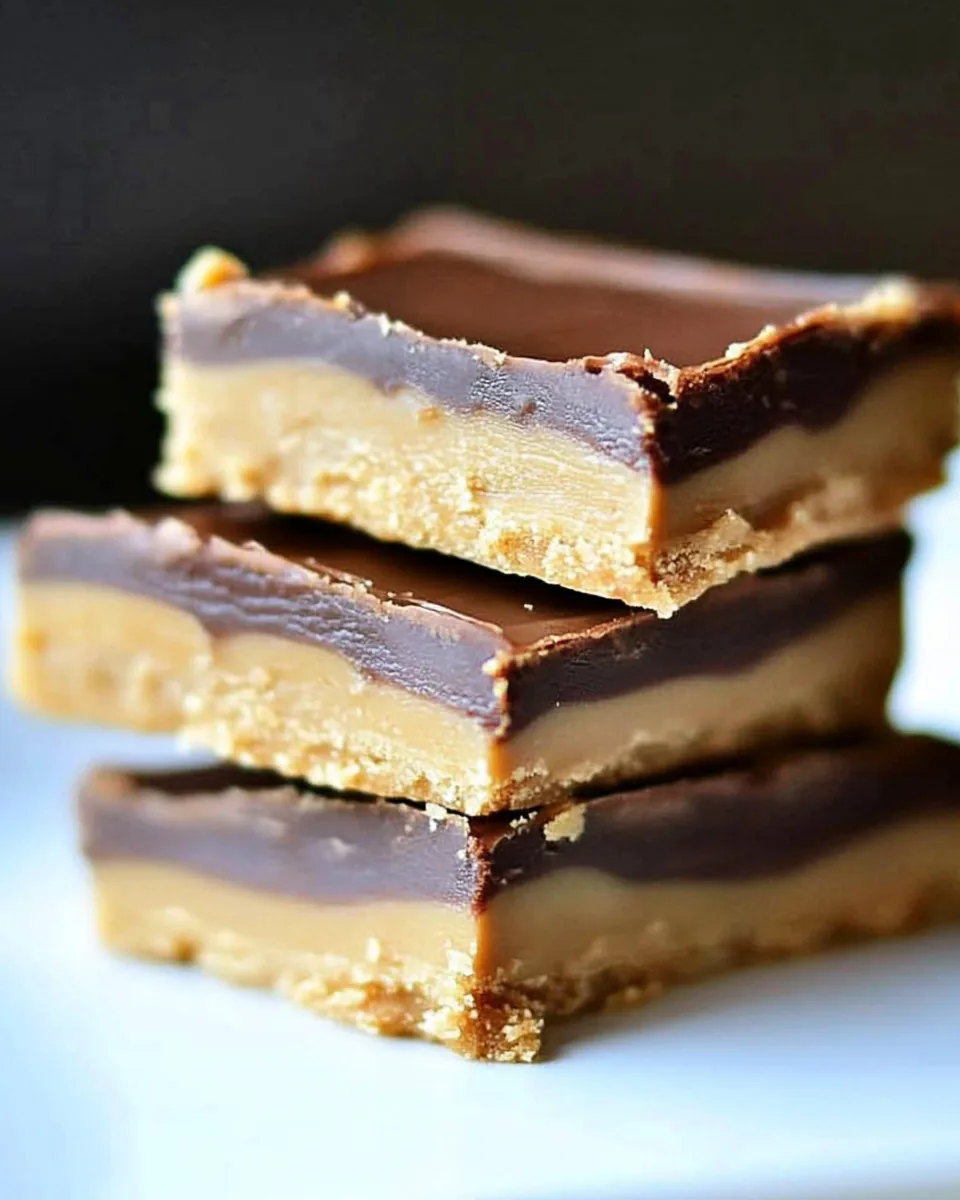
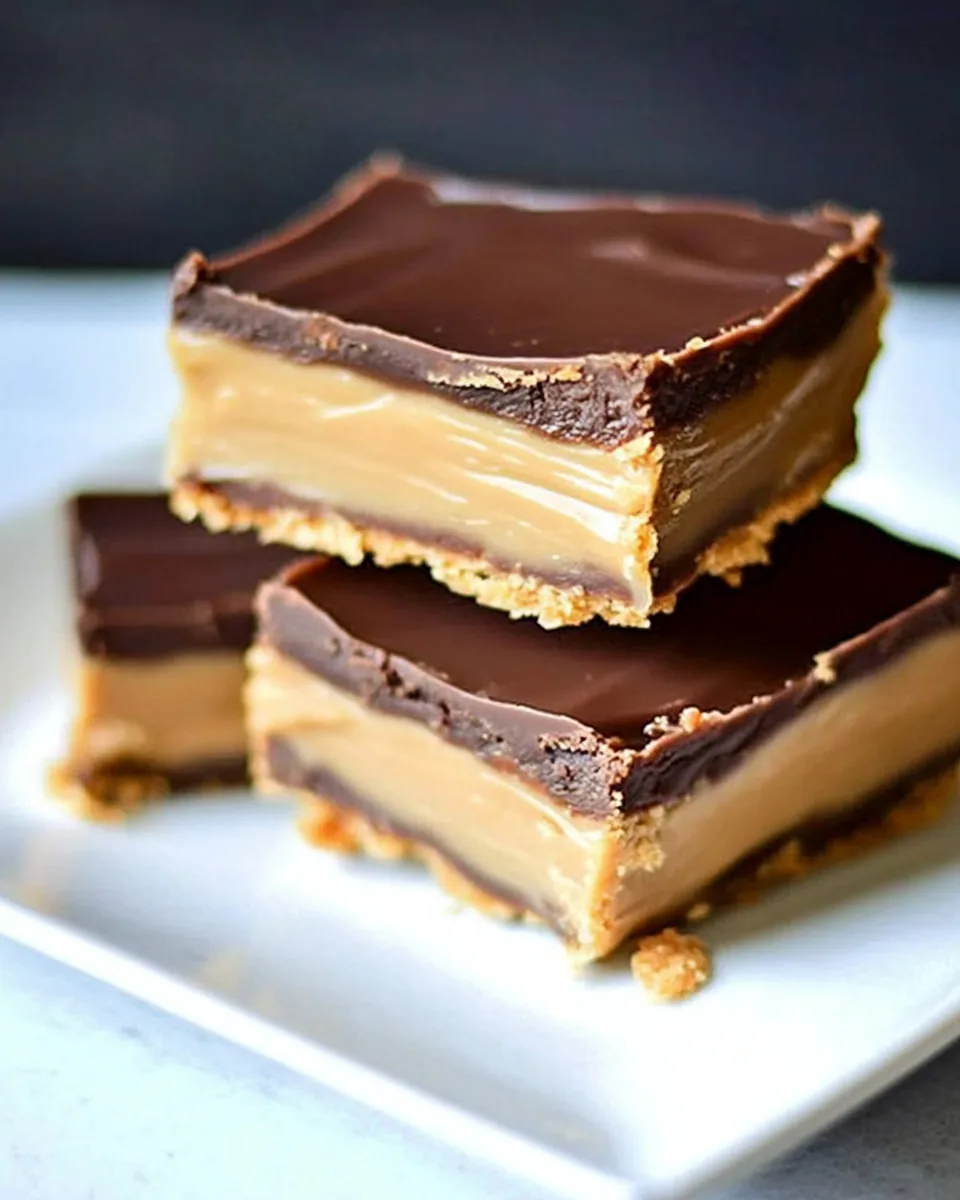
The combination of creamy peanut butter and chocolate is a classic match made in heaven. The rich flavor of the bars satisfies my sweet tooth without being overwhelming. When I take a bite, the texture is smooth and creamy, with just the right amount of crunch from the graham cracker crumbs.
Make Ahead and Store Well
Another reason to love these bars is their make-ahead nature. I often prepare them in advance for gatherings, which saves me a lot of time on the day of the event. Plus, they store beautifully in the refrigerator, making for a perfect treat whenever I need a quick sugar fix!
Customizable to Your Taste
While the traditional Peanut Butter Bars recipe is fantastic as it is, I love the fact that you can easily customize it. Adding a sprinkle of sea salt on top or mixing in some chopped nuts or dried fruits can elevate the flavors even further. The options are endless!
Kid-Friendly and a Fun Activity
Making Peanut Butter Bars is a fun activity I can enjoy with my kids. They love to help mix the ingredients and spread the chocolate topping. It’s a great way to teach them about cooking while creating lasting memories together.
What You Need for Peanut Butter Bars
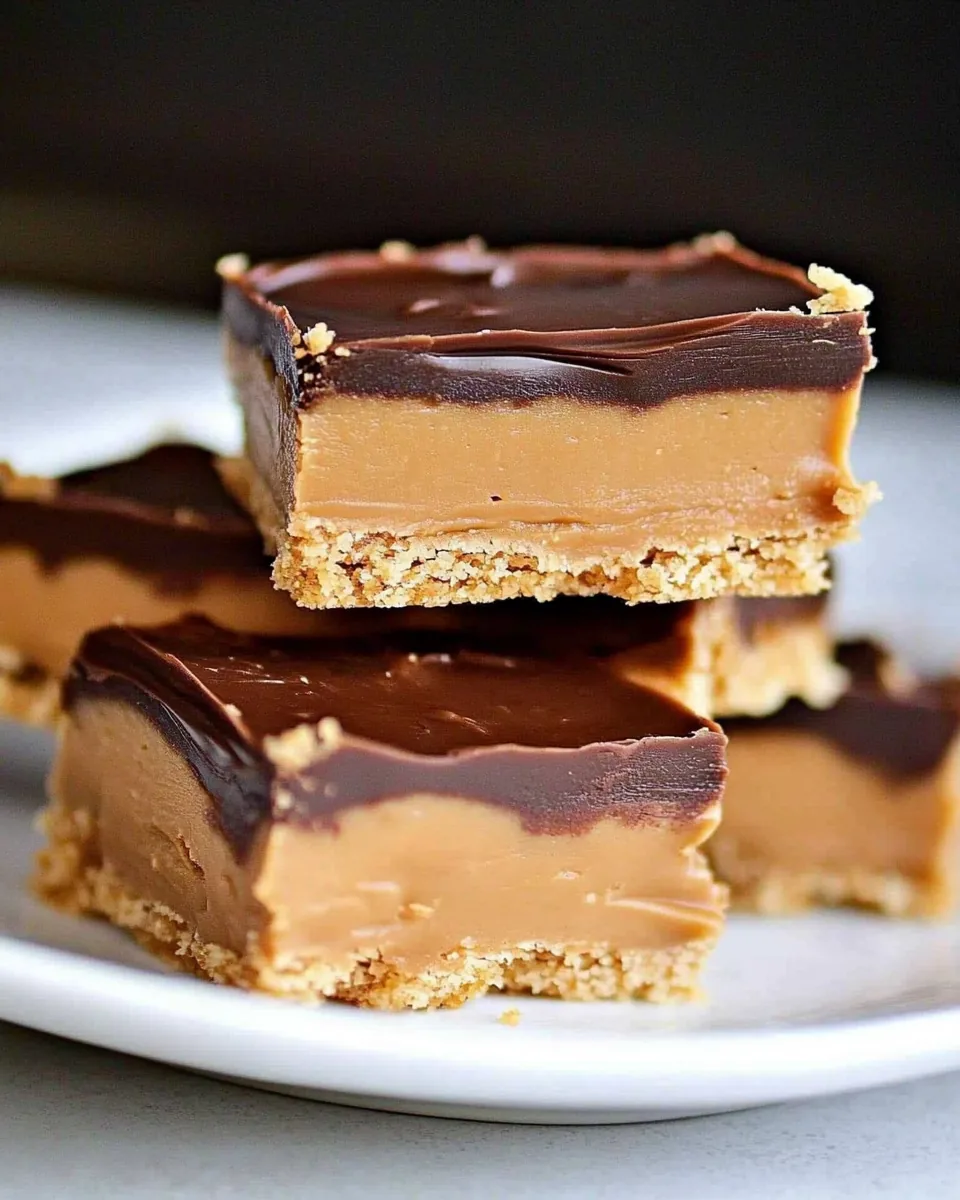
The ingredients for Peanut Butter Bars are simple yet essential for achieving that perfect balance of flavors. Each element plays a key role— from the creamy texture of the butter and peanut butter to the sweetness of the confectioners’ sugar. Together, they create a rich and delectable treat that’s hard to resist.
- 1 cup butter, melted – The foundation of the bars, providing moisture and richness.
- 2 cups graham cracker crumbs – Adds structure and a delightful crunch.
- 2 cups confectioners’ sugar – Sweetens the bars and contributes to the creamy texture.
- 1.5 cups peanut butter – The star ingredient that delivers that signature flavor.
- 1/4 cup peanut butter – Used in the topping for an extra layer of deliciousness.
- 2 cups chocolate chips – Provides a rich, chocolaty topping that pairs perfectly with peanut butter.
Cooking Method for Peanut Butter Bars
Making Peanut Butter Bars is not only fun but also incredibly rewarding. The steps to create these treats are straightforward and allow you to see the transformation from simple ingredients to a delicious dessert. Let’s dive into the process!
- Start by gathering all the ingredients. This makes the process smoother and more enjoyable. In a large mixing bowl, combine the first four ingredients: butter, graham cracker crumbs, confectioners’ sugar, and peanut butter. Mix them until the mixture is well-combined and smooth. You should see a creamy texture without any lumps.
- Once your mixture is smooth, it’s time to transfer it into a 9×13 baking dish. Spread the mixture evenly across the bottom to create a solid base for your bars. Make sure to press down firmly so that it holds together nicely when cut.
- Now, let’s move on to the chocolate topping. In a medium glass bowl, combine the chocolate chips and the additional peanut butter. Melt this mixture in the microwave, heating it for one minute at a time on 80% power. Stir it after each interval until it becomes smooth and creamy.
- Once your chocolate and peanut butter mixture is silky, pour it over the peanut butter base in the baking dish. Use a spatula to spread it evenly to cover every corner. The rich chocolate topping will complement the creamy peanut butter base perfectly.
- Next, place the baking dish in the freezer for about 15 minutes. This allows the bars to set properly, making them easy to cut into individual servings.
- After 15 minutes, remove the dish from the freezer. It should feel firm to the touch but not frozen solid. Use a sharp knife to cut the bars into your desired size. The number of bars will depend on how large or small you want them; you can aim for anywhere between 20 to 36 bars.
- Once cut, you can enjoy your Peanut Butter Bars immediately or store them for later. If you’re storing them, be sure to keep them covered to maintain their freshness.
Things Worth Knowing
- Chilling the Bars: Make sure to chill the bars long enough to set properly. This ensures they hold their shape when cutting.
- Ingredient Quality: Use high-quality ingredients, especially the peanut butter and chocolate, as they significantly impact the final flavor.
- Even Spreading: When spreading the chocolate topping, make sure it’s even to ensure every bite is perfectly balanced.
- Storage Tips: Store the bars in an airtight container to keep them fresh and delicious for longer.
Substitutions and Tips
While making Peanut Butter Bars, it’s helpful to have some tips up your sleeve to make the process smoother. Here are some great suggestions to enhance your experience.
- Storage: Store leftovers in an airtight container at room temperature or in the refrigerator if you live in a warm area to prevent the chocolate from softening.
- Freezing: Yes, you can freeze Peanut Butter Bars. Portion into freezer-safe containers, label them, and freeze for up to three months.
- Variations: Feel free to add chopped nuts or different types of chocolate for a personalized touch.
- Serving Suggestions: These bars are perfect for parties! They pair well with coffee or milk for an afternoon treat.
- Cutting Tips: For cleaner cuts, use a hot knife to slice the bars after they’ve set in the freezer.
- Adjusting Sweetness: If you prefer less sweetness, reduce the amount of confectioners’ sugar based on your taste.
Perfect Pairings for Peanut Butter Bars
When it comes to serving Peanut Butter Bars, there are plenty of delightful pairings that enhance their deliciousness.
- Coffee: Enjoy these bars with a cup of your favorite brew for a delightful afternoon pick-me-up.
- Milk: A classic pairing that complements the rich flavors of the bars perfectly.
- Ice Cream: Serve warm bars with a scoop of vanilla ice cream for a decadent dessert.
- Fresh Fruits: Pair with fresh fruits like strawberries or bananas for a refreshing contrast to the sweetness.
- Picnics: These bars are great for outdoor gatherings, easy to pack, and share with friends.
- Celebrations: Perfect for birthdays and holidays, these bars can be the star of the dessert table.
- Wrap and Gift: Wrap these in decorative paper to gift to friends and family during festive seasons.
FAQ
Conclusion
In conclusion, Peanut Butter Bars are a delightful treat that combines simplicity with rich flavors. They evoke fond memories and provide a satisfying sweetness that’s hard to resist. I encourage you to try making these bars yourself. They’re perfect for sharing with family and friends, or simply enjoying as a sweet indulgence after a long day. Whichever way you choose, you won’t be disappointed!
Peanut Butter Bars
Equipment
- Wooden Spoon
- Mixing Bowl
Ingredients
- 1 cup butter
- 2 cups graham cracker crumbs
- 2 cups confectioners’ sugar
- 1.5 cups peanut butter
- 1/4 cup peanut butter
- 2 cups chocolate chips
Instructions
- Start by gathering all the ingredients. This makes the process smoother and more enjoyable. In a large mixing bowl, combine the first four ingredients: butter, graham cracker crumbs, confectioners’ sugar, and peanut butter. Mix them until the mixture is well-combined and smooth. You should see a creamy texture without any lumps.
- Once your mixture is smooth, it’s time to transfer it into a 9×13 baking dish. Spread the mixture evenly across the bottom to create a solid base for your bars. Make sure to press down firmly so that it holds together nicely when cut.
- Now, let’s move on to the chocolate topping. In a medium glass bowl, combine the chocolate chips and the additional peanut butter. Melt this mixture in the microwave, heating it for one minute at a time on 80% power. Stir it after each interval until it becomes smooth and creamy.
- Once your chocolate and peanut butter mixture is silky, pour it over the peanut butter base in the baking dish. Use a spatula to spread it evenly to cover every corner. The rich chocolate topping will complement the creamy peanut butter base perfectly.
- Next, place the baking dish in the freezer for about 15 minutes. This allows the bars to set properly, making them easy to cut into individual servings.
- After 15 minutes, remove the dish from the freezer. It should feel firm to the touch but not frozen solid. Use a sharp knife to cut the bars into your desired size. The number of bars will depend on how large or small you want them; you can aim for anywhere between 20 to 36 bars.
- Once cut, you can enjoy your Peanut Butter Bars immediately or store them for later. If you’re storing them, be sure to keep them covered to maintain their freshness.
Notes
- Tip 1: Store leftovers in an airtight container at room temperature or in the refrigerator if you live in a warm area to prevent the chocolate from softening.
- Tip 2: Yes, you can freeze Peanut Butter Bars. Portion into freezer-safe containers, label them, and freeze for up to three months.
- Tip 3: Feel free to add chopped nuts or different types of chocolate for a personalized touch.
- Tip 4: These bars are perfect for parties! They pair well with coffee or milk for an afternoon treat.
- Tip 5: For cleaner cuts, use a hot knife to slice the bars after they’ve set in the freezer.
- Tip 6: If you prefer less sweetness, reduce the amount of confectioners’ sugar based on your taste.