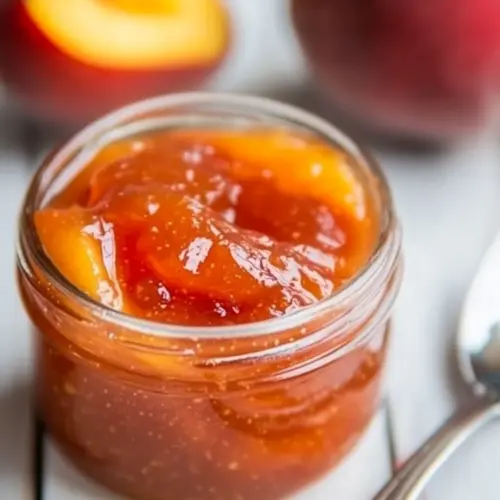
Peach Jam
There’s something magical about making your own jam, and Peach Jam without pectin is no exception. I remember the first time I decided to try my hand at canning; it was a sun-drenched summer day, and the scent of ripe peaches filled the air. My grandmother had always made the best peach jam, and I wanted to capture that nostalgia in my own kitchen. As I plucked the juicy, golden peaches from the farmer’s market, I could already envision the sweet, sticky goodness that would soon spread across my morning toast.
Making Peach Jam is not just about preserving fruit; it’s about embracing the season’s bounty and creating something delicious. The process is simple yet rewarding, and the result is a vibrant jar of sunshine that brings joy to any breakfast or dessert. The best part? You don’t need pectin to achieve that perfect consistency. Instead, the natural pectin from the fruit and lemon works wonders, giving you a jam that’s bursting with flavor and free from additives.
As I stirred the bubbling mixture on the stovetop, the aroma wafted through my kitchen, evoking memories of summer picnics and family gatherings. Each scoop of ripe peaches and sugar promised a taste of nostalgia. By the time I poured the Peach Jam into jars and sealed them, I felt a sense of accomplishment and pride. Not only had I created something delicious, but I had also captured the essence of summer to enjoy all year round. So grab some peaches and let’s get started!
Recipe Snapshot
50 mins
5 mins
45 mins
Medium
50 kcal
0 g
Keto, Paleo, Whole30
0 g
Frying Pan, Blender, Oven, Peeler, Large Pot, Chef’s Knife, Mixing Bowl, Wooden Spoon
Why This Peach Jam Hits Different
Natural Ingredients Make a Difference
One of the reasons I love this Peach Jam recipe is the use of fresh, natural ingredients. The vibrant, ripe peaches are the stars of the show, and when combined with a touch of organic lemon juice and sugar, they create a sweet treat that’s not overly sugary. The natural flavors shine through, making it a delightful addition to any meal.
Easy to Make
This recipe is incredibly straightforward. I appreciate how it doesn’t require any complicated techniques or equipment. You can whip up a batch of Peach Jam with just a pot and a spoon, and that simplicity makes it accessible for everyone, even those new to canning.
Perfect Texture Without Pectin
Many people think they need pectin to achieve the right consistency in jam, but that’s simply not true! In this Peach Jam, the natural pectin from the fruit and lemon does all the work. The result is a beautifully textured jam that’s easy to spread and deliciously rich.
Great for Gifting
There’s something special about homemade gifts, and this Peach Jam is perfect for sharing with friends and family. Imagine their delight when they receive a handmade jar of jam, filled with the flavors of summer! It’s a thoughtful gesture that shows you care.
Versatile in the Kitchen
This jam isn’t just for spreading on toast. You can use it in a variety of ways—mix it into yogurt, drizzle it over pancakes, or even use it as a filling for pastries. The possibilities are endless! Each time you enjoy this Peach Jam, it’s a reminder of summer’s sweetness.
Ingredients Required for Peach Jam
Creating the perfect Peach Jam begins with the right ingredients. Fresh, ripe peaches are essential, as they provide the natural sweetness and flavor that make this jam so special. Combined with sugar and lemon juice, these ingredients work in harmony to create a deliciously vibrant spread that captures the essence of summer.
- 1 kg peaches (or 500 g pitted): Fresh peaches are the star of this recipe. Choose ripe, juicy ones for the best flavor and sweetness. If using whole peaches, remember to pit them before cooking.
- 450 g sugar: This sugar will help to balance the natural acidity of the peaches and is crucial for the preservation process.
- 1 lemon (preferably organic): The juice of the lemon provides the necessary acidity and natural pectin, giving the jam its perfect consistency.
Step by Step Instructions for Peach Jam
Making Peach Jam is an enjoyable and satisfying process. You’ll love the way your kitchen transforms as the sweet aroma fills the air! Follow these simple steps to create your homemade jam.
Start by washing the peaches thoroughly and pat them dry with a clean towel. This step is essential to remove any dirt or residues. Once they are clean, it’s time to cut them. Remove the stones and chop the peaches roughly, placing them into a large mixing bowl. This will help release their juices and make them easier to cook down.
Next, add the juice of one lemon to the bowl along with two thick slices of the lemon peel. The peel adds extra flavor, and the acidity from the lemon will balance the sweetness of the peaches.
Stir in the sugar, ensuring that it’s evenly distributed. Cover the bowl with cling film and refrigerate the mixture for at least 2 hours, or up to 12 hours. This step allows the peaches to marinate and release their natural juices, enhancing the flavor of the jam.
After marinating, transfer the peach mixture into a deep, heavy-bottomed Dutch oven or stockpot. Cooking in a heavy pot helps regulate the heat and prevents burning.
Cook the mixture over low heat for about 45 minutes, stirring frequently. As the peaches cook, they will begin to break down and release their juices, creating a fragrant syrup.
Once the jam reaches a rolling boil, check if it’s ready by using a kitchen thermometer or the “wrinkle test.” The jam should reach 220°F / 105°C. If you don’t have a thermometer, spoon a little jam onto a chilled plate. If it wrinkles when nudged with your finger, it’s ready.
If the jam is still too liquidy, continue to boil it for another 5 minutes and retest. Be patient, as this is a crucial step for achieving the perfect consistency!
As the jam cooks, skim any scum that rises to the surface using a spoon. This will help keep your jam clear and beautiful.
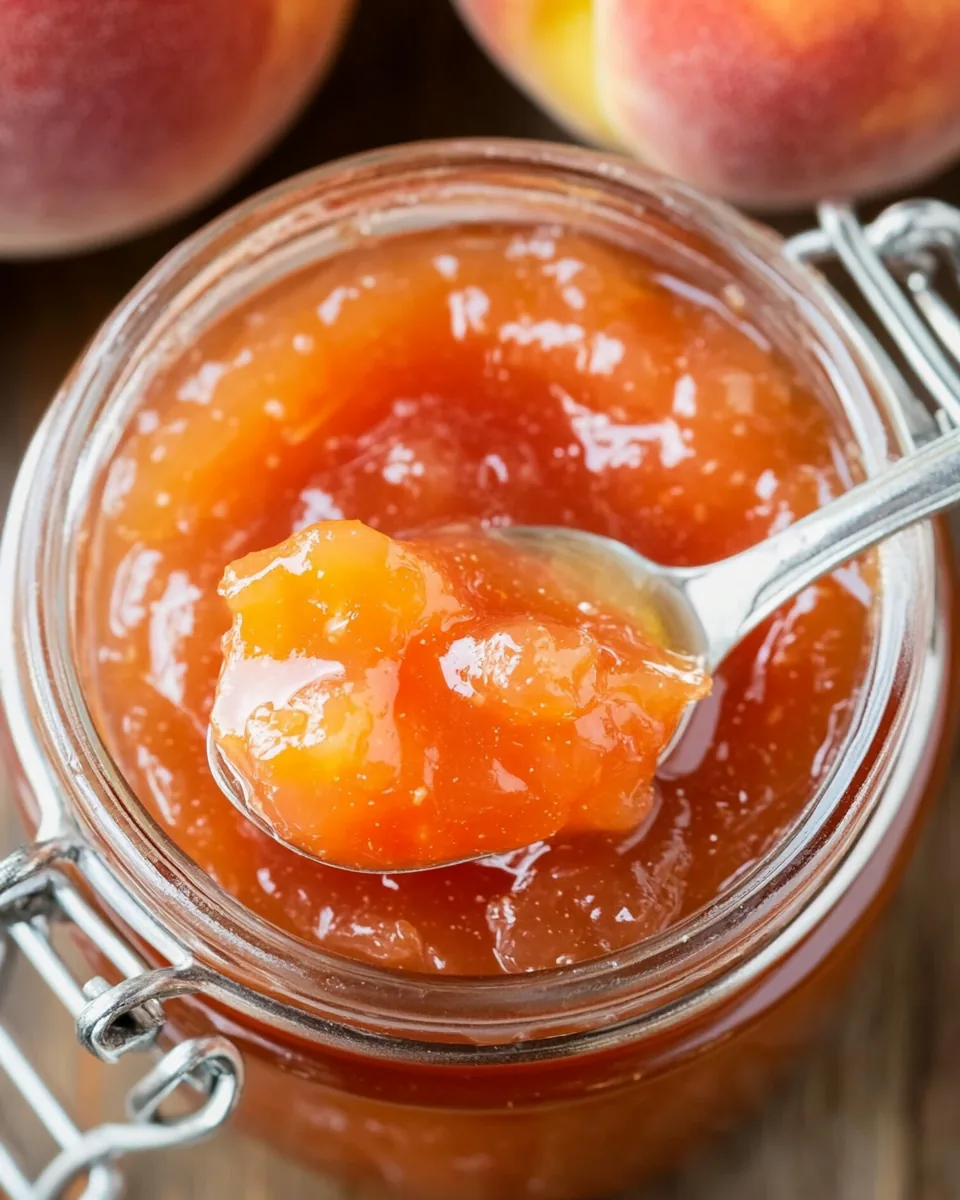
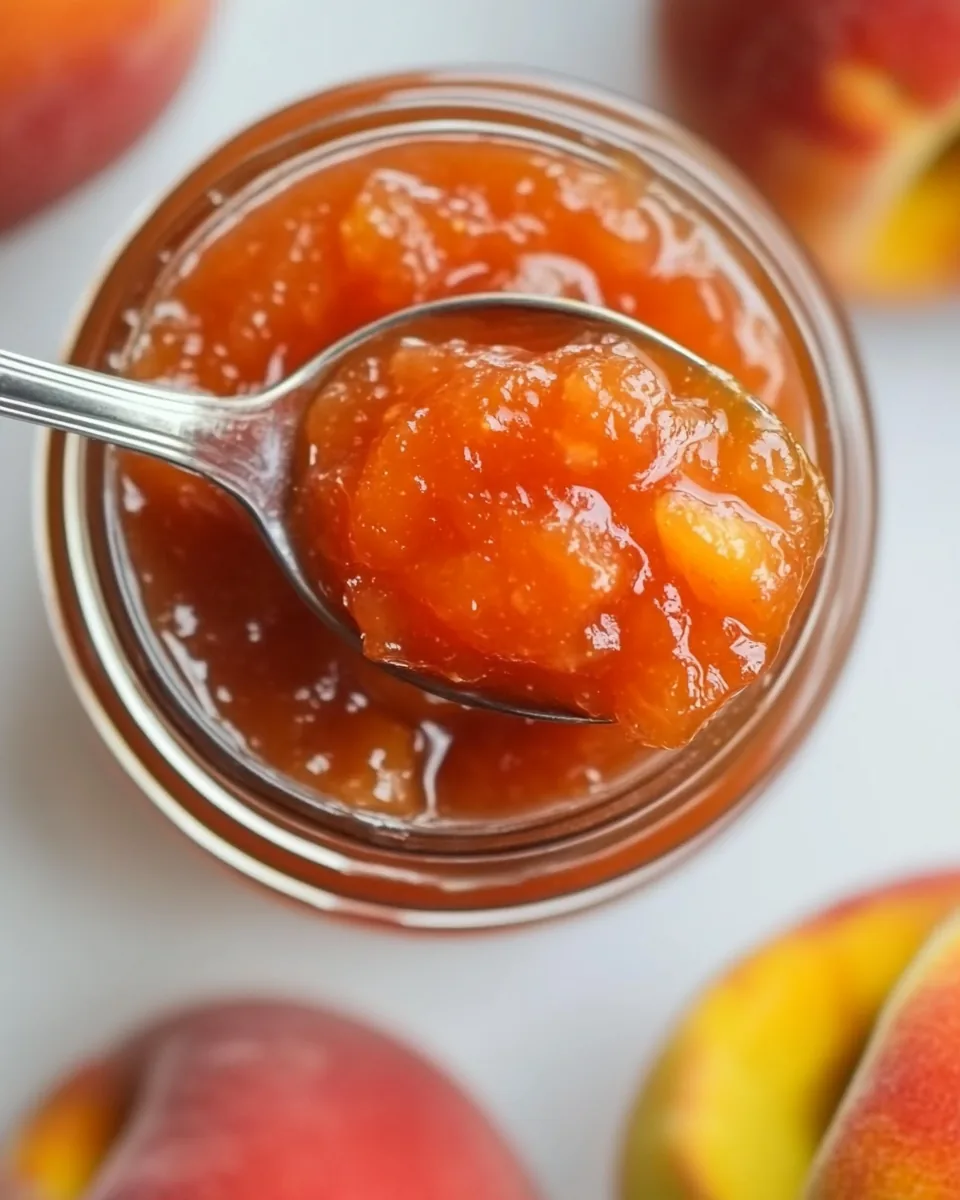
Once it’s done cooking, remove the pot from the heat and discard the lemon peels. Allow the jam to cool for a few minutes if you want a chunky texture. For a smoother jam, blend it for a few seconds until you reach your desired consistency.
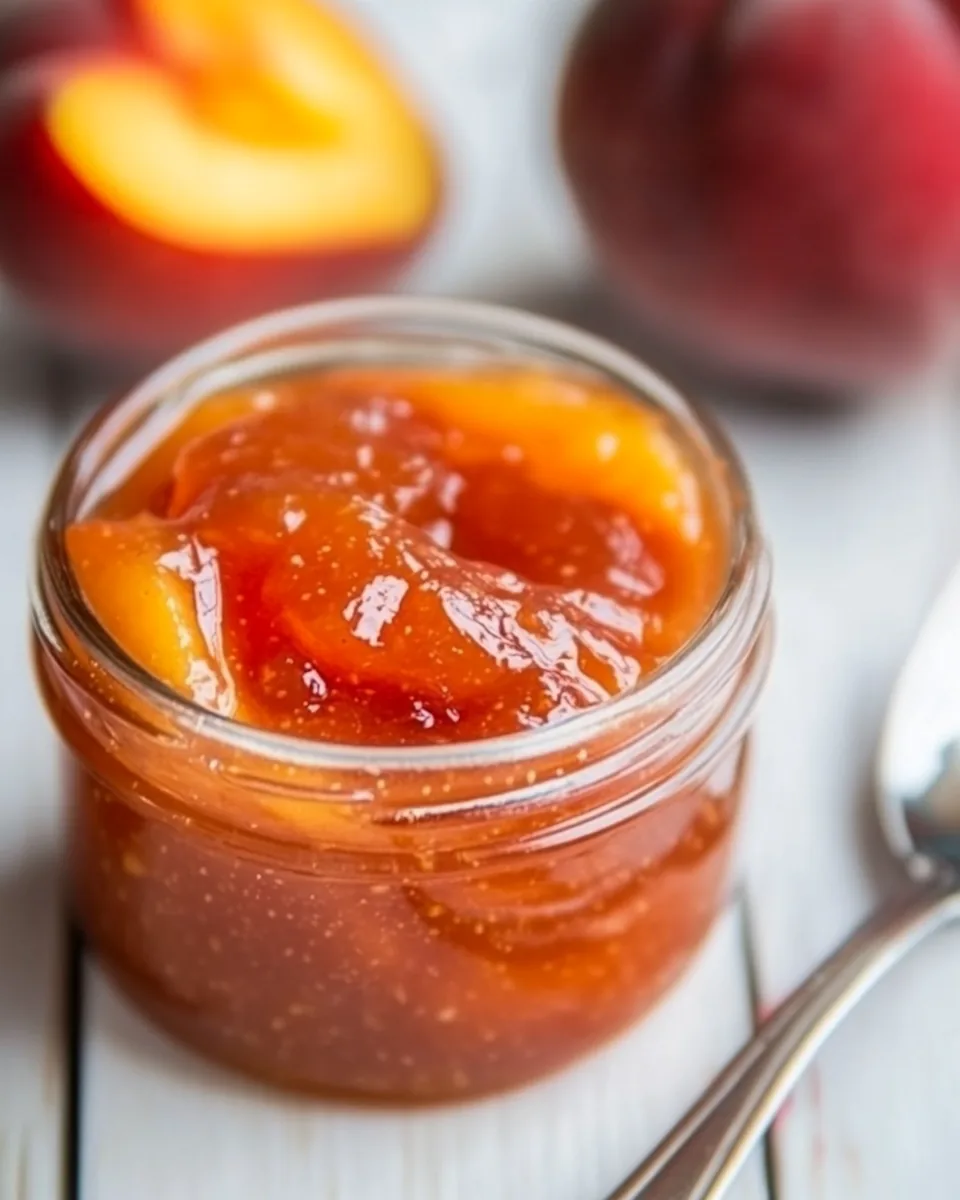
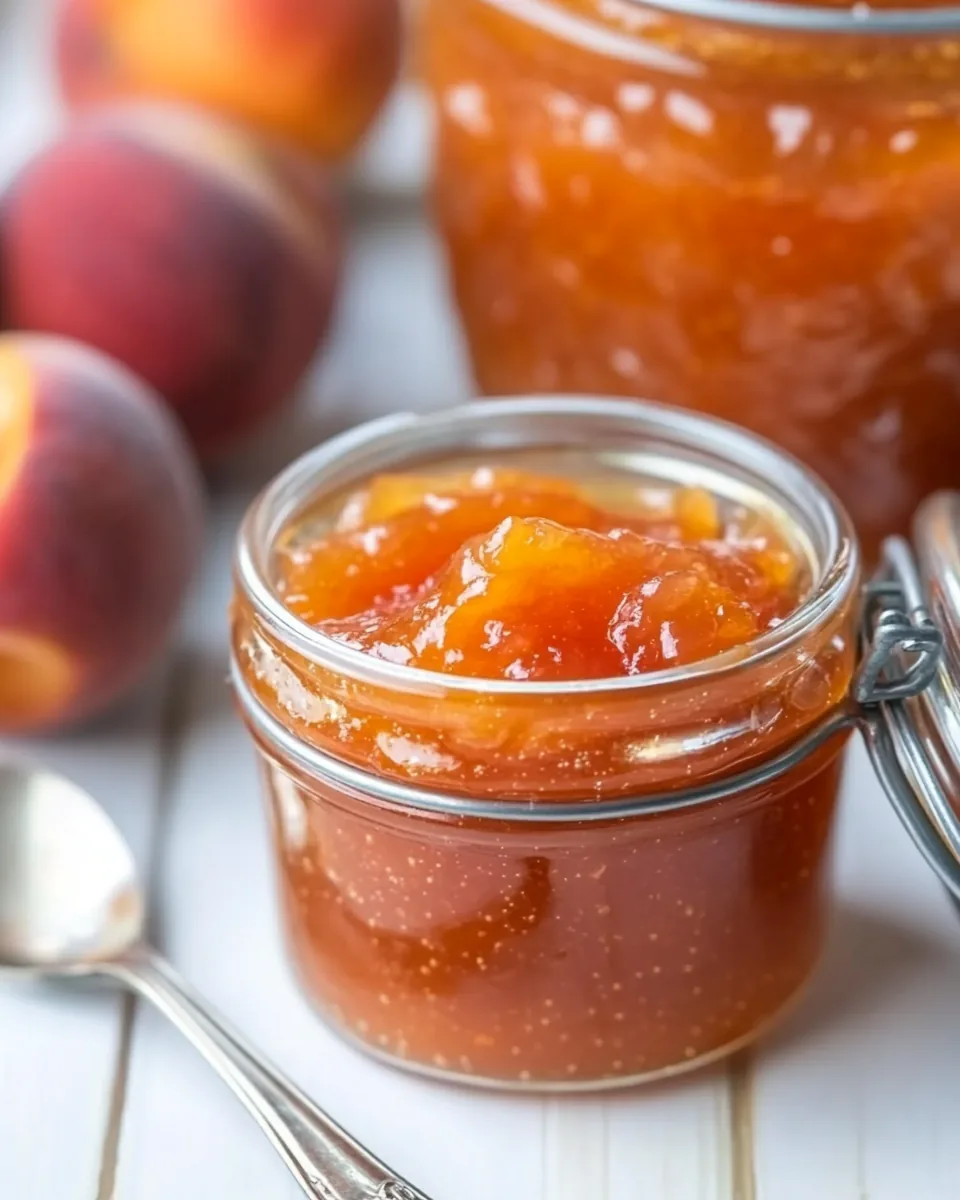
Pour the finished Peach Jam into sterilized jars, seal them, and let them cool to room temperature. Store in the refrigerator for up to two weeks, and enjoy the fruits of your labor!
Things Worth Knowing
- Patience is Key: The longer you allow the peaches to marinate, the more flavor and natural pectin will be released. This can significantly improve the texture of your jam.
- Test for Doneness: Use both the kitchen thermometer and the “wrinkle test” to ensure your jam reaches the proper setting point of 220°F / 105°C.
- Proper Equipment: Using a wide pan allows the liquid to evaporate quickly, which helps the jam set more effectively.
- Skimming Scum: Skimming the surface as the jam cooks helps to keep your final product clear and appealing.
Recipe Notes about Peach Jam
Making Peach Jam is a delightful experience! Here are some tips to enhance your jam-making process.
- Storage: Store the Peach Jam in sterilized jars in the refrigerator for up to two weeks. Ensure the jars are sealed tightly to maintain freshness.
- Freezing: If you want to keep your jam for longer, consider freezing it. Just make sure to leave some space in the jars for expansion.
- Pairing: This jam pairs wonderfully with toast, pancakes, yogurt, and even as a filling for pastries.
- Use Ripe Peaches: For best results, use ripe, fresh peaches that are in season. They will give your jam the best flavor.
- Experiment with Flavors: Feel free to add spices like cinnamon or vanilla for a unique twist on your Peach Jam.
Serve This Peach Jam With
- Breakfast Classics: Spread this Peach Jam on warm toast, pancakes, or waffles for a delightful breakfast treat.
- Yogurt Parfaits: Layer it with yogurt and granola for a refreshing snack or breakfast.
- Cheese Platter: Serve alongside cheeses such as brie or goat cheese for an elegant appetizer.
- Seasonal Celebrations: Perfect for summer picnics or gatherings, bringing a taste of homemade goodness to any occasion.
- Gift Giving: Homemade jam makes a thoughtful gift during the holiday season or for housewarmings.
FAQ
Conclusion
Making Peach Jam is a delightful way to capture the sweetness of summer in a jar. The simple ingredients and easy process make it an accessible recipe for everyone to try. I encourage you to take the plunge and make your own batch—you won’t regret it. The joy of spreading homemade jam on your morning toast or sharing it with loved ones is truly special, and I hope you enjoy every moment of this culinary adventure!
Peach Jam
Equipment
- Frying Pan
- Blender
- Oven
- Peeler
- Large Pot
- Chef's Knife
- Mixing Bowl
- Wooden Spoon
Ingredients
- 1 kg peaches Peaches or 500 g pitted
- 450 g sugar Sugar
- 1 lemon Lemon preferably organic
Instructions
- Wash the peaches and pat them dry. Remove the stones, then weigh them, chop them roughly and place them in a large bowl.
- Add the juice of one lemon and two thick lemon peel slices to the bowl. Stir in the sugar, cover with cling film and refrigerate for 2 hours or up until 12 hours.
- Transfer the peach mixture into a deep, heavy-bottomed Dutch oven or stockpot, and cook over low heat for about 45 minutes, stirring frequently.
- Once the jam has reached a foamy rolling boil, start checking if it's ready with a kitchen thermometer or using the 'wrinkle test'. The jam is ready when it reaches 220°F / 105°C or when you spoon a little jam on a chilled plate and it starts to wrinkle after one minute. If it still liquidy, continue to boil the jam for 5 minutes then retest until it's done.
- Use a spoon to skim any scum that has risen to the surface and discard it. Remove the pan from the heat, and discard the lemon peels.
- Allow the jam to cool, then you can leave it chunky, or blend it for a few seconds until it reaches your desired consistency.
- Pour the homemade Peach Jam into small jars or containers. Seal and let them cool to room temperature, then store the jam in the refrigerator for up to two weeks.
Notes
- You'll need: 500 g (17 oz) of pitted peaches - about 1 kg (2.2 pounds) of unpitted peaches.
- Marinate the peaches: for 2 hours up to overnight. A longer marinating time will increase the release of pectin from the lemon.
- Choose the right pan: A wide pan – big enough so that the fruit comes no more than halfway up the side – is better, as the jam will reach the setting point more quickly.
- Wooden spoon: Use a wooden spoon to stir your jam as it cooks, avoid metal utensils.
- Test your jam: The easiest way to test your jam is by using a kitchen thermometer, the setting point for jam is 220°F / 105°C.
- Check temperature: You should start checking the temperature when the homemade jam has reached a rolling, foamy boil.
- Wrinkle test: If you don't have a kitchen thermometer, try the “wrinkle test.” About 10 minutes before cooking the jam, place a heat-proof plate in the freezer. When it's time to test, spoon a little onto the cold plate. If the surface wrinkles when you nudge it with your finger, the jam is ready.