No Bake Oreo Peanut Butter Bars
When I think of indulgence, No Bake Oreo Peanut Butter Bars always comes to mind. These bars are a true celebration of sweet and salty flavors, and they’re so easy to whip up! I remember the first time I made them; it was a hot summer day, and the thought of turning on the oven was unbearable. Instead, I found this delightful recipe that promised all the creamy, chocolatey goodness without the heat. With just a few simple ingredients that I already had in my pantry, I was ready to embark on a no-bake adventure!
As I crushed the Oreo cookies in my food processor, the sweet aroma filled my kitchen, and I couldn’t resist sneaking a taste of the crumbs. Mixing in the peanut butter and melted butter created a rich, gooey base that I pressed into my pan with excitement. Then came the magic moment when I melted the white chocolate chips, transforming them into a silky topping that would bring everything together. I couldn’t wait to chill them and let the flavors meld!
These bars are perfect for any occasion, whether you’re hosting a gathering or just treating yourself after a long day. They bring back fond memories of family gatherings where the dessert table was always the main attraction. My friends rave about them every time I make them, and I have no doubt you’ll fall in love with the rich layers of flavor and texture. So, roll up your sleeves and get ready to create the magic that is No Bake Oreo Peanut Butter Bars!
Recipe Snapshot
30 mins
30 mins
0 mins
Medium
300 kcal
4 g
Vegan, Gluten-Free, Low FODMAP
16 g
Frying Pan, Blender, Food Processor, Chef’s Knife, Mixing Bowl, Wooden Spoon
Why You’ll Love This No Bake Oreo Peanut Butter Bars
Irresistible Flavor Combination
What sets No Bake Oreo Peanut Butter Bars apart is the incredible combination of flavors. The classic taste of Oreo cookies paired with the creamy, nutty taste of peanut butter creates a delightful symphony of taste. Each bite is a perfect balance of sweetness and saltiness, making it hard to resist just one piece.
Simple and Quick to Make
There’s something wonderfully satisfying about a recipe that doesn’t require baking. With just a few steps, you can have a delicious dessert ready to chill in the fridge. No Bake Oreo Peanut Butter Bars can be made in under an hour, allowing you to enjoy your sweet treat without waiting for the oven to preheat or bake.
Perfect for Any Occasion
These bars are versatile enough for any event. Whether it’s a birthday party, picnic, or simply a weeknight treat, they fit right in. Their no-bake nature means you can whip them up during the warmest months without heating your kitchen, which is always a bonus!
Great for Sharing
Cut these bars into bite-sized pieces, and they become the perfect shareable dessert for gatherings. Whether you’re bringing them to a potluck or serving them at a family meal, everyone will appreciate the effort you put into creating something so delightful.
Kids Will Love Them
Kids go crazy for these bars! The combination of Oreo cookies and peanut butter is a surefire hit with children and even adults who are kids at heart. They are easy to slice and serve, making them an excellent choice for school events or family gatherings.
Ingredients Overview for No Bake Oreo Peanut Butter Bars
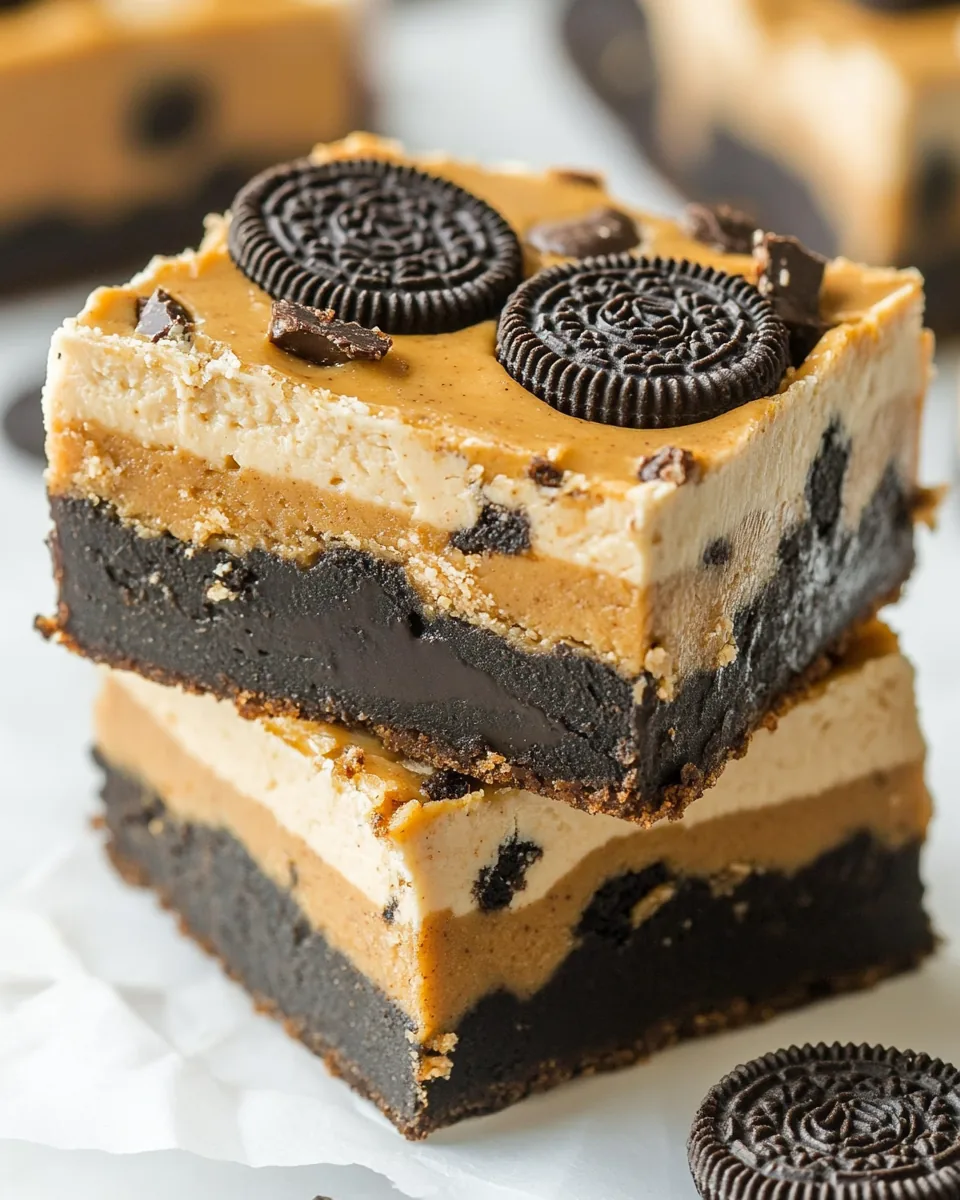
The ingredients for No Bake Oreo Peanut Butter Bars are simple yet effective. Each plays a crucial role in achieving the perfect texture and flavor. The Oreo cookies serve as a delightful crust, while the peanut butter adds creaminess and richness. The white chocolate chips not only bring sweetness but also create a smooth topping that complements the crunchy base. Together, they create a harmonious blend that makes each bite memorable.
- 6 tablespoons (84g) Challenge unsalted butter – Melted and combined with the cookie crumbs, this butter adds richness and binds the crust together.
- 20 Oreo Cookies – The star of the show! These cookies provide the perfect blend of crunch and sweetness.
- 1 cup (113g) powdered sugar – This ingredient adds sweetness and helps to create a thick mixture that holds together nicely.
- ¾ cup (200g) + 2 tablespoons peanut butter – Creamy and rich, the peanut butter gives these bars their signature flavor. The extra tablespoons add even more deliciousness.
- 1 cup (170g) white chocolate chips – Melted and spread on top, they add a sweet and creamy finish that balances the other flavors perfectly.
Making This No Bake Oreo Peanut Butter Bars

Creating No Bake Oreo Peanut Butter Bars is a fun and straightforward process. You’ll be amazed at how quickly you can bring this tasty treat to life. Just follow these simple steps, and soon you’ll have a delicious dessert ready to chill in your fridge.
- Line an 8×8 inch or 9×9 inch pan with foil and spray it with nonstick cooking spray. This step is essential for easy removal of the bars later. Make sure to cover the corners well so that the bars don’t stick.
- Place the Oreo cookies in a food processor. Pulse them until they’re roughly chopped, resembling fine crumbs. Reserve about 2 tablespoons of these crumbs for later use, as they will be sprinkled on top. The rest will form the base of your bars.
- Add the melted butter to the food processor with the cookie crumbs. Blend until the mixture is smooth. Once blended, add the powdered sugar and ¾ cup of peanut butter. Blend again until everything is well combined and thick.
- Press the mixture into the prepared pan, ensuring it is evenly distributed. Use the back of a spatula to make it smooth and compact. You want to create a solid crust that will hold the topping.
- In a microwave-safe bowl, combine the reserved 2 tablespoons of peanut butter with the white chocolate chips. Heat the mixture on 50% power in 30-second increments, stirring in between each increment. Continue until it is melted and smooth. Be cautious not to overheat, as chocolate can seize.
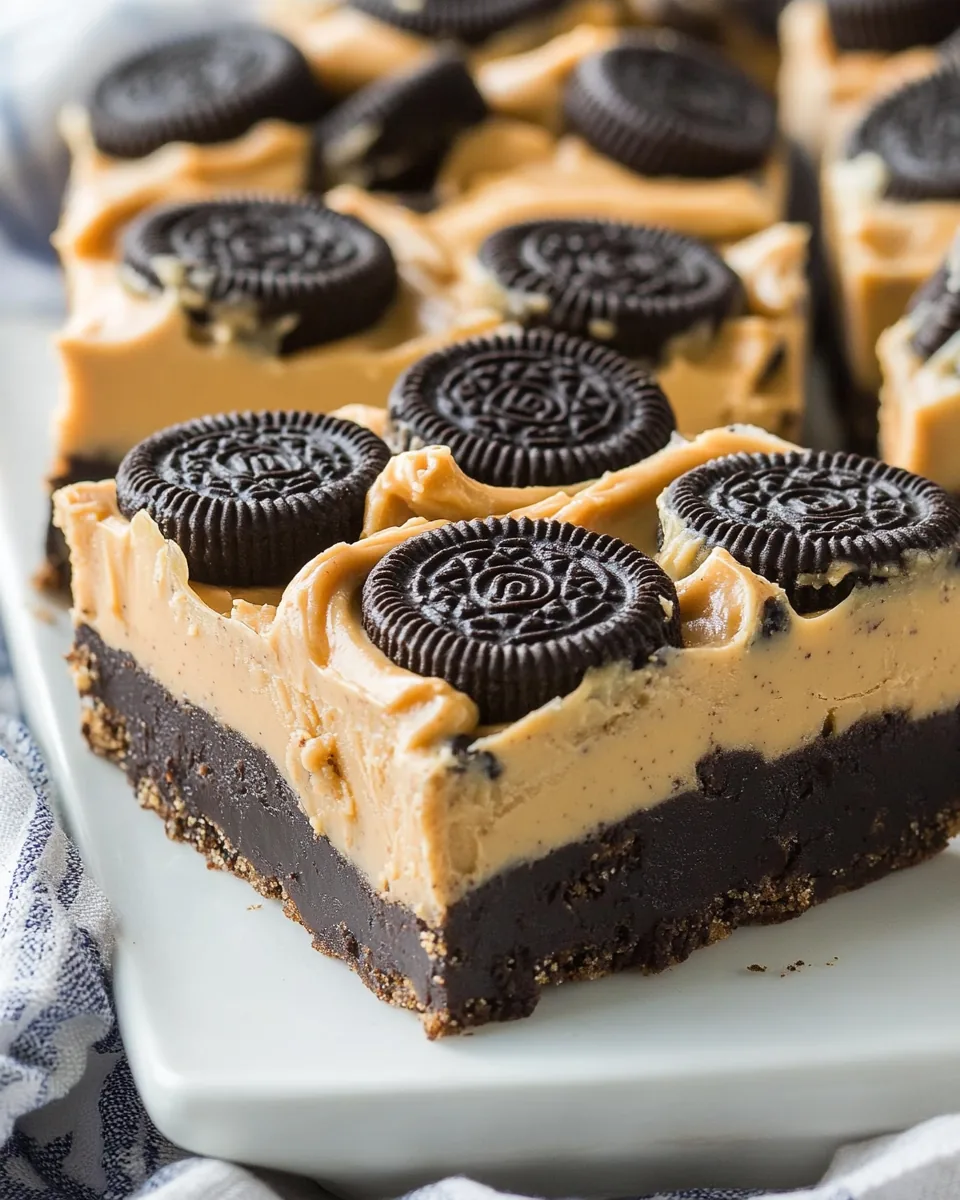
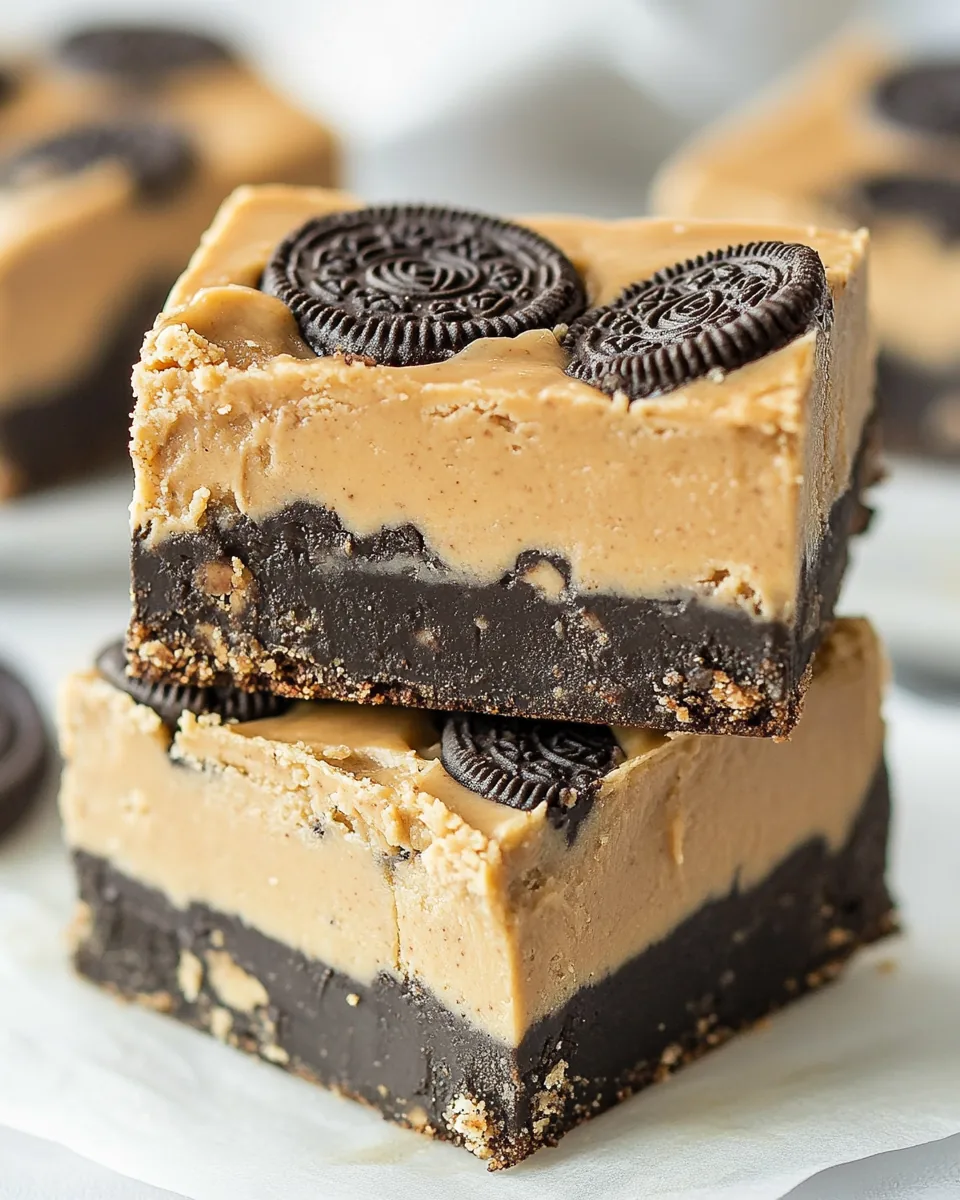
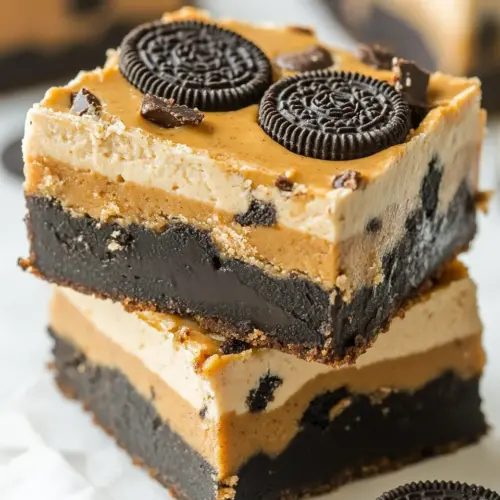
- Once melted, spread the white chocolate evenly over the mixture in the pan. Make sure to cover all areas, creating a nice layer on top of the crust.
- Sprinkle the reserved cookie crumbs over the melted chocolate layer. This adds a delightful crunch and visual appeal to the bars. You can use your hands to sprinkle them evenly across the surface.
- Chill the pan in the refrigerator until set, which usually takes about 1 to 2 hours. This is the most challenging part, as the anticipation builds!
- For clean cuts, let the cold pan sit at room temperature for about 10 minutes once set. This will help soften the edges slightly. Meanwhile, you can heat a knife under hot water for an easy cutting experience.
- Use swift strokes to cut the bars, ensuring you avoid cracking the top too much. The key is to apply gentle pressure while slicing, which will help keep the layers intact.
- Store any leftovers in an airtight container. These bars can be kept for up to 4 days, but they’ll likely disappear long before then!
Things Worth Knowing
- Chilling is Key: Make sure to chill the bars until they are fully set. This gives them the right texture and allows the flavors to meld beautifully.
- Use Quality Ingredients: The better the ingredients, like high-quality peanut butter and white chocolate, the more delicious your bars will be!
- Experiment with Toppings: Feel free to add chopped nuts or even drizzle more melted chocolate on top for extra flair.
- Clean Cutting Tips: When cutting the bars, ensure your knife is clean and warm to get those nice, sharp edges without ruining the appearance.
How to Switch It Up
If you’re looking to add a twist to your No Bake Oreo Peanut Butter Bars, try out some of these ideas!
- Chocolate Variations: Substitute milk chocolate or semi-sweet chocolate for the white chocolate chips for a deeper chocolate flavor.
- Nut Butters: Experiment with different nut butters, like almond or cashew butter, for a unique flavor profile.
- Flavor Add-ins: Consider adding a pinch of sea salt on top or incorporating crushed peanut butter cups into the mixture for extra texture.
- Alternative Cookies: Instead of Oreo cookies, try using chocolate graham crackers for a different taste.
- Storage: To store leftovers, keep them in an airtight container in the refrigerator for up to 4 days.
- Freezing: Yes, these bars can be frozen! Just wrap them in plastic wrap and then foil. They’ll stay fresh for up to 2 months.
- Pairing: Serve these bars with a scoop of vanilla ice cream or a drizzle of chocolate sauce for an indulgent dessert experience.
What Complements This No Bake Oreo Peanut Butter Bars
- Ice Cream: Pair these bars with a scoop of creamy vanilla or chocolate ice cream to elevate the dessert experience.
- Fruit Slices: Fresh fruit, like strawberries or raspberries, can provide a refreshing contrast to the rich bars.
- Drinks: Serve with a glass of milk or a rich coffee for a delightful afternoon treat.
- Occasions: Perfect for casual gatherings, picnics, or as a sweet treat for movie nights at home.
- Storage Tips: Keep in an airtight container to maintain freshness and prevent them from getting too soft.
- Seasonal Desserts: These bars can be made year-round and are great for summer parties.
FAQ
Conclusion
The richness of the No Bake Oreo Peanut Butter Bars offers a delightful combination of flavors that is hard to resist. I encourage you to try making these bars for your next gathering or as a sweet indulgence just for yourself. They are easy to prepare and guaranteed to impress everyone who takes a bite. Enjoy the process and savor each delicious moment!
No Bake Oreo Peanut Butter Bars
Equipment
- Frying Pan
- Blender
- Food Processor
- Chef's Knife
- Mixing Bowl
- Wooden Spoon
Ingredients
- 6 tablespoons Challenge unsalted butter
- 20 Oreo Cookies
- 1 cup powdered sugar
- ¾ cup peanut butter
- 2 tablespoons peanut butter reserved for the topping
- 1 cup white chocolate chips
Instructions
- Line an 8×8 inch or 9×9 inch pan with foil and spray it with nonstick cooking spray.
- Place the Oreo cookies in a food processor and pulse until roughly chopped. Reserve about 2 tablespoons of the cookie crumbs for later use.
- Add the melted butter to the food processor with the cookie crumbs. Blend until the mixture is smooth. Add the powdered sugar and ¾ cup of peanut butter and blend again until thick.
- Press the mixture into the prepared pan, smoothing it out evenly.
- In a microwave-safe bowl, combine the reserved 2 tablespoons of peanut butter with the white chocolate chips. Heat on 50% power in 30-second increments, stirring in between, until melted and smooth.
- Spread the melted white chocolate evenly over the mixture in the pan. Sprinkle the reserved cookie crumbs over the top.
- Chill in the refrigerator until set, about 1 to 2 hours.
- Let the cold pan sit at room temperature for about 10 minutes before cutting. Heat a knife under hot water for clean cuts.
- Use swift strokes to cut the bars, then store in an airtight container for up to 4 days.
Notes
- Tip 1: Be sure to crush the cookies to a fine crumb – this is best done with a food processor.
- Tip 2: Milk chocolate or semi-sweet chocolate may be substituted for the white chocolate.
- Tip 3: Store in the refrigerator for up to 1 week.
- Tip 4: Bars can be frozen for up to 2 months.