No Bake Nutella Cheesecake
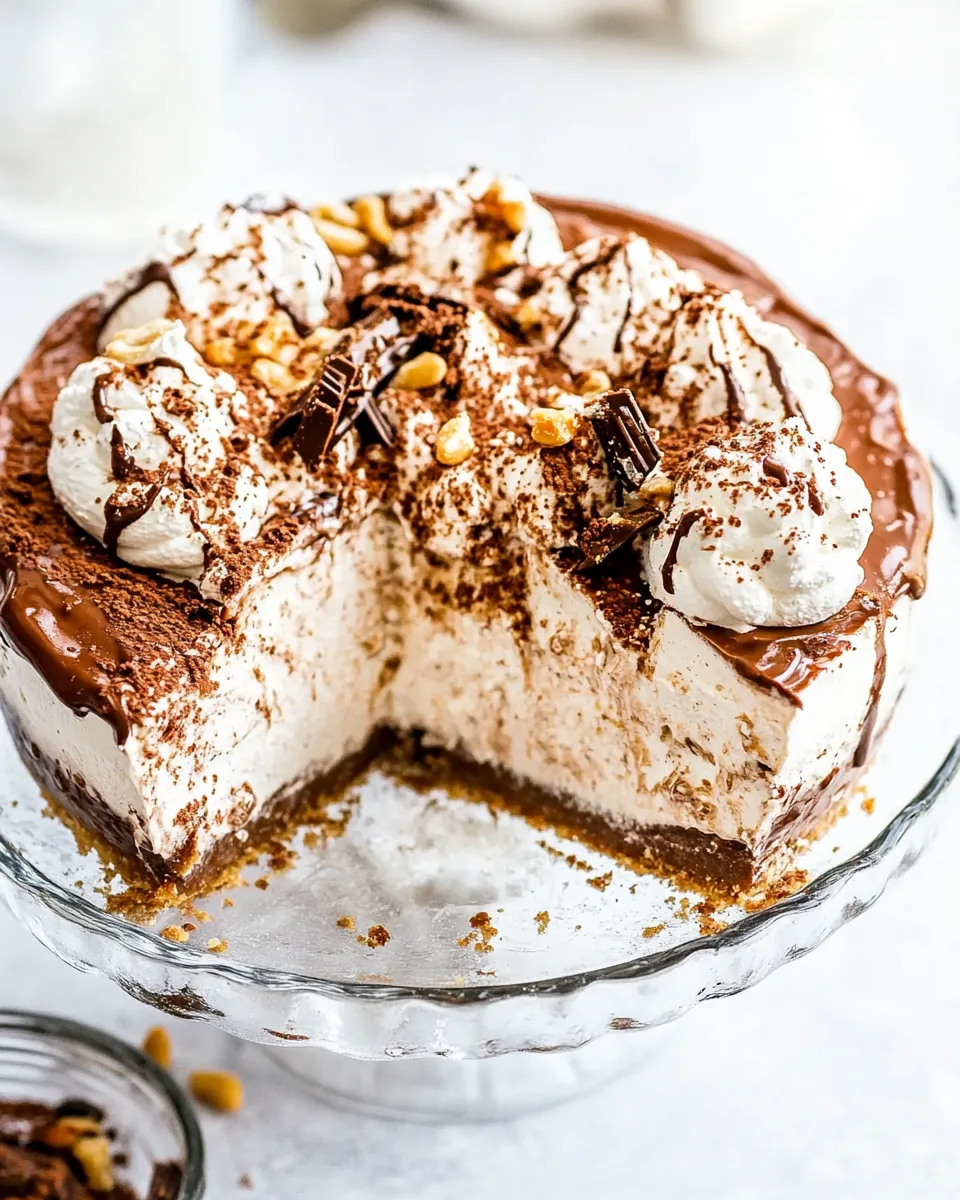
No Bake Nutella Cheesecake has become my go-to dessert for any gathering, and I can’t help but share its magic with everyone around me. There’s something incredibly satisfying about whipping up a dessert that requires no oven and still delivers a rich, creamy texture that makes you feel like you’re indulging in a gourmet treat. I remember the first time I made this a few summers ago for a friend’s picnic. I was juggling a million things, but the simplicity of this recipe allowed me to create something truly delicious without taking up all my time. The moment I unveiled that stunning cheesecake topped with whipped cream and hazelnuts, my friends were in awe and couldn’t wait to dig in. It’s moments like these that solidify why I love baking—making people smile, one slice at a time.
Recipe Snapshot
20 mins
20 mins
0 mins
Easy
350 kcal
4 g
Keto, Gluten-Free, Low FODMAP
18 g
KitchenAid Hand Mixer
What We Adore About This No Bake Nutella Cheesecake
Effortless Preparation
One of the best parts about this recipe is how simple it is. With no baking required, you can whip it up in no time. It makes a perfect dessert for those busy weekdays or spontaneous get-togethers.
Rich and Creamy Flavor
The combination of cream cheese and Nutella creates a velvety texture that’s irresistible. Each bite is a creamy explosion of flavor, making it a hit for chocolate lovers.
Versatile Toppings
Feel free to get creative with the toppings! Add chopped hazelnuts, shaved chocolate, or even fresh fruits for a delightful twist. This versatility lets you customize the cheesecake to your liking.
Perfect for Any Occasion
This dessert is fitting for any occasion—whether it’s a birthday party, holiday celebration, or just a quiet night in. It’s an impressive treat that looks fancy but requires minimal effort.
Easy to Store
Leftovers? No problem! This cheesecake keeps well in the fridge for several days, making it always ready for a sweet craving.
Ingredients to Make No Bake Nutella Cheesecake
The ingredients for the No Bake Nutella Cheesecake are not only simple but also work harmoniously to create a luscious dessert. The key players, including Oreo cookies for the crust and Nutella for that rich chocolate flavor, combine to make this treat utterly irresistible.
- 12 Oreo cookies (crushed) – These provide a sweet and chocolatey crust that perfectly complements the creamy filling.
- 1 tablespoon unsalted butter (melted) – This helps bind the crushed cookies together for a stable crust.
- 8 ounces cream cheese (1 package) – The base of the cheesecake, providing richness and creaminess.
- ⅔ cup Nutella – This hazelnut spread adds a deep chocolate flavor that is simply divine.
- 8 ounces cool whip (fat free or regular) – This gives the cheesecake a light, airy texture.
- ½ cup cool whip – Used to top the cheesecake for an extra creamy layer.
- 2 tablespoons hazelnuts (chopped) – Adds a crunch and nutty flavor that enhances the dessert.
- 1 tablespoon chocolate (shaved or grated) – A decorative touch that adds elegance and extra sweetness.
Cooking Method for No Bake Nutella Cheesecake
Making this cheesecake is as enjoyable as eating it! The process is straightforward, and each step is filled with anticipation as you watch your dessert come together. Here’s how to make your own stunning No Bake Nutella Cheesecake.
- Make Crust: To create the crust, take the Oreo cookies and crush them inside a ziplock bag. Use a rolling pin to crush the cookies into fine crumbs. Once the cookies are crushed, transfer them to a mixing bowl and stir in the melted butter. Mix until combined, then press the mixture firmly into the bottom of four individual serving dishes to form an even crust.
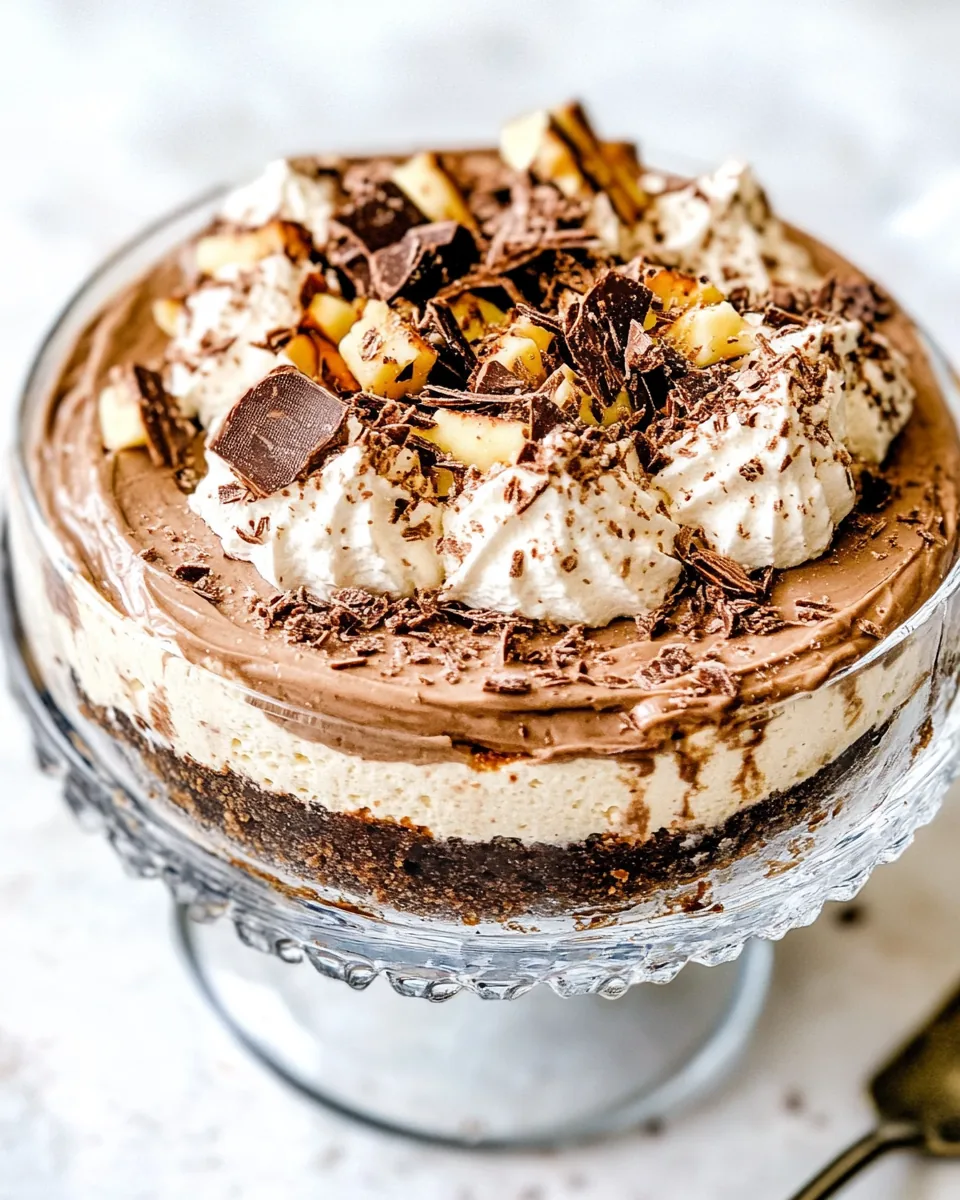
- Make Nutella Cheesecake: In a mixing bowl, combine the cream cheese and Nutella. Mix with an electric mixer until smooth and creamy, ensuring there are no lumps. Gradually fold in one cup of the cool whip until the mixture is uniform and fluffy, avoiding over-mixing.
- Fill Dishes: Transfer the cheesecake mixture into a piping bag or a ziplock bag with the corner cut off. Pipe the filling evenly into each dish over the prepared crust. Alternatively, you can use a spoon to scoop the filling directly into the dishes.
- Set: It’s time to let your cheesecake set! Cover the dishes with plastic wrap and refrigerate for a couple of hours, allowing the flavors to meld and the filling to firm up.
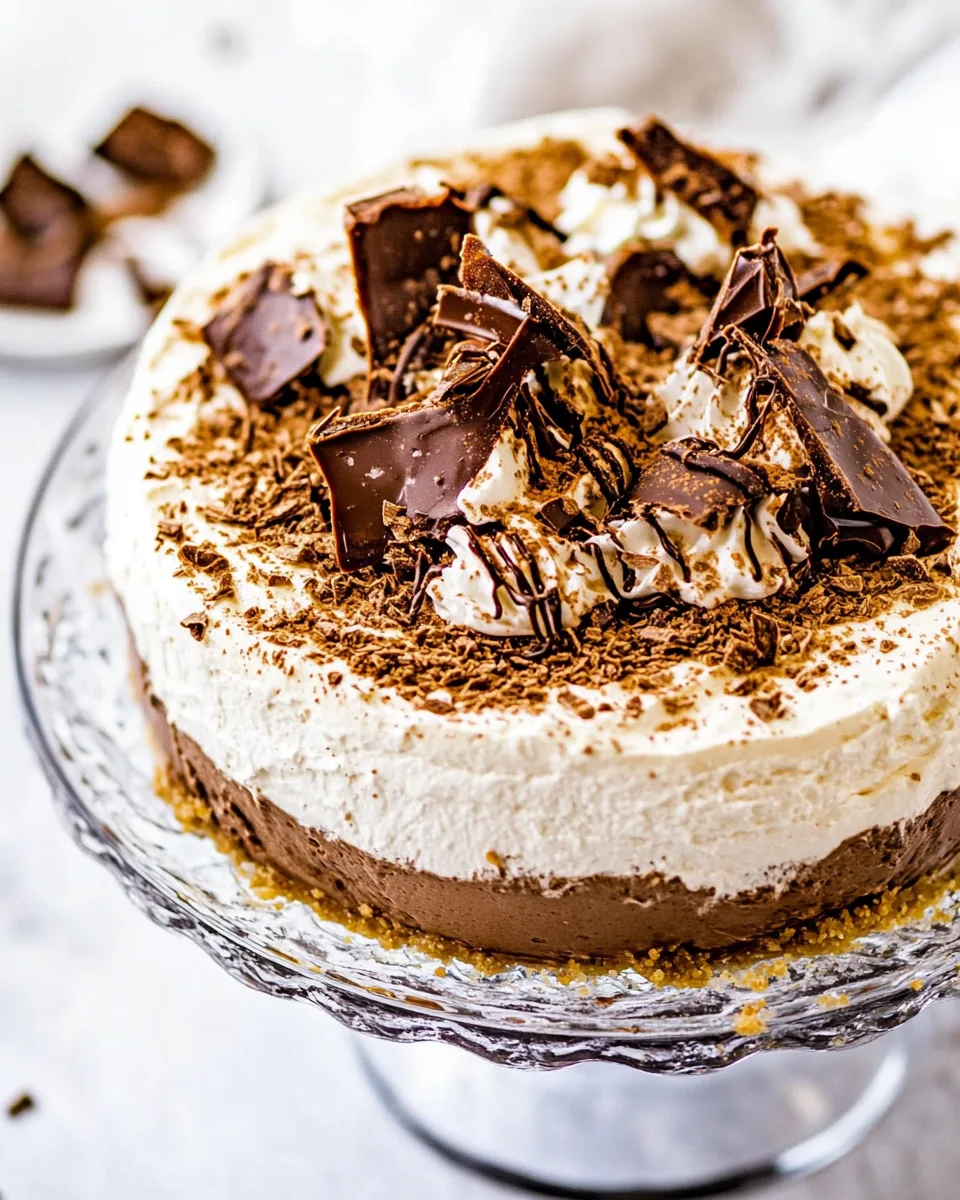
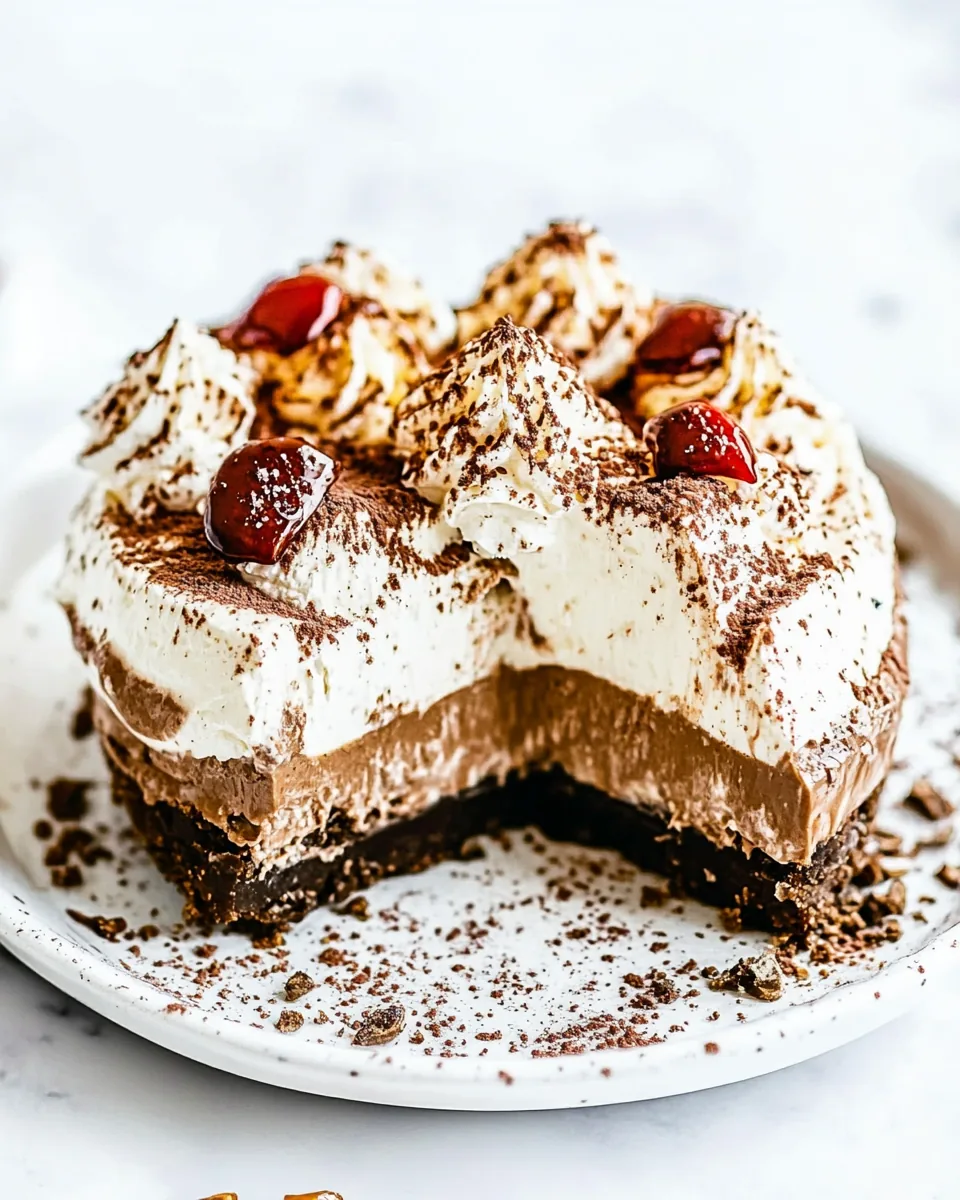
- Finish & Serve: Once set, remove the cheesecake from the fridge. Top each cheesecake with the remaining cool whip, then sprinkle with chopped hazelnuts and finish with shaved chocolate for a beautiful presentation. Your cheesecake is now ready to be enjoyed!
Things Worth Knowing
- Room Temperature Cream Cheese: Ensure your cream cheese is at room temperature before mixing. It will blend more smoothly and prevent lumps in your cheesecake.
- Avoid Freezing to Set: Do not freeze the cheesecake to set it. The filling won’t achieve the right texture if frozen too quickly.
- Storage: Leftover cheesecake can be tightly covered with plastic wrap and stored in the refrigerator for up to five days.
- Freezing Tips: If you plan to freeze the cheesecake, make sure to wrap it tightly after it has set in the fridge. Use plastic wrap followed by aluminum foil for best results. It can last in the freezer for up to three months!
Helpful Notes about No Bake Nutella Cheesecake
Here are some helpful notes to keep in mind when making the No Bake Nutella Cheesecake. These tips will enhance your baking experience!
- Room Temperature Ingredients: Make sure your cream cheese is at room temperature for easier mixing.
- Proper Setting: Allow the cheesecake to set in the fridge, avoiding any freezing to retain texture.
- Customization: Don’t hesitate to try different toppings or incorporate seasonal fruits for a unique twist.
- Leftover Storage: Store any leftover slices covered in the fridge for a tasty treat any time.
- Freezing Advice: If you freeze the cheesecake, remember to add toppings right before serving for the best experience.
What to Serve Alongside No Bake Nutella Cheesecake
When serving your delightful No Bake Nutella Cheesecake, consider these pairing suggestions to elevate the experience:
- Fresh Berries: Pair slices with fresh strawberries or raspberries to contrast the rich cheesecake with a burst of fruitiness.
- Mint Leaves: Garnish with mint leaves for a refreshing touch that also adds visual appeal.
- Sweet Beverages: Serve with a glass of sweet iced tea or a coffee for a balanced dessert experience.
- Occasions: This cheesecake is excellent for birthdays, picnics, or just a cozy dessert night at home.
- Store Properly: If you have leftovers, store them in an airtight container to keep them fresh and delicious for the next day.
FAQ
Conclusion
The No Bake Nutella Cheesecake is truly a delightful treat that combines rich flavors with a creamy texture, making it an instant favorite among dessert lovers. Whether you’re celebrating a special occasion or simply enjoying a slice after dinner, this cheesecake is sure to please. I encourage you to give this recipe a try—you’ll be amazed at how easy it is to make such a decadent dessert!

No Bake Nutella Cheesecake
Equipment
- KitchenAid Hand Mixer
Ingredients
- 12 pieces Oreo cookies (crushed)
- 1 tablespoon butter (unsalted, melted)
- 8 ounces cream cheese (1 package)
- ⅔ cup Nutella
- 8 ounces cool whip (fat free or regular)
- ½ cup cool whip
- 2 tablespoons hazelnuts (chopped)
- 1 tablespoon chocolate (shaved or grated)
Instructions
- Make Crust: To create the crust, take the Oreo cookies and crush them inside a ziplock bag. Use a rolling pin to crush the cookies into fine crumbs. Once the cookies are crushed, transfer them to a mixing bowl and stir in the melted butter. Mix until combined, then press the mixture firmly into the bottom of four individual serving dishes to form an even crust.
- Make Nutella Cheesecake: In a mixing bowl, combine the cream cheese and Nutella. Mix with an electric mixer until smooth and creamy, ensuring there are no lumps. Gradually fold in one cup of the cool whip until the mixture is uniform and fluffy, avoiding over-mixing.
- Fill Dishes: Transfer the cheesecake mixture into a piping bag or a ziplock bag with the corner cut off. Pipe the filling evenly into each dish over the prepared crust. Alternatively, you can use a spoon to scoop the filling directly into the dishes.
- Set: It’s time to let your cheesecake set! Cover the dishes with plastic wrap and refrigerate for a couple of hours, allowing the flavors to meld and the filling to firm up.
- Finish & Serve: Once set, remove the cheesecake from the fridge. Top each cheesecake with the remaining cool whip, then sprinkle with chopped hazelnuts and finish with shaved chocolate for a beautiful presentation. Your cheesecake is now ready to be enjoyed!