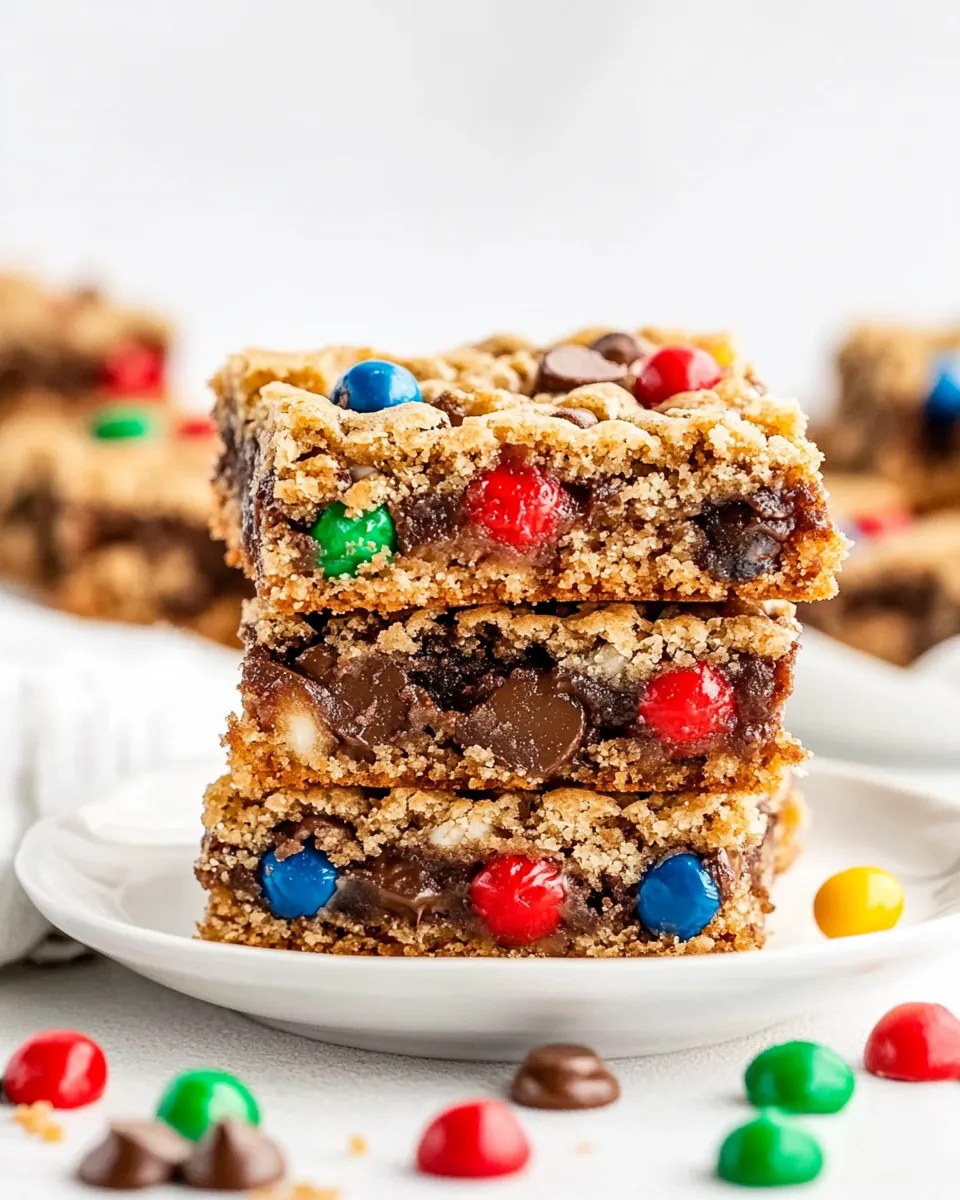
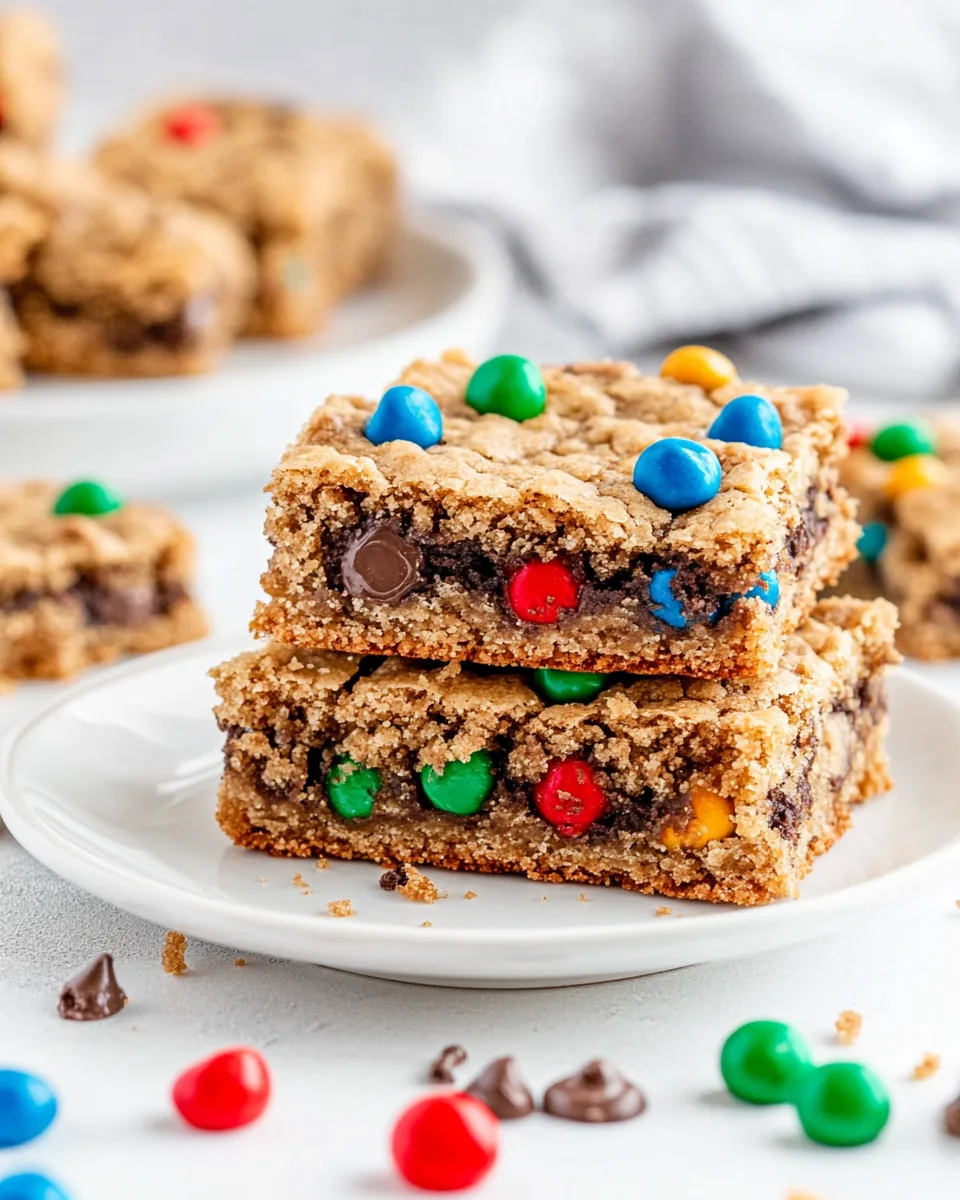
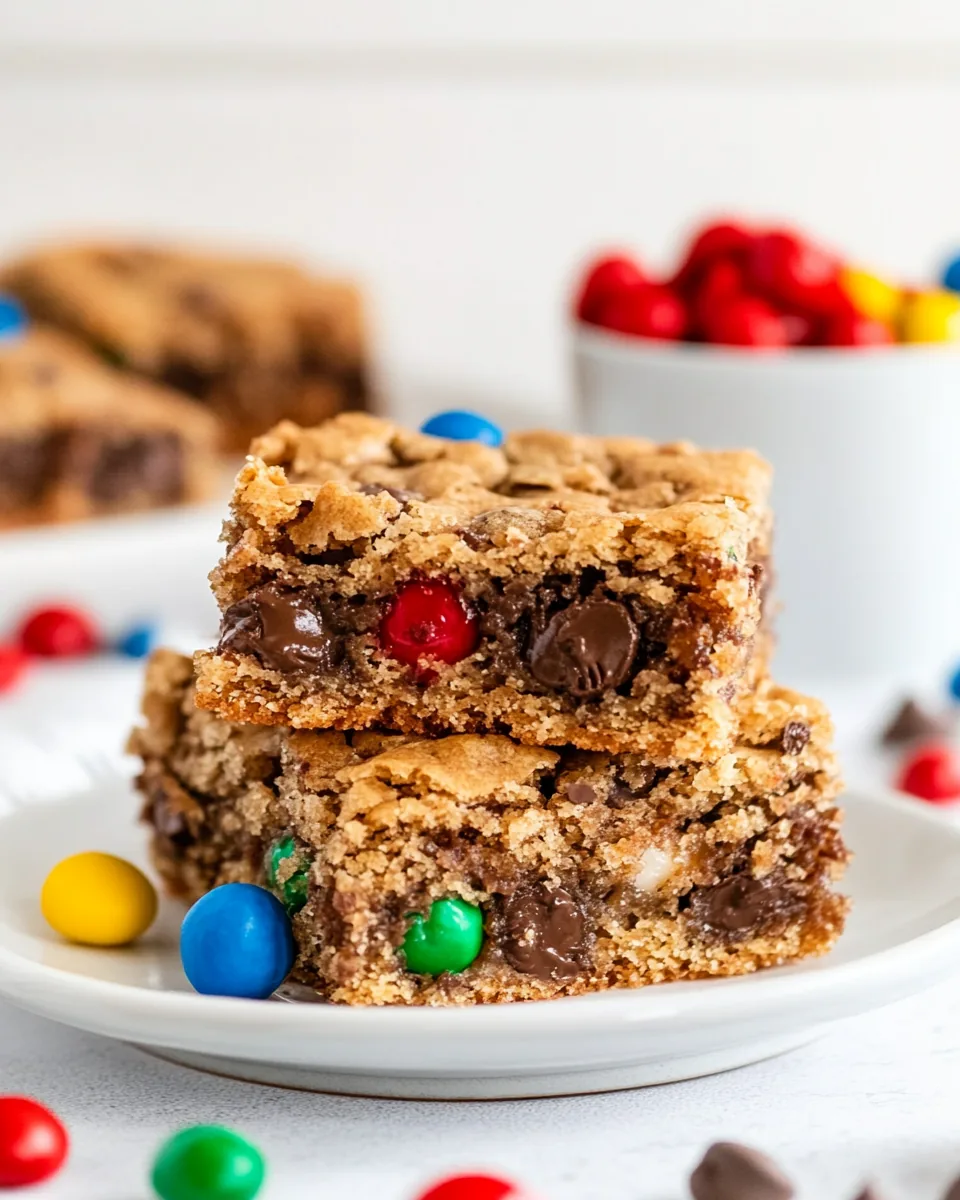
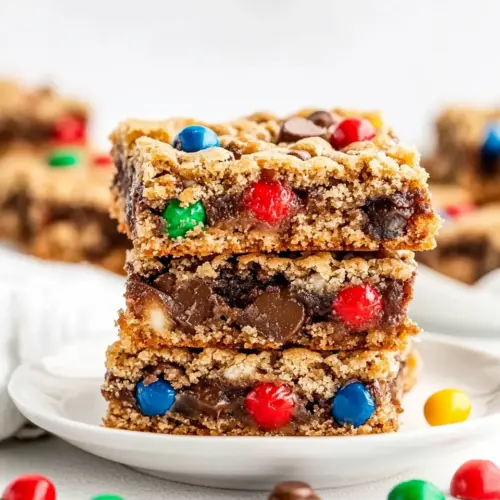
Monster Cookie Bars
There’s something truly special about Monster Cookie Bars that brings me back to my childhood. I remember the first time I tried them at a friend’s birthday party; the combination of chocolate, peanut butter, and an assortment of sweet add-ins was nothing short of magical. It was one of those moments that left a lasting impression, and ever since, I’ve been on a quest to recreate that delight in my own kitchen. When I finally perfected my version, the warm, gooey cookie bars filled with chocolate chips and colorful candies became a staple in our family gatherings. Every time I bake these, it feels like a celebration, and I’m sure it will become a cherished recipe for your family too.
Recipe Snapshot
45 mins
10 mins
35 mins
Medium
275 kcal
6g g
Gluten-Free, Low FODMAP
12g g
KitchenAid stand mixer, KitchenAid 9-Speed Digital Hand Mixer, Nordic Ware Metal 9×13 Covered Cake Pan
Why This Monster Cookie Bars Shines
Comforting Cravings
One of the reasons I adore Monster Cookie Bars is their ability to satisfy any sweet craving. The blend of creamy peanut butter and butter creates a luscious texture that’s hard to resist. I love how they have that perfect balance of chewy and crispy edges, making every bite a delight.
Endless Customization
Another aspect that makes these bars exceptional is their versatility. You can mix and match your favorite add-ins like M&M’s, Reese’s Pieces, or even mini pretzels. Each batch can be unique, which means there’s always something new to try!
Perfect for Any Occasion
Whether it’s a casual family night or a festive gathering, Monster Cookie Bars fit right in. I’ve made them for Halloween parties, bake sales, and even cozy movie nights at home. Everyone always asks for the recipe, which speaks volumes about their appeal!
Simple to Make
These bars are incredibly straightforward to whip up, making them a go-to treat for busy days. You won’t need any special equipment; a simple mixing bowl and a sturdy pan will do the trick. Plus, they come together in one bowl, which means less cleanup!
Warm Memories
Baking these bars often brings back memories of laughter and joy. I remember baking them with my kids, and we’d end up with flour on our faces and cookie dough on our fingers. It’s not just about the bars; it’s about the experiences we share around them.
Decadent Treats
Finally, the indulgence of these bars is hard to beat. With rich chocolate, sweet sugars, and a hint of saltiness from the optional sea salt, they deliver that fantastic flavor profile that keeps you coming back for more.
What to Gather for Monster Cookie Bars
Every great recipe starts with quality ingredients, and Monster Cookie Bars are no different. The combination of sweet and creamy components creates a delightful harmony that’s hard to resist. Let’s dive into the essential players that make these bars extraordinary!
- ½ cup unsalted butter: Softened to create that creamy texture.
- 1 ½ cups creamy peanut butter: The star ingredient that adds richness.
- 1 cup light brown sugar: For that caramel-like sweetness.
- 1 cup granulated sugar: Balances the flavors perfectly.
- 2 teaspoons pure vanilla extract: Enhances the overall taste.
- 3 large eggs: Helps bind everything together.
- 1 cup all-purpose flour: The base for our cookie batter.
- 2 teaspoons baking soda: For leavening, to make them nice and fluffy.
- 1 teaspoon kosher salt: A pinch to enhance flavors.
- 3 ¼ cups old fashioned oats: For that chewy texture.
- 1 cup semisweet or milk chocolate chips: A must for chocolate lovers.
- 1 heaping cup add-ins: Such as M&M’s, Reese’s Pieces, or mini pretzels.
- Sea salt: Optional, for a finishing touch.
How to Assemble Monster Cookie Bars
Assembling the Monster Cookie Bars is part of the fun! With just a few simple steps, you’ll have these delicious treats ready for the oven. Let’s get started!
- Preheat your oven to 350°F (175°C) and line a 9×13 inch baking pan with foil, leaving about 1 inch overhanging on each side. This will create convenient handles for lifting the bars out later. Don’t forget to spray the lined pan with nonstick cooking spray to prevent sticking.
- In a large bowl or the bowl of a stand mixer fitted with the paddle attachment, cream together unsalted butter, creamy peanut butter, light brown sugar, and granulated sugar on medium speed for about 3 minutes. You want it to be light and fluffy. This is key for achieving those perfect cookie bars!
- Once the mixture is creamy, add in the pure vanilla extract and the large eggs, mixing until everything is combined smoothly. You should see a nice glossy mixture forming.
- In another bowl, whisk together the all-purpose flour, baking soda, kosher salt, and old fashioned oats. This will ensure even distribution of the dry ingredients.
- Gradually add the dry mixture into the wet mixture, mixing just until fully incorporated. Be careful not to overmix; this can make your cookie bars tough. The batter should be thick and slightly sticky.
- Now it’s time to stir in the semisweet chocolate chips and your choice of add-ins. This is where you can get creative! Maybe you want to add some M&M’s for color or mini pretzels for a bit of crunch; the choice is yours.
- Spoon the batter into the prepared baking pan and spread it out evenly with a spatula. If you like, sprinkle some extra chocolate chips or M&M’s on top, pressing them in gently for that extra touch.
- Bake in the preheated oven for 30 to 35 minutes. You’ll know they’re done when the edges start to turn golden brown, and a toothpick inserted in the center comes out with a few moist crumbs.
- Once out of the oven, you can sprinkle with a little flaky sea salt if desired. Let the bars cool completely in the pan on a wire rack before using the foil to lift them out and cut them into squares. Enjoy your delicious Monster Cookie Bars!
Things Worth Knowing
- Ingredient Quality: Always use fresh peanut butter and unsalted butter for the best flavor and texture.
- Mixing Technique: Creaming the butter and sugars properly is crucial for achieving a light and airy texture.
- Overmixing Caution: Be careful not to overmix the batter once you add the flour, as this can result in a denser bar.
- Cooling Time: Allow the bars to cool fully before cutting to maintain their structure and avoid crumbling.
Making Adjustments

Making adjustments to your Monster Cookie Bars can be a fun way to personalize this recipe further. Here are some tips to help you get creative!
- Storage: Keep any leftover bars in an airtight container at room temperature for up to five days, or in the refrigerator for up to a week.
- Freezing: You can freeze the bars! Wrap individual squares in plastic wrap and store them in a freezer-safe container for up to three months.
- Pairing: These bars pair wonderfully with a glass of cold milk or a warm cup of coffee.
- Flavor Variations: Feel free to experiment with different add-ins like dried fruits, nuts, or different types of chocolate.
- Serving Tip: For a fun twist, serve warm with a scoop of ice cream on top!
Serving Ideas for Monster Cookie Bars
When it comes to serving Monster Cookie Bars, the possibilities are endless. Here are some creative ideas to make your dessert experience even more delightful:
- On Their Own: Serve the bars plain, freshly baked, and square-cut for a casual treat.
- With Ice Cream: Top each square with a scoop of vanilla or chocolate ice cream for an indulgent dessert.
- For Parties: Cut them into bite-sized squares for parties, making it easy for guests to grab and enjoy.
- Seasonal Touch: Decorate with seasonal candies like pumpkin or holiday themed M&M’s for festive occasions.
- Alongside Beverages: Pair with a glass of cold milk or coffee to balance the sweetness.
- Lunchbox Treats: These bars also make for a great addition to kids’ lunchboxes, providing a sweet surprise!
FAQ
Conclusion
The Monster Cookie Bars are not just a treat; they’re a collection of sweet memories and togetherness. Each bite is a beautiful reminder of why we love to bake and share delicious food with our loved ones. I encourage you to try making these bars; they’re sure to become a favorite in your home. So, gather your ingredients and let the baking magic begin!
Monster Cookie Bars
Equipment
- KitchenAid stand mixer
- KitchenAid 9-Speed Digital Hand Mixer
- Nordic Ware Metal 9×13 Covered Cake Pan
Ingredients
- ½ cup unsalted butter room temperature
- 1 ½ cups creamy peanut butter
- 1 cup light brown sugar packed
- 1 cup granulated sugar
- 2 teaspoons pure vanilla extract
- 3 large eggs
- 1 cup all-purpose flour
- 2 teaspoons baking soda
- 1 teaspoon kosher salt
- 3 ¼ cups old fashioned oats
- 1 cup semisweet or milk chocolate chips
- 1 heaping cup add-ins such as M&M’s, Reese’s Pieces, Mini Reese’s Cups, salted peanuts, mini pretzels, etc.
- Sea salt optional
Instructions
- Preheat oven to 350°F. Line a 9×13 inch baking pan with foil, leaving about 1 inch of the foil extending over the edges of the pan. The extra foil will create handles that you can use to lift the Monster Cookie Bars from the pan. Spray foil with nonstick cooking spray. Set pan aside.
- In the bowl of a stand mixer fitted with the paddle attachment, or in a large bowl with an electric mixer, cream butter, peanut butter and sugars on medium speed for about 3 minutes. Add in vanilla and eggs and mix until combined.
- In a medium bowl, whisk together the flour, baking soda, salt and oats. Gradually add the dry ingredients into the butter mixture until thoroughly incorporated. Stir in chocolate chips and add-ins.
- Spoon batter into prepared pan and spread into an even layer. If desired, top batter with additional chocolate chips, M&M’s or other add-ins, pressing them lightly into the batter. Bake in preheated oven for 30-35 minutes. If desired, sprinkle bars with flaky sea salt after removing from oven. Place pan on a cooling rack and cool completely before cutting into squares.
Notes
- Tip 1: Learn how to soften butter quickly.
- Tip 2: Learn how to measure flour correctly.