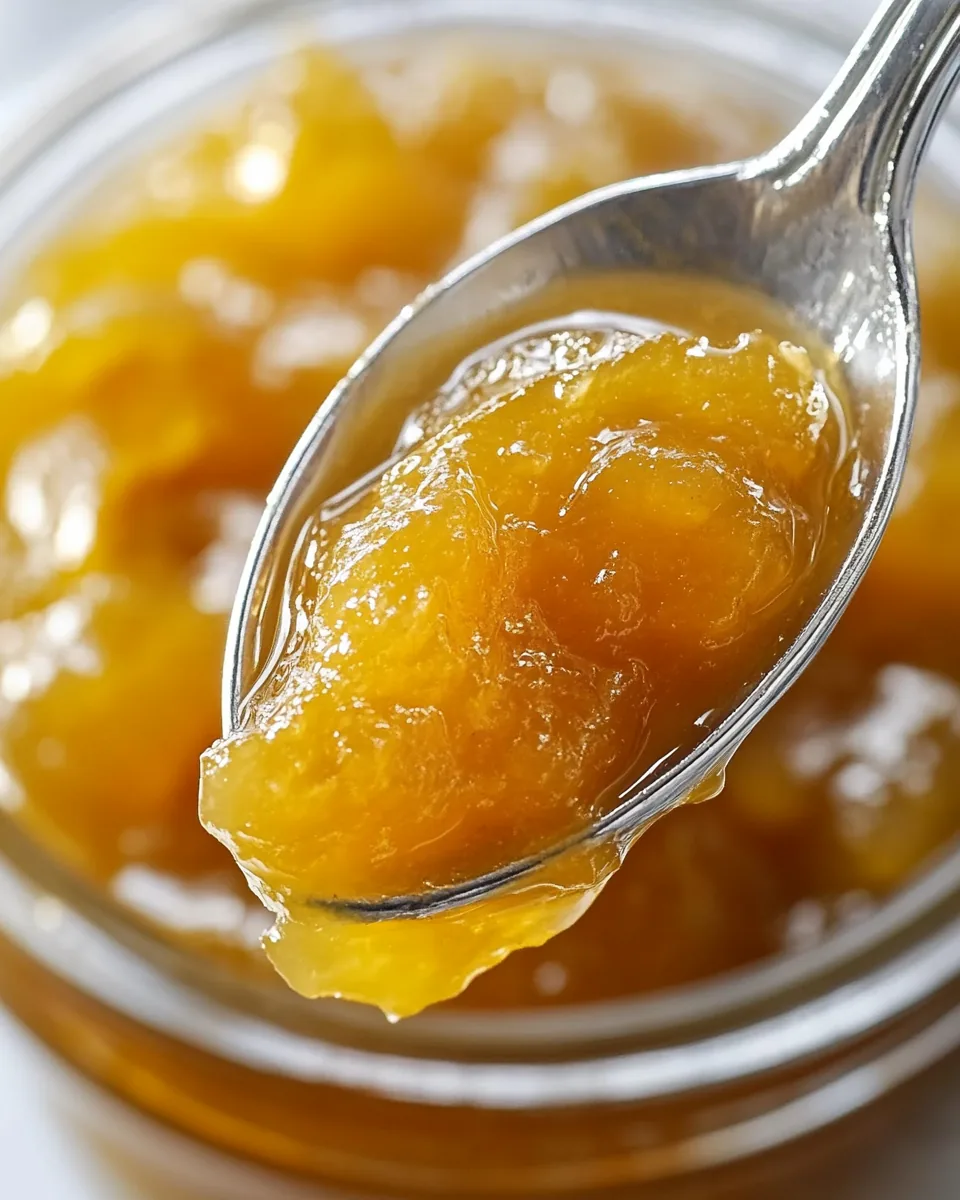
Mirabelle Jam
There’s something magical about making your own preserves, and Mirabelle Jam is one of those recipes that captures the essence of summer in a jar. I still remember the first time I stumbled upon mirabelle plums at a local farmers’ market. Their vibrant yellow hue and sweet aroma instantly drew me in. I couldn’t resist bringing home a basketful. After a long day of enjoying the sun, I decided to transform these plums into a delectable jam. As I carefully pitted each fruit, I felt a wave of nostalgia wash over me, recalling summers spent in my grandmother’s kitchen, where the scent of fruit preserves filled the air. Making Mirabelle Jam isn’t just about preserving fruit; it’s about capturing memories and creating something truly special.
As the plums simmer on the stove, they release their natural sugars, creating a syrupy liquid that envelops the fruit. This process is a gentle reminder of the beauty of simplicity in cooking. When I tasted the final product, the vibrant flavor took me right back to those sun-soaked afternoons. Trust me when I say, once you try Mirabelle Jam, you’ll want to keep a jar on hand all year round. It’s perfect for spreading on warm toast, dolloping on yogurt, or even as a filling for pastries. Each bite will remind you of sunshine, sweet fruit, and the joys of homemade goodness.
Recipe Snapshot
60 mins
0 mins
0 mins
Medium
100 kcal
0 g
Vegan, Gluten-Free, AIP
0 g
Wooden Spoon, Frying Pan
Why This Mirabelle Jam Stands Out
Simple and Delicious
The first reason I love Mirabelle Jam is its simplicity. With just a handful of ingredients—mirabelle plums, sugar, and lemon juice—you can create something extraordinary. There’s no need for complicated techniques or unusual ingredients; it’s all about showcasing the beauty of the fruit.
Perfect for Gifting
Thinking about holiday gifts? Mirabelle Jam is the perfect homemade present. Imagine unsealing a jar and letting the recipient enjoy a taste of summer. It’s a thoughtful gift that shows you care.
Versatile Use
Another reason to adore Mirabelle Jam is its versatility. You can use it in various ways—spread it on toast, stir it into oatmeal, or even use it as a filling for cakes and pastries. The possibilities are endless, and it always brings a burst of flavor to your meals.
Seasonal Delight
This jam captures the essence of summer fruits at their peak. Every jar you open is like a little time capsule of sunshine and warmth, reminding you of those lazy summer days spent outdoors.
Easy to Make
Making Mirabelle Jam is incredibly easy. With just a few steps, you can turn fresh fruit into a delicious spread. It doesn’t require a lot of special equipment, making it accessible for anyone to try their hand at jam-making.
Satisfying Preservation
There’s a special satisfaction that comes from preserving your own food. Every jar of Mirabelle Jam is a tangible reminder of the effort you put into making something beautiful and delicious. It’s truly rewarding to see your pantry stocked with homemade goodness.
Everything You Need for Mirabelle Jam
When it comes to making Mirabelle Jam, the quality of your ingredients matters. Each one plays a vital role in creating that perfect balance of sweetness and tartness. The key players here are the wonderful mirabelle plums, which are juicy and packed with flavor. The sugar helps to preserve the fruit while also enhancing its natural sweetness, and the lemon juice adds a subtle tartness that balances everything beautifully.
- 1 pound (450g) mirabelle plums: These small, golden plums are the star of the show. They have a sweet and slightly tangy flavor that makes for a delicious jam.
- 2/3 cup (130g) sugar: This is the sweetener that helps to preserve the plums and gives the jam its lovely texture.
- 1 teaspoon freshly squeezed lemon juice: This adds acidity, helping to balance the sweetness of the plums and sugar.
- Optional: 1/2 to 1 teaspoon kirsch or eau-de-vie: While not necessary, this can enhance the flavor of the jam, giving it a sophisticated touch.
Directions for Mirabelle Jam
Making Mirabelle Jam is a delightful process that fills your kitchen with the aroma of sweet plums. Follow these simple steps to create your own batch of jam.
- Pit the mirabelles. Start by removing the pits from the plums. This can be a bit tedious but it’s essential for a smooth jam. You can slice them in half and twist to release the pit.
- Prepare the saucepan. Place the pitted mirabelles into a non-reactive saucepan. This choice is crucial because it prevents any chemical reactions that could alter the flavor of your jam.
- Add water. Pour just enough water into the pan so that it covers the bottom, about 1/4-inch deep. This will help the plums cook evenly without scorching.
- Cook the plums. Cover the saucepan and cook over medium heat for about 8 to 10 minutes. You’ll know they’re ready when they become soft and start to break down, releasing their juices.
- Add sugar and lemon juice. Once you have about 2 cups of cooked plums, stir in the sugar and lemon juice. This will sweeten the mixture and add a zesty kick.
- Cook until thickened. Continue to cook over medium heat, stirring frequently. Keep an eye on the liquid as it thickens; it should become syrupy. If you want to test for doneness, you can place a dab on a chilled plate and see if it wrinkles when nudged.
- Check the temperature. If you have a candy thermometer, aim for a temperature of around 218-220ºF (103-104ºC) to ensure it’s set properly.
- Remove from heat. Once thickened to your liking, take the pan off the heat. If you’re using kirsch or eau-de-vie, stir it in now along with any additional lemon juice to balance the flavor.
- Jar the jam. When the mixture has cooled enough to taste, scrape it into a clean jar. Seal it tightly and refrigerate until ready to enjoy.
- Enjoy your jam! Your Mirabelle Jam is now ready to be savored! Spread it on toast or use it in your favorite recipes.
Things Worth Knowing
- Use fresh fruit: The quality of your mirabelle plums significantly affects the final flavor of your jam. Always choose ripe, fresh fruit for the best results.
- Check for doneness: To ensure your jam is set, do the freezer test. Place a spoonful on a chilled plate, freeze for a few minutes, then nudge it. If it wrinkles, it’s ready!
- Storage: Store your jam in a clean jar in the refrigerator. It should keep for at least two weeks if sealed properly.
- Sanitize jars: Make sure to sterilize your jars before filling them with jam to avoid any bacteria growth.
Customization Ideas
One of the best parts of making Mirabelle Jam is how you can customize it to your taste! Here are some great ideas to enhance your jam-making experience.
- Experiment with spices: Add a pinch of cinnamon or nutmeg for a warm flavor profile.
- Mix fruits: Combine mirabelles with other fruits like peaches or apricots for a unique jam blend.
- Adjust sweetness: Depending on your preference, you can reduce the sugar for a less sweet jam. Just ensure you maintain the balance for preservation.
- Infuse with herbs: Consider adding a sprig of rosemary or thyme during the cooking process for a herby twist.
- Try a citrus blend: Mix in some zest or juice from oranges or limes for a zesty kick.
- Make it a gift: Package your jam in decorated jars as delightful gifts for friends and family.
- Use different sweeteners: If you prefer natural sweeteners, try substituting some of the sugar with honey or maple syrup for a different flavor.
What to Pair With Mirabelle Jam
Finding the perfect accompaniments for your Mirabelle Jam can elevate your culinary experience. Here are some fantastic pairing ideas:
- Toast: Spread your jam on warm, crusty bread or buttery toast for a delicious breakfast treat.
- Yogurt: Swirl it into creamy yogurt for a refreshing snack or dessert.
- Cheese platters: Pair with soft cheeses like brie or goat cheese for a delightful contrast of flavors.
- Pastries: Use as a filling for pastries or tarts to impress your guests at gatherings.
- Oatmeal: Add a spoonful to your morning oatmeal for a sweet and fruity start to your day.
- Ice cream: Drizzle over vanilla ice cream for a simple yet indulgent dessert.
- Seasonal gatherings: Serve at brunches, picnics, or holiday parties to share a taste of summer with friends and family.
FAQ
Conclusion
In summary, Mirabelle Jam is a wonderful way to bring the flavors of summer into your kitchen all year round. It’s easy to make, delicious, and versatile, making it the perfect addition to your breakfast or dessert table. I hope you give this recipe a try and enjoy every moment of the process and the tasty results!
Mirabelle Jam
Equipment
- Wooden Spoon
- Frying Pan
Ingredients
- 1 pound mirabelle plums
- 2/3 cup sugar
- 1 teaspoon freshly squeezed lemon juice
- 1/2 to 1 teaspoon kirsch or eau-de-vie optional
Instructions
- 1. Pit the mirabelles.
- 2. Put the pitted fruits in a non-reactive saucepan.
- 3. Add enough water so it’s about 1/4-inch deep in the pan.
- 4. Cover and cook over medium heat until the mirabelles are cooked through, about 8 to 10 minutes.
- 5. Add the sugar and lemon juice and continue to cook over medium heat, stirring frequently, until the liquid looks syrupy and thick.
- 6. If you want to check it for doneness, you can turn it off and put a generous dab on a chilled plate in the freezer and check it in a few minutes.
- 7. If using a candy thermometer, the jam will set at around 218-220ºF.
- 8. Remove from heat, add the kirsch or eau-de-vie, if using, and balance the flavor with a little bit more lemon juice.
- 9. Scrape the jam into a clean jar, cover, and refrigerate until ready to eat.
Notes
- Storage: The jam will keep in the refrigerator for at least two weeks.