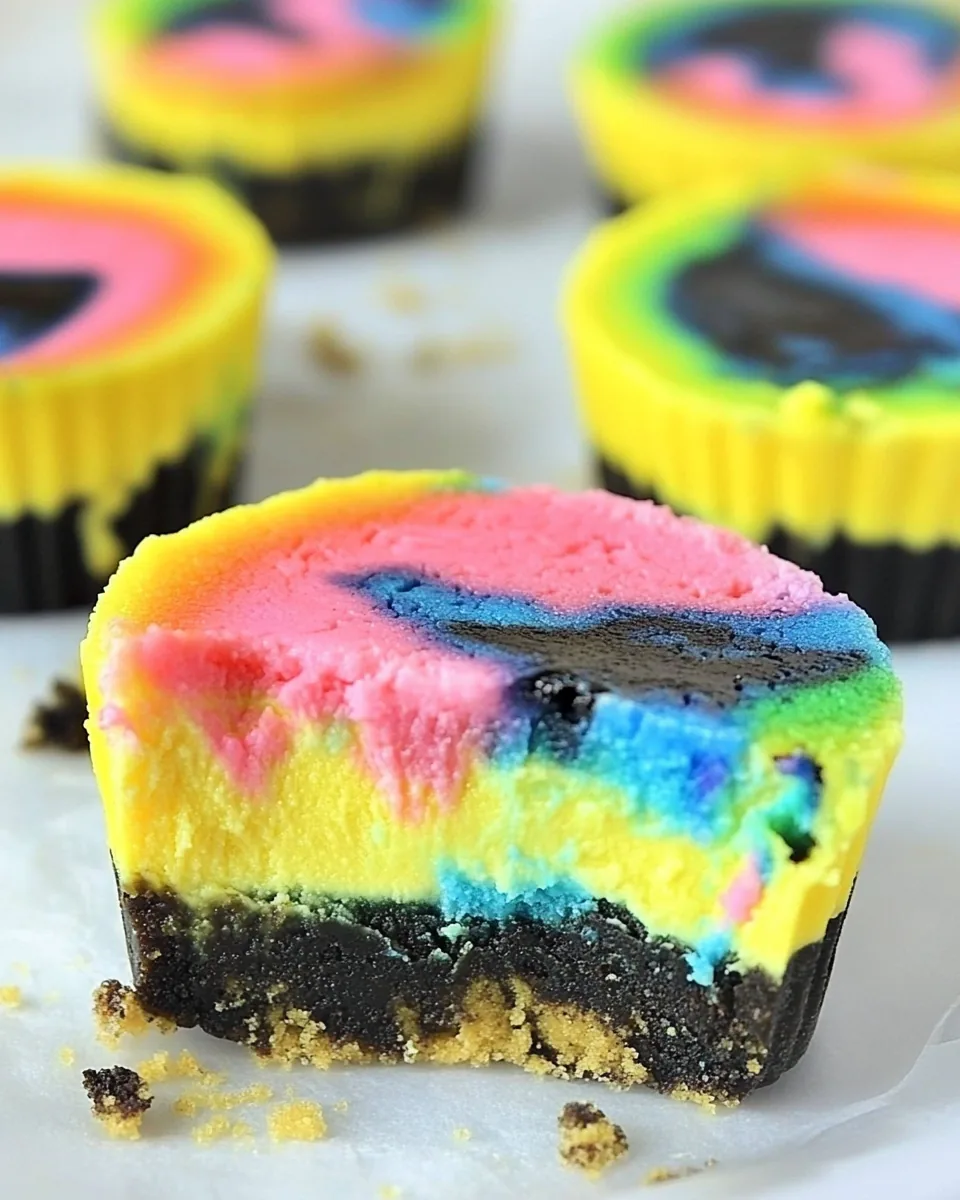
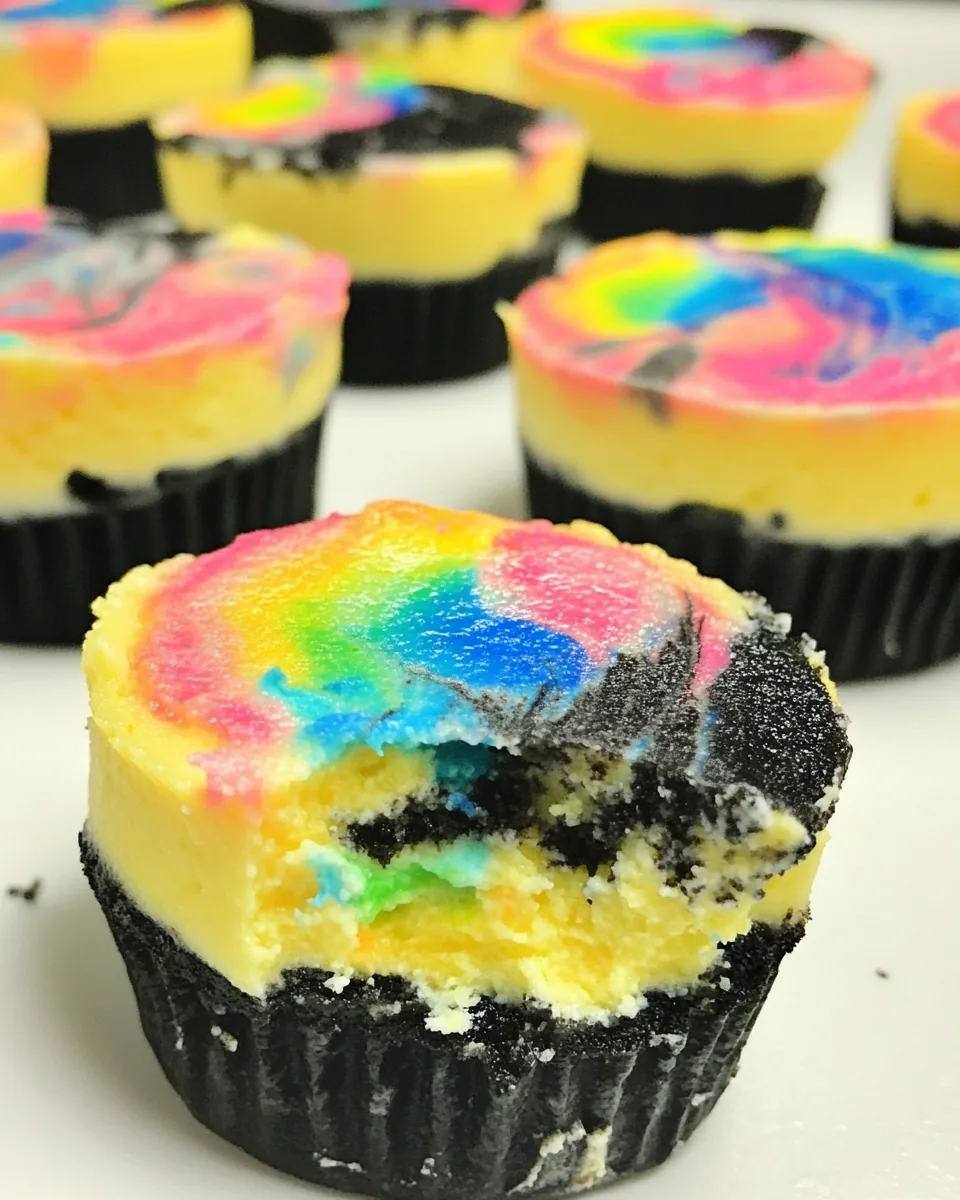
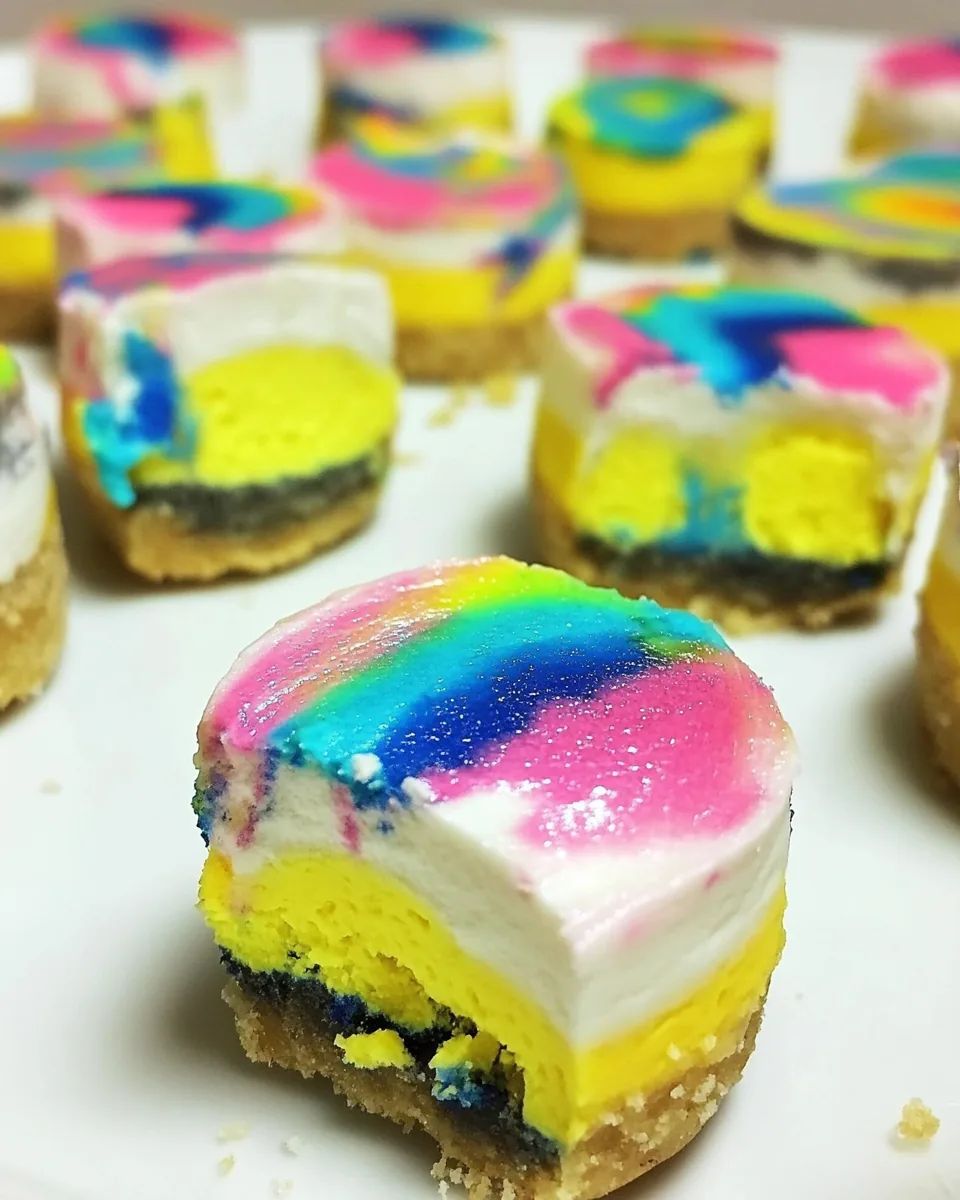
Mini Tie Dye Cheesecakes
There’s something magical about creating desserts that not only taste great but also look like a piece of art! When I first stumbled upon the idea of making Mini Tie Dye Cheesecakes, I was instantly inspired. These delightful little treats are perfect for gatherings, parties, or just a fun afternoon snack. With vibrant colors and a creamy texture, they bring joy to anyone who sees or tastes them. The best part? They’re surprisingly easy to whip up! I still recall the first time I made them, and my friends were absolutely mesmerized by the swirling colors. It felt like a mini celebration in each bite!
Recipe Snapshot
35 mins
15 mins
20 mins
Medium
120 kcal
2 g
Vegan, Gluten-Free, AIP
6 g
Wooden Spoon, Mixing Bowl, Oven, Baking Sheet
The Charm of This Mini Tie Dye Cheesecakes
Visually Stunning
One of the biggest draws of Mini Tie Dye Cheesecakes is their appearance. The vibrant colors make them a showstopper at any event. Whether it’s a birthday party or a casual get-together, these cheesecakes quickly become the centerpiece of dessert tables. You can experiment with different colors and techniques, making each batch unique!
Perfect for All Ages
Kids and adults alike adore these cheesecakes! They bring out the inner child in everyone, and watching the colors swirl together is a joy in itself. It’s a fantastic way to involve children in the kitchen since they can help with the dyeing process and get creative.
Easy to Prepare
Despite their impressive look, Mini Tie Dye Cheesecakes are straightforward to make. Most of the ingredients are common pantry staples, and the steps are simple enough for even novice bakers to follow. You don’t have to be a pastry chef to make these little gems!
Versatile Flavor Combinations
These cheesecakes can be customized to suit your palate. Stick to classic flavors, or you can mix in fun ingredients like chocolate chips or fruit purees. The choice is yours, and that flexibility is what makes this recipe so appealing.
Fun for Themed Celebrations
If you’re planning a themed party, Mini Tie Dye Cheesecakes fit right in! You can match the colors to your party’s theme, making them not just a dessert, but an integral part of the décor. It’s a sweet way to add an extra layer to your celebration.
Great for Meal Prep
These cheesecakes store well in the fridge, making them ideal for meal prepping. You can whip up a batch in advance and have delicious treats ready to grab throughout the week. They’re perfect for those days when you need a little something sweet without the hassle.
What’s In This Mini Tie Dye Cheesecakes
To create these delightful Mini Tie Dye Cheesecakes, the ingredients are simple yet effective. The key players are the creamy cream cheese that forms the base, and the Oreo cookies that serve as a delicious crust. You’ll also find granulated sugar for sweetness, all-purpose flour to help bind the ingredients, and food coloring for that vibrant tie-dye effect. Each ingredient plays a crucial role in delivering the perfect cheesecake experience.
- 12 Spring Oreo Cookies: These provide a crunchy, chocolatey base that complements the creamy filling perfectly.
- 8 oz cream cheese: Essential for that smooth, rich texture we all love in cheesecakes. Make sure it’s softened for easy mixing.
- 1/2 cup granulated sugar: This adds the right amount of sweetness to balance the flavors.
- 1 tablespoon all-purpose flour: Helps to stabilize the filling, ensuring your cheesecakes hold their shape.
- 1/2 teaspoon vanilla: A classic flavor that enhances the overall taste of the cheesecake.
- 1 egg: Brings everything together and helps the cheesecake set as it bakes.
- food coloring: This is where the magic happens, allowing you to create fun and vibrant swirls!
Recipe Directions for Mini Tie Dye Cheesecakes
Making Mini Tie Dye Cheesecakes is a fun and rewarding experience! It’s all about layering flavors and colors, so let’s dive into the steps together. You’ll find that each step brings you closer to a visually stunning and delicious treat!
Preheat the oven to 325 degrees. Make sure your oven is nice and hot so the cheesecakes bake evenly. This step is crucial for getting that perfectly set cheesecake!
Line a muffin tin with paper liners. Then, place one Oreo cookie into the bottom of each liner. This will be the crust, so make sure it sits flat and steady. Set aside for later.
In a large stand mixer, combine the softened cream cheese, granulated sugar, and all-purpose flour until it’s well incorporated. You want a smooth mixture, so take your time and scrape down the sides as needed.
Add in the vanilla and egg. Mix again until the batter is smooth and creamy. The texture should be thick yet pourable.
Divide the cheesecake batter evenly into four small bowls. This is where the fun begins! Add different colors of food coloring to each bowl, mixing until you achieve vibrant shades. Don’t be afraid to get creative!
Spoon the remaining colorless cheesecake batter evenly into the 12 muffin tins, filling them about halfway. Use a spoon or spatula to spread it out over the cookie crust.
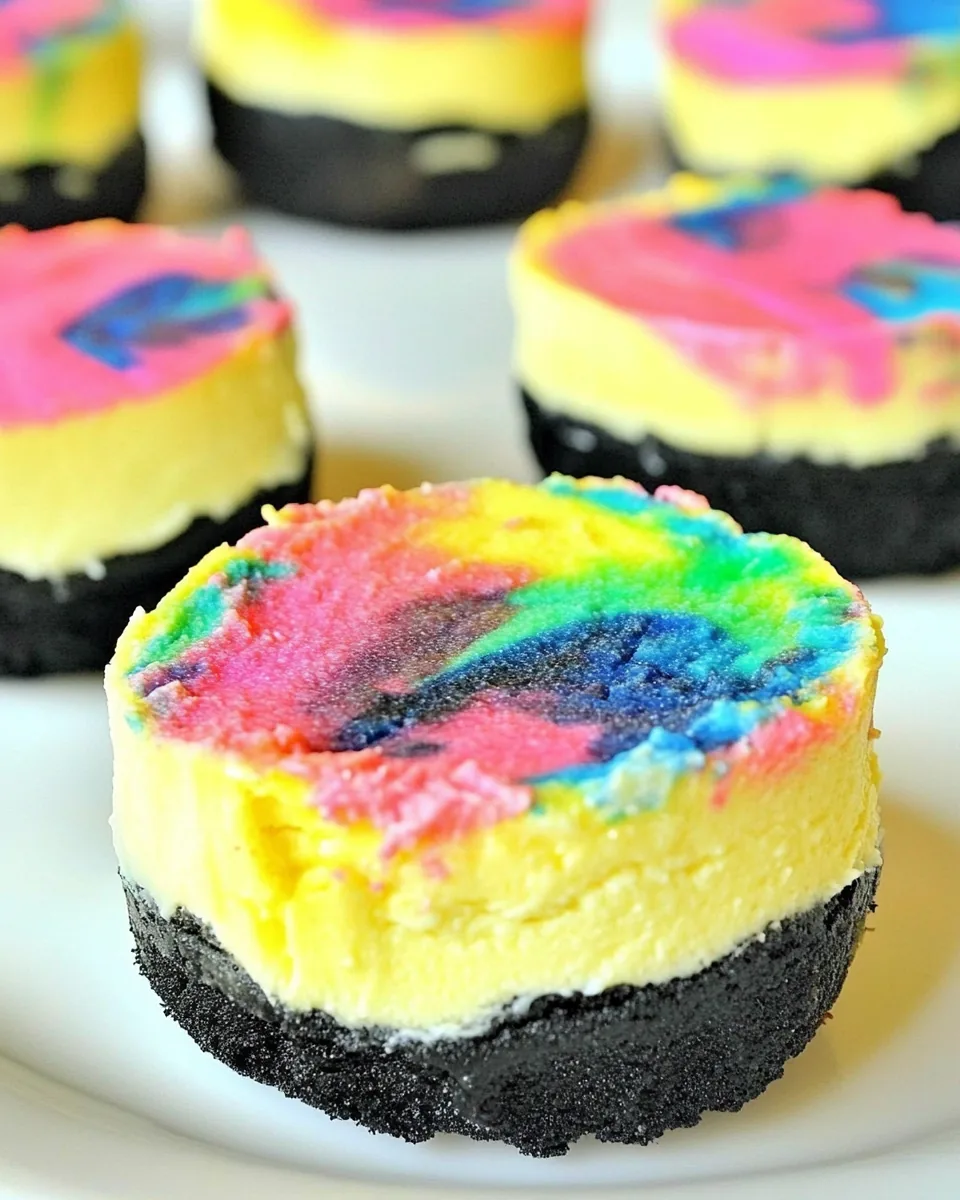
Now, take the colored cheesecake batter and drop small dollops into each muffin tin. Aim for three colors per cake, making sure to space them out to achieve that tie-dye effect.
Using a toothpick, gently swirl the colors together. Be careful not to overdo it, or you’ll end up with a brownish hue instead of the beautiful swirls you’re aiming for.
Bake in the preheated oven for 20 minutes or until the cheesecakes are set. They should slightly jiggle in the center but not appear liquidy. Trust me, the smell will be heavenly!
Once baked, remove them from the oven and let them cool completely in the muffin tin. Refrigerate until cold, then remove the liners before serving. Enjoy your beautiful creations!
Things Worth Knowing
- Chill Time Matters: Let the cheesecakes cool to room temperature before refrigerating to avoid condensation.
- Color Choices: Experiment with different shades for various occasions. Pastels for spring and vibrant colors for summer parties can be fun!
- Baking Tip: Keep an eye on the cheesecakes as they bake. Overbaking can lead to cracks!
- Scaling Up: This recipe can be doubled for larger gatherings. Just use a larger muffin tin or multiple tins.
Recipe Notes about Mini Tie Dye Cheesecakes
When making Mini Tie Dye Cheesecakes, there are a few things to keep in mind to ensure your cheesecakes turn out perfectly each time!
- Storage: Store leftovers in an airtight container in the refrigerator for up to four days. They’re great for snacking!
- Freezing: These cheesecakes can be frozen! Wrap each one in plastic wrap and store in a freezer bag. Thaw them in the fridge before serving.
- Pairing: Serve with fresh fruit or whipped cream for a delightful contrast of flavors and textures.
- Customizations: Feel free to add chocolate chips or fruit purees into the batter for added flavor!
- Crust Options: Instead of Oreo cookies, try graham crackers or even shortbread for a different twist.
Serving Ideas for Mini Tie Dye Cheesecakes
When it comes to serving Mini Tie Dye Cheesecakes, the options are abundant! Here are some inspiring ideas to elevate your presentation:
- Colorful Dessert Platter: Arrange your cheesecakes on a vibrant platter, accented with fresh berries and mint leaves for a beautiful visual.
- Kids’ Party Fave: Perfect for birthdays, kids will love the colorful aspect! Pair them with fun party hats and colorful balloons.
- Themed Celebrations: Match your cheesecakes’ colors to special occasions like holidays or seasonal parties. It’s a sweet touch!
- Picnic Treats: These cheesecakes are great for outdoor gatherings. Pack them along with other picnic favorites!
- Elegant Serving: Serve in clear cups with a layer of whipped cream on top. This adds sophistication and showcases the colors beautifully.
- Snack Time: These mini cheesecakes are perfect for afternoon tea or as a sweet treat during family movie nights.
FAQ
Conclusion
These Mini Tie Dye Cheesecakes are not just desserts; they’re an experience! Their vibrant colors and creamy textures make them a perfect treat for any occasion. I encourage you to gather your ingredients and give this delightful recipe a try. You won’t just be satisfying a sweet tooth, but also creating beautiful memories in the kitchen!

Mini Tie Dye Cheesecakes
Equipment
- Wooden Spoon
- Mixing Bowl
- Oven
- Baking Sheet
Ingredients
- 12 Spring Oreo Cookies
- 8 oz cream cheese 1 block, softened
- 1/2 cup granulated sugar
- 1 tablespoon all purpose flour
- 1/2 teaspoon vanilla
- 1 egg
- food coloring {I used Wilton gels}
Instructions
- Preheat oven to 325 degrees.
- Line a muffin tin with paper liners and place one Oreo cookie into the bottom of each. Set aside.
- In a large stand mixer, whip cream cheese with granulated sugar and all purpose flour until incorporated.
- Stir in vanilla and egg. Scrape the sides and whip again until smooth.
- Scoop 1 tablespoon of cheesecake batter into four small bowls. Dye each bowl a different color according to preference.
- Spoon the remaining colorless cheesecake batter between the 12 muffin tins evenly.
- Drop small dollops of colored cheesecake batter into the muffin tins.
- Using a toothpick, swirl the colors together.
- Bake for 20 minutes or until cheesecakes are completely set.
- Remove from oven and cool completely. Refrigerate until completely chilled, remove papers and serve.
Notes
- Storage: Store leftovers in an airtight container in the refrigerator for up to four days. They’re great for snacking!
- Freezing: These cheesecakes can be frozen! Wrap each one in plastic wrap and store in a freezer bag. Thaw them in the fridge before serving.
- Pairing: Serve with fresh fruit or whipped cream for a delightful contrast of flavors and textures.
- Customizations: Feel free to add chocolate chips or fruit purees into the batter for added flavor!
- Crust Options: Instead of Oreo cookies, try graham crackers or even shortbread for a different twist.