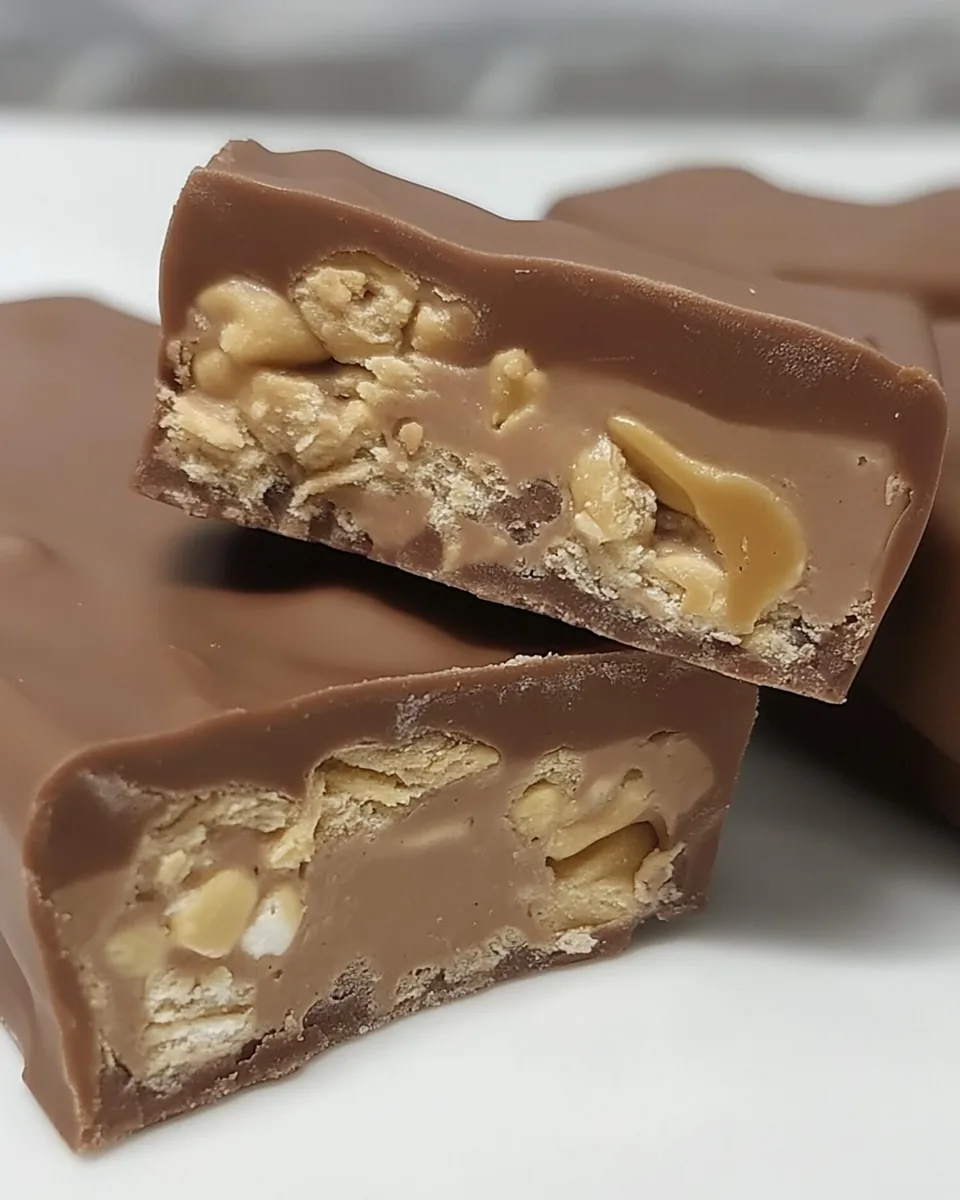
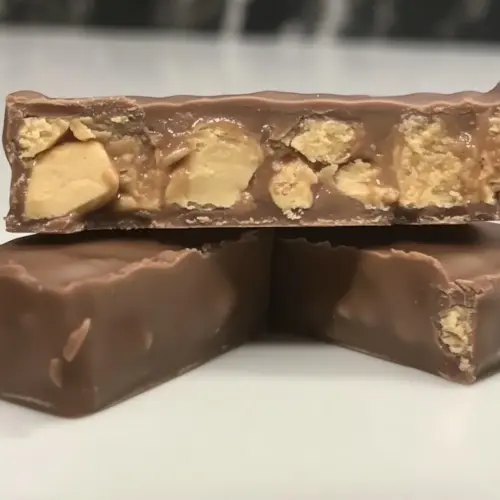
Mars Bars
Whenever I think of the delightful treats that bring a smile to my face, Mars Bars immediately come to mind. Growing up, these sweet, chewy delights were a staple in my household, often enjoyed during family movie nights or packed in school lunches. There’s something magical about biting into a homemade Mars Bar—the creamy, fluffy center and the rich chocolate coating create a perfect balance that never fails to satisfy a sweet tooth. I remember the first time I tried making them myself; it felt like a rite of passage. Each layer of flavor and texture told a story of indulgence and fun. Whether it’s for a party, a cozy night in, or just to treat yourself, these bars are a brilliant way to bring a little joy into your life.
Recipe Snapshot
20 mins
15 mins
5 mins
Medium
220 kcal
2 g
Keto, Paleo, Whole30
9 g
Frying Pan, Whisk
In my experience, the best recipes are those that allow you to be creative while keeping things simple, and this one is no exception. The combination of marshmallow fluff, Nutella, and chocolate creates an irresistible flavor profile that has a special place in my heart. It’s not just about the taste; it’s about the memories made while preparing them. You can involve the kids, create a mess in the kitchen, and enjoy the process just as much as the delicious end result. It’s a recipe that encourages sharing and laughter, making it the perfect choice for any occasion. Each time I whip up a batch of Mars Bars, I’m transported back to those carefree days, and that’s the beauty of cooking.
Recipe Snapshot
20 mins
15 mins
5 mins
Medium
220 kcal
2 g
Keto, Paleo, Whole30
9 g
Frying Pan, Whisk
The Appeal of This Mars Bars
Why I Absolutely Love Making Mars Bars
There are so many reasons to adore making Mars Bars. Let me share a few of the top ones with you!
1. They’re Incredibly Easy to Make
When life gets busy, it’s comforting to have an easy recipe like Mars Bars in your back pocket. The steps are straightforward, and you don’t need any fancy equipment. Just a microwave and a mixing bowl will do the trick. I always look forward to sharing this recipe with friends who are new to baking. It’s a great confidence booster!
2. Customization is Key
The versatility of Mars Bars is another reason I love them. You can add your twist by incorporating nuts, dried fruits, or even a hint of sea salt on top for that sweet-savory combo. Each batch can be slightly different, making it a fun adventure every time.
3. Perfect for Any Occasion
Whether it’s a birthday party, a picnic, or just a cozy evening in, these bars fit perfectly into any setting. I’ve made them for potlucks, and they always get rave reviews. Everyone loves a sweet treat, and Mars Bars never disappoint!
4. A Great Way to Bond
Making Mars Bars is an activity that brings people together. I love having friends over to bake and share stories while we create these delicious bars. It’s a wonderful way to spend an afternoon, especially with kids who enjoy getting involved in the kitchen.
5. They Bring Back Memories
Every bite of Mars Bars reminds me of my childhood. Making them is like a nostalgic journey that connects me to my family traditions. I cherish these moments and hope to pass them on to the next generation.
Ingredient List for Mars Bars
The ingredients for Mars Bars are simple yet essential, working together to create a treat that’s both luxurious and comforting. Each component plays a significant role in building those rich flavors and textures that everyone loves.
- 7 ounces of marshmallow fluff: This magical ingredient gives the bars their signature fluffiness and sweetness.
- 2/3 cup of Nutella: Creamy and rich, Nutella adds a chocolate-hazelnut flavor that complements the marshmallow perfectly.
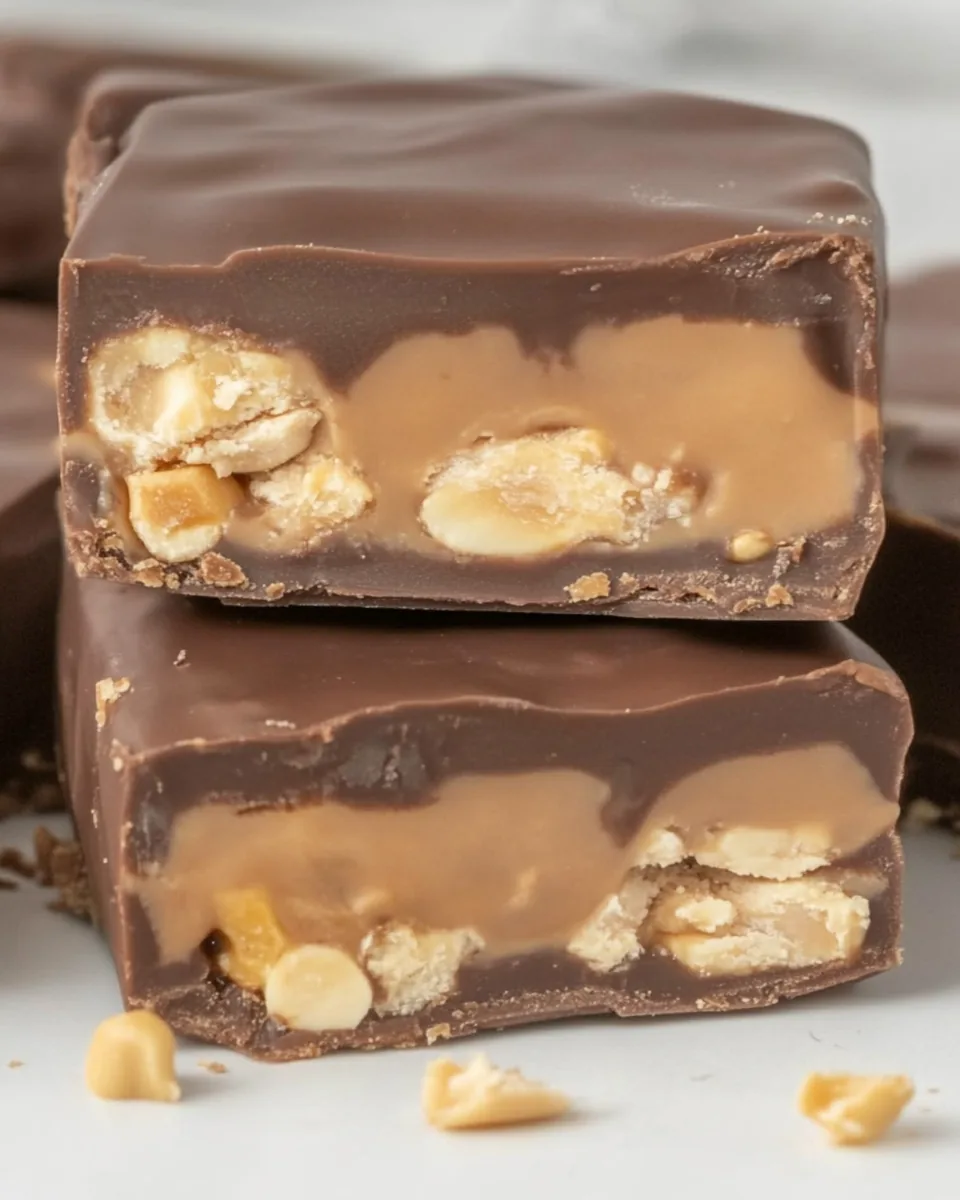
- 12 ounces of chocolate (divided): Used both in the layers and for coating, it adds a decadent finish.
- 7 ounces of caramels: These provide a chewy, gooey layer that enhances the overall texture and flavor.
- 3 tablespoons of milk: Helps to melt the caramels smoothly for easy pouring.
Cooking Method for Mars Bars
Making Mars Bars is a delightfully hands-on process that results in an indulgent treat. Gather your ingredients, and let’s get started!
Begin by lining an 8 x 8-inch pan with parchment paper and set it aside. This step ensures that your Mars Bars come out easily without sticking.
In a microwave-safe bowl or on the stovetop, melt half of the chocolate. Keep an eye on it to prevent burning, stirring frequently until it’s smooth and glossy.
Once melted, pour the chocolate into the lined pan, spreading it evenly across the bottom. This chocolate layer sets the foundation for your Mars Bars.
In a separate bowl, add the marshmallow fluff and Nutella. Microwave this mixture for 20 seconds to make it easier to combine. Whisk vigorously until it’s completely blended and creamy.
Pour the marshmallow fluff and Nutella mixture over the melted chocolate in the pan, spreading it evenly to create a beautiful second layer.
In another bowl, unwrap the caramels and add them along with the milk. Microwave for 30 seconds, then stir until everything is melted and combined. The mixture should be silky and smooth.
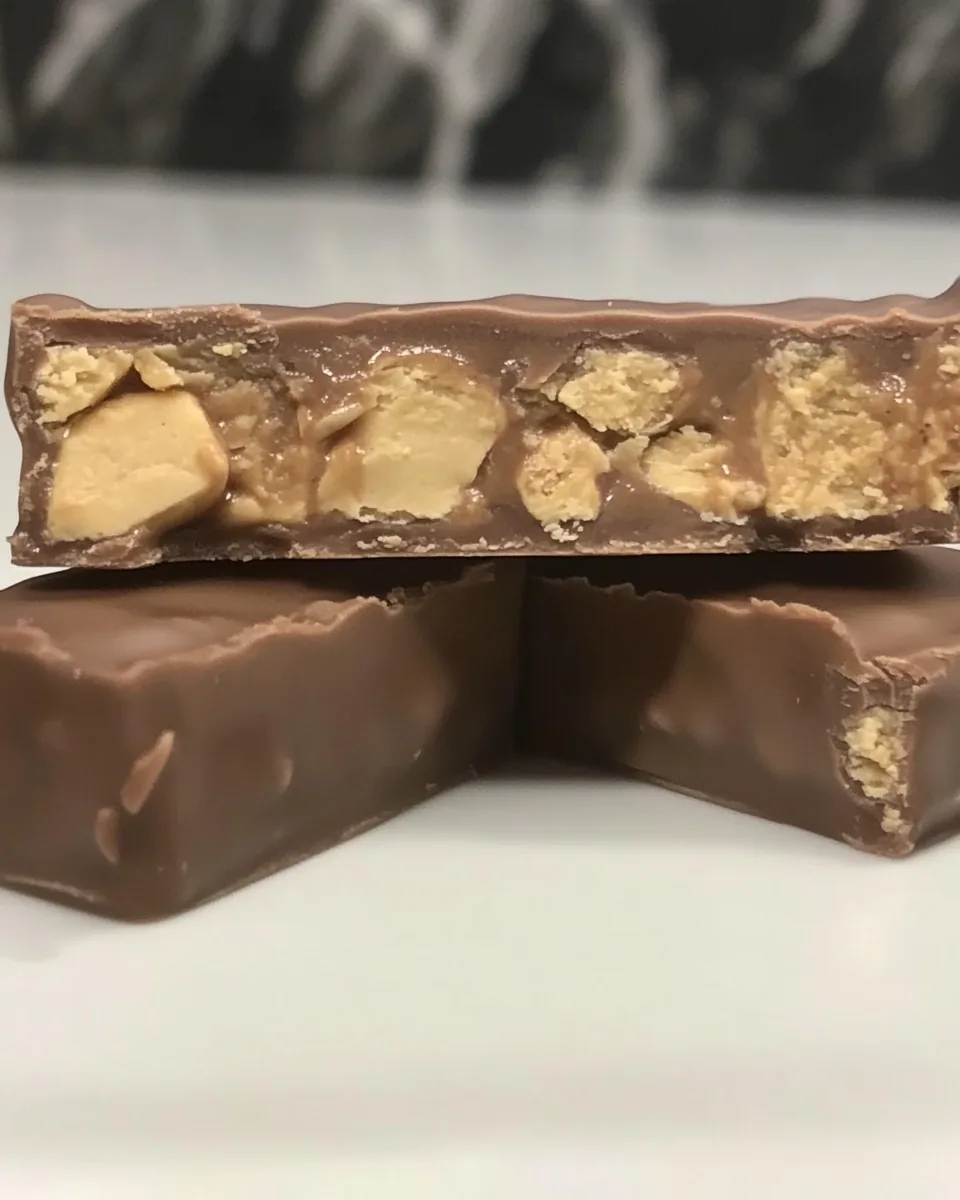
Pour the caramel mixture over the marshmallow fluff layer, ensuring it’s evenly distributed. If you’re using peanuts, sprinkle them over the top for a delightful crunch.
Now, it’s time to let your creation firm up. Place the pan in the freezer for 1 to 2 hours. This will help the layers set beautifully.
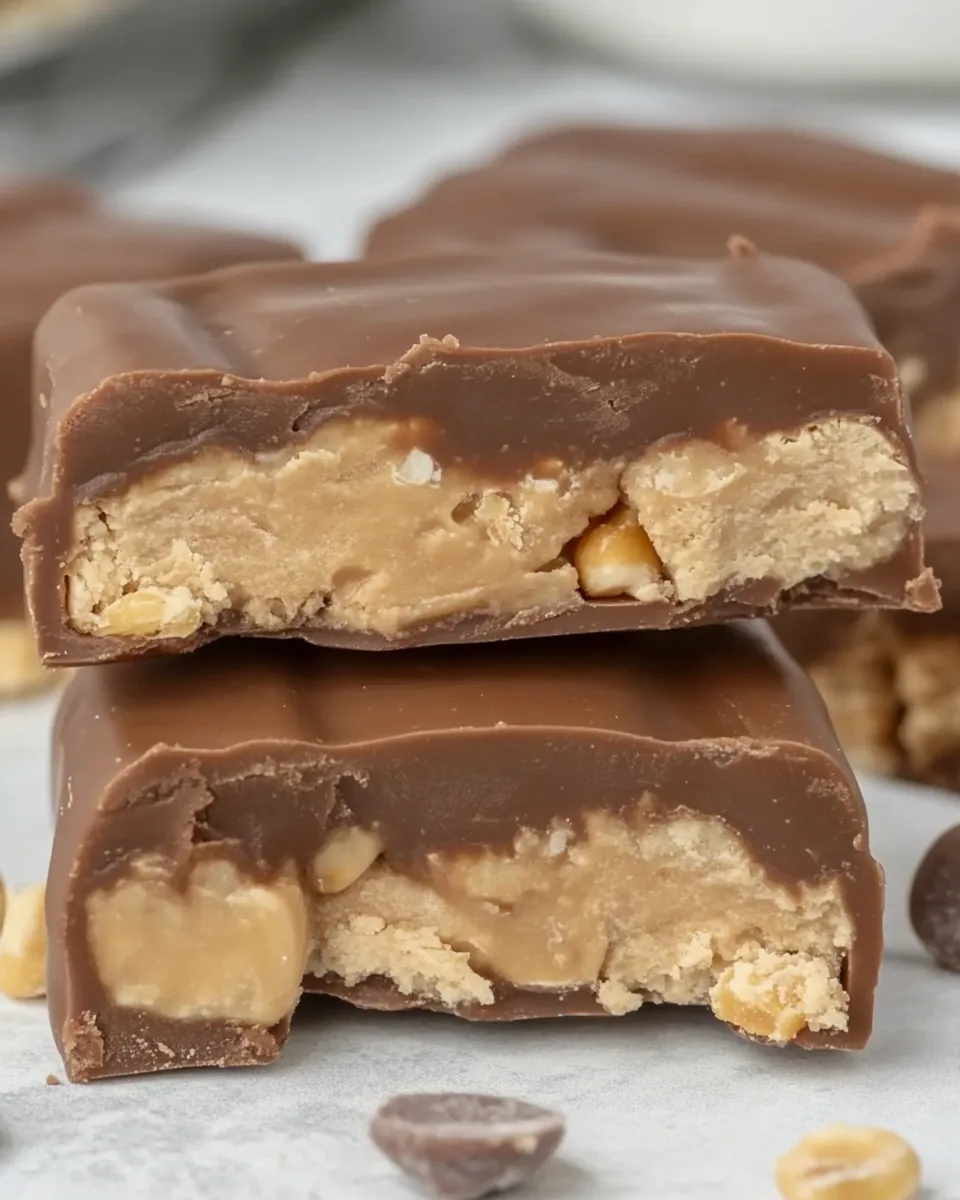
Once firm, remove the pan from the freezer and cut into bars. The Mars Bars should hold their shape well.
Next, melt the remaining chocolate. Using two forks, dip each bar into the chocolate until it’s fully coated. This final touch adds a luscious outer layer.
Place the chocolate-covered bars on a wire rack to firm up. Allow them to cool completely before indulging!
Things Worth Knowing
- It’s important to ensure that your chocolate is smooth and fully melted before pouring it into the pan. This helps in creating a solid base.
- Whipping the marshmallow fluff and Nutella together until creamy is key to achieving that delicious fluffy texture.
- Letting your Mars Bars sit in the freezer is crucial for ensuring they hold together when cut.
- Experiment with the caramel layer! You can try different flavors or brands for unique results.
Make It Your Own
There’s always room for creativity with Mars Bars. Here are some ideas to personalize your treat:
- Storage: Store your Mars Bars in an airtight container in the refrigerator for up to 1 week to keep them fresh.
- Freezing: You can freeze the bars in a freezer bag for up to 2 months. Just make sure to separate layers with parchment paper.
- Variations: Try adding different toppings like crushed cookies or sprinkles for a fun twist!
- Presentation: For special occasions, consider drizzling melted chocolate or caramel on top for a decorative touch.
- Serving: Pair your Mars Bars with a scoop of vanilla ice cream for an indulgent dessert experience!
What Complements This Mars Bars
- Side Dishes: Serve Mars Bars alongside fresh fruit or a light salad for a balanced treat.
- Occasions: These bars are fantastic for birthday parties, holiday gatherings, or simply as a delightful afternoon snack.
- Storage Tips: Keep them in a cool place to prevent melting; they’ll last longer that way.
- Seasonal Pairings: During the summer, serve with iced coffee or lemonade for a refreshing combo.
- Creative Serving: Cut them into smaller pieces for a fun dessert platter that everyone can enjoy!
FAQ
Conclusion
Mars Bars are not just a treat; they’re a journey back to childhood memories filled with sweetness and joy. The combination of rich chocolate, fluffy marshmallow, and gooey caramel creates a delightful experience that is hard to resist. I encourage you to try making these bars at home. Not only will you enjoy the process, but you’ll also create delicious moments that you can share with family and friends. So grab your ingredients and start creating your own batch of Mars Bars today!
Mars Bars
Equipment
- Frying Pan
- Whisk
Ingredients
- 7 ounces marshmallow fluff
- 2/3 cup Nutella
- 12 ounces chocolate divided
- 7 ounces caramels
- 3 tablespoons milk
Instructions
- Line an 8 x 8-inch pan with parchment paper and set aside.
- In a microwave-safe bowl or stovetop, melt half the chocolate. Pour it into the lined pan.
- In a separate bowl, add the marshmallow fluff and Nutella and microwave for 20 seconds. Whisk together and pour over the chocolate.
- In another bowl, add the unwrapped caramels with milk and microwave for 30 seconds or until melted. Whisk together then pour over the nougat layer. If using peanuts, sprinkle them over the top.
- Place the pan in the freezer for 1-2 hours to firm up.
- Once firm, cut into bars.
- Melt the remaining chocolate and, using two forks, dip the bars until completely coated in chocolate.
- Place the chocolate-covered bars on a wire rack to firm up.
Notes
- Storage: Store the bars in an airtight container in the refrigerator for up to 1 week.
- Freezing: Place the bars in a freezer bag and freeze for up to 2 months.