Marbled Christmas Butter Cookies
There’s something truly magical about the holiday season, and one of my favorite ways to celebrate is with Marbled Christmas Butter Cookies. These delightful cookies bring back memories of baking with my family, filling the kitchen with the warm aroma of butter and sugar. We would spend hours experimenting with colors and designs, turning simple ingredients into festive treats. The joy of rolling out the dough, cutting out shapes, and decorating each cookie with vibrant glazes is a cherished tradition. As we share these cookies with friends and family, every bite carries a piece of love and laughter that makes the holidays even more special.
Recipe Snapshot
20 mins
10 mins
10 mins
Hard
120 kcal
1 g
Vegan, Gluten-Free, Low FODMAP
5 g
Kitchen Scale(optional), Hand Mixer, Baking Sheet, Rolling Pin
Why You’ll Love This Marbled Christmas Butter Cookies
1. A Holiday Tradition
There’s something undeniably nostalgic about baking during the holidays. Each batch of Marbled Christmas Butter Cookies I make evokes memories of laughter, love, and the warmth of family gatherings. The process of creating these cookies isn’t just about the delicious outcome; it’s about the moments shared in the kitchen, which makes every cookie taste even sweeter.
2. Festive Colors
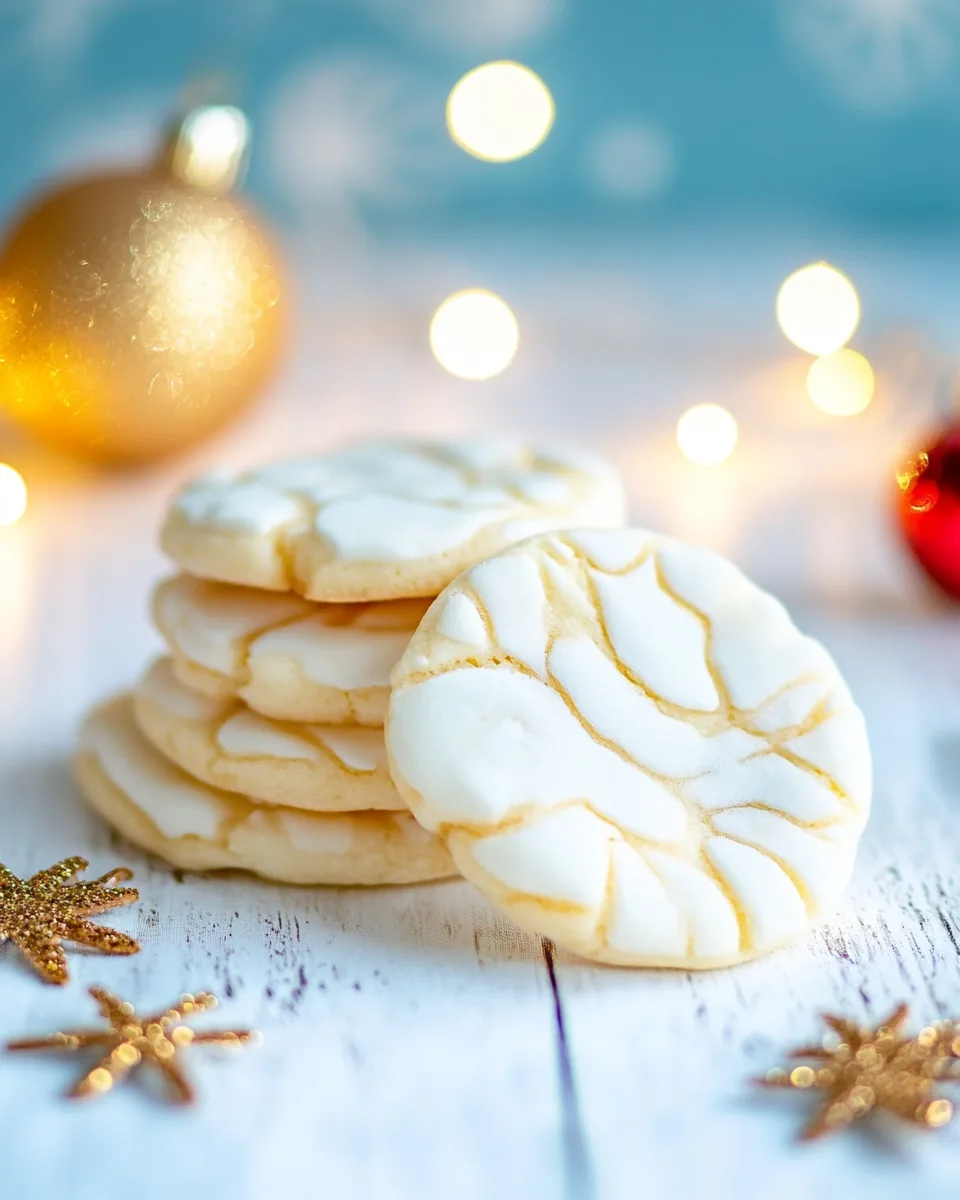
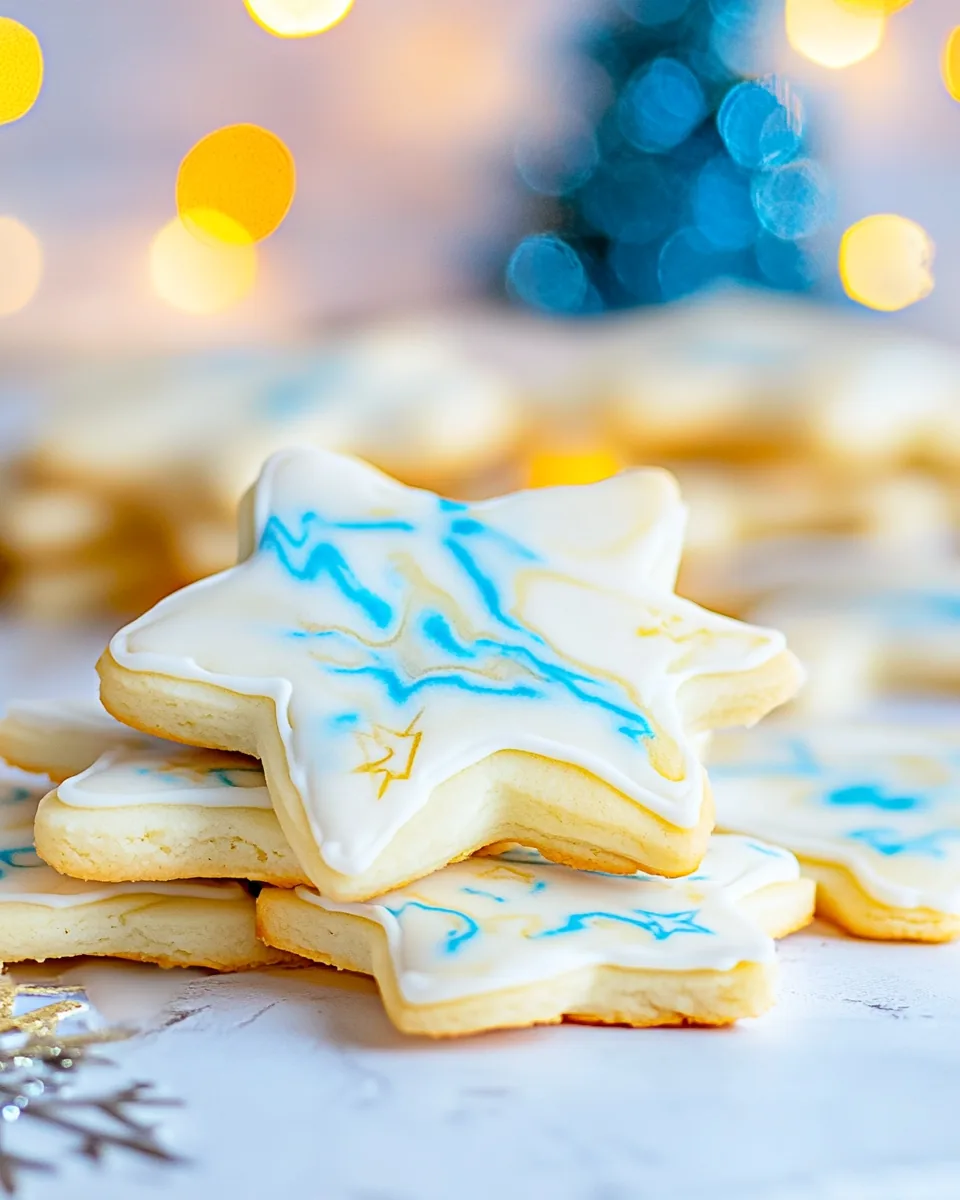
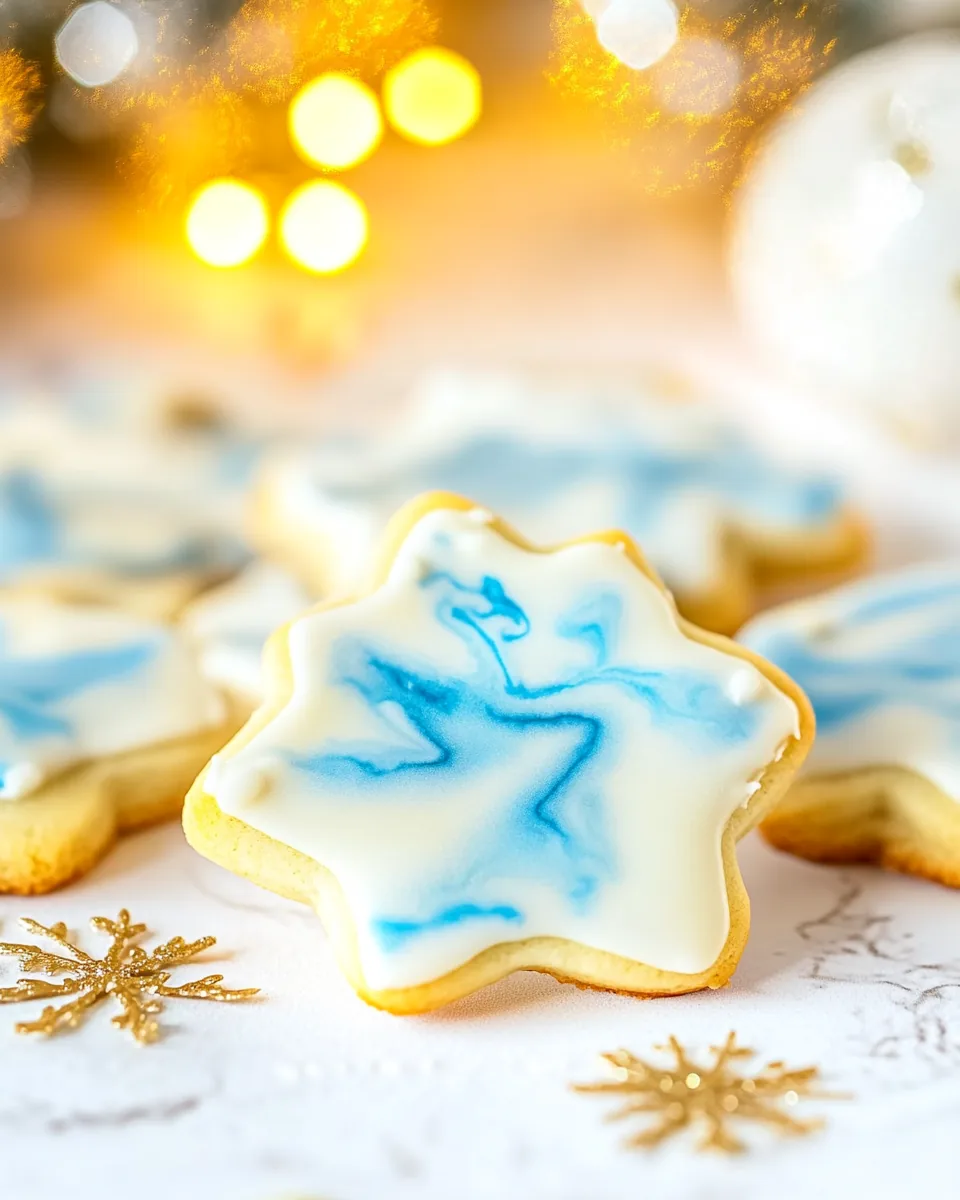
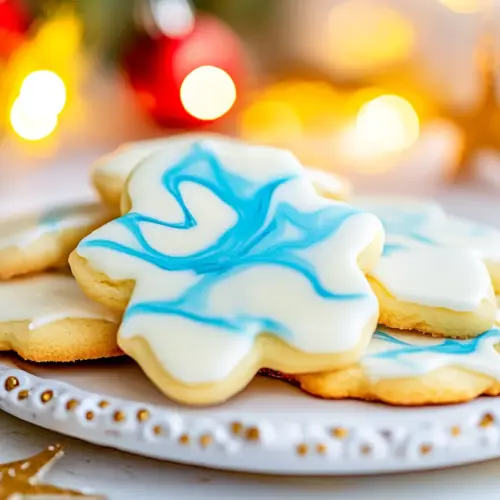
One of the standout features of these cookies is their vibrant, marbled appearance. Using a few drops of food coloring in the icing allows you to customize them for any occasion, making them perfect for Christmas parties or seasonal gatherings. This playful element adds a fun twist to traditional cookies, making them as pleasing to the eyes as they are to the palate.
3. Perfect for Gifting
What better way to spread joy during the holidays than with a beautifully packaged box of these cookies? Homemade gifts are always appreciated, and the Marbled Christmas Butter Cookies are no exception. Friends and family will adore receiving these treats, making them an excellent addition to your holiday gifting list.
4. Easy to Make
If you’re worried about complicated recipes, fear not! The beauty of these cookies lies in their simplicity. With just a handful of ingredients and straightforward steps, you can whip up a batch of Marbled Christmas Butter Cookies that look and taste like they came straight from a bakery—no prior baking experience required!
5. Endless Variations
The versatility of this recipe is one of its best features. You can experiment with different flavors in the glaze or add spices to the cookie dough. Whether you choose traditional flavors or get creative with unique combinations, each batch can be a new adventure in baking.
6. A Tasty Treat for All
These cookies aren’t just for the holiday season; they can be enjoyed year-round. Whether it’s a birthday party, a summer barbecue, or just a sweet treat for yourself, the Marbled Christmas Butter Cookies are a delightful choice that everyone will love!
Everything You Need for Marbled Christmas Butter Cookies
Understanding the ingredients in your baking can make all the difference in the world. The combination of unsalted butter, granulated sugar, and all-purpose flour creates a rich and tender cookie that melts in your mouth. Adding powdered sugar for the glaze gives it that essential sweetness while allowing you to play with colors and designs. Let’s dive into the ingredients that make this recipe a standout!
- 1 cup unsalted butter (226 grams, room temperature): This is the base of your cookie dough, giving it a rich flavor and soft texture.
- ⅔ cup granulated sugar (135 grams): This sweetens the dough and helps create a nice golden color when baked.
- 1 large egg (50 grams, room temperature): It binds the ingredients together and adds moisture.
- 1 teaspoon pure vanilla extract (4 grams): Enhances the overall flavor of the cookies.
- ¼ teaspoon almond extract (1 gram): Adds a lovely nutty flavor that complements the butter.
- 1 teaspoon lemon or orange zest (2 grams, optional): Brightens the cookies with a hint of citrus.
- 2¼ cups all-purpose flour (295 grams): The main structure of the cookies.
- ½ teaspoon kosher salt: Balances the sweetness and enhances flavor.
- 4 cups powdered sugar (452 grams): Essential for the glaze, giving it that sweet and creamy texture.
- 6 tablespoons white corn syrup (117 grams, divided): Helps create a smooth glaze and adds shine.
- ½ cup water (114 grams, divided): Used for adjusting the glaze consistency.
- ¾ teaspoon almond extract (3 grams, divided): For flavoring the glaze.
- Food coloring: Used to create vibrant designs on your cookies.
Step by Step Instructions for Marbled Christmas Butter Cookies
Making Marbled Christmas Butter Cookies is a delightful journey filled with creativity and deliciousness. Follow these steps closely to ensure your cookies turn out perfectly!
- Begin by combining unsalted butter and granulated sugar in a large bowl. Using a hand mixer, beat them together until the mixture becomes lighter in color and fluffy, which should take about 3 to 4 minutes. This step is crucial as it incorporates air into the mixture, resulting in a light cookie texture.
- Next, beat in the large egg, pure vanilla extract, almond extract, and lemon or orange zest (if you’re using it) until everything is well blended. Your batter should have a smooth consistency.
- In a separate bowl, whisk together the all-purpose flour and kosher salt. This helps to evenly distribute the salt throughout the flour.
- Slowly add the flour mixture to the butter mixture all at once, mixing on low speed until just incorporated. Be careful not to overmix; you want a dough that holds together but isn’t tough.
- Prepare your workspace by laying out a baking sheet with parchment paper and sprinkling a little flour on top. This will prevent your dough from sticking.
- Divide the dough into two equal portions (more if doubling the recipe). Shape one portion into a disc. Remember to keep your hands lightly floured to avoid sticking.
- Place the disc on the floured paper and roll it out gently into a rectangle or oval that is about ¼ inch thick. Use cookie cutters to cut out shapes from the dough.
- Transfer the cut-out cookies to the prepared baking sheets. Make sure to space them apart to allow for spreading during baking.
- Cover the baking sheets tightly with plastic wrap and refrigerate the cookies for at least 2 hours, or overnight if possible. This helps the cookies maintain their shape while baking.
- Preheat your oven to 350°F (175°C). Once the cookies are chilled, space them out on parchment-lined cookie sheets and bake for about 10 minutes, or until the edges just begin to turn golden brown.
- Remove the cookies from the oven and let them cool on the baking sheet for a few minutes before transferring them to a cooling rack. This is important so that they don’t break.
- Once cool, it’s time for the fun part—decorating! In a large mixing bowl, add powdered sugar and turn the hand mixer to the lowest speed.
- In a separate measuring cup, mix together corn syrup, water, and the remaining almond extract. Slowly drizzle in ½ cup of this mixture over the powdered sugar while mixing until smooth. The glaze should resemble sweetened condensed milk in consistency.
- Divide the glaze into smaller bowls for coloring. Start with a drop of food coloring and swirl it through the glaze. Be cautious not to overmix, as you want the marbling effect.
- To glaze a cookie, hold it by the edges and dip the top in the glaze. Allow any excess glaze to drip off into a second bowl for a few seconds before setting the cookie on a cooling rack.
- Let the glaze dry completely before storing the cookies in an airtight container. For best results, let them dry for 12 to 24 hours.
Things Worth Knowing
- Always use room temperature ingredients for better incorporation and a smoother dough.
- Vary the thickness of your rolled dough to achieve different textures in your cookies; thinner cookies will be crisper, while thicker ones will be chewy.
- When making the glaze, add food coloring slowly to ensure you achieve the desired shade without overpowering the glaze.
- Store the decorated cookies in a single layer to prevent smudging of the glaze.
Change It Up
If you’re feeling adventurous, why not explore some variations with your Marbled Christmas Butter Cookies? Here are some fun ideas to try!
- Storage: Store leftovers in an airtight container at room temperature for up to one week. This keeps them fresh and prevents them from becoming stale.
- Freezing: You can freeze the unbaked cookie dough for up to three months. Just thaw in the fridge overnight before baking.
- Flavor Variations: Experiment with different extracts such as peppermint or coconut to give your cookies a unique twist.
- Decorating Tips: Use sprinkles or edible glitter on top of the glaze for a festive touch.
- Cookie Shapes: Don’t limit yourself to traditional shapes; try hearts, stars, or holiday-themed cutters for a fun variation.
How to Enjoy Marbled Christmas Butter Cookies
- Perfect for Holiday Gatherings: Serve these cookies on a festive platter at your next Christmas party or holiday gathering.
- Great for Gifting: Package them in a decorative box or tin as a homemade gift for friends and family.
- Serve with Milk: Enjoy these cookies with a glass of cold milk or a warm cup of coffee for a delightful treat.
- Pair with Ice Cream: Crumble them over vanilla ice cream for a delicious dessert.
- Seasonal Treat: While they’re perfect for Christmas, they can also be enjoyed during other holidays or special occasions!
FAQ
Conclusion
The Marbled Christmas Butter Cookies are a joyous treat that embodies the festive spirit of the holidays. Their delightful taste and beautiful presentation make them a holiday favorite. I encourage you to gather your loved ones and try making these cookies together. You’ll create lasting memories and delicious treats that everyone will cherish during this special time of year.
Marbled Christmas Butter Cookies
Equipment
- Kitchen Scale(optional)
- Hand Mixer
- Baking Sheet
- Rolling Pin
Ingredients
- 1 cup Unsalted Butter 226 grams, room temperature
- ⅔ cup Granulated Sugar 135 grams
- 1 large Egg 50 grams, room temperature
- 1 teaspoon Pure Vanilla Extract 4 grams
- ¼ teaspoon Almond Extract 1 gram
- 1 teaspoon Lemon or Orange Zest 2 grams, optional
- 2¼ cups All-Purpose Flour 295 grams
- ½ teaspoon Kosher Salt
- 4 cups Powdered Sugar 452 grams
- 6 tablespoons White Corn Syrup 117 grams, divided
- ½ cup Water 114 grams, divided
- ¾ teaspoon Almond Extract 3 grams, divided
- Food Coloring Soft Gel Paste food color works best
Instructions
- Begin by combining unsalted butter and granulated sugar in a large bowl. Using a hand mixer, beat them together until the mixture becomes lighter in color and fluffy, which should take about 3 to 4 minutes. This step is crucial as it incorporates air into the mixture, resulting in a light cookie texture.
- Next, beat in the large egg, pure vanilla extract, almond extract, and lemon or orange zest (if you're using it) until everything is well blended. Your batter should have a smooth consistency.
- In a separate bowl, whisk together the all-purpose flour and kosher salt. This helps to evenly distribute the salt throughout the flour.
- Slowly add the flour mixture to the butter mixture all at once, mixing on low speed until just incorporated. Be careful not to overmix; you want a dough that holds together but isn’t tough.
- Prepare your workspace by laying out a baking sheet with parchment paper and sprinkling a little flour on top. This will prevent your dough from sticking.
- Divide the dough into two equal portions (more if doubling the recipe). Shape one portion into a disc. Remember to keep your hands lightly floured to avoid sticking.
- Place the disc on the floured paper and roll it out gently into a rectangle or oval that is about ¼ inch thick. Use cookie cutters to cut out shapes from the dough.
- Transfer the cut-out cookies to the prepared baking sheets. Make sure to space them apart to allow for spreading during baking.
- Cover the baking sheets tightly with plastic wrap and refrigerate the cookies for at least 2 hours, or overnight if possible. This helps the cookies maintain their shape while baking.
- Preheat your oven to 350°F (175°C). Once the cookies are chilled, space them out on parchment-lined cookie sheets and bake for about 10 minutes, or until the edges just begin to turn golden brown.
- Remove the cookies from the oven and let them cool on the baking sheet for a few minutes before transferring them to a cooling rack. This is important so that they don’t break.
- Once cool, it’s time for the fun part—decorating! In a large mixing bowl, add powdered sugar and turn the hand mixer to the lowest speed.
- In a separate measuring cup, mix together corn syrup, water, and the remaining almond extract. Slowly drizzle in ½ cup of this mixture over the powdered sugar while mixing until smooth. The glaze should resemble sweetened condensed milk in consistency.
- Divide the glaze into smaller bowls for coloring. Start with a drop of food coloring and swirl it through the glaze. Be cautious not to overmix, as you want the marbling effect.
- To glaze a cookie, hold it by the edges and dip the top in the glaze. Allow any excess glaze to drip off into a second bowl for a few seconds before setting the cookie on a cooling rack.
- Let the glaze dry completely before storing the cookies in an airtight container. For best results, let them dry for 12 to 24 hours.
Notes
- Tip 1: Store leftovers in an airtight container at room temperature for up to one week. This keeps them fresh and prevents them from becoming stale.
- Tip 2: You can freeze the unbaked cookie dough for up to three months. Just thaw in the fridge overnight before baking.
- Tip 3: Experiment with different extracts such as peppermint or coconut to give your cookies a unique twist.
- Tip 4: Use sprinkles or edible glitter on top of the glaze for a festive touch.
- Tip 5: Don't limit yourself to traditional shapes; try hearts, stars, or holiday-themed cutters for a fun variation.