Keto Sushi
When I first discovered Keto Sushi, I was skeptical. Sushi has always held a special place in my heart, but the idea of making a keto-friendly version felt daunting. I vividly remember sitting at my favorite sushi restaurant, savoring every bite of the delicate rolls, and suddenly longing for that experience again. That’s when I decided to experiment in my kitchen. I combined my love for sushi with my commitment to a low-carb lifestyle, and the result was nothing short of magical. The first bite was a revelation—flavorful, satisfying, and surprisingly simple! Now, whenever I crave sushi, I whip up my own batch of Keto Sushi to indulge without guilt. The joy of rolling my own sushi and personalizing it with my favorite ingredients is an experience I cherish.
Recipe Snapshot
12 mins
2 mins
10 mins
Medium
250 kcal
15 g
Whole30, Vegan, Gluten-Free
19 g
Chef’s Knife, Food Processor, Mixing Bowl
The Beauty of This Keto Sushi
1. It Fits My Lifestyle
One of the reasons I absolutely love Keto Sushi is that it aligns perfectly with my lifestyle. Following a keto diet can sometimes feel restrictive, but this dish allows for creativity. I can enjoy sushi without worrying about the carbs. Instead of traditional rice, I use fresh, chopped cauliflower, creating a delicious and low-carb alternative.
2. Endless Flavor Combinations
Another fantastic aspect of Keto Sushi is the variety of flavors I can incorporate. From fresh vegetables to a variety of proteins, the options are endless. I can mix and match ingredients based on what I have at home or what I’m in the mood for—salmon, avocado, cucumber, or even cream cheese! Each roll brings a new taste sensation that keeps me excited to prepare it again.
3. Fun to Make with Family
Making Keto Sushi isn’t just about the food; it’s an activity that brings my family together. We gather around the kitchen, rolling our sushi while sharing stories and laughter. It’s so rewarding to see everyone get involved, from the youngest to the oldest. We create our own unique rolls, and it’s a joy to watch everyone’s creativity unfold.
4. A Healthy Option for Gatherings
When hosting friends or family, I love serving Keto Sushi as a healthy appetizer. It’s a dish that surprises everyone, and they often can’t believe it’s keto-friendly! It sparks conversations and compliments, making it a hit at any gathering. Plus, it’s a fun talking point—who doesn’t love sushi?
5. Satisfying and Filling
Despite being low in carbs, Keto Sushi is incredibly satisfying. The combination of fresh ingredients, creamy sauces, and the crunch of vegetables makes each bite delightful. It fills me up without the heavy feeling that often comes with traditional sushi, making it the perfect option for lunch or dinner.
What Goes Into Keto Sushi
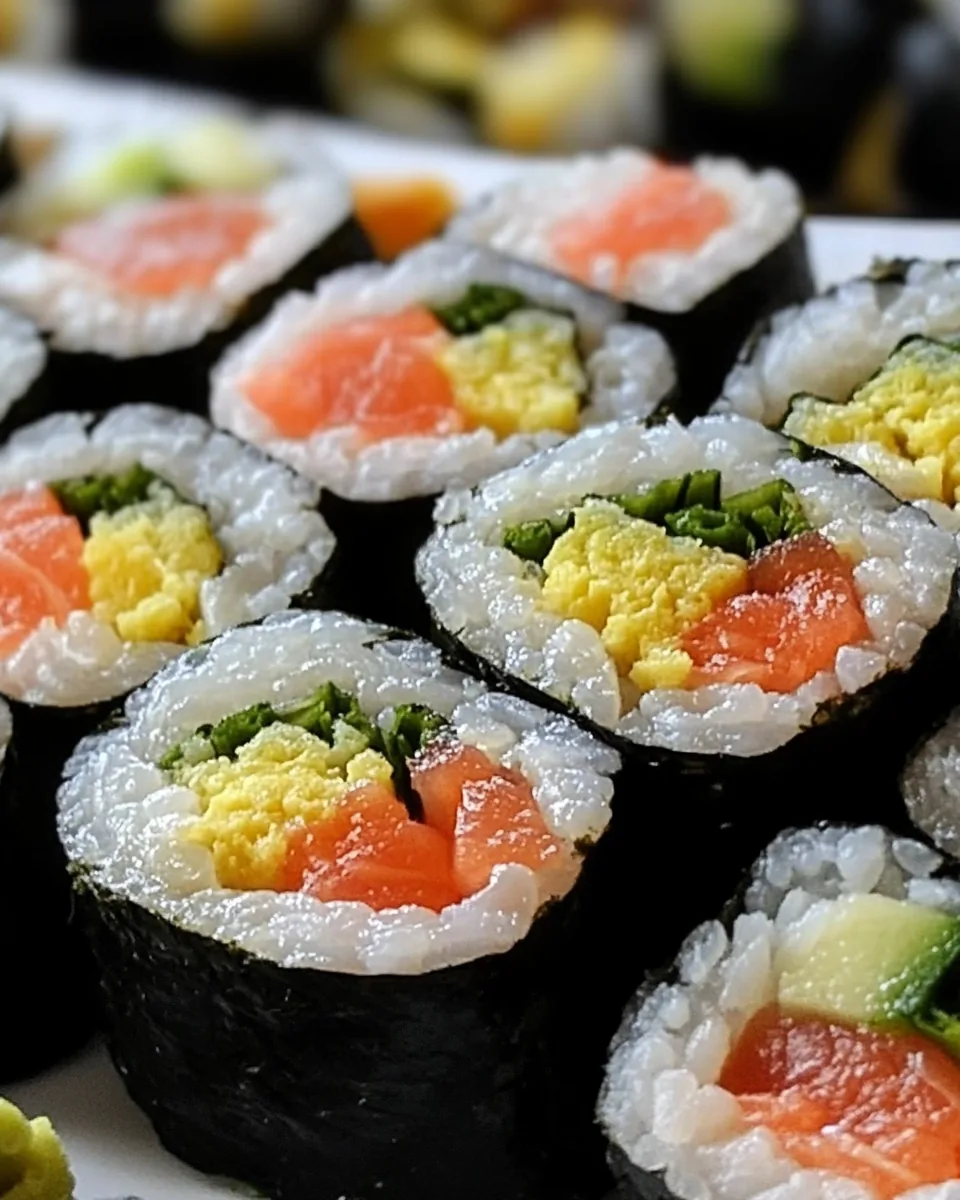
The ingredients for Keto Sushi are not only delicious but also work harmoniously together to create a fantastic flavor profile. At the heart of this dish is the humble cauliflower, which mimics the texture of rice perfectly. Paired with fresh salmon, crisp cucumber, and a splash of vinegar, each bite is a burst of freshness. Let’s dive into what you’ll need to create this delightful dish.
- 4 cups cauliflower florets – Chopped, approximately half a large cauliflower. This serves as the low-carb alternative to rice, providing a similar texture without the carbs.
- 1/2 teaspoon salt – Enhances the flavors of the ingredients and is essential for seasoning the cauliflower.
- 1 tablespoon white vinegar – Adds a tangy flavor that balances the dish and gives the cauliflower a sushi rice-like taste.
- 2 tablespoons sugar free powdered sugar – A subtle sweetness that complements the vinegar and rounds out the flavors beautifully.
- 2 sheets Nori – The traditional seaweed wrap that holds the sushi together, adding a unique umami flavor.
- 2 tablespoons mayonnaise – Adds creaminess and richness, a perfect contrast to the fresh ingredients.
- 1/4 cup sushi grade salmon – Or any protein of your choice. It provides a rich flavor and healthy fats, essential for a balanced dish.
- 1/2 small cucumber – Sliced into strips for a refreshing crunch that brightens each bite.
- 1/8 teaspoon sesame seeds – A garnish that adds a nutty flavor and texture to the sushi.
- 1 serving wasabi – Optional for those who enjoy a spicy kick.
Making This Keto Sushi
Making Keto Sushi is as fun as it is delicious. The process is straightforward, and you’ll be amazed at how quickly you can whip it up once you have all your ingredients ready. Let’s get rolling!
- Begin by preparing your cauliflower. In a food processor, add your chopped cauliflower florets and pulse until it reaches the consistency of rice. This step is crucial, as it sets the foundation for your sushi.
- Next, transfer the cauliflower rice into a microwave-safe bowl and sprinkle with salt. Microwave for 4 to 5 minutes until soft and tender. This will help remove excess moisture, which is important for the texture.
- After microwaving, let the cauliflower cool completely. This is an essential step because adding ingredients to hot cauliflower can create a soggy mix. Once cooled, add the vinegar and powdered sugar to the bowl and mix until well combined.
- Now it’s time to construct your sushi! Place your Nori sheets on a flat surface. It’s important to work on a smooth surface to roll them tightly.
- Divide the cauliflower sushi rice amongst the two sheets, reserving about 1/4 of an inch around the perimeter. This will allow you to seal the rolls properly.
- Spread mayonnaise on each roll. This adds a delightful creaminess that enriches the flavor of your sushi.
- Next, layer the salmon and cucumber on top of the mayonnaise. Feel free to be generous with the fillings—you want every bite packed with flavor!
- Sprinkle with sesame seeds for that extra crunch. If you’re feeling adventurous, add a thin layer of wasabi along the side for a spicy touch.
- Now comes the fun part: rolling! Start at one end and roll up each roll very tightly, using your fingers to keep the fillings in place. If any filling seeps out, don’t worry—just tuck it back in.
- Finally, using a sharp and slightly wet knife, slice the sushi into pieces. Wetting the knife helps to make clean cuts, ensuring each piece holds its shape beautifully.
Things Worth Knowing
- Fresh Ingredients: Always use fresh ingredients, especially the protein. Sushi-grade fish is essential for safety and flavor.
- Moisture Control: Make sure to remove excess moisture from the cauliflower to keep the sushi from becoming soggy.
- Rolling Technique: Practice your rolling technique. The tighter you roll, the better your sushi will hold together.
- Cut with Care: Use a sharp knife and wet it to get clean cuts through the sushi, preserving the fillings.
Customization Ideas
Customizing Keto Sushi is part of the fun! You can easily tailor each roll to suit your tastes or dietary needs. Here are some ideas to inspire your culinary creativity:
- Storage: Store leftover sushi in an airtight container in the fridge for up to 24 hours. However, it’s best enjoyed fresh.
- Freezing: Freezing is not recommended for sushi once made, as it can alter the texture of the ingredients.
- Pairing: Serve with a side of pickled ginger or a simple soy sauce alternative for dipping.
- Add Variety: Substitute proteins like shrimp or crab for different flavor profiles.
- Vegetable Variations: Incorporate other veggies like avocado or bell peppers for added flavor and texture.
- Spice it Up: Experiment with sauces and seasonings, such as sriracha or sesame oil, to elevate the flavor.
Best Served With
When it comes to serving Keto Sushi, the options are both delicious and versatile. Here are some great ideas:
- With a Side Salad: Pair your sushi with a fresh salad topped with sesame dressing for a refreshing contrast.
- As a Snack: These sushi rolls make a perfect snack or light lunch option, keeping you satisfied without feeling heavy.
- For Parties: Serve a platter of Keto Sushi at gatherings; it’s always a crowd-pleaser!
- With Green Tea: Enjoy your sushi with a warm cup of green tea to enhance the flavors.
- Occasions: Perfect for weekend lunch, dinner parties, or when you simply want a treat at home.
- Seasonal Pairing: In summer, consider adding refreshing herbs like mint or cilantro for a vibrant twist.
FAQ
Conclusion
Keto Sushi is a delightful twist on a classic dish that allows you to enjoy sushi without the carbs. With fresh ingredients and endless customization options, it truly stands out as a fun cooking activity for the whole family. Don’t hesitate to try making your own Keto Sushi; it’s a culinary adventure you won’t regret!

Keto Sushi
Equipment
- Chef's Knife
- Food Processor
- Mixing Bowl
Ingredients
- 4 cups cauliflower florets Chopped, approximately half a large cauliflower.
- 1/2 teaspoon salt
- 1 tablespoon white vinegar
- 2 tablespoons sugar free powdered sugar
- 2 sheets Nori
- 2 tablespoons mayonnaise
- 1/4 cup sushi grade salmon Or protein of choice.
- 1/2 small cucumber Sliced into strips.
- 1/8 teaspoon sesame seeds
- 1 serving wasabi Optional.
Instructions
- Begin by preparing your cauliflower. In a food processor, add your chopped cauliflower florets and pulse until it reaches the consistency of rice. This step is crucial, as it sets the foundation for your sushi.
- Next, transfer the cauliflower rice into a microwave-safe bowl and sprinkle with salt. Microwave for 4 to 5 minutes until soft and tender. This will help remove excess moisture, which is important for the texture.
- After microwaving, let the cauliflower cool completely. This is an essential step because adding ingredients to hot cauliflower can create a soggy mix. Once cooled, add the vinegar and powdered sugar to the bowl and mix until well combined.
- Now it’s time to construct your sushi! Place your Nori sheets on a flat surface. It’s important to work on a smooth surface to roll them tightly.
- Divide the cauliflower sushi rice amongst the two sheets, reserving about 1/4 of an inch around the perimeter. This will allow you to seal the rolls properly.
- Spread mayonnaise on each roll. This adds a delightful creaminess that enriches the flavor of your sushi.
- Next, layer the salmon and cucumber on top of the mayonnaise. Feel free to be generous with the fillings—you want every bite packed with flavor!
- Sprinkle with sesame seeds for that extra crunch. If you’re feeling adventurous, add a thin layer of wasabi along the side for a spicy touch.
- Now comes the fun part: rolling! Start at one end and roll up each roll very tightly, using your fingers to keep the fillings in place. If any filling seeps out, don’t worry—just tuck it back in.
- Finally, using a sharp and slightly wet knife, slice the sushi into pieces. Wetting the knife helps to make clean cuts, ensuring each piece holds its shape beautifully.