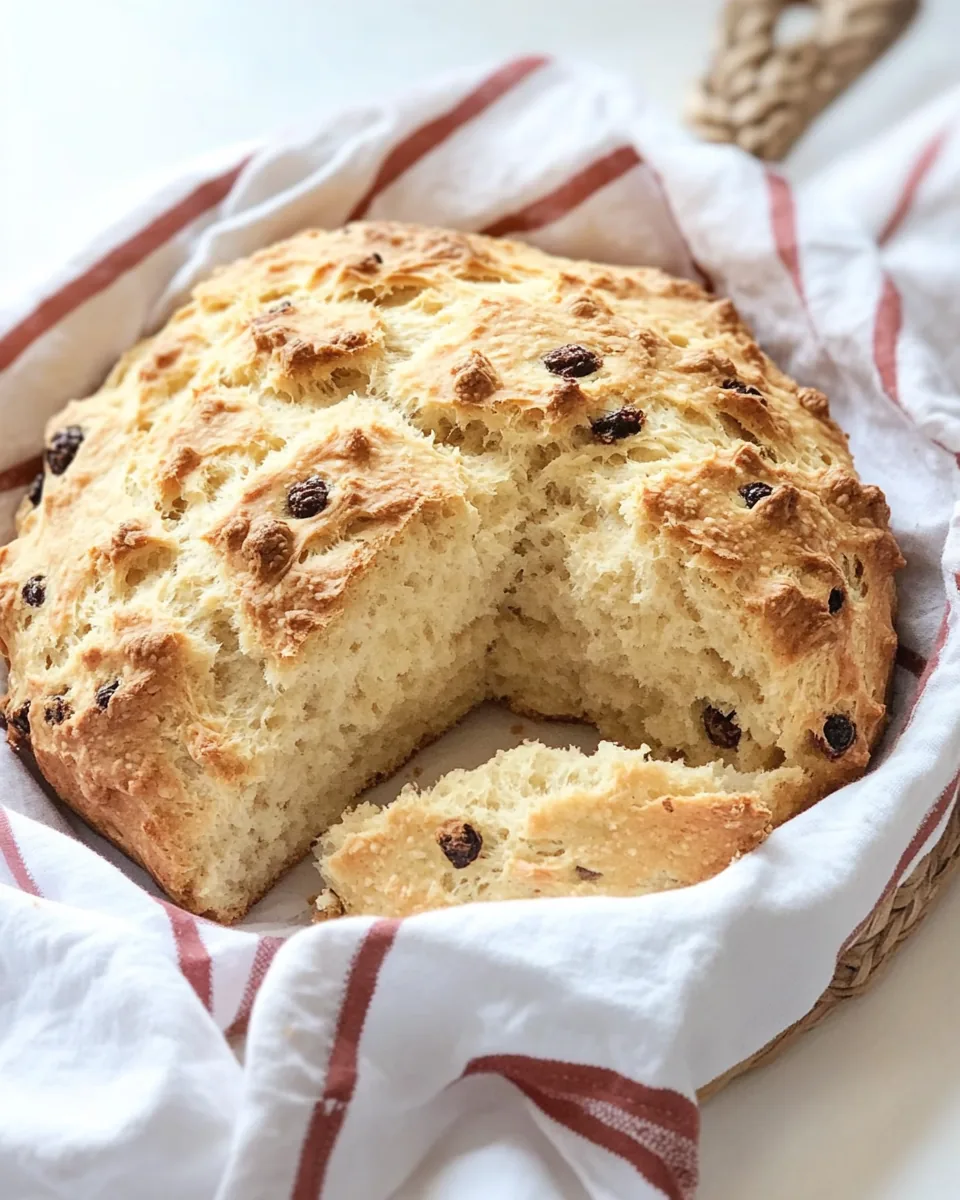
Irish Soda Bread
The Irish Soda Bread recipe holds a special place in my heart. I remember the first time I baked this bread, the aroma wafting through my kitchen was absolutely heavenly. It was a chilly afternoon, and I wanted something warm and comforting. The thought of fresh-baked bread immediately took me back to my grandmother’s kitchen, where she would whip up batches of this soft, crusty delight. As I mixed the ingredients, I could almost hear her voice guiding me, reminding me of the simple joys of cooking. The beauty of Irish Soda Bread lies in its simplicity. With just a few basic ingredients, you can create something truly extraordinary. There’s something magical about the way the baking soda reacts with the buttermilk, creating a light and fluffy texture. Baking this bread has become a cherished ritual for me, one that brings back fond memories, filling my home with warmth and nostalgia.
Recipe Snapshot
1 hr 15 mins
25 mins
50 mins
Medium
190 kcal
3 g
Vegan, Gluten-Free, AIP
7 g
Large sheet pan (15″ x 21″), 5-quart cast-iron pot, Parchment paper, Silicone baking mat
The Charm of This Irish Soda Bread
Quick and Easy
One of the reasons I absolutely adore Irish Soda Bread is how quick and easy it is to prepare. Unlike traditional yeast breads that require hours of rising, this bread mixes and bakes in under an hour. It’s perfect for when you’re short on time but still want to enjoy homemade goodness.
Unique Flavor Profile
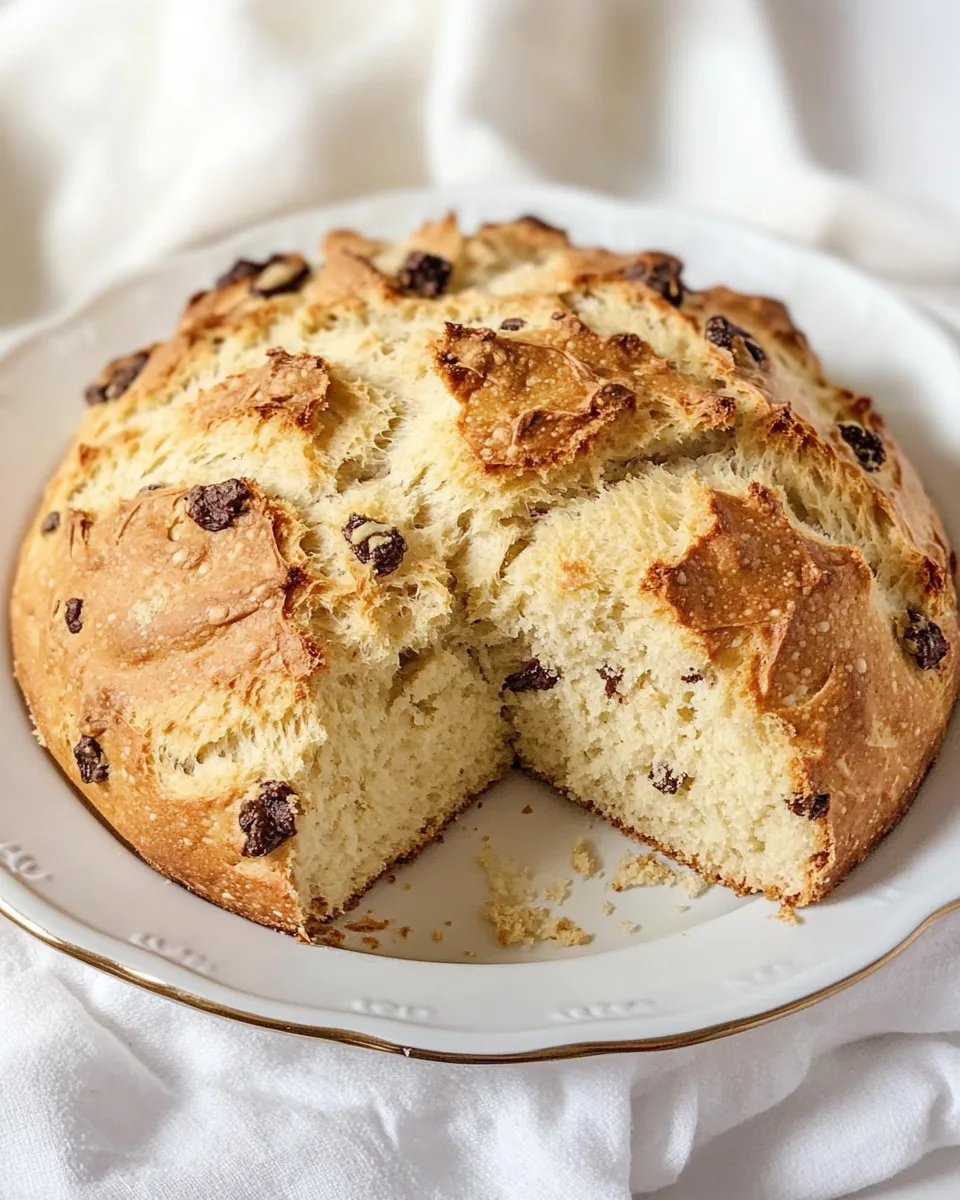
The combination of buttermilk and baking soda gives this bread a distinct flavor that’s both tangy and slightly sweet. It’s a delightful contrast to the rich butter that you can slather on top. Each bite is a heavenly experience, making it hard to stop at just one slice!
Versatile Pairing
Irish Soda Bread is incredibly versatile. Whether you enjoy it with a spread of butter and jam for breakfast, or alongside a hearty soup for dinner, it complements a wide range of dishes. It’s also fantastic for snacking on its own!
Tradition and Heritage
This bread is steeped in tradition, often associated with Irish culture. Making Irish Soda Bread is like connecting with centuries of history and family heritage. Each loaf you bake carries a piece of that story, making it not just a recipe, but a heartfelt experience.
Perfect for Sharing
There’s something about bread that brings people together. Baking a loaf of Irish Soda Bread is a wonderful way to share with family and friends. It’s perfect for gatherings or cozy nights in, inviting everyone to gather around the table and enjoy.
Irish Soda Bread Ingredients
When it comes to the ingredients for Irish Soda Bread, simplicity is key. Each component plays a crucial role in creating that perfect loaf. The richness of butter, the tang of buttermilk, and the softness of all-purpose flour come together in harmony.
- 8 tablespoons unsalted butter, melted: This adds richness and moisture.
- 1 and 3/4 cups buttermilk, divided: The key ingredient that reacts with baking soda for rise.
- 1 large egg: Provides structure and helps bind the ingredients together.
- 4 and 1/2 cups all-purpose flour, plus more for dusting: The main ingredient for the bread’s structure.
- 3 tablespoons granulated sugar: Adds sweetness.
- 2 and 1/2 teaspoons baking powder: Works with the baking soda for leavening.
- 1 teaspoon baking soda: Reacts with buttermilk for lift.
- 1 and 1/2 teaspoons salt: Enhances flavor.
- 1 cup raisins, soft and fresh: Adds sweetness and texture to the bread.
Recipe Steps for Irish Soda Bread
Making Irish Soda Bread is a straightforward process that yields delicious results. Let’s dive into these easy steps to create a warm, crusty loaf. Follow along, and soon, you’ll be enjoying the fruits of your labor!
- Preheat your oven to 425°F. This high temperature is essential for creating that perfectly crispy crust. While the oven is heating, line a large sheet pan with parchment paper or use a silicone liner. You can also line a 5-quart cast-iron pot with parchment paper; both methods work beautifully!
- In a medium microwave-safe bowl, melt butter. Once melted, take it from the microwave and pour in 1 cup (237g) of cold buttermilk. Stir gently with a fork and set aside for about five minutes to allow it to cool slightly.
- In another medium bowl, add the remaining 3/4 cup (176g) of buttermilk and the large egg. Whisk these together until smooth. This mixture will add richness to your bread.
- In a very large bowl, combine all-purpose flour, granulated sugar, baking powder, baking soda, salt, and raisins. Use a whisk to mix these dry ingredients thoroughly until well combined. The raisins will add a lovely sweetness to every bite.
- Make a well in the middle of the dry ingredients. Pour in the buttermilk and egg mixture. Stir the butter and buttermilk mixture again and add that as well, stirring until small clumps form. You want this mixture to remain as clumpy as possible to create a tender crumb!
- Using a strong spatula or wooden spoon, mix the ingredients until just combined. Be cautious not to overmix; you want a light bread. When no streaks of flour remain, it’s time to knead!
- Sprinkle two tablespoons of extra flour onto a clean work surface. Scrape out all the dough right onto the flour and sprinkle it with two more tablespoons of flour. Gently knead the dough about six to eight times, bringing everything together into a smooth ball.
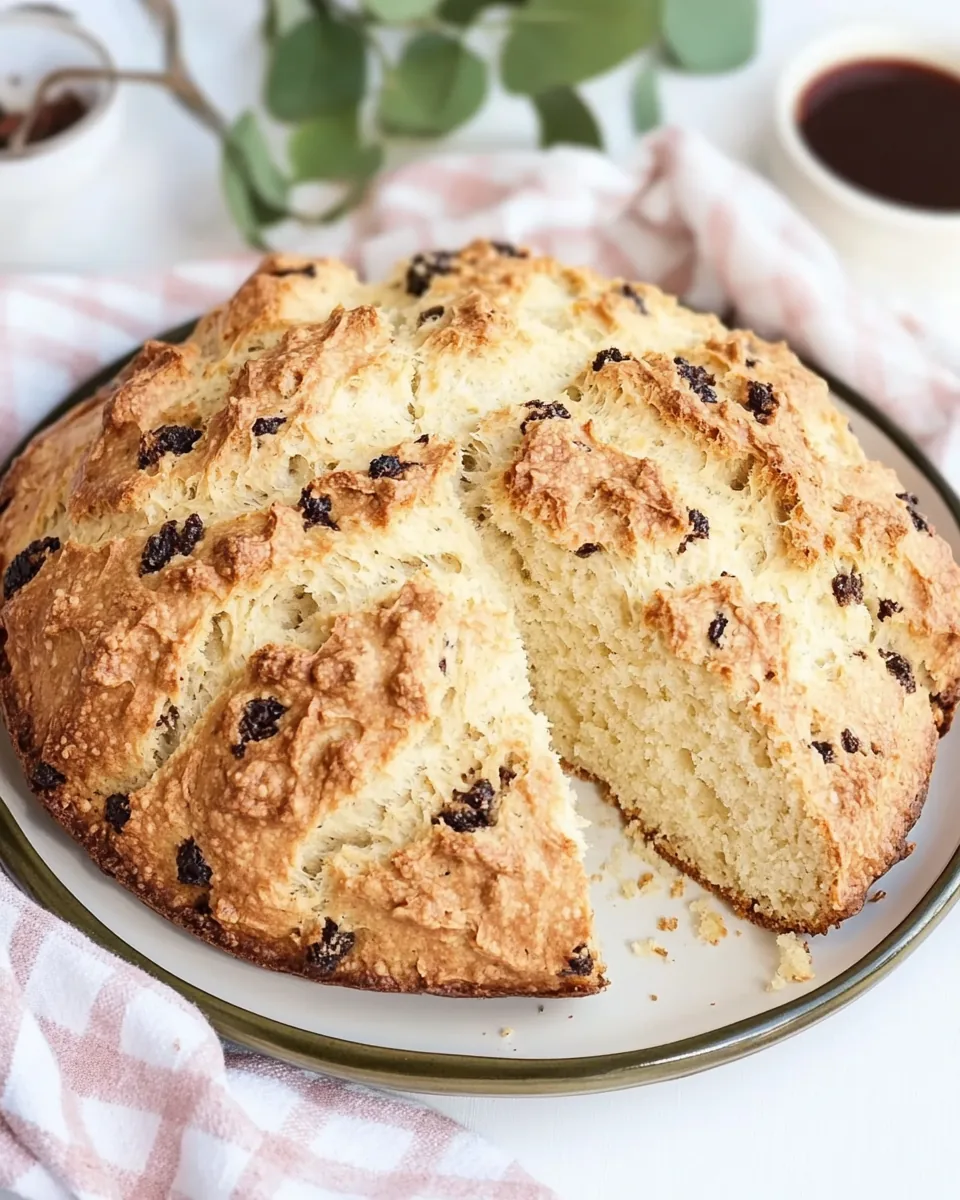
- Transfer the dough ball to the prepared pan or pot. Pat it down to about 1 and 1/2 inches in height. With a sharp serrated knife, cut an “X” across the surface about 1/4-inch deep. This allows the steam to escape while baking.
- Bake for 25 minutes in the preheated oven. After 25 minutes, do not open the oven door! Instead, reduce the temperature to 400°F and bake for another 20 to 30 minutes, or until the base sounds hollow when tapped in the middle. It usually takes about 25 minutes in my oven.
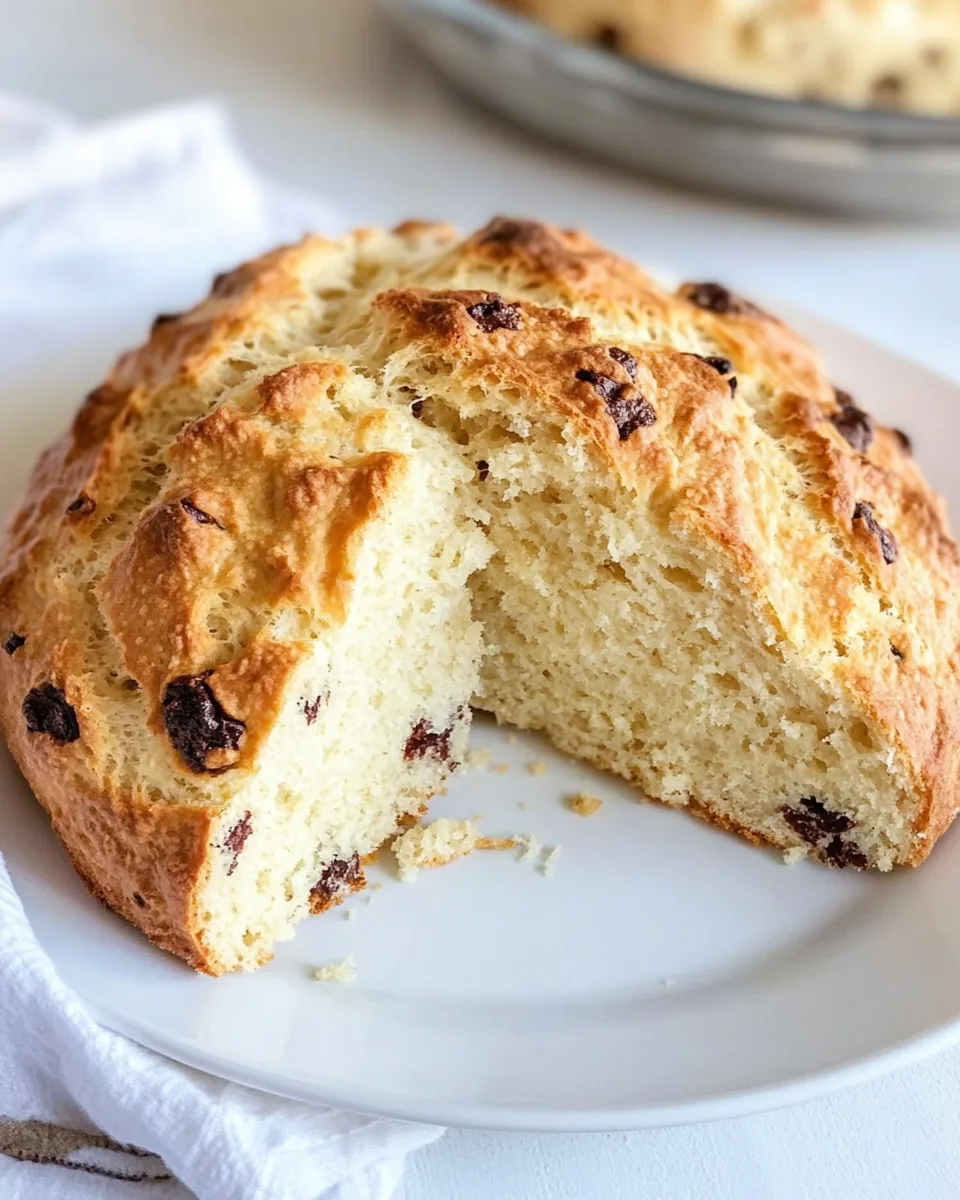
- Once done, remove the tray from the oven and allow it to rest for 10 minutes. Carefully transfer the bread to a wire cooling rack and let it cool for at least 30 minutes. This cooling period is essential as the steam continues to cook the bread inside!
Things Worth Knowing
- Buttermilk is Key: It’s essential for the rise and tenderness of your bread. Don’t substitute with regular milk.
- Don’t Overmix: Overworking the dough can lead to a dense loaf. Mix just until combined!
- Proper Cooling: Allowing the bread to cool properly ensures a better texture and flavor.
- Storage Tips: Store the bread in a cool, dry place in a container that allows for ventilation to prevent mold.
Make It Your Own
Even though the traditional Irish Soda Bread is amazing on its own, there are plenty of ways to make this recipe your own! Here are some fun tips to play around with ingredients and flavors.
- Add Herbs: Consider adding fresh herbs like rosemary or thyme to give your soda bread a unique flavor.
- Use Different Sweeteners: Instead of granulated sugar, you can try using honey or maple syrup for a more complex sweetness.
- Incorporate Seeds: Adding seeds like sunflower or pumpkin can introduce a delightful crunch and boost nutrition.
- Try Different Dried Fruits: Experiment with dried cranberries, apricots, or even citrus zest for a twist!
- Adjust the Flour: You can substitute some of the all-purpose flour with whole wheat flour for more fiber.
- Make Mini Loaves: Instead of one large loaf, divide the dough into smaller portions and bake them as mini loaves or rolls.
- Spices: Adding a pinch of cinnamon or nutmeg can give your bread a warm, cozy flavor.
Serving Options for Irish Soda Bread
There are countless ways to enjoy your freshly baked Irish Soda Bread. Here are some delightful serving suggestions:
- With Butter: Spread a generous amount of fresh butter on a warm slice for a classic combination.
- Jam or Honey: Pair your bread with your favorite jam or honey for a sweet breakfast treat.
- As a Side: Serve alongside hearty soups, stews, or salads for a comforting meal.
- Toast It: Try toasting slices for a crispy texture, perfect for breakfast or snacks.
- Bread and Cheese: Pair slices with a selection of cheeses for a delightful cheese board.
- At Gatherings: Bring to potlucks or family gatherings; it’s sure to be a hit!
- Seasonal Flavors: Around holidays, consider infusing festive flavors like cinnamon or dried cranberries.
FAQ
Conclusion
The Irish Soda Bread recipe is not just about baking; it’s about creating memories. It combines simplicity with tradition, resulting in a delicious loaf that everyone can enjoy. I encourage you to try making this bread yourself—its warm aroma and delightful flavor will surely become a cherished part of your cooking repertoire.
Irish Soda Bread
Equipment
- Large sheet pan (15″ x 21″)
- 5-quart cast-iron pot
- Parchment Paper
- Silicone baking mat
Ingredients
- 8 tablespoons unsalted butter melted
- 1 and 3/4 cups buttermilk divided
- 1 large egg
- 4 and 1/2 cups all-purpose flour plus more for dusting
- 3 tablespoons granulated sugar
- 2 and 1/2 teaspoons baking powder
- 1 teaspoon baking soda
- 1 and 1/2 teaspoons salt
- 1 cup raisins soft and fresh
Instructions
- Preheat your oven to 425°F. This high temperature is essential for creating that perfectly crispy crust. While the oven is heating, line a large sheet pan with parchment paper or use a silicone liner. You can also line a 5-quart cast-iron pot with parchment paper; both methods work beautifully!
- In a medium microwave-safe bowl, melt butter. Once melted, take it from the microwave and pour in 1 cup (237g) of cold buttermilk. Stir gently with a fork and set aside for about five minutes to allow it to cool slightly.
- In another medium bowl, add the remaining 3/4 cup (176g) of buttermilk and the large egg. Whisk these together until smooth. This mixture will add richness to your bread.
- In a very large bowl, combine all-purpose flour, granulated sugar, baking powder, baking soda, salt, and raisins. Use a whisk to mix these dry ingredients thoroughly until well combined. The raisins will add a lovely sweetness to every bite.
- Make a well in the middle of the dry ingredients. Pour in the buttermilk and egg mixture. Stir the butter and buttermilk mixture again and add that as well, stirring until small clumps form. You want this mixture to remain as clumpy as possible to create a tender crumb!
- Using a strong spatula or wooden spoon, mix the ingredients until just combined. Be cautious not to overmix; you want a light bread. When no streaks of flour remain, it’s time to knead!
- Sprinkle two tablespoons of extra flour onto a clean work surface. Scrape out all the dough right onto the flour and sprinkle it with two more tablespoons of flour. Gently knead the dough about six to eight times, bringing everything together into a smooth ball.
- Transfer the dough ball to the prepared pan or pot. Pat it down to about 1 and 1/2 inches in height. With a sharp serrated knife, cut an “X” across the surface about 1/4-inch deep. This allows the steam to escape while baking.
- Bake for 25 minutes in the preheated oven. After 25 minutes, do not open the oven door! Instead, reduce the temperature to 400°F and bake for another 20 to 30 minutes, or until the base sounds hollow when tapped in the middle. It usually takes about 25 minutes in my oven.
- Once done, remove the tray from the oven and allow it to rest for 10 minutes. Carefully transfer the bread to a wire cooling rack and let it cool for at least 30 minutes. This cooling period is essential as the steam continues to cook the bread inside!
Notes
- Tip 1: Buttermilk is key! It’s essential for the rise and tenderness of your bread. Don't substitute with regular milk.
- Tip 2: Don't overmix! Overworking the dough can lead to a dense loaf. Mix just until combined!
- Tip 3: Proper cooling is vital! Allowing the bread to cool properly ensures a better texture and flavor.
- Tip 4: Storage tips: Store the bread in a cool, dry place in a container that allows for ventilation to prevent mold.