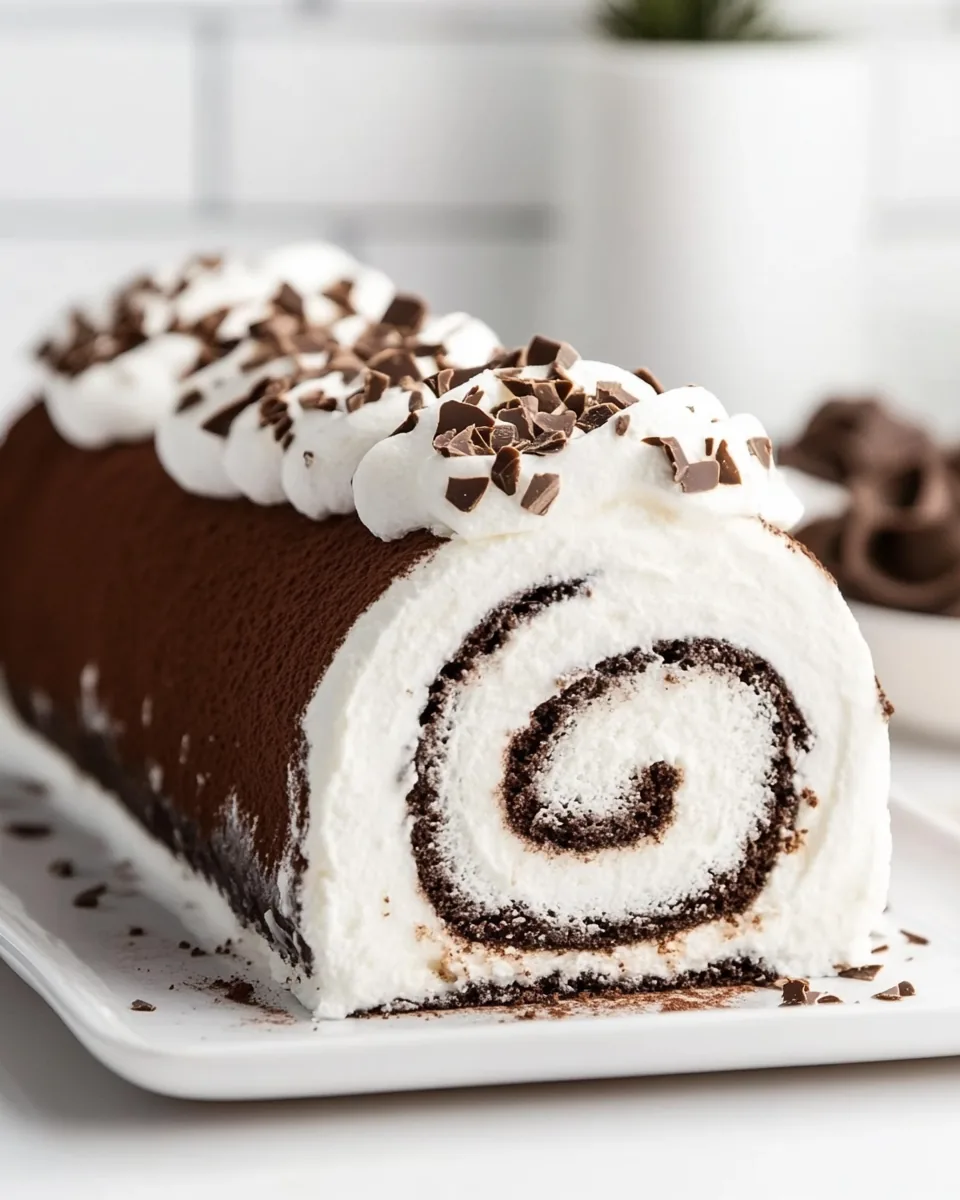
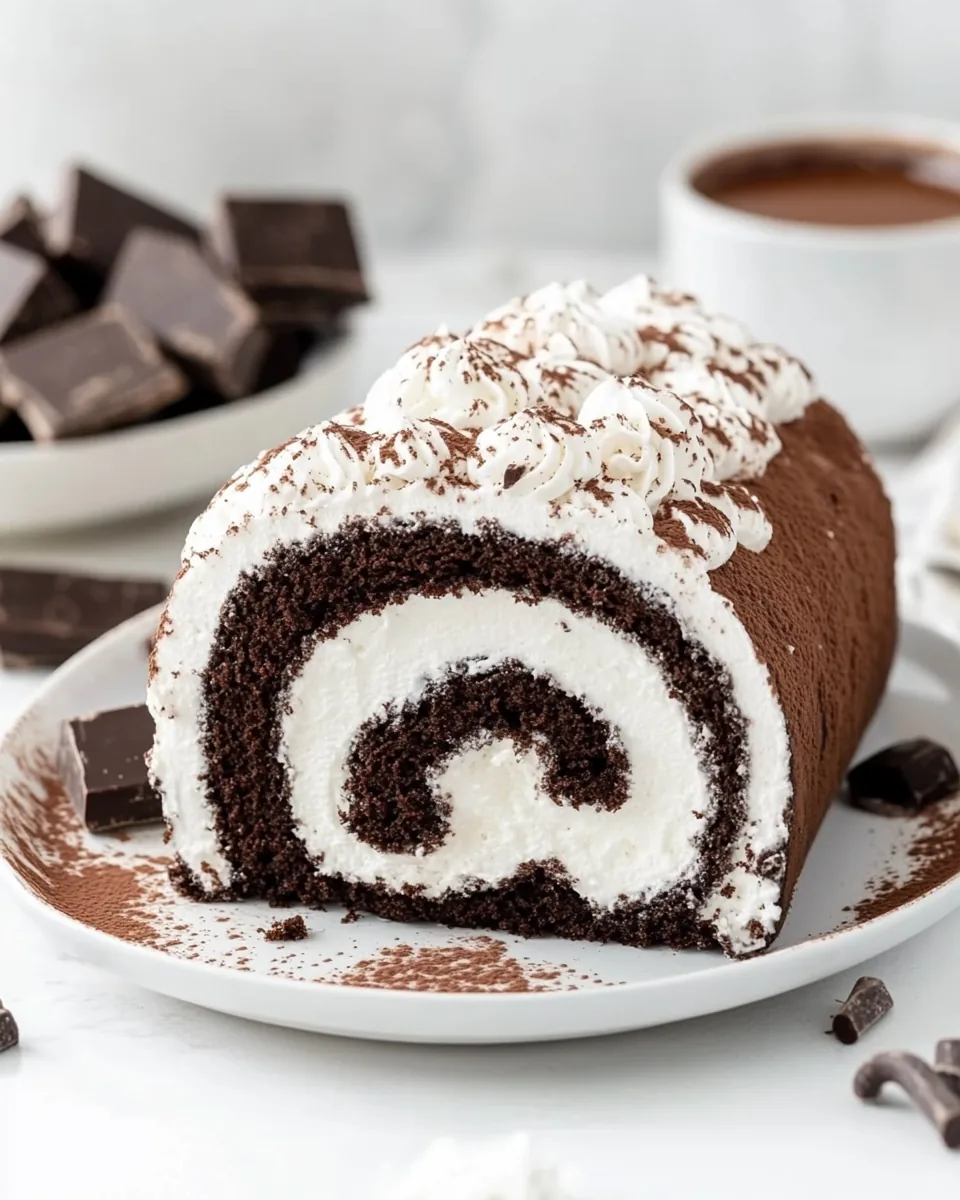
Hot Chocolate Roll Cake
The Hot Chocolate Roll Cake has been my go-to dessert for cozy winter gatherings. Picture this: a chilly evening, soft snowflakes dancing outside while the aroma of baking chocolate fills the air. I remember the first time I made this cake for a family get-together. Everyone was huddled around the kitchen, their eyes lighting up as I unrolled the cake to reveal that fluffy marshmallow filling. It’s not just dessert; it’s a way to gather people, to create warmth, and to share smiles. Everyone grabs a slice, and the delight is palpable. This cake is not just about flavor; it’s about the moments shared over comforting food, the laughter echoing in the kitchen, and the joy of bringing loved ones together.
Recipe Snapshot
35 mins
25 mins
10 mins
Hard
320 kcal
4g g
Gluten-Free, Low FODMAP
15g g
Frying Pan, Whisk, Oven, Peeler, Chef’s Knife, Mixing Bowl, Baking Sheet
Why This Hot Chocolate Roll Cake Stands Out
1. It’s a Crowd-Pleaser
The Hot Chocolate Roll Cake is a surefire hit at any gathering. People of all ages are drawn to its rich chocolatey goodness. The combination of flavors—from the soft cake to the creamy marshmallow filling—makes it irresistible. You’ll find that one slice is never enough!
2. Nostalgic Flavor
This recipe brings back childhood memories of sipping hot chocolate on snowy days. The rich cocoa flavor evokes warmth and comfort, reminding us of simpler times. Each bite transports you back to those cozy moments, making it a perfect treat for winter.
3. Easy to Make
You don’t have to be a baking expert to whip up this cake. The process is straightforward and can be done in under an hour, not including chilling time. With just a few basic ingredients like flour, eggs, and cocoa powder, you’re set to create a masterpiece!
4. Customizable
One of the best features of the Hot Chocolate Roll Cake is its versatility. You can adjust the filling, adding your favorite flavors or toppings, like nuts or different chocolates. This allows you to personalize the cake for any occasion.
5. Perfect for Winter Celebrations
This cake shines during the holiday season, especially around Christmas. Its festive appearance and flavors make it ideal for holiday parties or family gatherings, bringing joy and cheer to your table.
Ingredients for Hot Chocolate Roll Cake
Creating the Hot Chocolate Roll Cake starts with the perfect blend of ingredients that harmonize beautifully. Each component plays a vital role: the all-purpose flour provides structure, while the cocoa powder brings that deep chocolate flavor we all crave. The eggs add richness, and the marshmallow fluff lends a luscious sweetness that elevates the whole dessert. It’s a delightful combination that ensures your cake is both moist and flavorful.
- ½ cup all-purpose flour – This forms the base of your cake, providing structure and stability.
- ¼ cup unsweetened cocoa powder – Essential for that deep chocolate flavor, giving the cake its rich color.
- 1 tablespoon unsweetened cocoa powder – Extra cocoa powder enhances the chocolate notes.
- 1 teaspoon baking powder – Helps the cake rise, ensuring a light texture.
- ½ teaspoon salt – Balances the sweetness and enhances overall flavor.
- 4 large eggs (room temperature) – Adds richness and moisture, creating a tender cake.
- ½ cup granulated sugar – Sweetens the cake while aiding in the aeration with the eggs.
- 5 tablespoons vegetable oil – Ensures the cake stays moist and tender.
- 1½ teaspoons pure vanilla extract – Adds a warm flavor that complements the chocolate.
- Powdered sugar for dusting – Creates a beautiful finish and adds sweetness.
- ¾ cup salted sweet cream butter (softened) – Forms the base of your marshmallow buttercream filling.
- 1 teaspoon clear vanilla flavoring – Enhances the flavor of the frosting without altering the color.
- 7 ounces marshmallow fluff – This sweet, creamy filling is the star of the cake.
- 3 cups powdered sugar – Sweetens the filling and gives it a stable texture.
- 1 to 2 tablespoons half and half cream – Adjusts the consistency of the buttercream for easy spreading.
- 1 cup mini marshmallows – Added for texture and fun in the filling.
- Chocolate syrup (for drizzling) – Adds an indulgent touch on top of the cake.
- 1 cup mini marshmallows – Additional garnish for extra sweetness and texture.
How to Prepare Hot Chocolate Roll Cake
Making the Hot Chocolate Roll Cake is a fun and engaging process. With just a few steps, you’ll create a stunning dessert that will impress everyone at your gathering. Let’s dive into the delightful world of rolling cake!
Start by preheating your oven to 350°F. This is where the magic begins! Line a 10x15x1 jelly roll pan with parchment paper and lightly spray it with nonstick spray to prevent sticking. Ensure you cover all corners so the cake comes out easily later.
In a mixing bowl, combine the flour, cocoa powder, baking powder, and salt. Whisk together until they are fully integrated and set this dry mixture aside for later.
Now, in a stand mixer, or using a handheld mixer, beat together the eggs, granulated sugar, vegetable oil, and vanilla on high speed for about 5 to 6 minutes. Look for a frothy, pale yellow mixture that has doubled in volume. This aeration will give your cake a light texture.
Fold the dry mixture into the egg mixture gently. Be cautious to maintain the airiness you just created. You want to see a cohesive batter without any streaks of flour remaining.
Evenly pour the cake batter into the prepared pan. Use a silicone spatula or offset spatula to spread the batter smoothly. Bake for 10 to 12 minutes, keeping an eye on it as it rises and sets.
Once baked, remove the cake from the oven. Using a sharp knife, carefully run the tip along the edges of the pan to loosen the cake. This avoids tearing when you flip it out.
Dust a clean tea towel heavily with powdered sugar to prevent sticking. Place the towel, sugar side down, over the cake. With a large cutting board on top, quickly flip the pan over, so the cake lands on the towel.
Gently peel the parchment paper away from the cake. Dust the top of the cake with a little more powdered sugar to keep it from sticking to itself.
Starting from one short end, carefully roll the cake with the towel inside. This creates the shape of the roll and sets a memory for the cake while cooling. Set it aside to cool completely on a wire rack.
While the cake cools, let’s make the marshmallow buttercream filling! In a stand mixer, beat the softened butter and clear vanilla flavoring for about 1 to 1½ minutes until smooth and creamy.
Add the marshmallow fluff to the butter and beat for another minute until well combined. The mixture will become light and fluffy.
Lower the mixer speed to low and gradually add in the powdered sugar, alternating with the half and half. Continue mixing until you reach a smooth and spreadable consistency.
Once the cake has cooled completely, slowly unroll it. Don’t worry if there are minor cracks; it adds to the charm! Spread the marshmallow filling evenly over the top, leaving a slight border.
Sprinkle the mini marshmallows over the filling generously. Now it’s time to roll it back up! Start from one end, using gentle pressure as you roll the cake back into its original shape.
Wrap the rolled cake tightly in plastic wrap to hold its shape. Chill it in the refrigerator for at least 4 to 6 hours; this allows the flavors to meld beautifully.
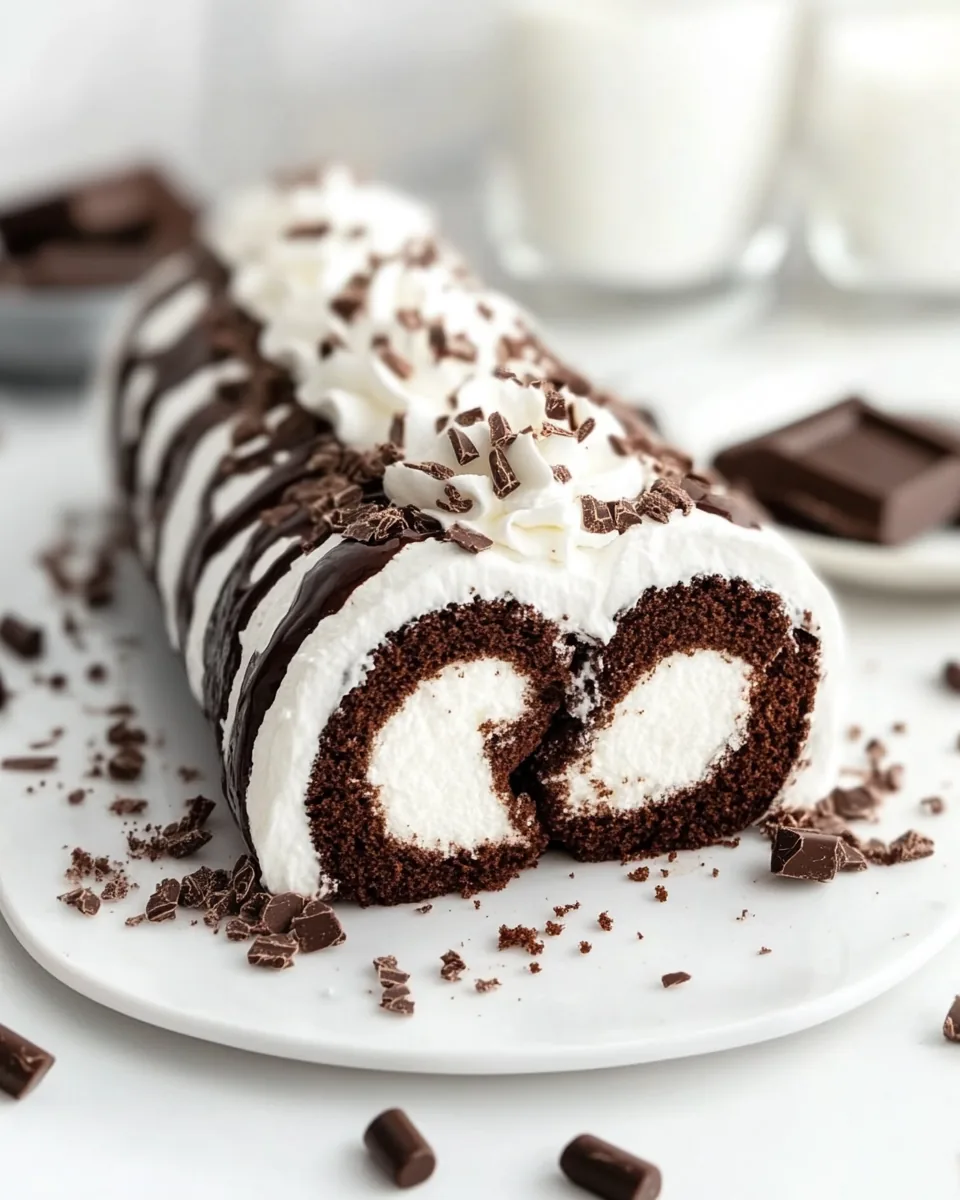
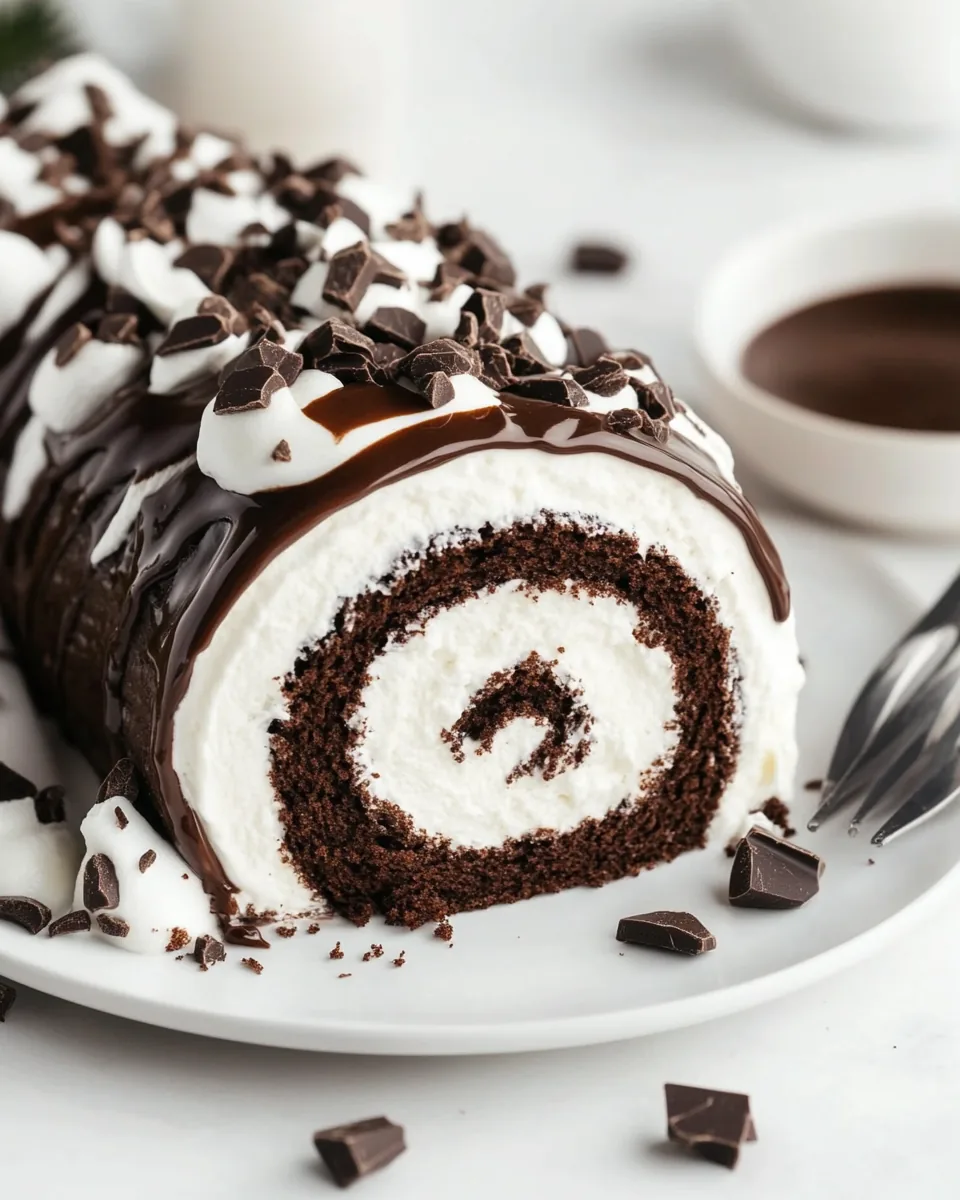
Once chilled, remove the cake from the fridge, drizzle with chocolate syrup, and add a few more mini marshmallows on top for decoration. Slice into ten ½-inch pieces and serve!
Things Worth Knowing
- Oven temperatures vary: It’s crucial to check your cake as the baking time approaches. Every oven behaves differently!
- Rolling Technique: Be patient when rolling and unrolling the cake. Rushing can lead to cracks in the cake.
- Chilling Time: Allowing the cake to chill ensures the filling sets properly, making the slices clean and intact.
- Serving Temperature: The Hot Chocolate Roll Cake can be served chilled or at room temperature, depending on your preference.
Making Adjustments
When it comes to the Hot Chocolate Roll Cake, there are plenty of ways to adapt and modify the recipe to suit your taste. Here are some adjustments you can make:
- Storage: Store any leftover cake tightly wrapped in the refrigerator to keep it moist.
- Freezing: You can freeze the rolled cake before slicing. Just wrap it well in plastic and foil.
- Pairing: This cake pairs wonderfully with a warm cup of cocoa or a scoop of vanilla ice cream.
- Variations: Experiment with different fillings, like strawberry or peanut butter, for a unique twist.
- Layered Cake: Consider slicing the cake into layers and adding whipped cream in between for an elevated dessert.
What Goes Well With This Hot Chocolate Roll Cake
Serving the Hot Chocolate Roll Cake can be just as delightful as making it. Here are some suggestions:
- Hot Beverages: It pairs perfectly with a cup of hot chocolate or coffee, enriching the chocolate experience.
- Ice Cream: A scoop of vanilla or mint ice cream on the side adds a creamy contrast to the cake.
- Whipped Cream: Top your slices with freshly whipped cream to bring a lightness to the rich chocolate.
- Fruit Compote: A warm berry compote can add a fresh, tangy element that balances the sweetness.
- Special Occasions: Ideal for holidays like Christmas or winter birthdays, this cake is festive and inviting.
- Storage Tips: If you have leftovers, simply cover the cake with plastic wrap to keep it fresh for up to three days.
FAQ
Conclusion
The Hot Chocolate Roll Cake is a delightful dessert that captures the spirit of winter and brings joy to any gathering. With its rich chocolate flavor and fluffy marshmallow filling, it’s sure to please everyone. I encourage you to try making it for your next family event or cozy night in. Enjoy the smiles and warmth it brings!
Hot Chocolate Roll Cake
Equipment
- Frying Pan
- Whisk
- Oven
- Peeler
- Chef's Knife
- Mixing Bowl
- Baking Sheet
Ingredients
- ½ cup all-purpose flour
- ¼ cup unsweetened cocoa powder
- 1 tablespoon unsweetened cocoa powder
- 1 teaspoon baking powder
- ½ teaspoon salt
- 4 large eggs (room temperature)
- ½ cup granulated sugar
- 5 tablespoons vegetable oil
- 1½ teaspoons pure vanilla extract
- Powdered sugar for dusting
- ¾ cup salted sweet cream butter (softened)
- 1 teaspoon clear vanilla flavoring
- 7 ounces marshmallow fluff
- 3 cups powdered sugar
- 1 to 2 tablespoons half and half cream
- 1 cup mini marshmallows
- chocolate syrup (for drizzling)
- 1 cup mini marshmallows
Instructions
- Start by preheating your oven to 350°F. This is where the magic begins! Line a 10x15x1 jelly roll pan with parchment paper and lightly spray it with nonstick spray to prevent sticking. Ensure you cover all corners so the cake comes out easily later.
- In a mixing bowl, combine the flour, cocoa powder, baking powder, and salt. Whisk together until they are fully integrated and set this dry mixture aside for later.
- Now, in a stand mixer, or using a handheld mixer, beat together the eggs, granulated sugar, vegetable oil, and vanilla on high speed for about 5 to 6 minutes. Look for a frothy, pale yellow mixture that has doubled in volume. This aeration will give your cake a light texture.
- Fold the dry mixture into the egg mixture gently. Be cautious to maintain the airiness you just created. You want to see a cohesive batter without any streaks of flour remaining.
- Evenly pour the cake batter into the prepared pan. Use a silicone spatula or offset spatula to spread the batter smoothly. Bake for 10 to 12 minutes, keeping an eye on it as it rises and sets.
- Once baked, remove the cake from the oven. Using a sharp knife, carefully run the tip along the edges of the pan to loosen the cake. This avoids tearing when you flip it out.
- Dust a clean tea towel heavily with powdered sugar to prevent sticking. Place the towel, sugar side down, over the cake. With a large cutting board on top, quickly flip the pan over, so the cake lands on the towel.
- Gently peel the parchment paper away from the cake. Dust the top of the cake with a little more powdered sugar to keep it from sticking to itself.
- Starting from one short end, carefully roll the cake with the towel inside. This creates the shape of the roll and sets a memory for the cake while cooling. Set it aside to cool completely on a wire rack.
- While the cake cools, let’s make the marshmallow buttercream filling! In a stand mixer, beat the softened butter and clear vanilla flavoring for about 1 to 1½ minutes until smooth and creamy.
- Add the marshmallow fluff to the butter and beat for another minute until well combined. The mixture will become light and fluffy.
- Lower the mixer speed to low and gradually add in the powdered sugar, alternating with the half and half. Continue mixing until you reach a smooth and spreadable consistency.
- Once the cake has cooled completely, slowly unroll it. Don’t worry if there are minor cracks; it adds to the charm! Spread the marshmallow filling evenly over the top, leaving a slight border.
- Sprinkle the mini marshmallows over the filling generously. Now it's time to roll it back up! Start from one end, using gentle pressure as you roll the cake back into its original shape.
- Wrap the rolled cake tightly in plastic wrap to hold its shape. Chill it in the refrigerator for at least 4 to 6 hours; this allows the flavors to meld beautifully.
- Once chilled, remove the cake from the fridge, drizzle with chocolate syrup, and add a few more mini marshmallows on top for decoration. Slice into ten ½-inch pieces and serve!
Notes
- Tip 1: Make sure you do not use any fabric softener when washing the tea towel. The fabric softener will transfer to the cake and cause the flavor to taste off.
- Tip 2: Oven temperatures vary and may need to be recalibrated periodically to ensure they are accurate. Keep a close eye on your cake as the suggested baking time approaches.
- Tip 3: It is very important to be patient when rolling and unrolling the cake. Rushing can cause cracks.
- Tip 4: After the cake roll has been in the refrigerator for at least 2 hours, you can transfer it to the freezer for 30 minutes before drizzling the chocolate syrup.
- Tip 5: When slicing the cake, be sure to clean the knife between slices to keep the layers intact.