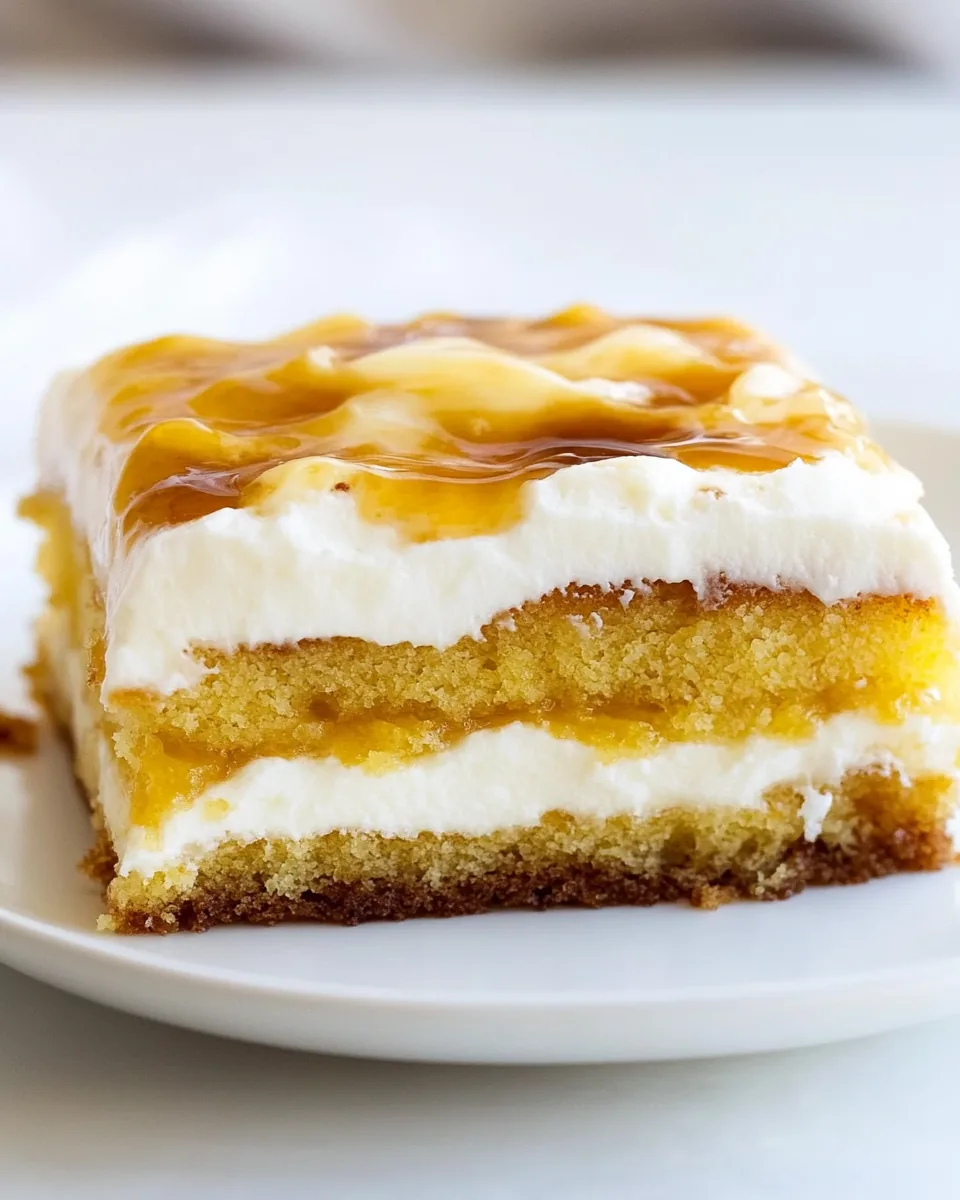
Honey Bun Poke Cake
There’s something magical about the combination of sweet flavors and moist textures in a Honey Bun Poke Cake. This cake has a special place in my heart, as it brings back memories of family gatherings where desserts were always the highlight. I remember my aunt making this cake for every birthday, holiday, and just because. The aroma of the cake baking would fill the house and create an atmosphere of warmth and togetherness. The anticipation of that first slice was almost unbearable, but once you dug in, the creamy topping and sweet cinnamon filling made it all worth the wait.
Recipe Snapshot
45 mins
10 mins
35 mins
Medium
350 kcal
4 g
Gluten-Free, Low FODMAP
15 g
Frying Pan, Whisk, Oven, Wooden Spoon, Mixing Bowl, Baking Sheet
Why This Honey Bun Poke Cake Is So Good
It’s Irresistibly Moist
When you eat a slice of Honey Bun Poke Cake, you’ll notice its incredible moisture. This cake is so tender, thanks to the combination of eggs and sour cream, which keeps it rich and fluffy. Every bite feels like a warm hug, making it a comforting dessert option for any occasion.
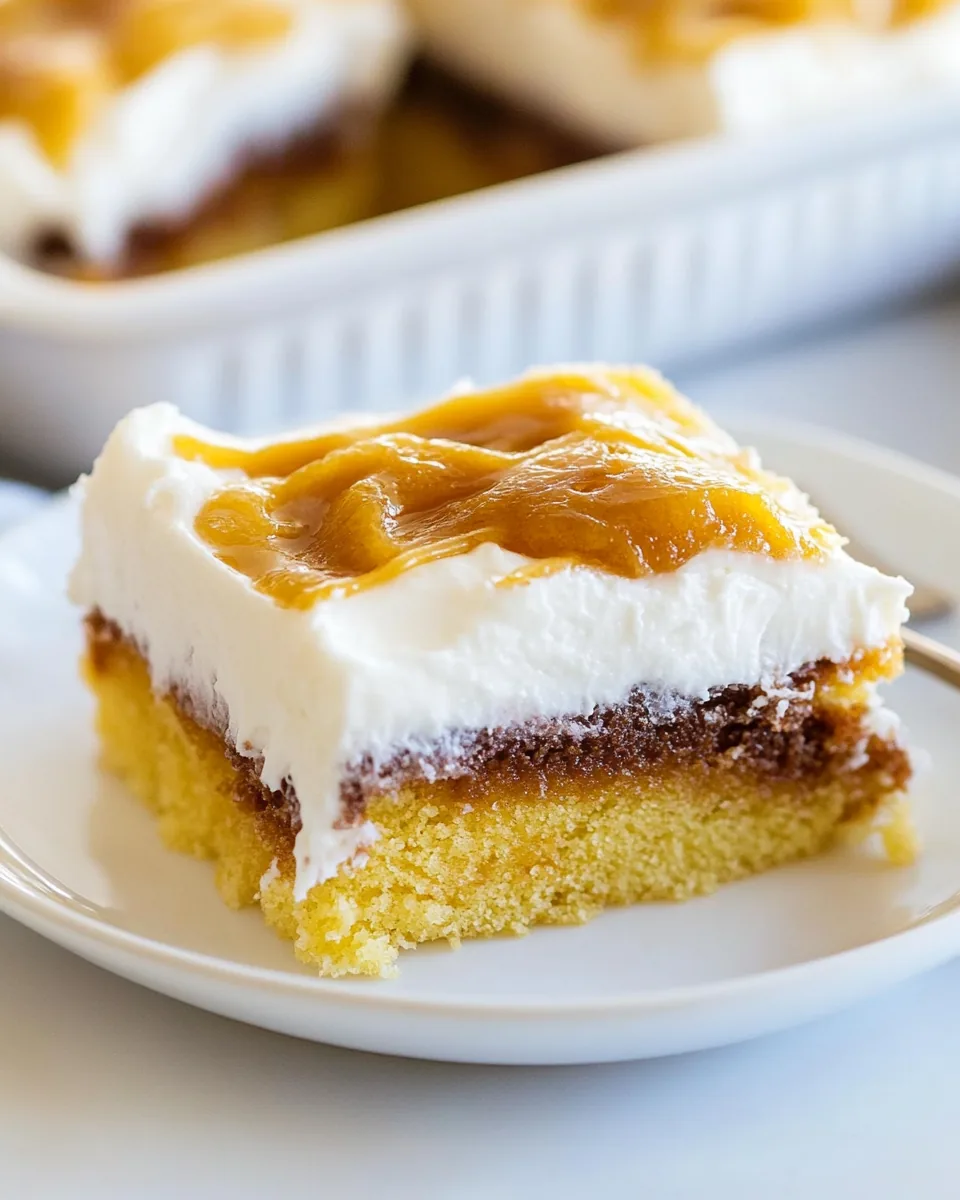
Cinnamon and Sugar Bliss
The unique twist in this cake lies in the cinnamon-sugar filling. As you cut into the cake, you’ll find delightful pockets of sweet flavor that elevate the entire experience. The cinnamon brings warmth, while the sugar adds just the right amount of sweetness, creating a perfect balance.
Easy to Make
One of the reasons I love this Honey Bun Poke Cake is how simple it is to make. You don’t need to be a professional baker to impress your friends and family. With just a few key ingredients and some basic steps, you can whip up this beauty in no time!
Perfect for Any Occasion
This cake is incredibly versatile. Whether it’s a holiday celebration, a potluck, or simply a cozy night in, the Honey Bun Poke Cake fits right in. Its flavor profile appeals to everyone, making it a crowd-pleaser.
Customizable Delight
Another fantastic aspect of this recipe is its adaptability. You can easily modify it to suit your taste. Want to add chocolate chips or nuts? Go for it! Each variation can make the cake feel new and exciting.
Delicious Leftovers
If, by some miracle, you have any leftovers, rest assured that they taste just as good the next day. The flavors continue to meld, making each bite even more irresistible.
Essential Ingredients for Honey Bun Poke Cake

The ingredients for Honey Bun Poke Cake are not just essential; they create a perfect blend of flavors and textures. Each component plays an important role, ensuring that the cake is moist and flavorful. Let’s take a closer look at the key players that come together to make this delicious dessert.
- 15.25-ounce box yellow cake mix: This is the base of our cake, providing sweetness and structure. It simplifies the process while still delivering a fantastic cake.
- 4 large eggs: Eggs add richness and help bind the ingredients together, resulting in a fluffy texture.
- 1 cup sour cream: Sour cream adds moisture and a slight tang that balances the sweetness.
- ⅔ cup vegetable or canola oil: Oil keeps the cake tender and moist, preventing it from drying out.
- 1 cup light brown sugar, packed: This ingredient brings a caramel-like sweetness and moisture, enhancing the flavor.
- 1 heaping tablespoon cinnamon: Cinnamon adds warmth and depth to the cake, giving it that recognizable “honey bun” flavor.
- 2 cups confectioners’ sugar: Used for the topping, it adds sweetness and a creamy texture.
- ½ cup milk: Milk helps to combine the confectioners’ sugar into a smooth sauce that seeps into the cake.
- 8-ounce container whipped topping: The final layer that adds a light and airy finish to the cake, making it extra special.
How to Prepare Honey Bun Poke Cake
Preparing the Honey Bun Poke Cake is a breeze, and I’m excited to guide you through each step. You’ll see how simple it is to create a cake that’s not only delicious but also visually stunning. Let’s get started with making this delightful dessert!
- Preheat your oven to 325 degrees Fahrenheit. While it’s heating up, line a 9×13-inch pan with aluminum foil for easier cleanup, then spray it with cooking spray. This will keep your cake from sticking.
- In a large bowl, combine the cake mix, eggs, sour cream, and oil. Use a handheld electric mixer on high speed for 2 to 3 minutes until everything is well mixed and the batter is smooth. Look for a thick consistency.
- Transfer half of the batter to the prepared pan and set the other half aside. Be careful not to add too much batter, as we’ll be layering it later.
- In a medium bowl, mix the brown sugar and cinnamon together until well combined. This is your cinnamon-sugar filling. Evenly sprinkle this mixture over the batter in the pan.
- Now, take the remaining batter and evenly top the cinnamon-sugar layer, using a spatula to spread it out. It doesn’t have to be perfect; just cover the sugar.
- Place the pan in the oven and bake for about 35 minutes. To check for doneness, insert a toothpick into the center of the cake. It should come out clean or with a few moist crumbs.
- Once baked, remove the cake from the oven and poke it all over with a fork. I recommend about 100 holes—you want the milk mixture to soak in well, so the more holes, the better.
- In a medium bowl, whisk together the confectioners’ sugar and milk until smooth. The mixture should be thin, but that’s perfectly fine.
- Slowly drizzle the milk mixture evenly over the poked cake, allowing it to seep into the holes. Then, cover the cake and refrigerate for at least 2 hours, or overnight if you can wait.
- Finally, take the whipped topping and spread it evenly over the cooled cake. You can use a spatula or a knife to smooth it out nicely before serving. Enjoy the deliciousness!
Things Worth Knowing
- Make sure to poke enough holes: The more holes, the better the soaking effect will be. This ensures every bite is infused with flavor.
- Chill overnight: If you have the time, let the cake chill overnight. This allows the flavors to meld beautifully.
- Use whole milk: For the best flavor, I recommend using whole milk in the milk mixture. It enhances the creaminess.
- Experiment with toppings: Feel free to add nuts or drizzles of caramel sauce on top for added texture and flavor.
Recipe Tips about Honey Bun Poke Cake
Creating the perfect Honey Bun Poke Cake comes down to a few key tips that will elevate your baking game. Here are some helpful hints to ensure your cake turns out beautifully every time:
- Storage: Your cake will keep well in an airtight container in the fridge for up to 5 days. If you plan to keep it longer, consider freezing it.
- Freezing: You can freeze the cake without the whipped topping for up to three months. Just wrap it tightly in plastic wrap and then in aluminum foil.
- Serving suggestions: This cake is delicious on its own or paired with a scoop of vanilla ice cream or whipped cream for a delightful finish.
- Make it a day ahead: Preparing the cake the day before serving will only enhance the flavors as they have time to meld together.
- Personalize it: Don’t hesitate to mix in chocolate chips or nuts to the batter for an added twist!
What to Pair With Honey Bun Poke Cake
Serving the Honey Bun Poke Cake is just as important as making it. Here are some great suggestions to accompany this delicious dessert:
- Coffee: Serve with a cup of freshly brewed coffee for a delightful afternoon treat.
- Whipped Cream: A dollop of whipped cream on top adds a nice touch of lightness.
- Fresh Fruit: Pair it with fresh berries for a fruity contrast to the sweetness of the cake.
- Ice Cream: Serve with a scoop of vanilla or cinnamon ice cream for added creaminess.
- Picnics: This cake is perfect for outdoor gatherings or potlucks, where it’s sure to impress.
- Celebrations: Make it for birthdays or family reunions; it’s a hit for all ages!
FAQ
Conclusion
The Honey Bun Poke Cake is a delightful blend of flavors and textures that will surely become a favorite in your home. With its moist, sweet cake and creamy topping, it’s perfect for any occasion. I encourage you to give this recipe a try; it’s a simple yet impressive dessert that will have everyone asking for seconds!
Honey Bun Poke Cake
Equipment
- Frying Pan
- Whisk
- Oven
- Wooden Spoon
- Mixing Bowl
- Baking Sheet
Ingredients
- 1 box yellow cake mix
- 4 large eggs
- 1 cup sour cream
- ⅔ cup vegetable or canola oil
- 1 cup light brown sugar
- 1 tablespoon cinnamon
- 2 cups confectioners' sugar
- ½ cup milk
- 1 container whipped topping
Instructions
- Preheat your oven to 325 degrees Fahrenheit. While it’s heating up, line a 9x13-inch pan with aluminum foil for easier cleanup, then spray it with cooking spray. This will keep your cake from sticking.
- In a large bowl, combine the cake mix, eggs, sour cream, and oil. Use a handheld electric mixer on high speed for 2 to 3 minutes until everything is well mixed and the batter is smooth. Look for a thick consistency.
- Transfer half of the batter to the prepared pan and set the other half aside. Be careful not to add too much batter, as we’ll be layering it later.
- In a medium bowl, mix the brown sugar and cinnamon together until well combined. This is your cinnamon-sugar filling. Evenly sprinkle this mixture over the batter in the pan.
- Now, take the remaining batter and evenly top the cinnamon-sugar layer, using a spatula to spread it out. It doesn’t have to be perfect; just cover the sugar.
- Place the pan in the oven and bake for about 35 minutes. To check for doneness, insert a toothpick into the center of the cake. It should come out clean or with a few moist crumbs.
- Once baked, remove the cake from the oven and poke it all over with a fork. I recommend about 100 holes—you want the milk mixture to soak in well, so the more holes, the better.
- In a medium bowl, whisk together the confectioners' sugar and milk until smooth. The mixture should be thin, but that’s perfectly fine.
- Slowly drizzle the milk mixture evenly over the poked cake, allowing it to seep into the holes. Then, cover the cake and refrigerate for at least 2 hours, or overnight if you can wait.
- Finally, take the whipped topping and spread it evenly over the cooled cake. You can use a spatula or a knife to smooth it out nicely before serving. Enjoy the deliciousness!
Notes
- Storage: Your cake will keep well in an airtight container in the fridge for up to 5 days. If you plan to keep it longer, consider freezing it.
- Freezing: You can freeze the cake without the whipped topping for up to three months. Just wrap it tightly in plastic wrap and then in aluminum foil.