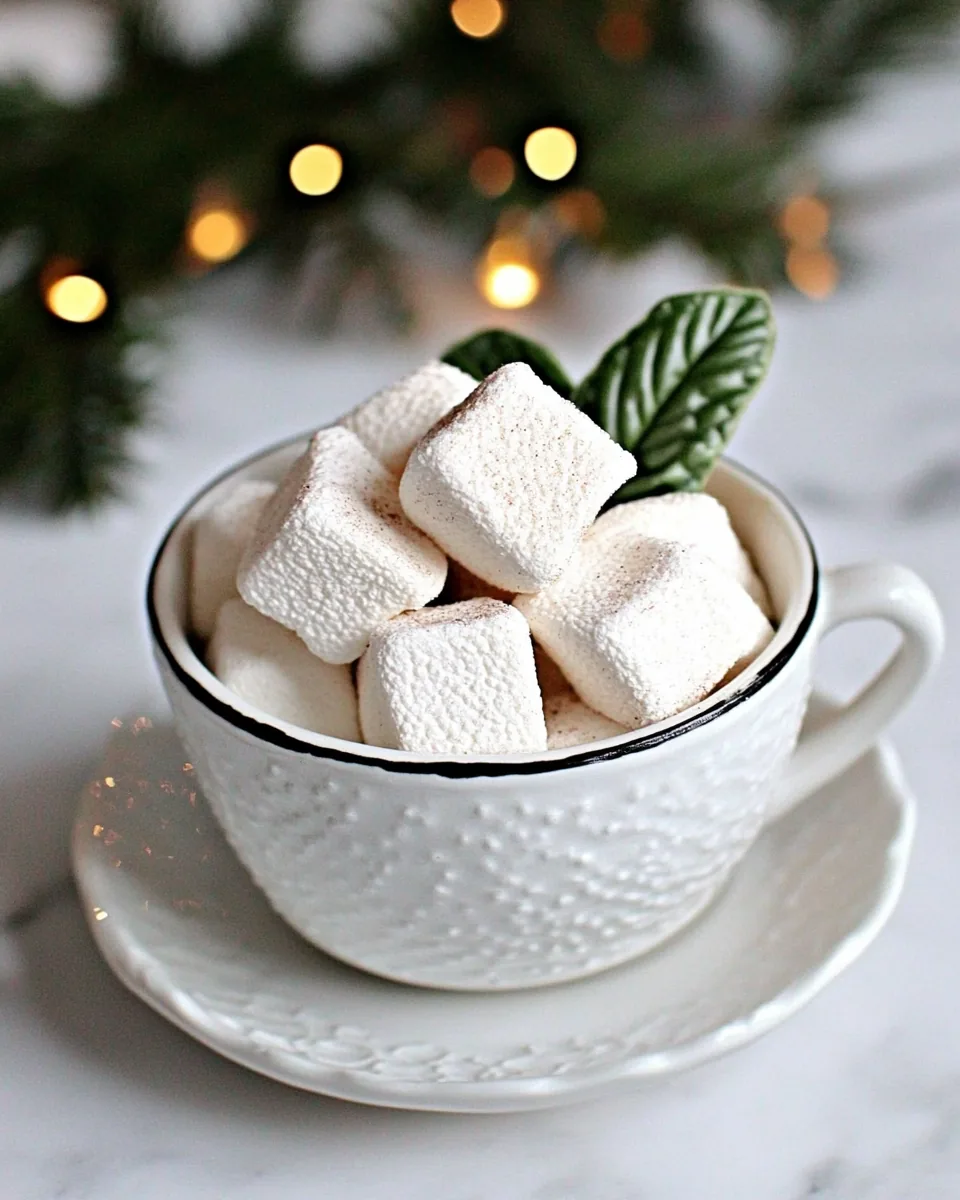
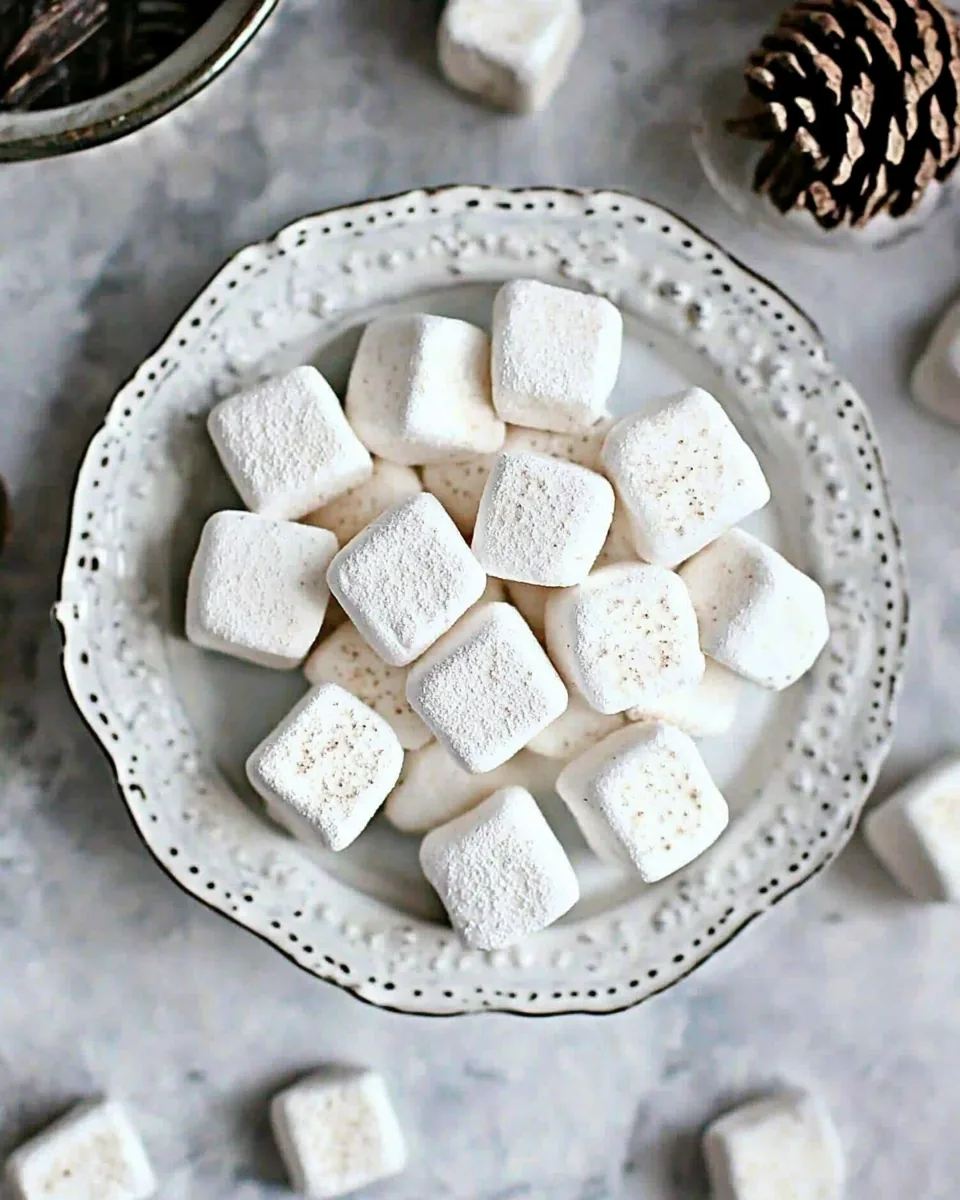
Homemade Vanilla Bean Marshmallows
There’s something undeniably special about making your own treats, and with Homemade Vanilla Bean Marshmallows, you can bring a bit of magic into your kitchen. I remember the first time I decided to venture into this world of confectionery. The aroma of melting sugar, the joy of whipping up a fluffy mixture, and the thrill of cutting them into whimsical shapes — it was pure bliss! These marshmallows are not just a treat; they are a testament to the love and care we pour into our homemade creations. Whether you’re planning a cozy movie night or just want a sweet pick-me-up, these marshmallows are perfect for enjoying by the fire or as a delightful addition to hot chocolate. The best part? You can customize them however you like, making each batch unique!
Recipe Snapshot
40 mins
35 mins
5 mins
Medium
80 kcal
0g g
Gluten-Free
0g g
Mixing Bowl, Frying Pan, Large Pot
Why This Homemade Vanilla Bean Marshmallows Shines
Why You’ll Love These Marshmallows
One of the standout features of Homemade Vanilla Bean Marshmallows is their incredible texture. Unlike the store-bought versions, these marshmallows are fluffy, soft, and melt in your mouth. The process is surprisingly simple but yields delightful results that will wow your friends and family.
Freshness Guaranteed
When you make your own marshmallows, you have full control over the ingredients. No preservatives, no artificial flavors — just pure, simple goodness. Each bite is a burst of flavor that you simply can’t get from pre-packaged options.
Perfect for Any Occasion
These marshmallows are incredibly versatile! They can be used in a variety of desserts or enjoyed on their own. Want to impress guests? Serve them with hot chocolate or roast them over a campfire. The options are endless!
Fun for the Family
Making Homemade Vanilla Bean Marshmallows is a fantastic way to spend time with family. Kids will love helping to whip them into shape and cutting them out into fun forms. It’s not just baking; it’s creating memories.
Customizable Flavors
Feel free to experiment! Although I adore the vanilla flavor, you can easily infuse these marshmallows with other flavors or even add mix-ins like chocolate chips. Each batch can become a new family favorite.
Gifts from the Heart
These marshmallows make lovely gifts! Package them in simple jars or cute boxes, and you have a thoughtful, homemade present that anyone would appreciate.
Ingredients Overview for Homemade Vanilla Bean Marshmallows
Creating the perfect Homemade Vanilla Bean Marshmallows starts with quality ingredients. Each one plays a crucial role in achieving that delightful texture and flavor. From the sweetness of the sugar to the richness of the vanilla, these components work harmoniously to create a treat that’s both nostalgic and fresh.
- Unflavored gelatin: This is the backbone of your marshmallows, giving them that fluffy structure.
- COLD water: Essential for dissolving the gelatin and creating the right consistency.
- Granulated sugar: The primary sweetener, providing not just sweetness but also contributing to the marshmallow’s texture.
- Light agave syrup: This adds sweetness and helps prevent the sugar from crystallizing.
- Kosher salt: Just a pinch enhances the overall flavor, balancing the sweetness.
- Vanilla extract: Adds a warm, aromatic flavor that complements the marshmallows perfectly.
- Vanilla bean: The seeds scraped from the bean elevate the flavor, introducing tiny specks of vanilla throughout.
- Confectioners’ sugar: Used for dusting, prevents sticking and adds a touch of sweetness.
Making Homemade Vanilla Bean Marshmallows
Making Homemade Vanilla Bean Marshmallows is an enjoyable process that yields delicious results. Follow these steps carefully for the best outcome. Let’s get started!
- Begin by combining the gelatin with half a cup of COLD water in a small bowl. Allow it to sit for about 10 minutes, letting the gelatin absorb the water and expand. This step is vital for the marshmallow’s texture.
- While the gelatin is blooming, take a medium-sized saucepan and combine the granulated sugar, light agave syrup, kosher salt, and the remaining COLD water. Heat the mixture over medium heat, stirring until the sugar dissolves completely. This creates the syrup that will give your marshmallows that sweet flavor.
- Once the sugar has dissolved, raise the heat to high. Use caution here; you want to bring the mixture to 240 degrees Fahrenheit on a candy thermometer. Watch it closely to avoid boiling over, as the syrup will be extremely hot.
- When the syrup reaches the correct temperature, remove it from the heat. Carefully add the bloomed gelatin mixture along with the scraped seeds from the vanilla bean. Stir gently until everything is combined and the gelatin has fully dissolved.
- Transfer the mixture into the bowl of your stand mixer. With the mixer on low speed, slowly pour in the hot sugar syrup. Be very careful during this step to prevent burns.
- Once all the syrup is added, increase the mixer speed to high. Beat the mixture until it becomes very thick and quadruples in volume, taking about 17 minutes. You should see that it is glossy and fluffy.
- Add the vanilla extract towards the last minute of mixing. This will enhance the flavor even more.
- Prepare a 12 x 17 jelly roll pan or a large glass baking dish by generously dusting it with confectioners’ sugar. This prevents the marshmallows from sticking.
- Pour the fluffy marshmallow mixture into the prepared pan. Smooth the top with a spatula and dust the surface with more confectioners’ sugar. Let the marshmallows sit uncovered overnight to dry out. This helps them firm up.
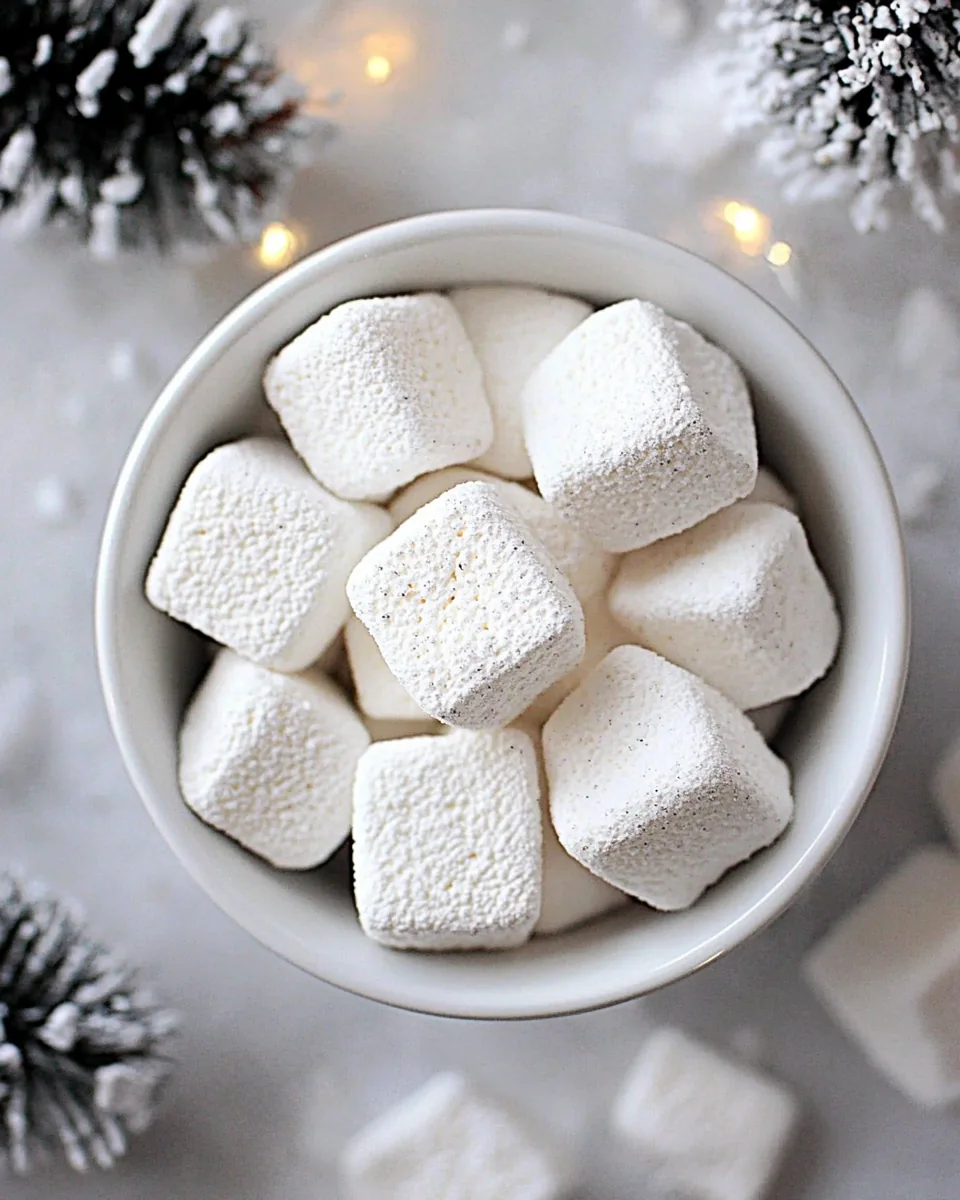
- When ready, dust a cutting board with confectioners’ sugar. Turn the marshmallow slab onto the board and cut it into your desired shapes using a cookie cutter or knife. Dust the cut marshmallows with more confectioners’ sugar to prevent them from sticking together.
Things Worth Knowing
- Temperature Control: Remember, precision matters! Use a reliable candy thermometer to ensure your sugar syrup reaches the right temperature for the best results.
- Whipping Time: Don’t rush the whipping process. The longer you whip, the thicker and fluffier your marshmallows will become.
- Dusting: Always dust with confectioners’ sugar to prevent the marshmallows from sticking to each other and the pan.
- Storage: Keep your marshmallows in an airtight container at room temperature for optimal freshness.
Customization Ideas
There’s so much you can do to personalize Homemade Vanilla Bean Marshmallows. Take a look at these creative ideas!
- Flavor Variations: Try adding different flavors like mint or almond extract to change up the taste.
- Mix-Ins: Incorporate mini chocolate chips or dried fruits into the marshmallow mixture before setting.
- Coloring: Add a few drops of food coloring to the mixture for a fun, colorful treat!
- Cutout Shapes: Use holiday-themed cookie cutters to make fun shapes for special occasions.
- Chocolate Coating: Dip the finished marshmallows in melted chocolate for an indulgent twist.
- Seasonal Spices: Add a sprinkle of cinnamon or nutmeg for a seasonal flair.
- Gift Packaging: Package your marshmallows in pretty bags or jars for thoughtful gifts.
What to Serve With Homemade Vanilla Bean Marshmallows
Serving Homemade Vanilla Bean Marshmallows opens up a world of delightful possibilities. Here are some fantastic ideas:
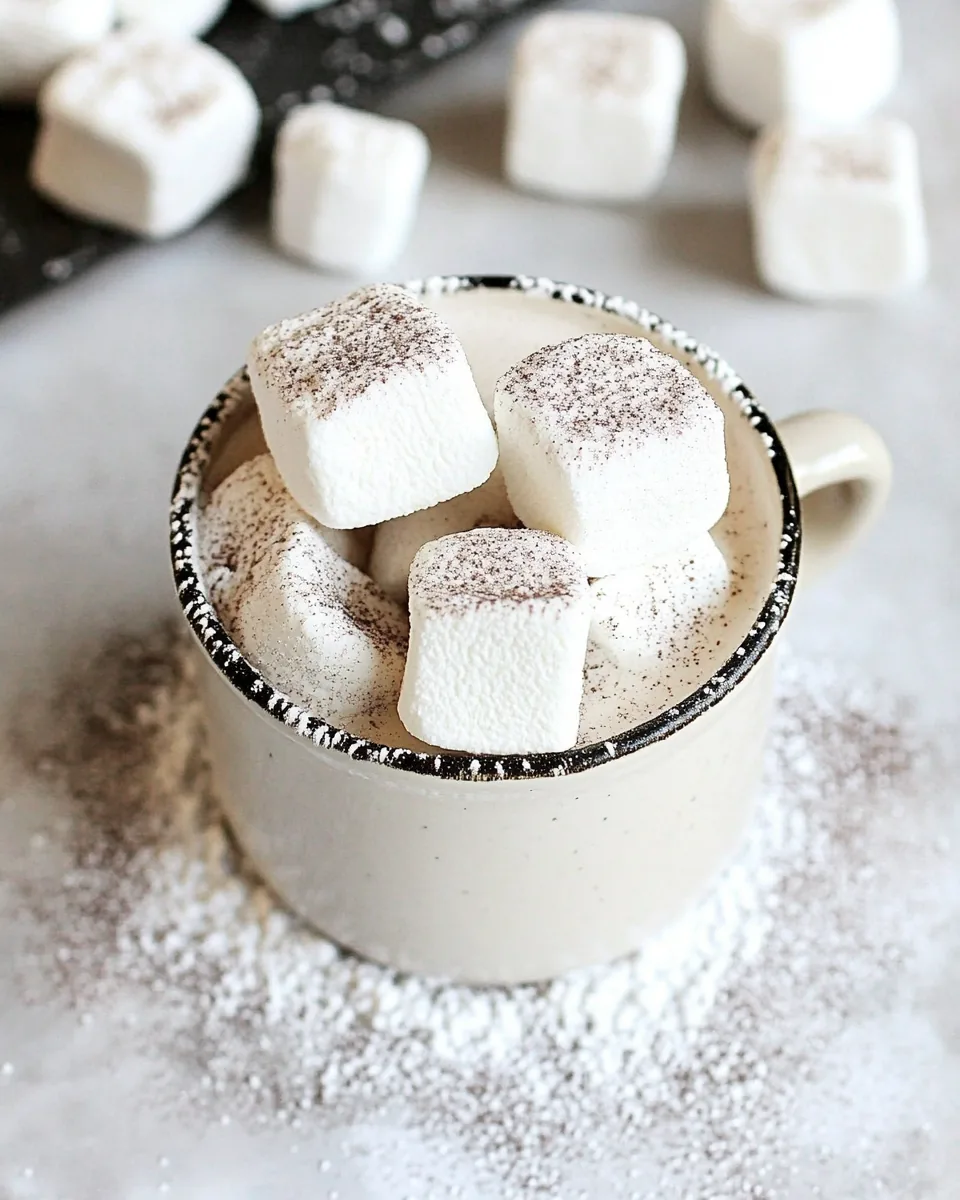
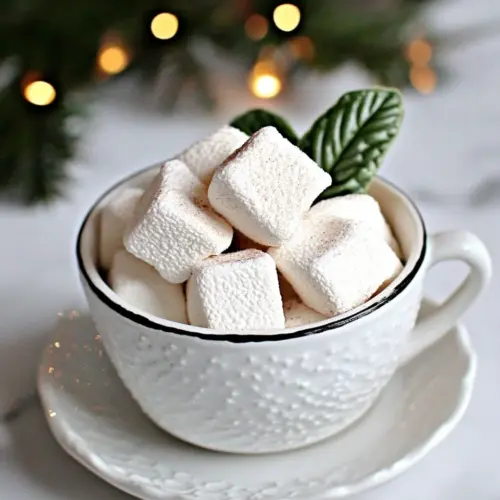
- Hot Chocolate: These marshmallows are a perfect addition to a warm cup of hot cocoa, melting beautifully with each sip.
- Roasting: Toast them over an open fire for a nostalgic treat reminiscent of camping trips.
- Ice Cream: Chop them up and sprinkle them over a scoop of your favorite ice cream for added texture and flavor.
- Gifts: Package them in cute boxes as gifts for friends and family during holidays or special occasions.
- Party Trays: Include them on dessert trays at parties; they’ll add both a visual and tasty treat for guests.
- Brownie Topping: Use them as a topping for brownies or cakes for an extra layer of sweetness.
- Seasonal Treats: Serve them at holiday gatherings, making them a fun and interactive dessert for guests.
FAQ
Conclusion
The Homemade Vanilla Bean Marshmallows are a true labor of love that yields delicious results. They’re not just a treat; they represent a fun kitchen project that brings joy to everyone involved. I encourage you to try making your own — there’s nothing quite like the taste of fresh marshmallows. So roll up your sleeves and dive into this delightful recipe; you won’t regret it!
Homemade Vanilla Bean Marshmallows
Equipment
- Mixing Bowl
- Frying Pan
- Large Pot
Ingredients
- 3 packets Unflavored gelatin
- 1 cup COLD water
- 1.5 cups Granulated sugar
- 1 cup Light agave syrup
- 1/4 tsp Kosher salt
- 1 tbsp Vanilla extract
- 1 bean Vanilla bean seeds scraped
- 2 tbsp Confectioners' sugar for dusting
Instructions
- Combine the gelatin and 1/2 cup of COLD water in a small bowl; let it sit while you make the syrup.
- Meanwhile, combine the granulated sugar, light agave syrup, kosher salt, and 1/2 cup COLD water in a medium-sized saucepan and cook over medium heat until the sugar dissolves.
- Raise the heat to high and, using caution not to boil over, cook until the syrup reaches 240 degrees on a candy thermometer (careful it doesn't boil over, this will be hot).
- Remove from the heat. Add the gelatin mixture and scraped vanilla bean into the bowl of your stand mixer.
- With the mixer on low speed, slowly pour the hot sugar syrup into the dissolved gelatin. Please be careful not to burn yourself with the HOT syrup, do not let the kids do this, you can get third-degree burns if the hot syrup touches your skin.
- Set the mixer to high speed and whip until the mixture expands and is very thick, about 17 minutes. This can be messy so if you have the protective lid attachment that came with your Kitchenaid, you might want to use that.
- Add the vanilla extract towards the end of the mixing.
- With a sieve, generously dust the bottom of a 12 x 17 jelly roll pan or large glass baking dish with confectioners' sugar. This is probably the most important step, skipping this step, the marshmallows will stick to the pan and never come off.
- Pour the marshmallow mixture into the pan, smooth and dust with more confectioners' sugar.
- Let the marshmallows sit uncovered overnight until they dry out.
- Use a cookie cutter to make pretty marshmallow shapes or turn the marshmallows onto a board sprinkled with confectioners' sugar and cut them into squares. Dust with more confectioners' sugar to prevent sticking.
Notes
- Tip: Depending on the size of your cutouts, the nutritional info will change. I made these twice, first in a large glass casserole but they were too thick. The jellyroll pan was perfect and gave me perfect sized marshmallows for the cookie cutter. Based on that, I got 88 square marshmallows.